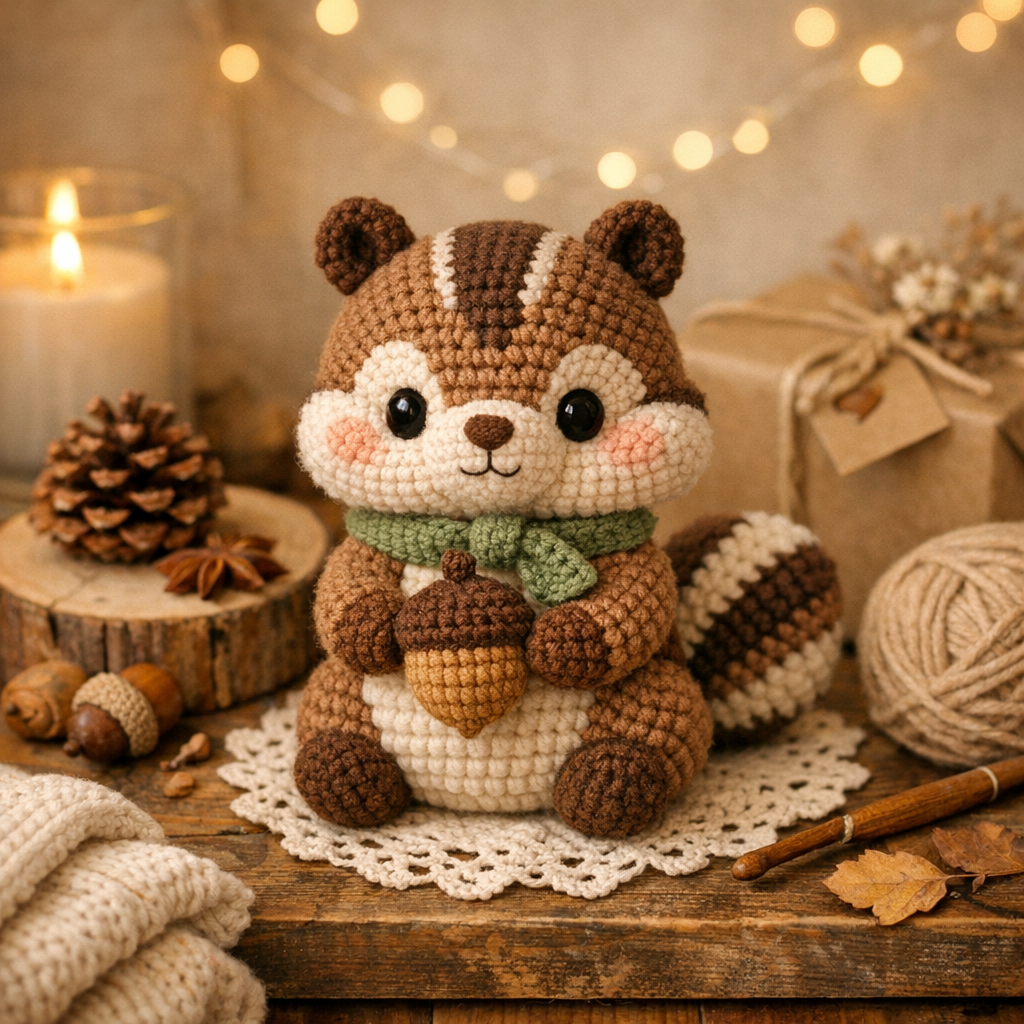
🐿️Crochet Chipmunk Toy Pattern (Free + PDF Download)
Looking for a cute amigurumi project? This crochet chipmunk toy pattern is perfect for beginners and intermediate crafters who love making handmade plushies. With step-by-step guidance, you can create an adorable chipmunk that’s perfect for gifts or decor.

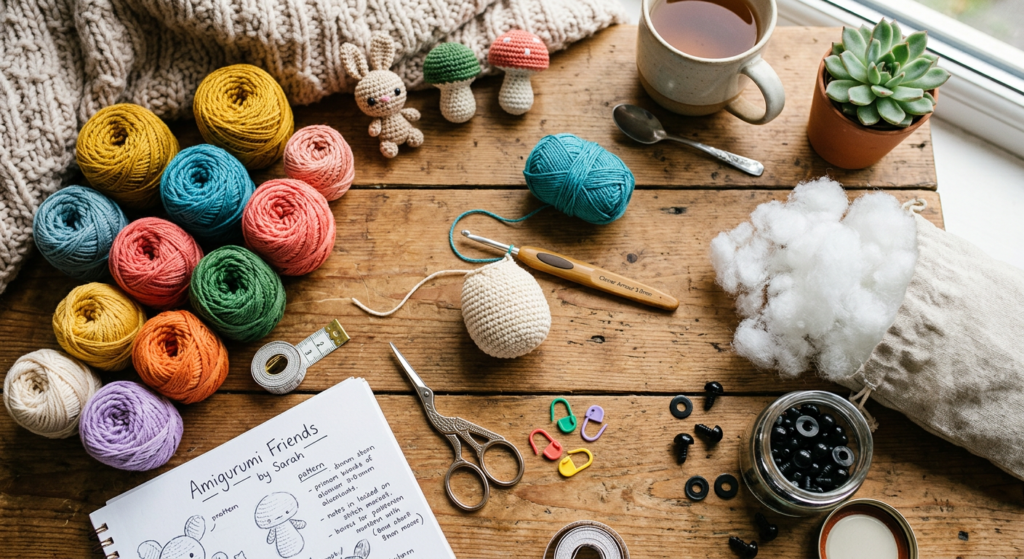
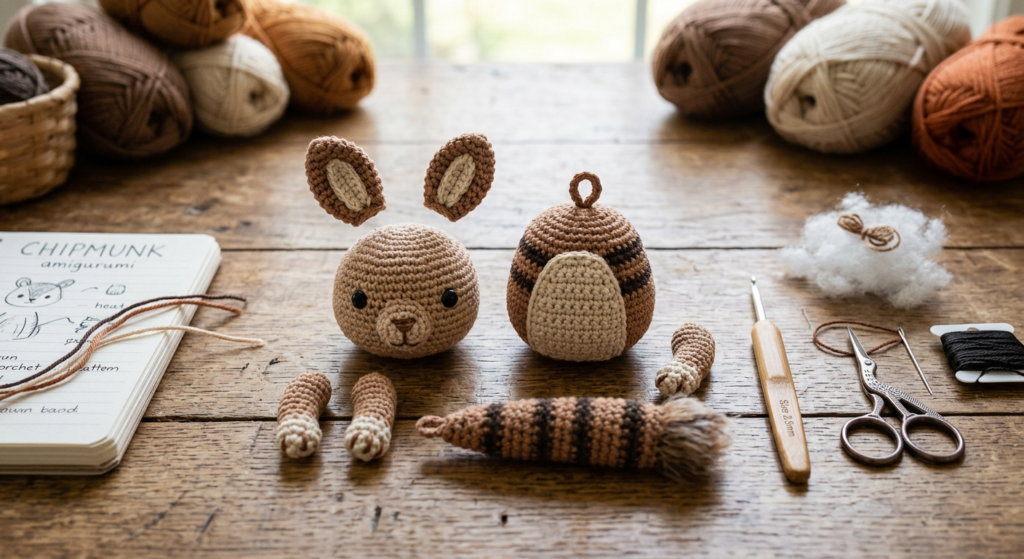
🧶 Materials & Tools for Crochet Chipmunk
To make this amigurumi chipmunk, you’ll need soft cotton yarn in shades like ginger, beige, brown, white, and red, along with a 2 mm crochet hook. You’ll also need fiberfill stuffing, safety eyes, a nose, and a yarn needle.
These materials help create a soft, detailed toy approximately 24 cm tall, making it ideal for cuddling or display.
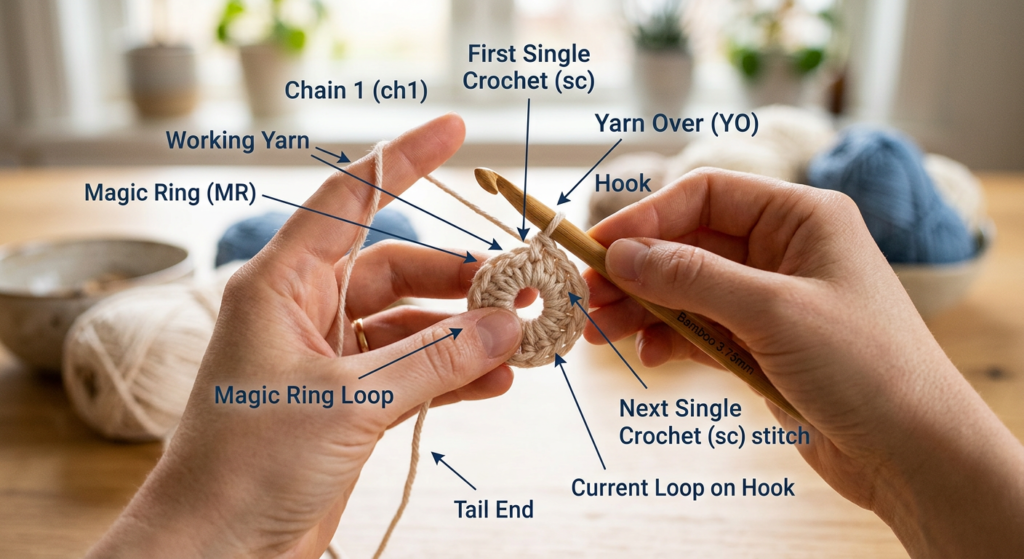
✨ Basic Crochet Stitches & Tips
This pattern uses beginner-friendly stitches like magic ring (MR), single crochet (sc), increase (inc), and decrease (dec). The toy is worked in continuous spirals without turning chains.
Using a stitch marker is highly recommended to keep track of rounds and maintain symmetry.
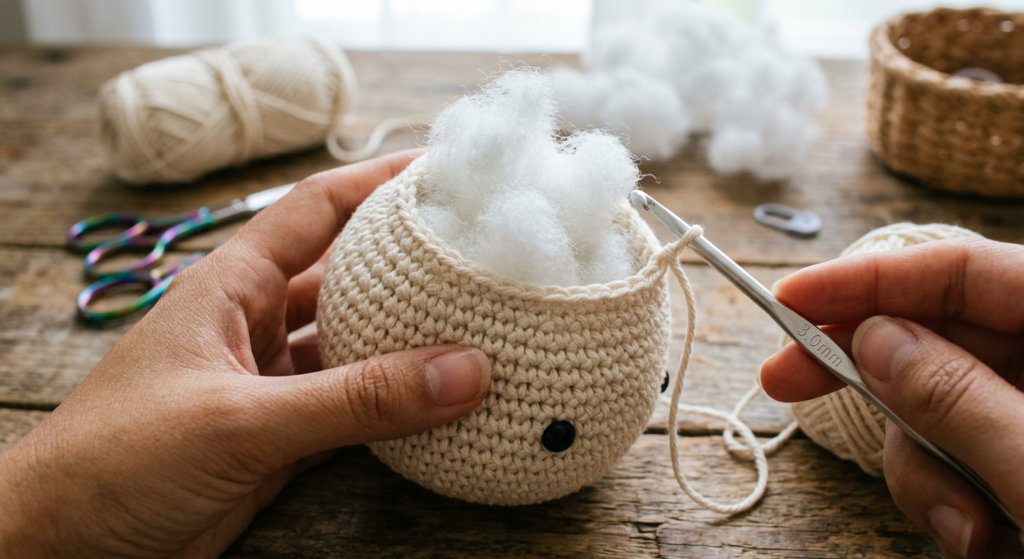
🧵 How to Crochet the Chipmunk Head
Start with beige yarn and crochet the head using gradual increases to form a rounded shape. After a few rounds, switch to ginger yarn to create the natural chipmunk color.
As you continue, begin stuffing the head firmly to maintain structure and shape.
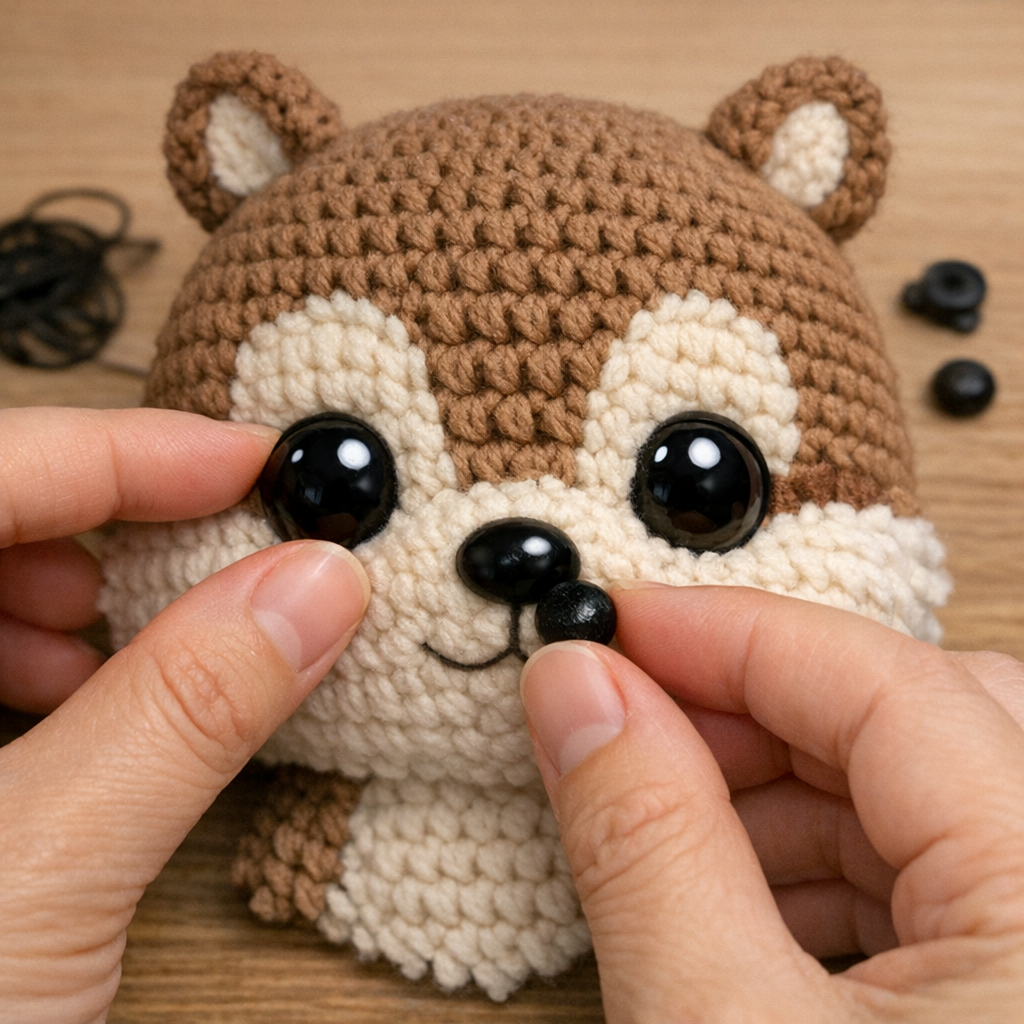
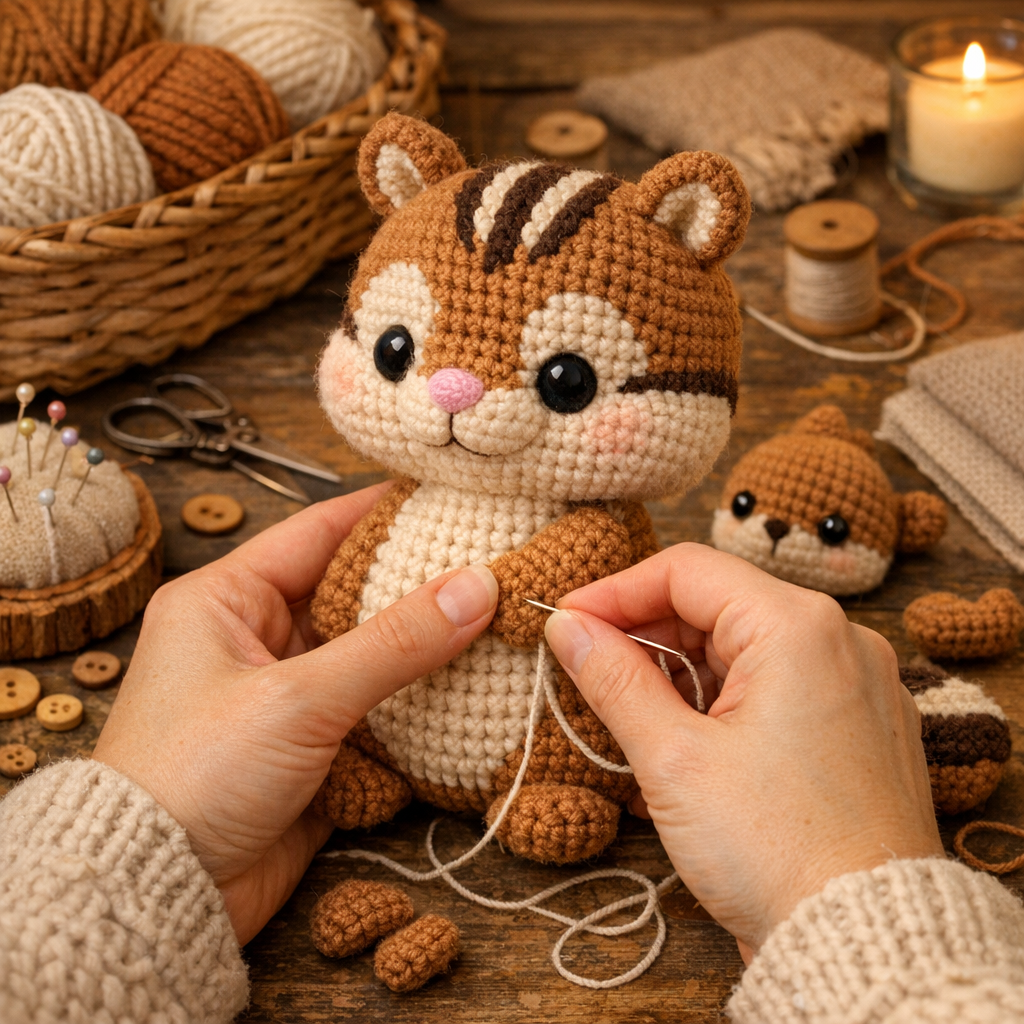
👀 Adding Facial Features
Create small parts like eyes, muzzle, and beige cheek spots separately, then attach them to the head. The muzzle is slightly stuffed to give a realistic 3D effect.
Positioning is key—place the eyes evenly and align the nose at the center for a cute expression.
👂 Ears & Details for a Cute Look
Crochet two small ears using simple rounds and attach them to the top of the head. You can also add extra details like a soft forelock for personality.
These finishing touches bring your crochet chipmunk to life and make it unique.
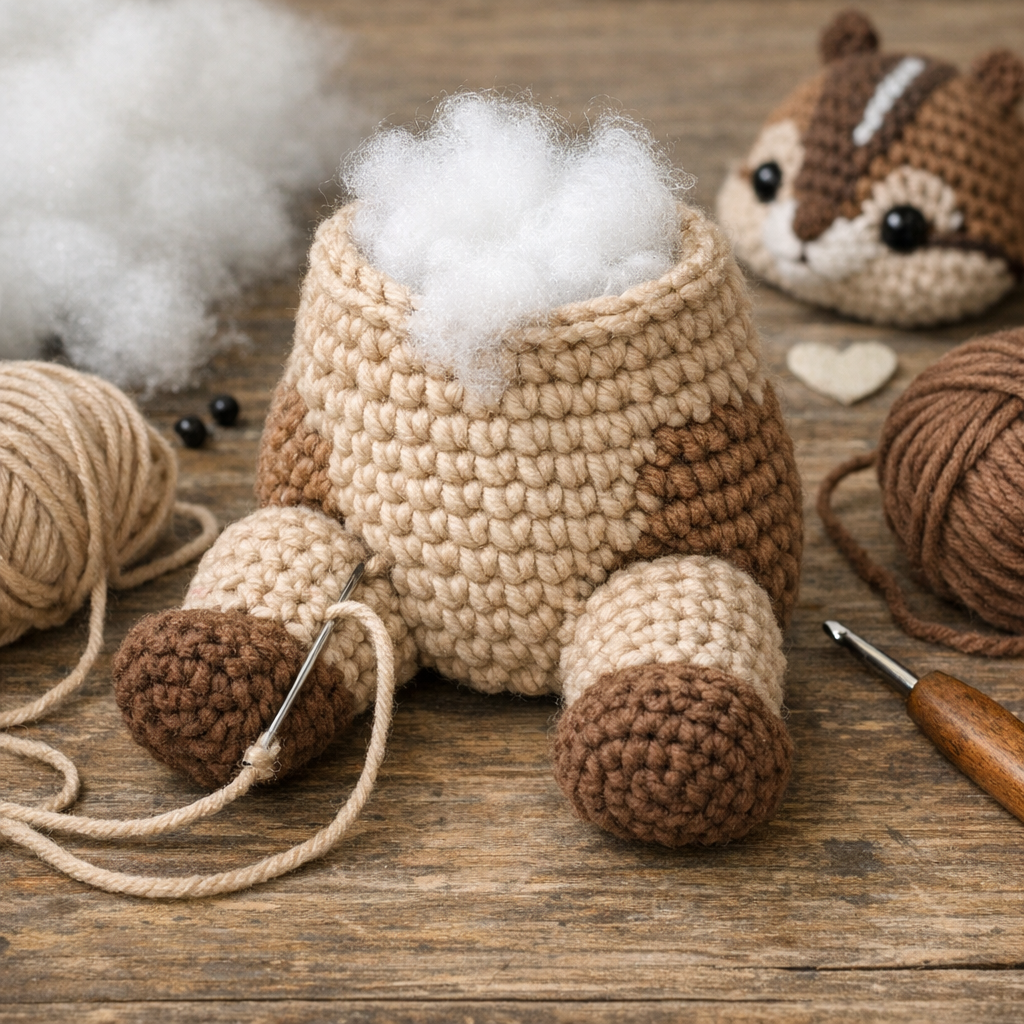
🐾 Crocheting the Body & Legs
The body is made by first crocheting the legs separately, then joining them together to form the torso. This technique helps create a natural sitting shape.
Continue building upward with rounds of single crochet while stuffing evenly.
✋ Arms & Assembly
Crochet the arms separately and attach them securely to the body using thread jointing. Make sure they are slightly bent forward for a natural pose.
Finally, sew the head to the body and adjust stuffing to keep it stable.
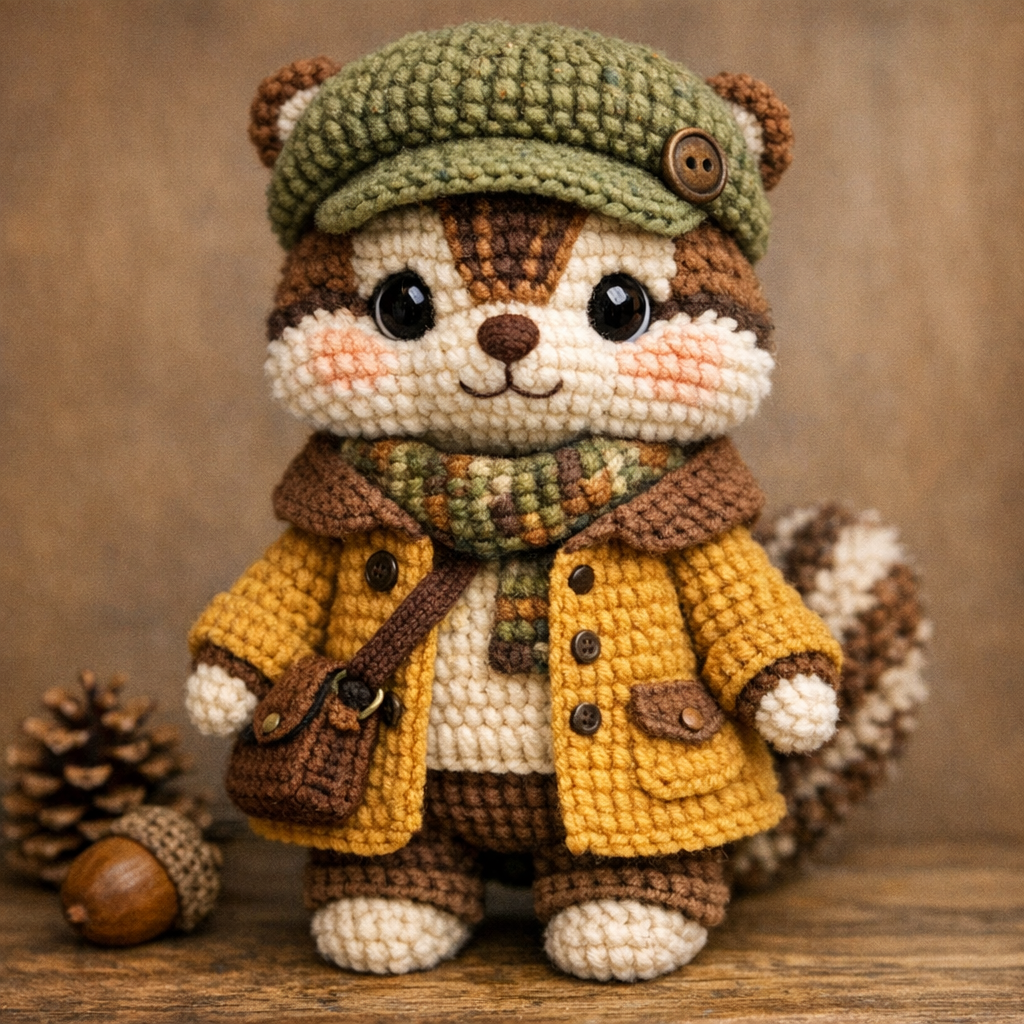
🎩 Adding Clothes & Accessories
This pattern includes adorable extras like a hat and coat, giving your chipmunk a stylish look. The hat even has ear holes for a perfect fit.
You can customize colors to create different outfits and personalities.
💡 Final Tips for Perfect Amigurumi
Always stuff your toy evenly and securely weave in loose ends for a clean finish. Take your time assembling parts for the best results.
This crochet chipmunk pattern is great for DIY gifts, handmade toys, and Etsy products.
📥 Download Full Crochet Chipmunk Pattern
Want the complete step-by-step instructions in one place?
👉 Grab the printable PDF pattern and crochet your chipmunk anytime!