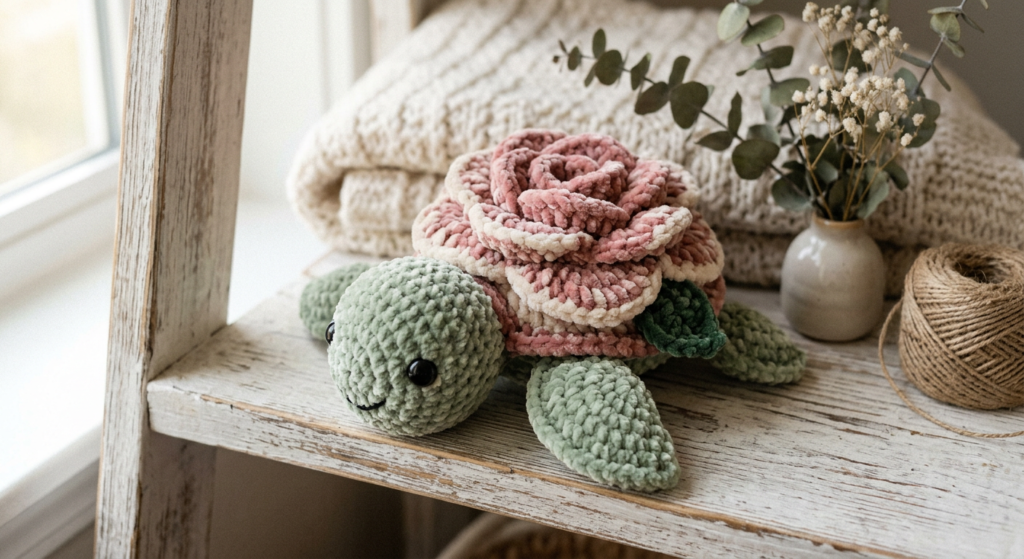
Crochet Rose Turtle Pattern – Adorable Amigurumi Tutorial for Beginners
If you love cute amigurumi projects, this crochet rose turtle pattern is the perfect combination of floral charm and cozy crochet texture. This beginner-friendly turtle plush features a beautiful rose-inspired shell, chunky yarn, and soft velvet textures that make it ideal for gifts, nursery decor, or handmade market items.
Whether you are searching for an easy crochet turtle pattern, a floral amigurumi tutorial, or a plush crochet animal project, this rose turtle crochet guide is a fun weekend make that works up quickly with bulky yarn.
Why Crocheters Love This Rose Turtle Pattern
This adorable crochet turtle combines a classic amigurumi body with layered rose petals worked directly into the shell. The fluffy yarn creates a soft and cuddly finish, while the flower-inspired shell gives the turtle a Pinterest-worthy aesthetic perfect for spring and cottagecore crochet collections.
The finished turtle measures approximately 6 inches long and 6.5 inches wide, making it the perfect size for display shelves, gift baskets, or children’s room decor.
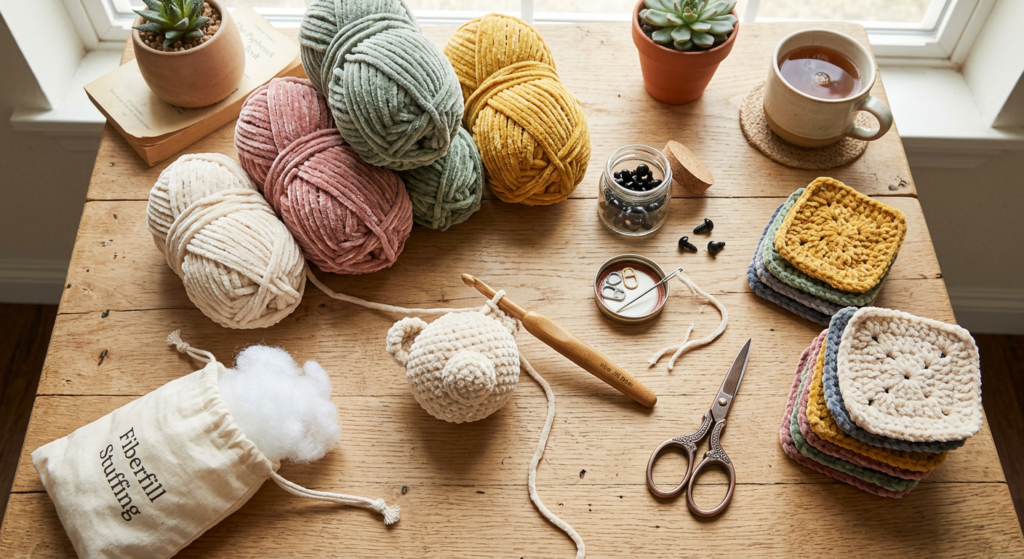
Crochet Supplies You’ll Need
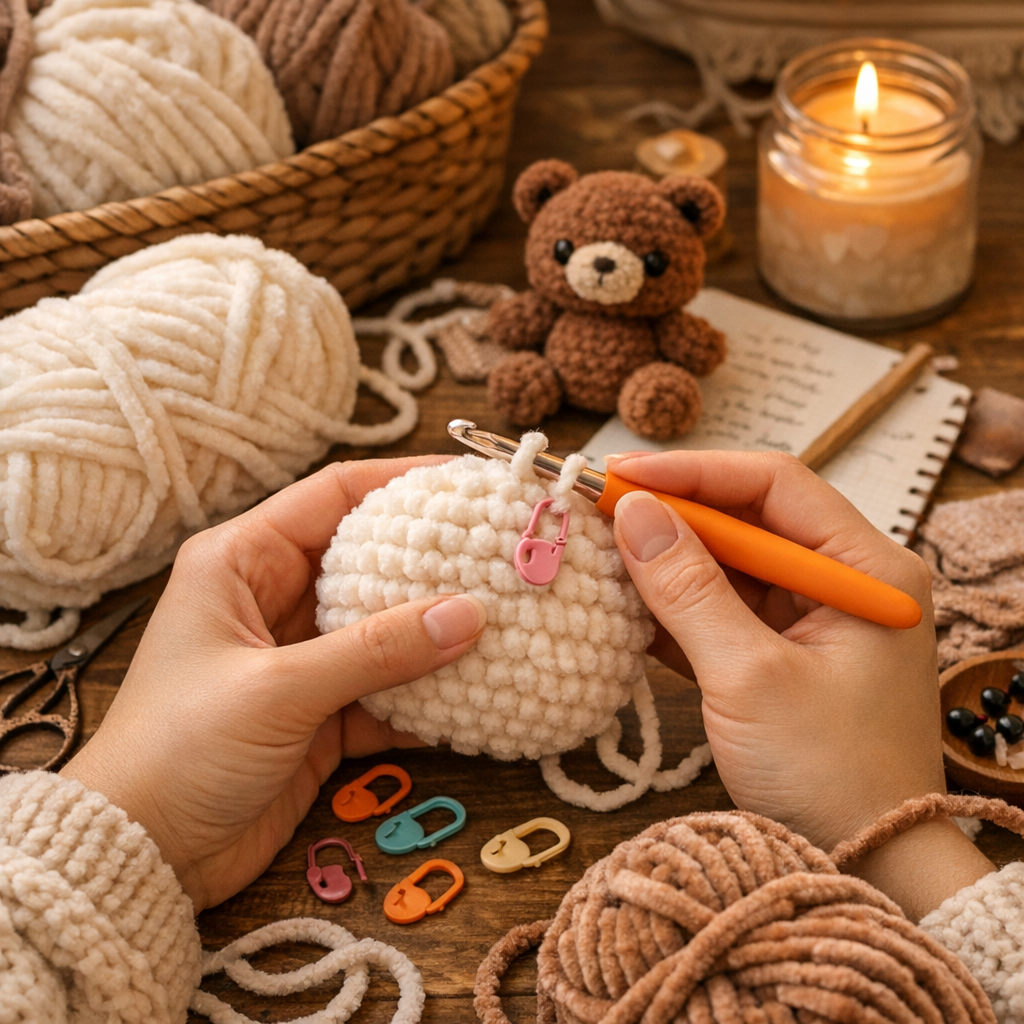
The pattern uses bulky plush yarn to create a soft and squishy turtle texture. A 4.5mm crochet hook works best for keeping the stitches tight while maintaining flexibility for stuffing.
Materials List
- 4.5mm crochet hook
- Bulky size 5-6 yarn
- Green yarn for body and legs
- Red yarn for rose petals
- White yarn for eye details
- 14mm safety eyes
- Poly-Fil stuffing
- Tapestry needle
- Scissors
Chunky yarn beginners may find stitch markers helpful when working with fluffy fibers because stitches can be difficult to see.
How to Crochet the Turtle Legs and Tail
The turtle legs are worked separately before being attached directly into the body rounds. The front legs are slightly larger than the back legs, helping create the turtle’s rounded shape.
The tail is a quick mini piece crocheted in continuous rounds. Since the tail and legs are crocheted into the body later, there is no need to leave long sewing tails.
This construction method makes assembly easier for beginner crocheters and keeps the final plush sturdy and secure.
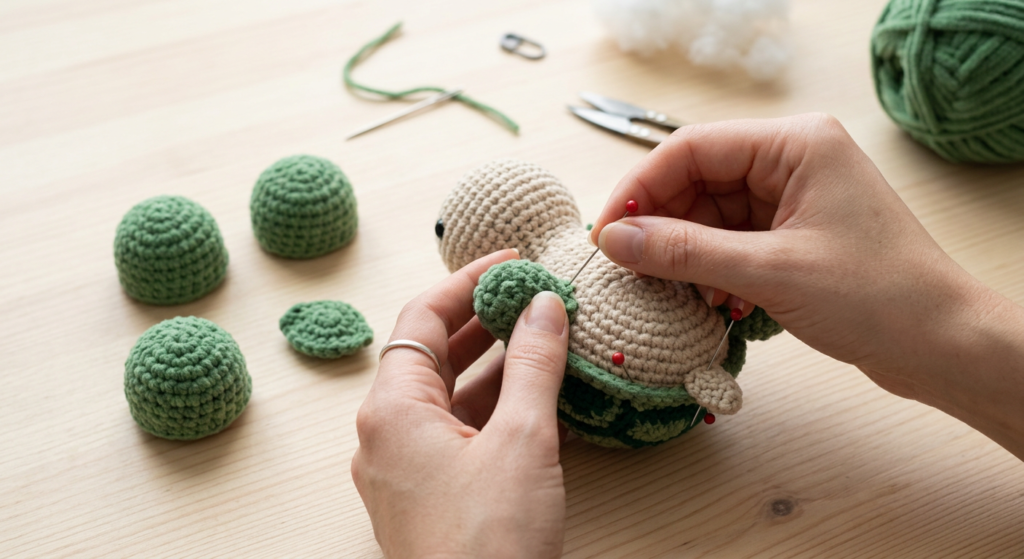
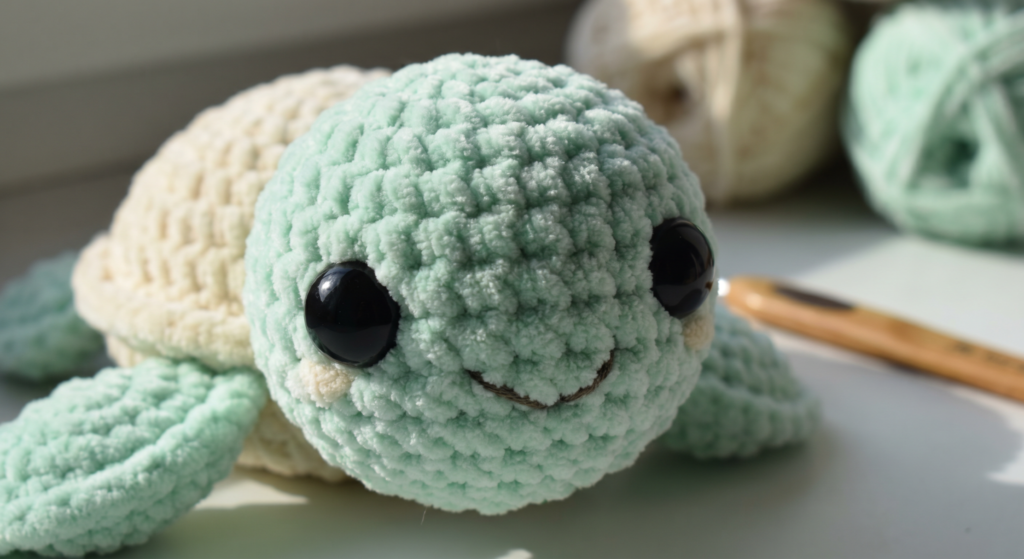
Creating the Cute Turtle Head
The turtle head is worked in simple increase and decrease rounds to create a rounded plush shape. Safety eyes are typically placed between rows five and six for the sweetest expression.
After stuffing the head firmly, it is sewn onto the front of the turtle body. Adding small embroidered white eye accents gives the turtle extra personality and makes the eyes appear shiny and animated.
This step is perfect for crocheters wanting to improve their amigurumi shaping and finishing skills.
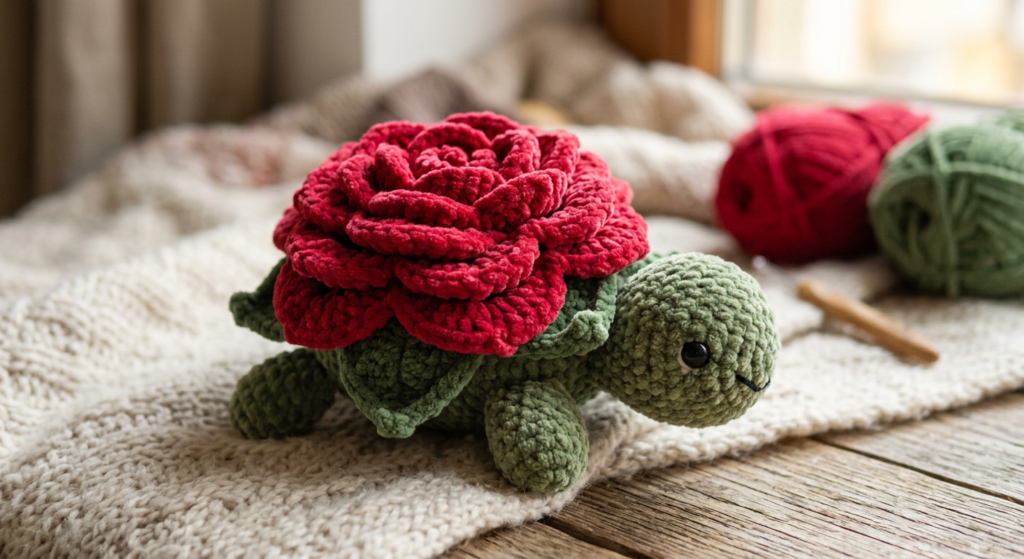
How the Rose Shell Is Made
The standout feature of this crochet turtle pattern is the gorgeous rose shell design. The shell is crocheted in back loops only, leaving front loops available for the layered flower petals.
Once the shell base is complete, red yarn is attached into the unused front loops to create petal stitches using half double crochet, double crochet, and treble crochet combinations.
The finished effect looks like blooming rose petals wrapped around the turtle shell, making this pattern especially popular for Pinterest crochet boards and handmade gift ideas.
Assembling the Crochet Turtle Body
After completing the shell petals, the remaining body rounds are crocheted while attaching the legs and tail directly into the stitches. This technique creates a seamless appearance and minimizes sewing.
Stuff the body gradually to maintain an even shape. Once fully closed, sew the head securely between the front legs for the cutest final positioning.
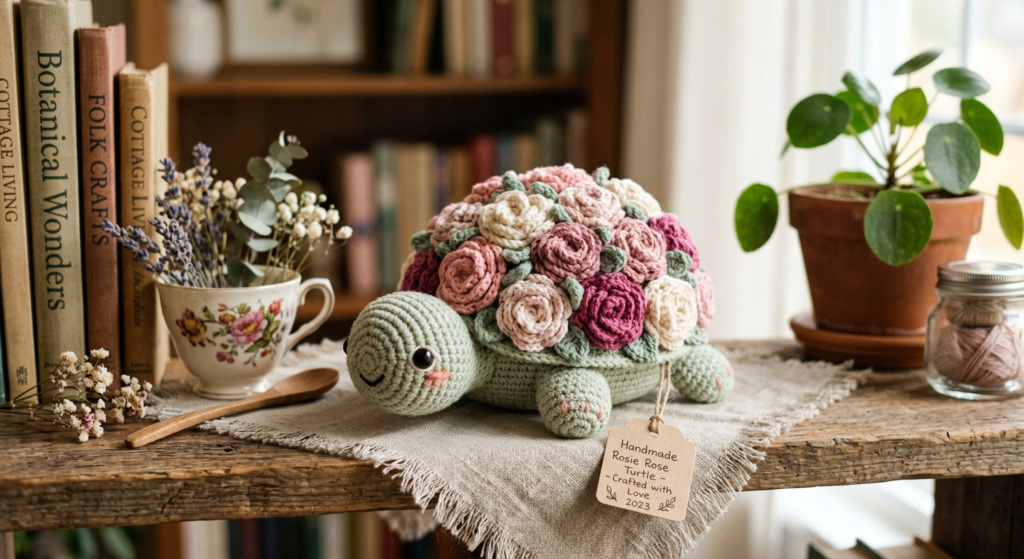
This plush turtle works beautifully as:
- Handmade nursery decor
- Crochet market inventory
- Birthday gifts
- Valentine’s crochet gifts
- Cottagecore room accessories
Tips for Crocheting with Plush Yarn
Working with velvet or fluffy yarn can feel challenging at first, but this pattern is beginner-friendly with a little patience. Use stitch markers often and focus on feeling the stitches rather than relying only on visibility.
Maintaining consistent tension helps the turtle keep its rounded shape while preventing stuffing gaps. Plush yarn also gives the finished amigurumi an ultra-soft premium look that photographs beautifully for Pinterest and Etsy listings.
Final Thoughts on This Crochet Rose Turtle Pattern
This crochet rose turtle pattern is the perfect mix of cute amigurumi design and elegant floral detailing. The plush texture, beginner-friendly construction, and eye-catching shell make it a standout crochet project for gifting or selling at craft fairs.
If you enjoy unique crochet animal patterns, this rose turtle is a must-add to your handmade collection. Be sure to download the full printable PDF pattern so you can follow every step easily while crocheting.