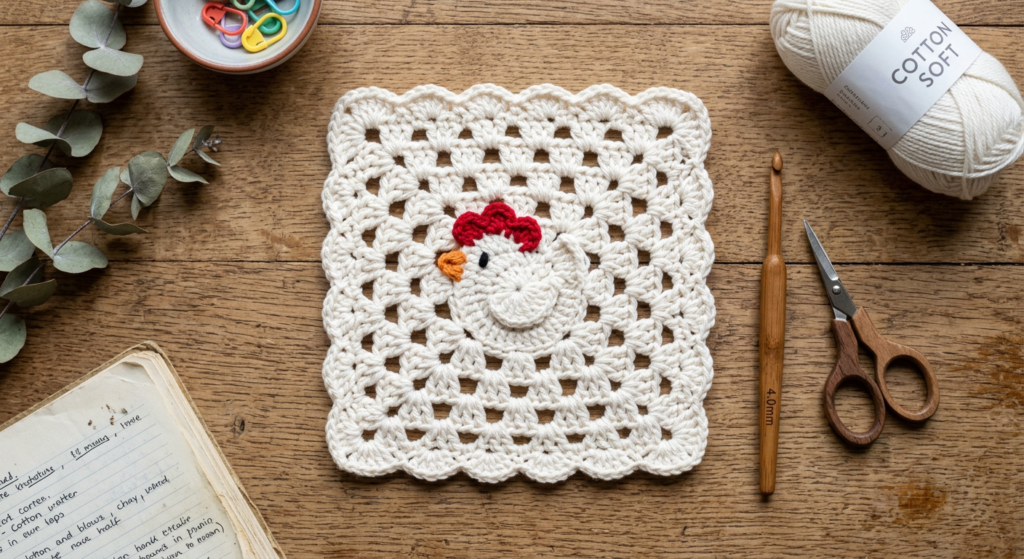
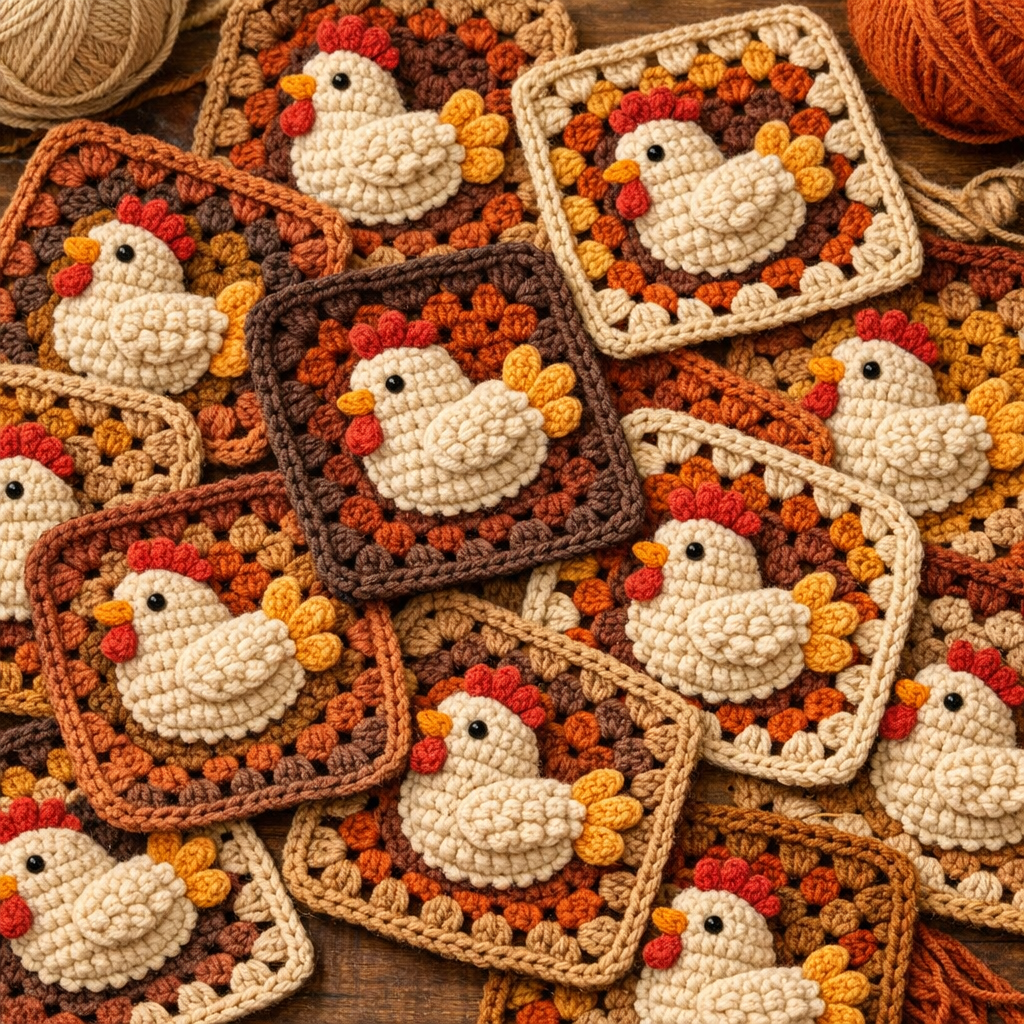
🐔Chicken Granny Square Crochet Pattern (Free + PDF Download)
If you’re looking for a cute and beginner-friendly crochet project, this chicken granny square pattern is perfect! It’s ideal for blankets, cushions, or farmhouse-style decor. This step-by-step guide will help you create an adorable crochet chicken square while giving you the option to download the full printable PDF.
🧶 Materials You’ll Need
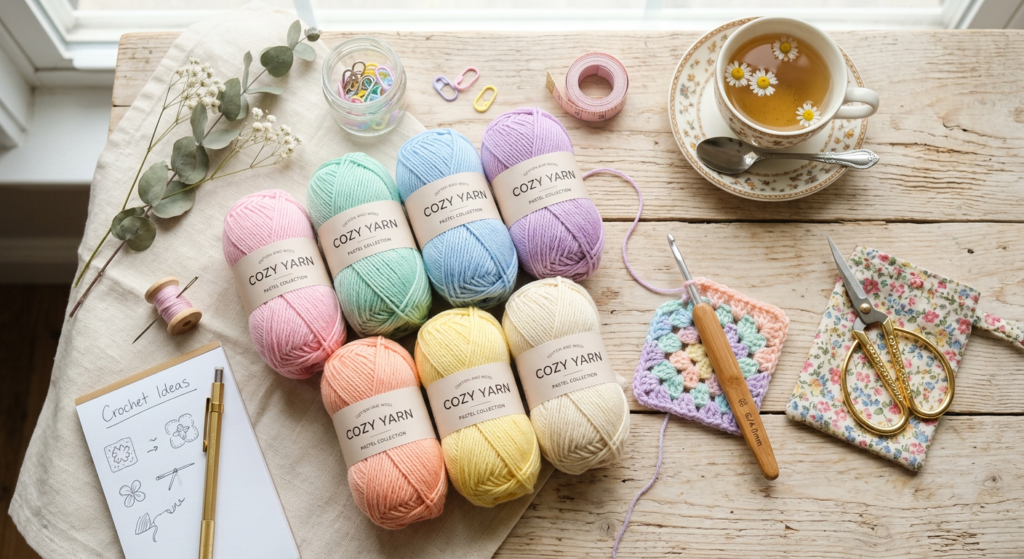
To create this crochet granny square, gather lightweight acrylic yarn in white, dark green, red, black, and orange. You’ll also need a 4 mm crochet hook, yarn needle, and scissors.
This pattern is flexible, so you can easily swap yarn types or hook sizes to adjust the final square size.
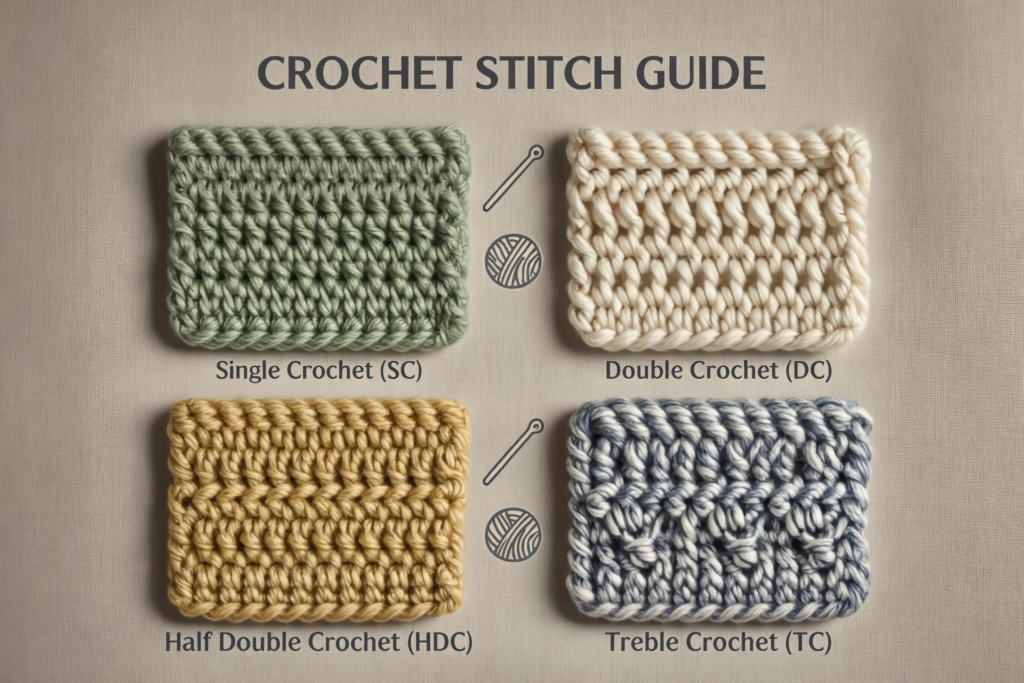
✨ Crochet Abbreviations (Beginner Friendly)
This pattern uses common crochet stitches like magic ring (MR), chain (ch), single crochet (sc), double crochet (dc), and half double crochet (hdc).
If you’re new to crochet, don’t worry—these basic stitches are easy to learn and perfect for beginner crochet projects.
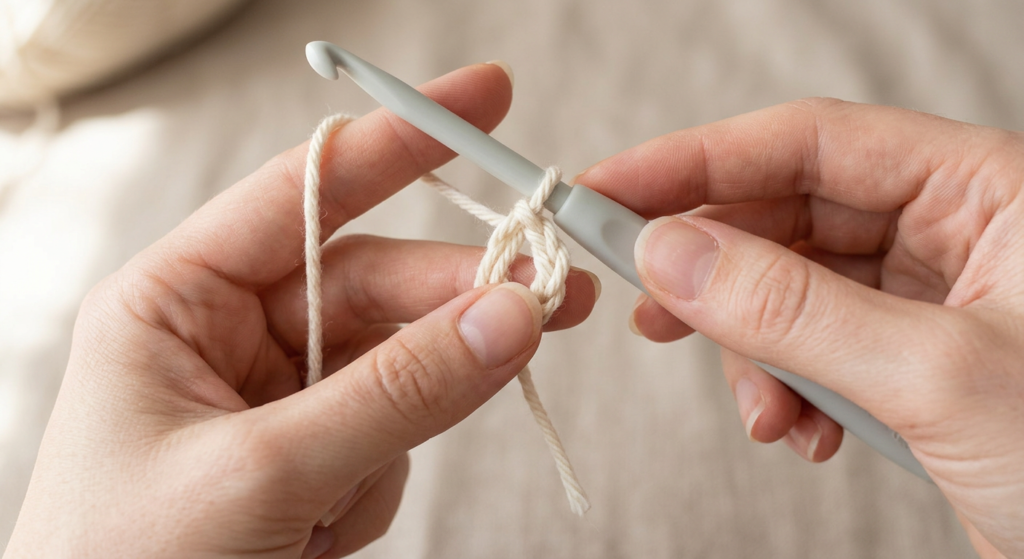
🧵 Starting the Granny Square Base
Begin with white yarn and create a magic ring, then work 12 double crochets into it. Tighten the ring and join with a slip stitch to form a neat circle.
Continue increasing evenly in each round to shape the base of your granny square.
🔄 Building the Square Shape
As you continue crocheting, increase stitches in each round to expand the circle. By Round 4, your work will begin to look fuller and structured.
At this stage, switch to dark green yarn to create a contrasting border for your chicken square.
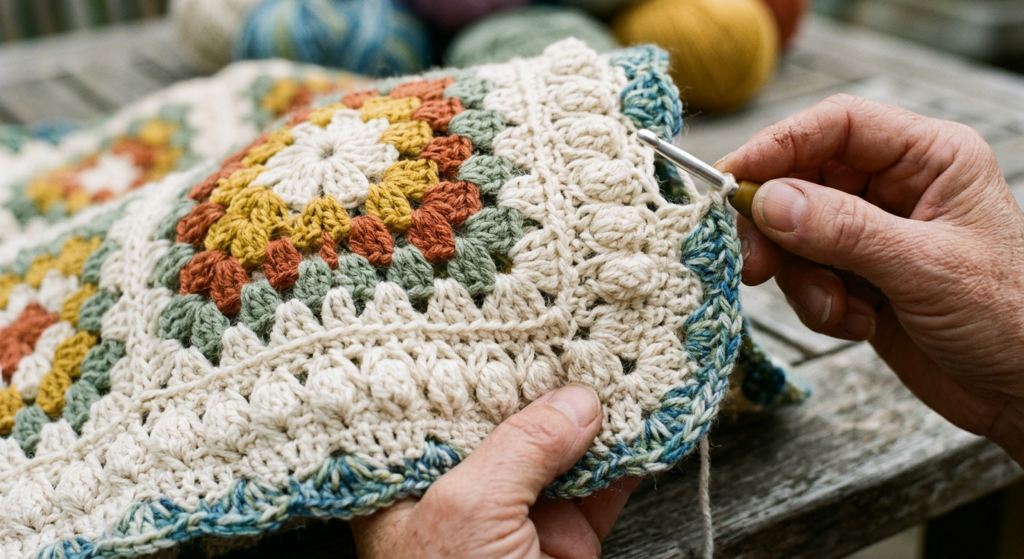
🎨 Creating the Decorative Border
The final rounds include a mix of stitches like sc, hdc, dc, and tc, forming textured edges and corners. This gives your granny square a polished, professional look.
Corner stitches (tc + chain spaces) help transform the circle into a square shape.
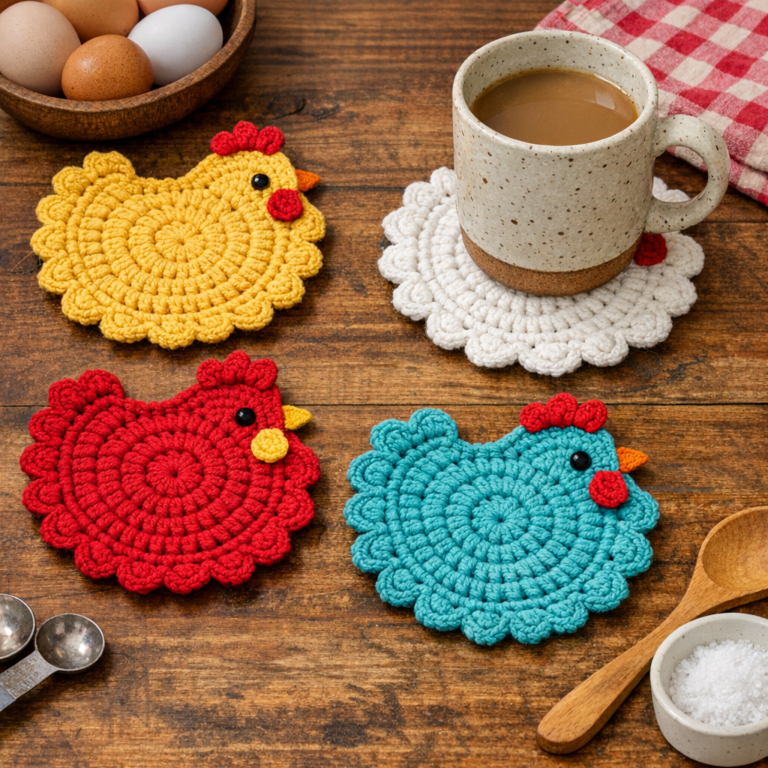
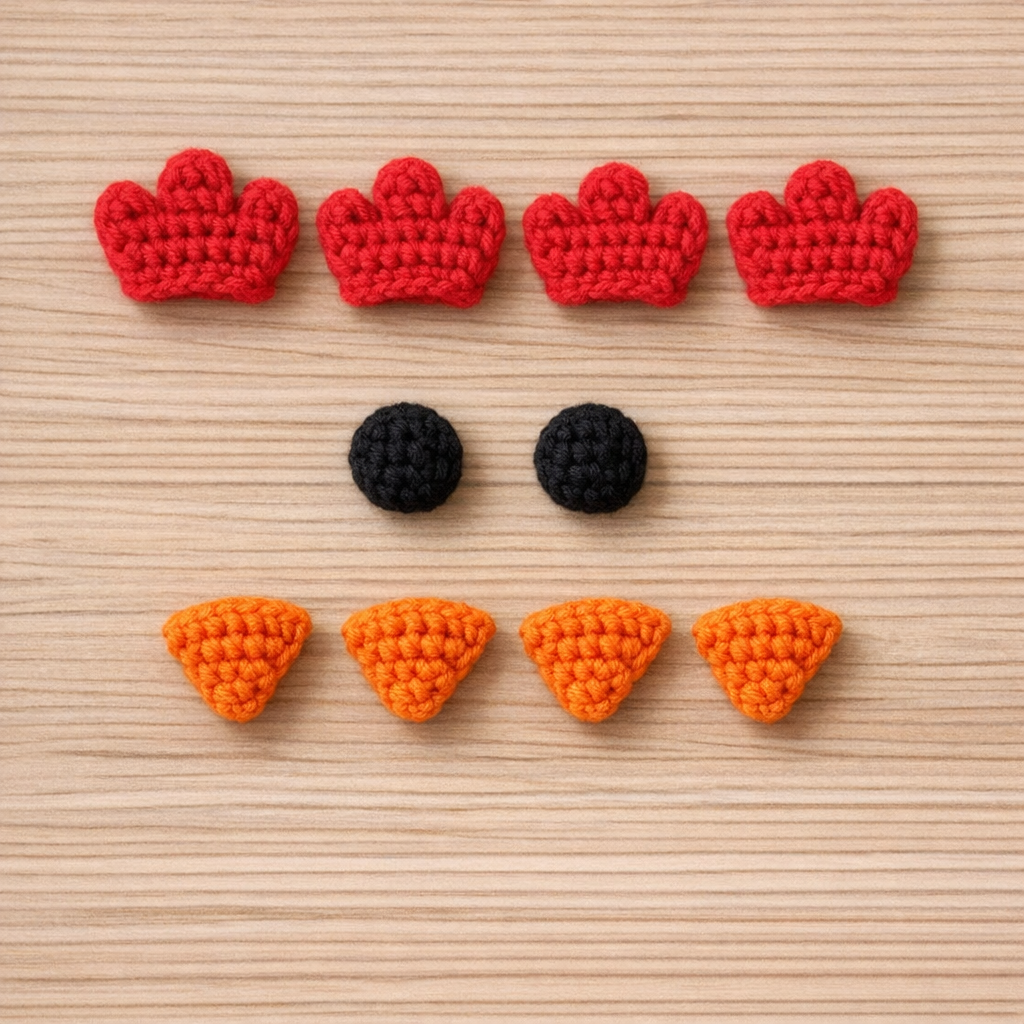
🐓 Crocheting the Chicken Details
Now comes the fun part! Create the chicken’s comb (red), wattles (red), beak (orange), and eyes (black) separately.
Each piece is small and quick to make, using simple stitches and short rounds.
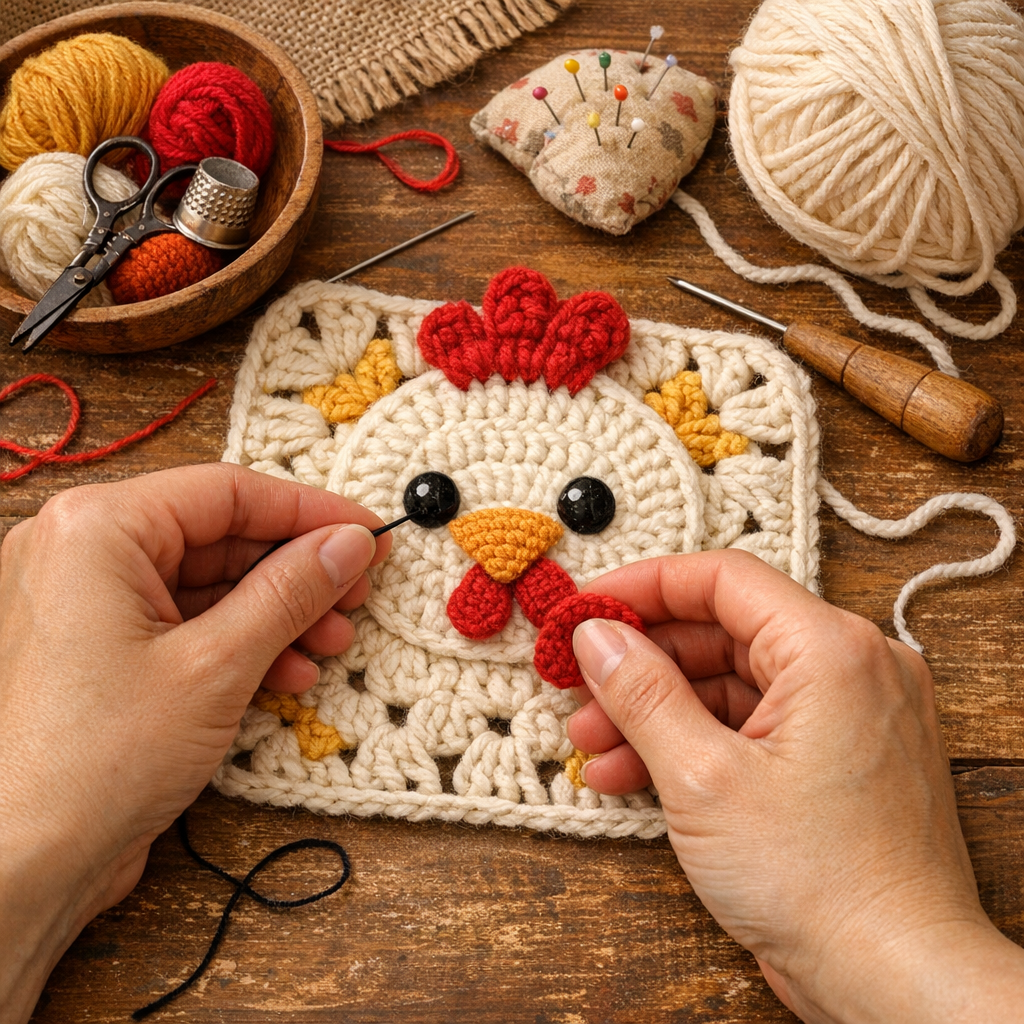
🧷 Assembling Your Chicken Granny Square
Place all the facial features onto the square and stitch them securely using yarn tails.
Position the comb at the top, eyes in the center, beak slightly below, and wattles underneath for a cute finished look.
💡 Tips for Perfect Results
Use tight, even stitches for a clean finish, and always weave in loose ends securely. Blocking your granny square can also help improve its shape.
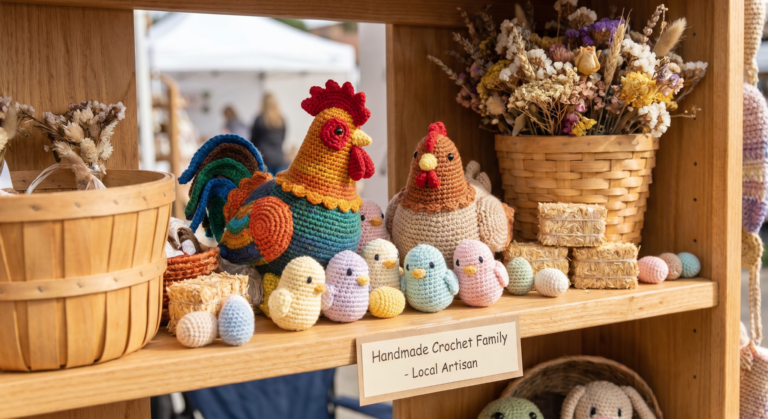
This pattern is great for crochet beginners, and you can easily turn it into a blanket, bag, or wall hanging.
📥 Get the Full Printable Pattern
Want a clean, printable version with all steps in one place?
👉 Download the full Chicken Granny Square PDF pattern and crochet anytime, anywhere!