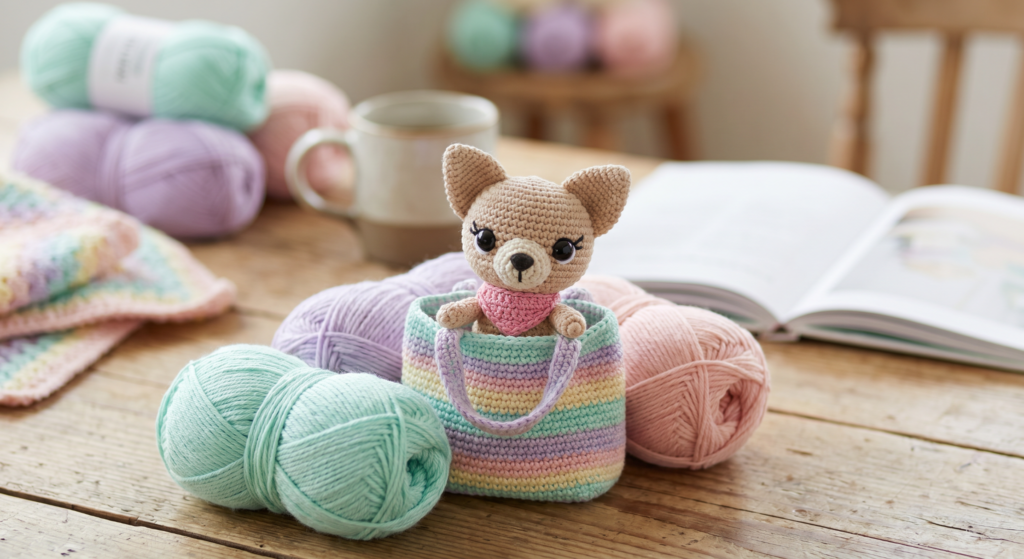
🐶Crochet Chihuahua in a Bag – Cute Amigurumi Pattern Guide
If you love adorable crochet projects, this crochet Chihuahua in a bag pattern is a must-try. It combines a tiny dog plush with a stylish mini carrier bag—perfect for gifts, décor, or Pinterest content.
This beginner-friendly amigurumi project is small, cute, and packed with charming details that make it highly shareable.
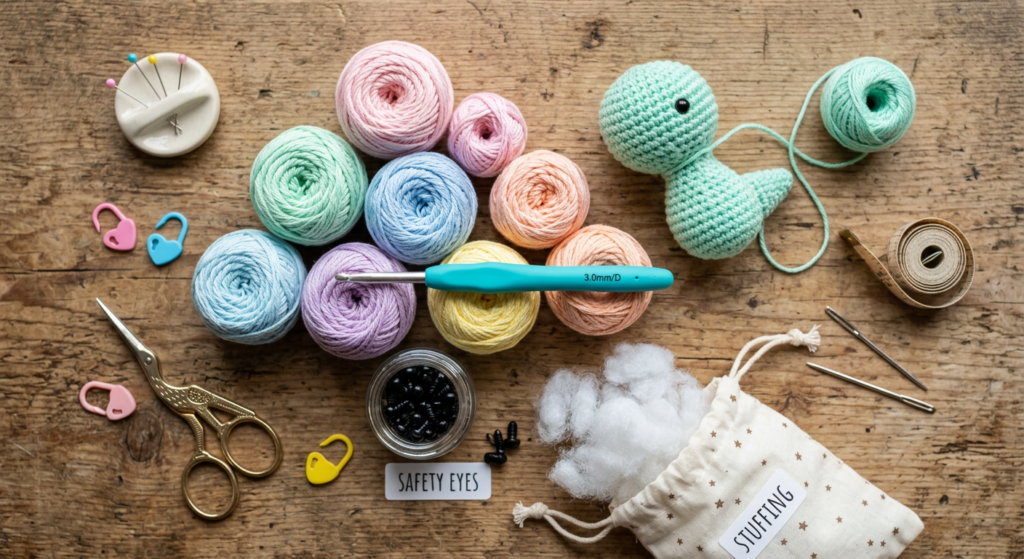
🧶 Materials You’ll Need
To make this crochet Chihuahua toy, you’ll need sport-weight yarn in shades like beige, pink, black, white, and lilac. A 2 mm crochet hook, safety eyes, stuffing, and a needle for sewing are also essential.
You can also add decorative elements like buttons, ribbon eyelashes, and cardboard for structure to enhance the final look.
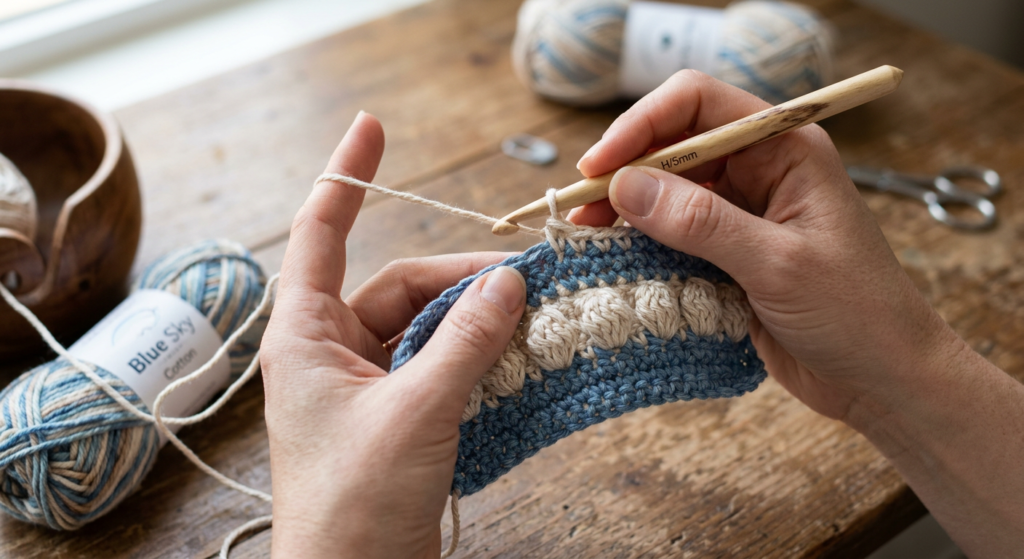
📘 Basic Crochet Stitches & Abbreviations
Before starting, make sure you’re comfortable with essential stitches like magic ring (MR), single crochet (sc), increase (inc), and decrease (dec). These are widely used in amigurumi patterns.
You’ll also use special stitches like bobble stitches to create texture and detail for the dog’s body.
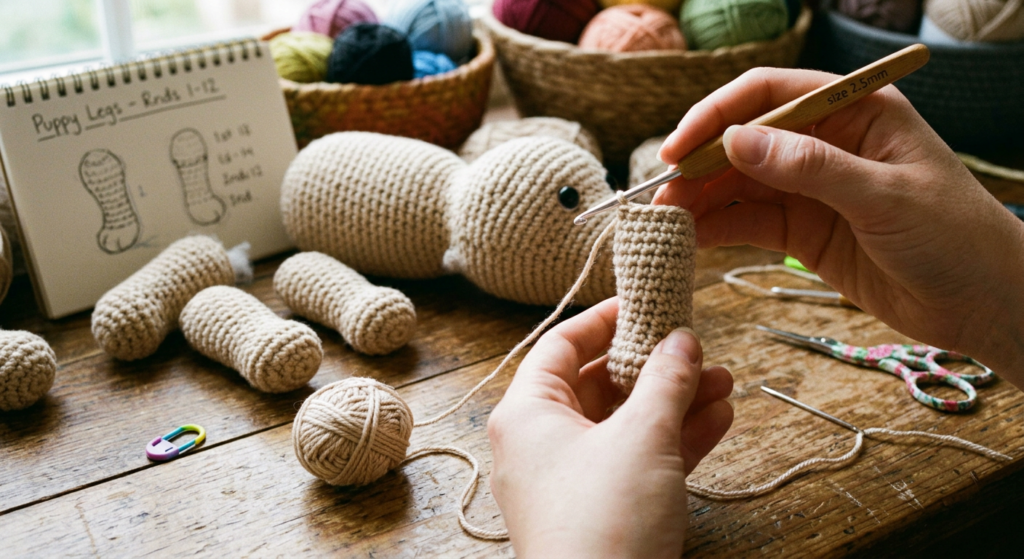
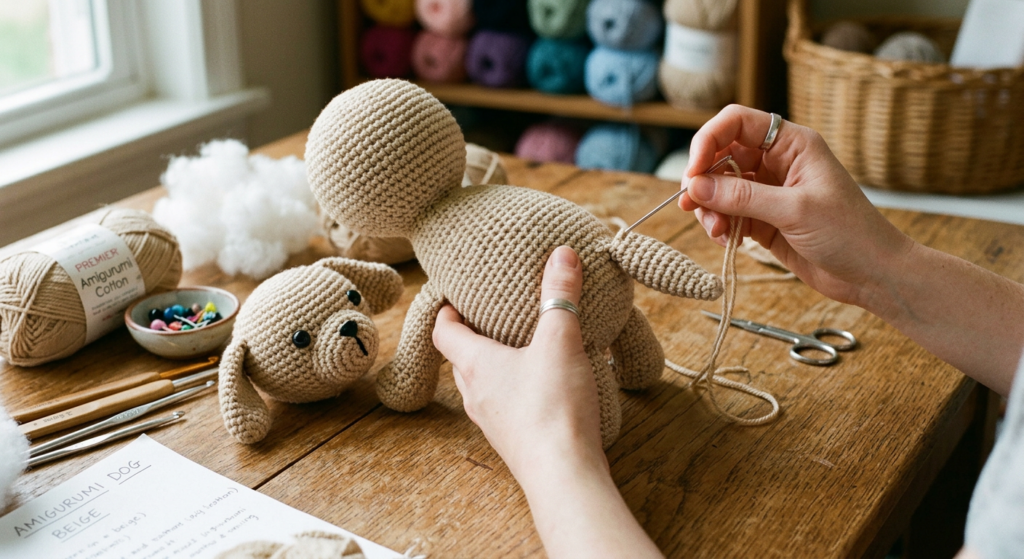
🐾 Step 1: Crochet the Legs
Start by making four small legs using a magic ring and gradually increasing stitches to shape them. Then switch yarn color to form the upper part of the legs.
Stuff each leg lightly with fiberfill to give it a soft and realistic shape before closing.
🐕 Step 2: Create the Body & Tail
The body is built by combining pieces and shaping them with increases and decreases. This gives your Chihuahua its small, rounded form.
The tail is crocheted separately using a simple chain and slip stitches, then sewn onto the body.
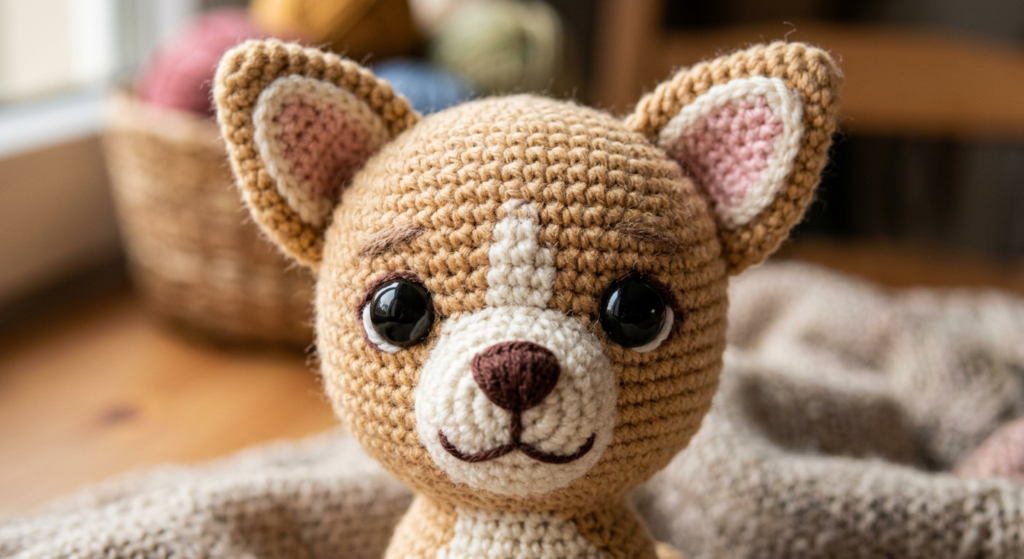
🐶 Step 3: Add Facial Features
Attach safety eyes and add details like eyelashes and embroidery to bring your Chihuahua to life. These small touches make a huge difference in the final appearance.
Use black thread to define the facial features and give your plush a cute expression.
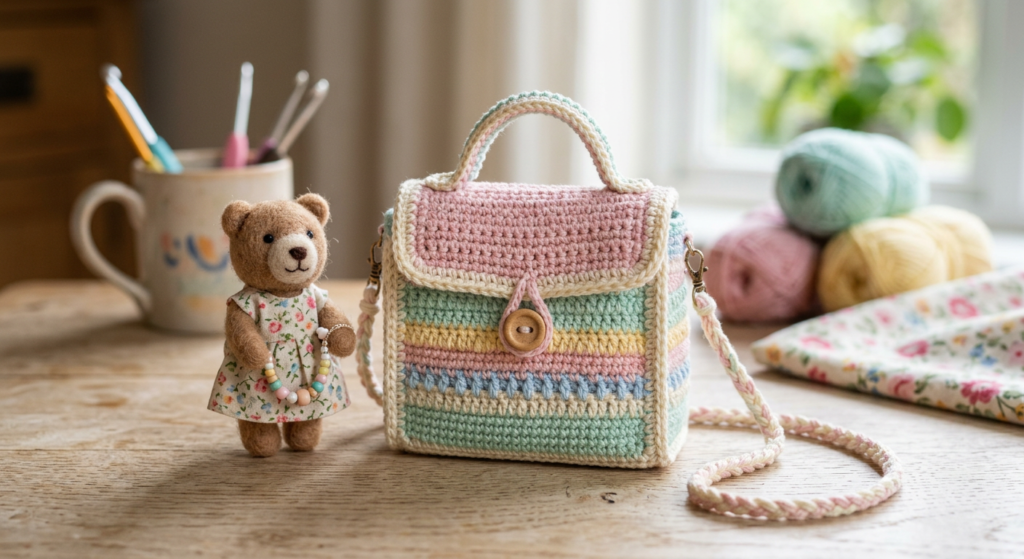
🎒 Step 4: Crochet the Mini Carrier Bag
The bag is crocheted separately and designed to perfectly fit your tiny Chihuahua. Work in rounds to create a structured shape.
You can reinforce the bag using cardboard and add buttons for extra detail and realism.
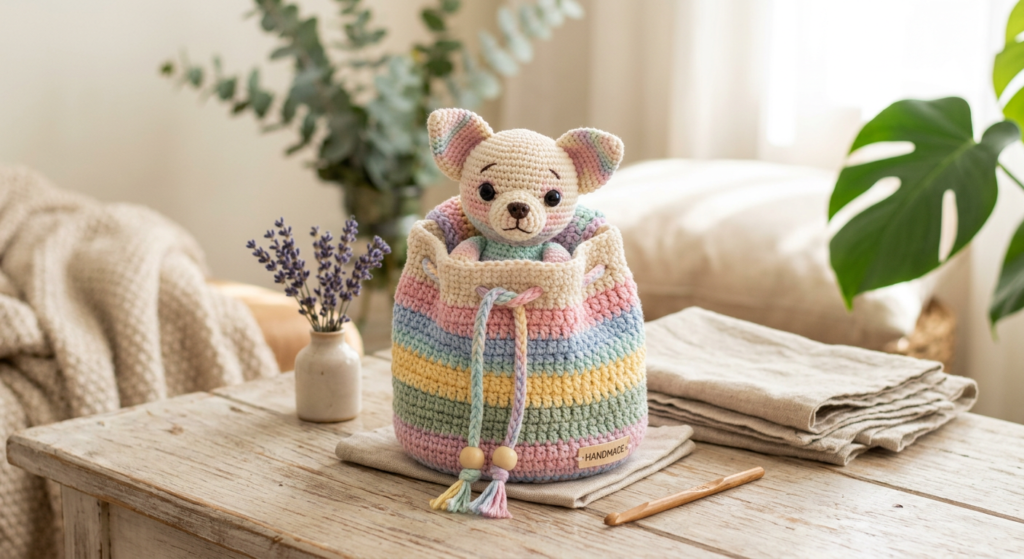
✨ Step 5: Assemble Your Crochet Chihuahua in Bag
Once all parts are ready, sew the legs, tail, and head securely to the body. Then place your Chihuahua inside the bag for the final look.
Adjust the positioning and details to make your plush look neat and balanced.
💡 Tips for Perfect Amigurumi Results
Keep your stitches tight to prevent stuffing from showing through. Use stitch markers to track your rounds and maintain symmetry.
Experiment with yarn colors and accessories to create your own unique version of this crochet Chihuahua.
🌟 Why This Crochet Chihuahua is Perfect for Pinterest
This project combines cute animals + mini accessories, which is a trending niche on Pinterest. Its small size and aesthetic appeal make it highly shareable.
It’s also a great lead magnet for your blog, encouraging users to download the full PDF pattern.