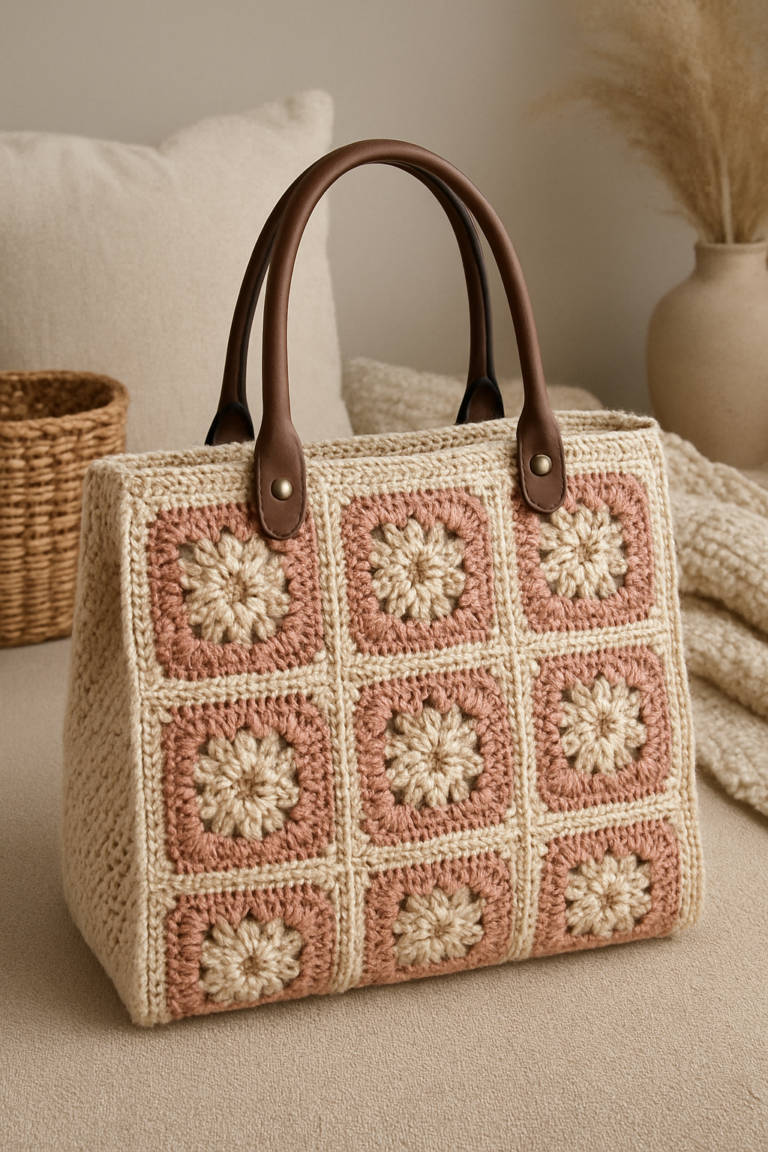
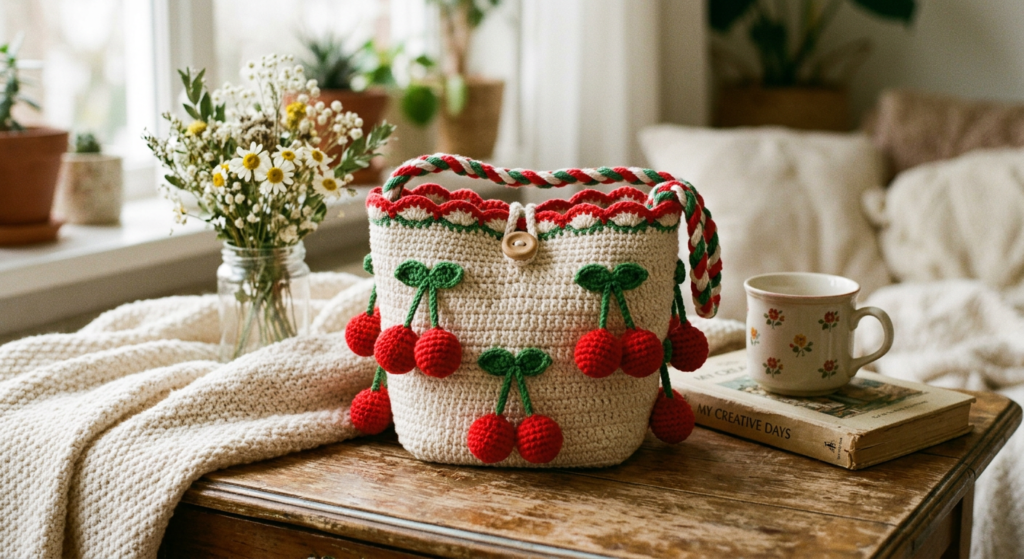
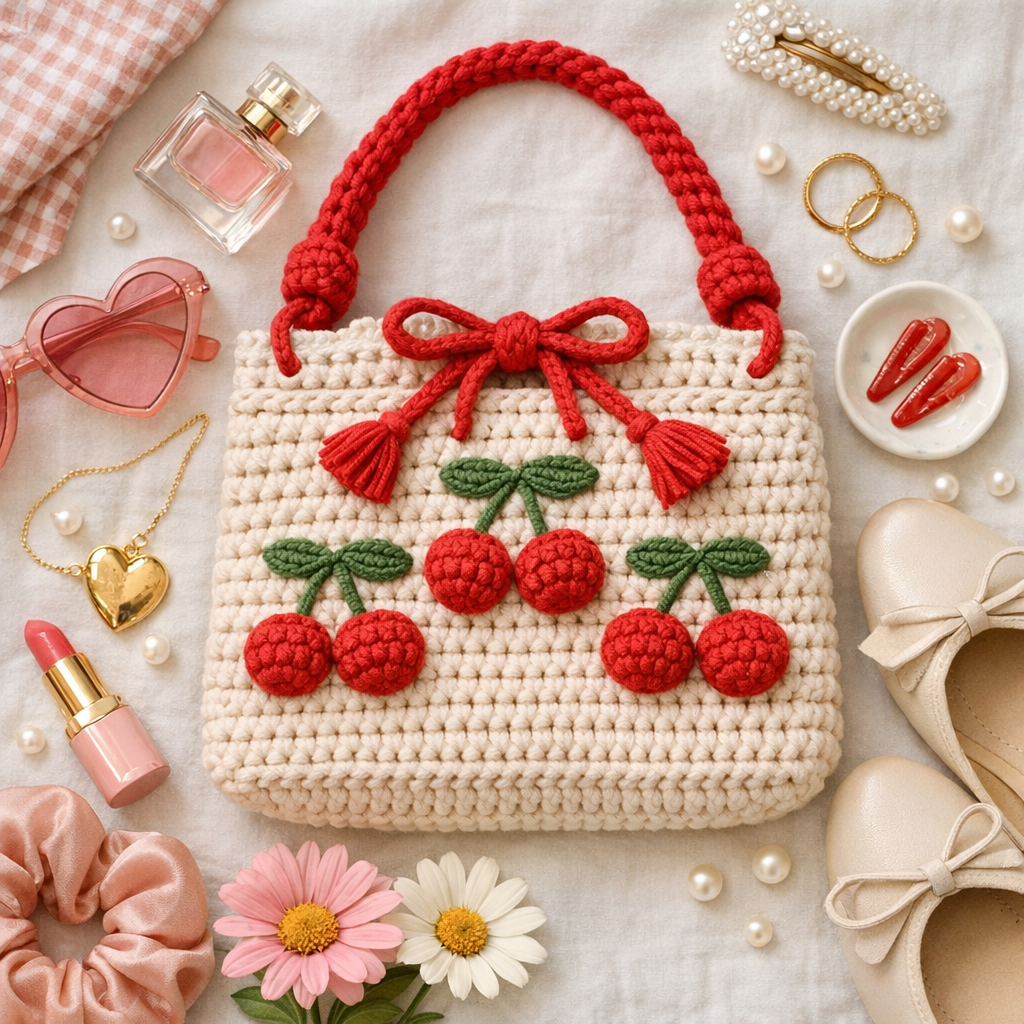
🍒Crochet Cherry Handbag Pattern (Cute & Beginner-Friendly Guide)
If you’re looking for a fun and trendy crochet project, this crochet cherry handbag pattern is perfect for you. It’s stylish, beginner-friendly, and ideal for Pinterest-worthy creations that stand out.
This adorable bag is not only practical but also makes a great handmade gift or accessory for everyday use.
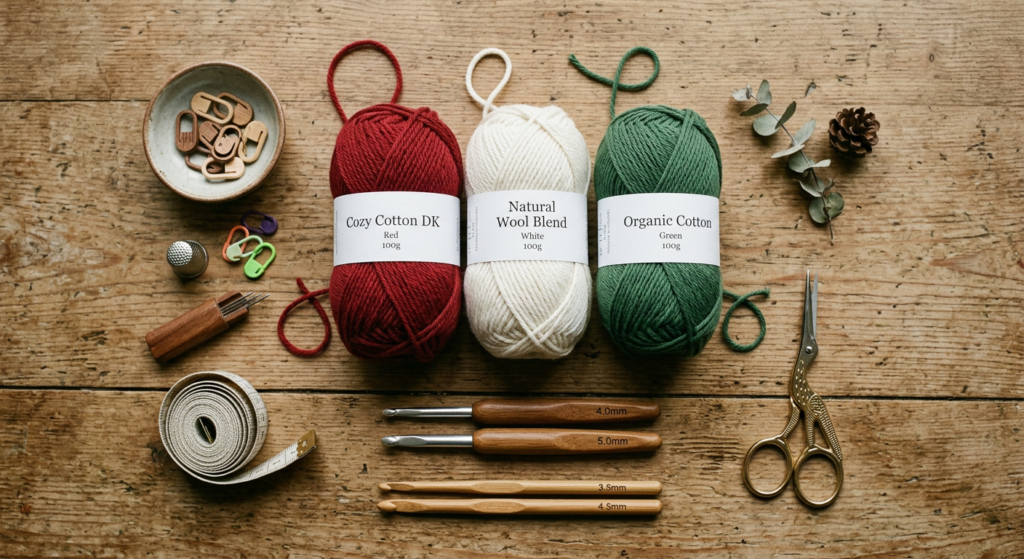
🧶 Materials You Need for Your Crochet Cherry Bag
To create this cute crochet handbag, you’ll need red, white, and green yarn along with two crochet hooks (5mm for the bag body and 2.75mm for details). You’ll also need scissors and a yarn needle for finishing.
Using double strands of yarn for the body helps create a sturdy structure, making your bag durable and long-lasting.
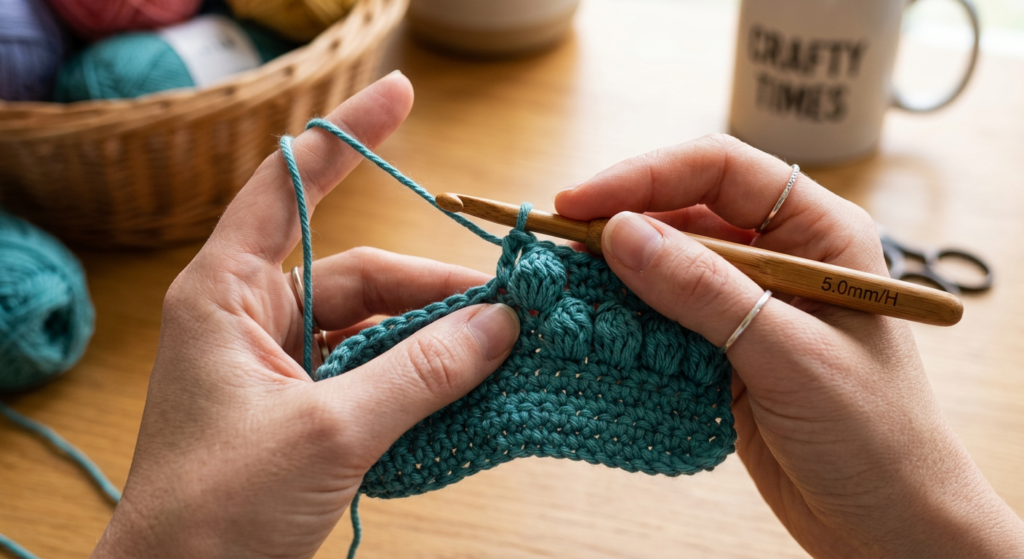
📘 Crochet Abbreviations You Should Know
Before starting, familiarize yourself with basic crochet stitches like magic ring (MR), single crochet (sc), increase (inc), and double crochet (dc). These stitches form the base of your bag.
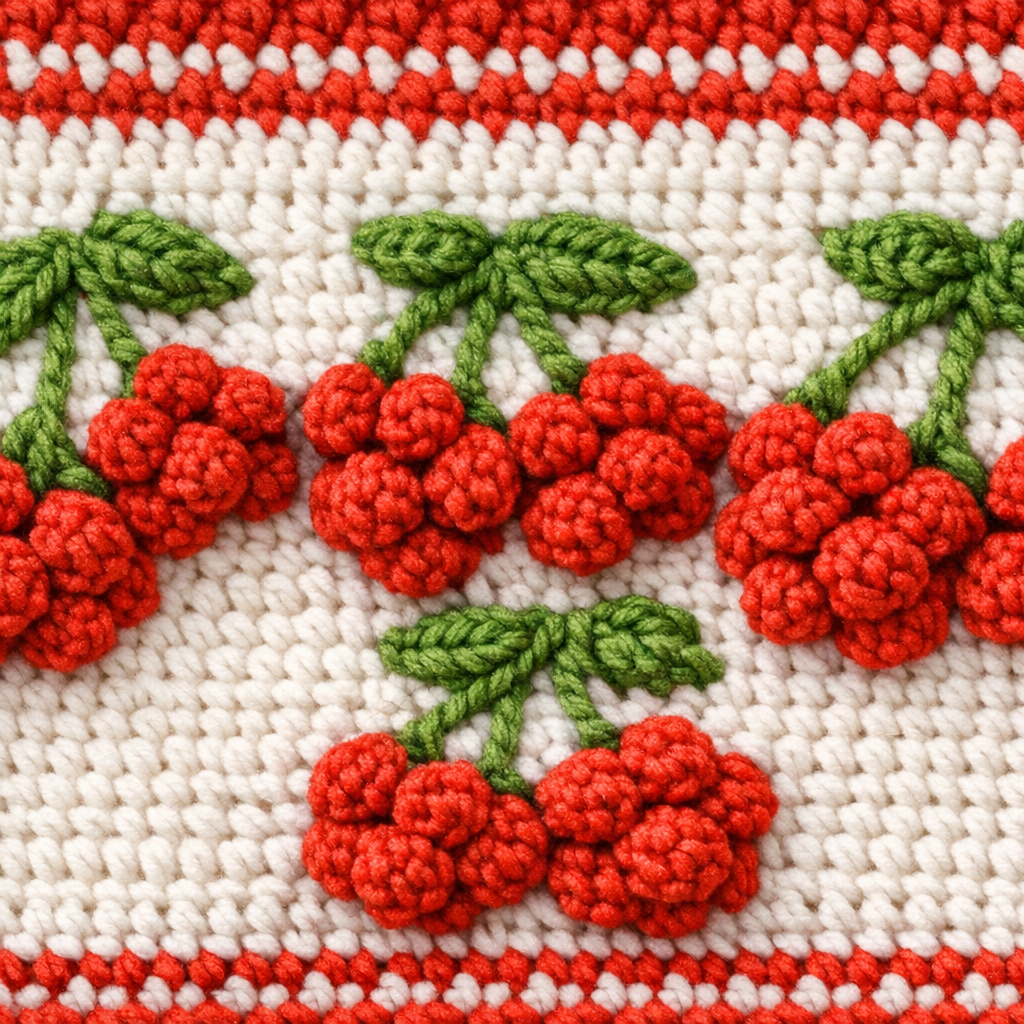
You’ll also use decorative stitches like the popcorn stitch (pc) to create the cherry texture effect, adding a unique look.
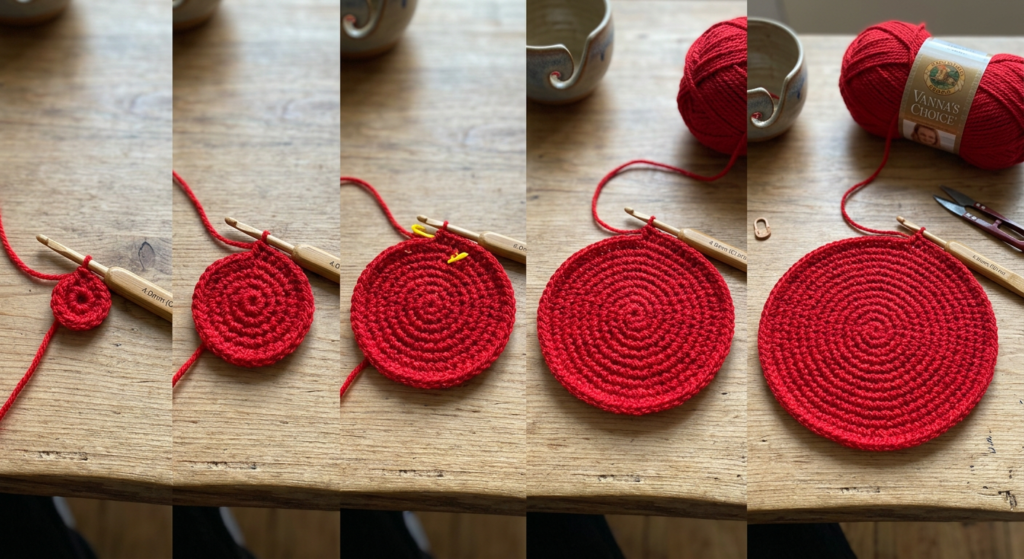
🧺 Step 1: Create the Base of the Bag
Start with a magic ring and gradually increase stitches to form a flat circular base. This technique ensures your handbag has a smooth and even foundation.
Continue increasing rounds until you reach the desired diameter, which gives the bag enough space for essentials like your phone and small accessories.
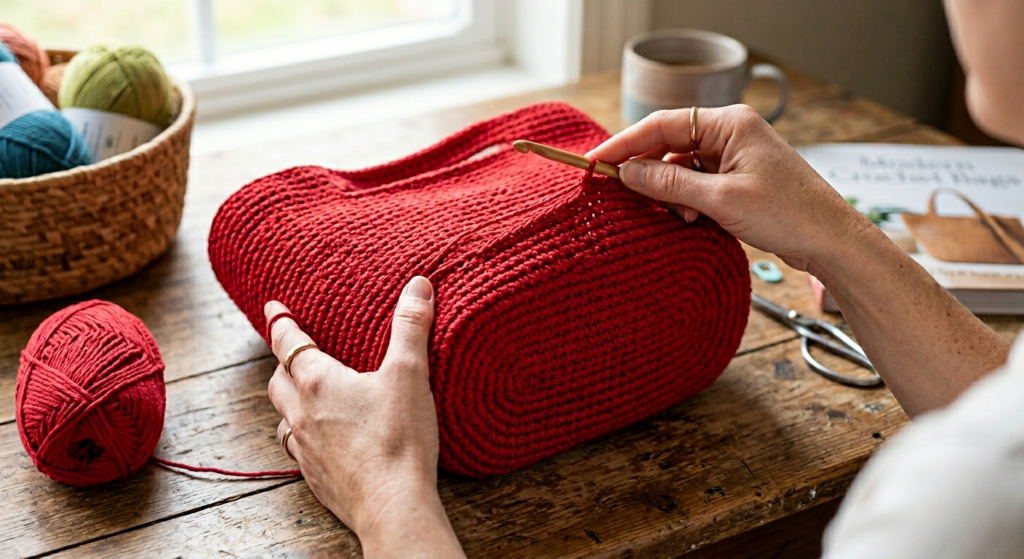
👜 Step 2: Build the Bag Body
Once the base is complete, continue crocheting in rounds without increasing to form the sides of the bag. This creates depth and transforms the flat circle into a functional handbag.
Working in the back loop only (BLO) at certain rounds helps create a defined edge and structure for the bag.
🍒 Step 3: Add Cherry Texture & Color Details
Switch between red, white, and green yarn to create the signature cherry design. The popcorn stitches add texture, making the cherries pop visually.
This step gives your bag its unique personality and makes it perfect for aesthetic crochet lovers.
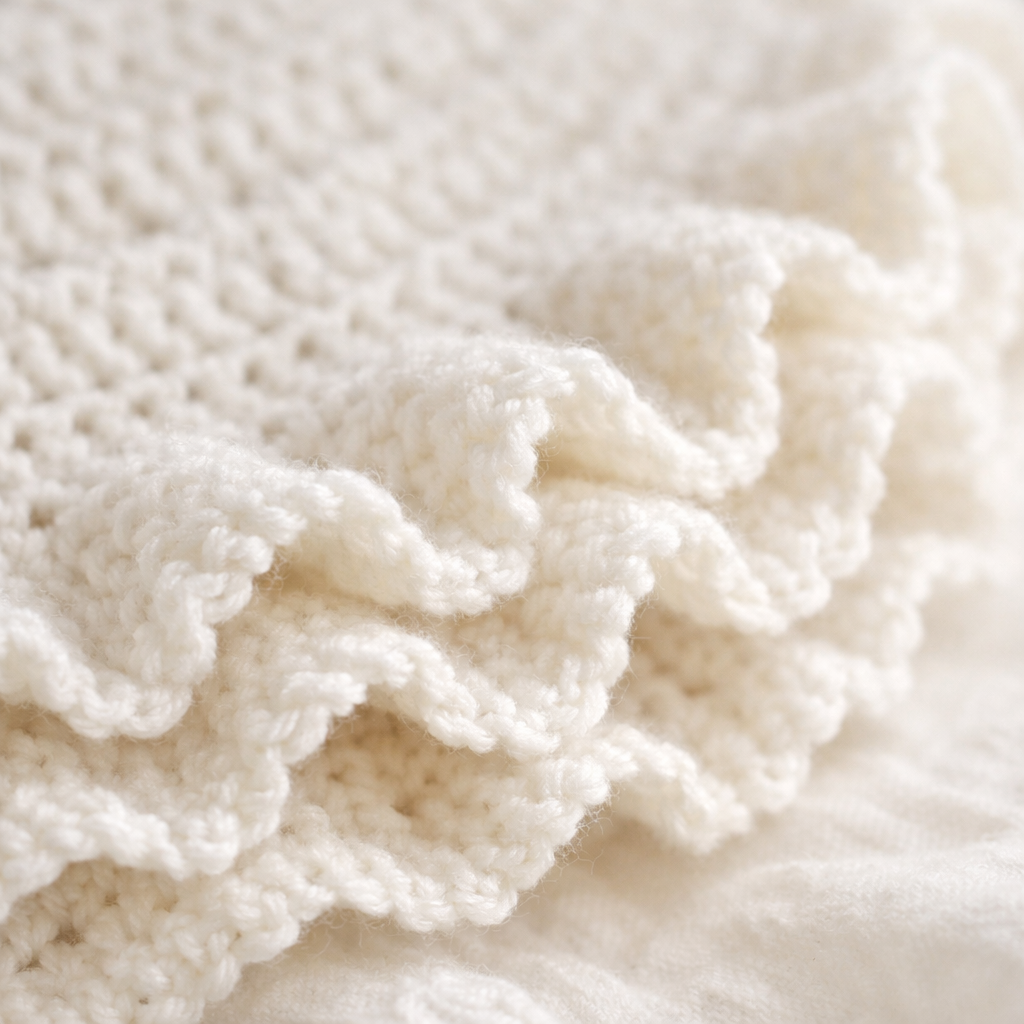
🎀 Step 4: Crochet the Ruffle Edge
To give your handbag a feminine and stylish finish, crochet a ruffle edge along the top. This is done using multiple double crochets in each stitch.
The ruffle adds volume and enhances the overall look of your crochet bag.
Step 5: Make the Bag Handle
The handle is crocheted separately using a smaller hook and worked in continuous rounds. This creates a sturdy strap that’s comfortable to carry.
Once completed, sew the handle securely to the inside of the bag for a clean finish.

✨ Final Touches & Assembly
After assembling all parts, weave in loose ends and ensure everything is securely attached. Your cherry handbag should now be ready to use.
This finished bag is perfect for carrying small essentials like your phone, lipstick, or a mini notebook.
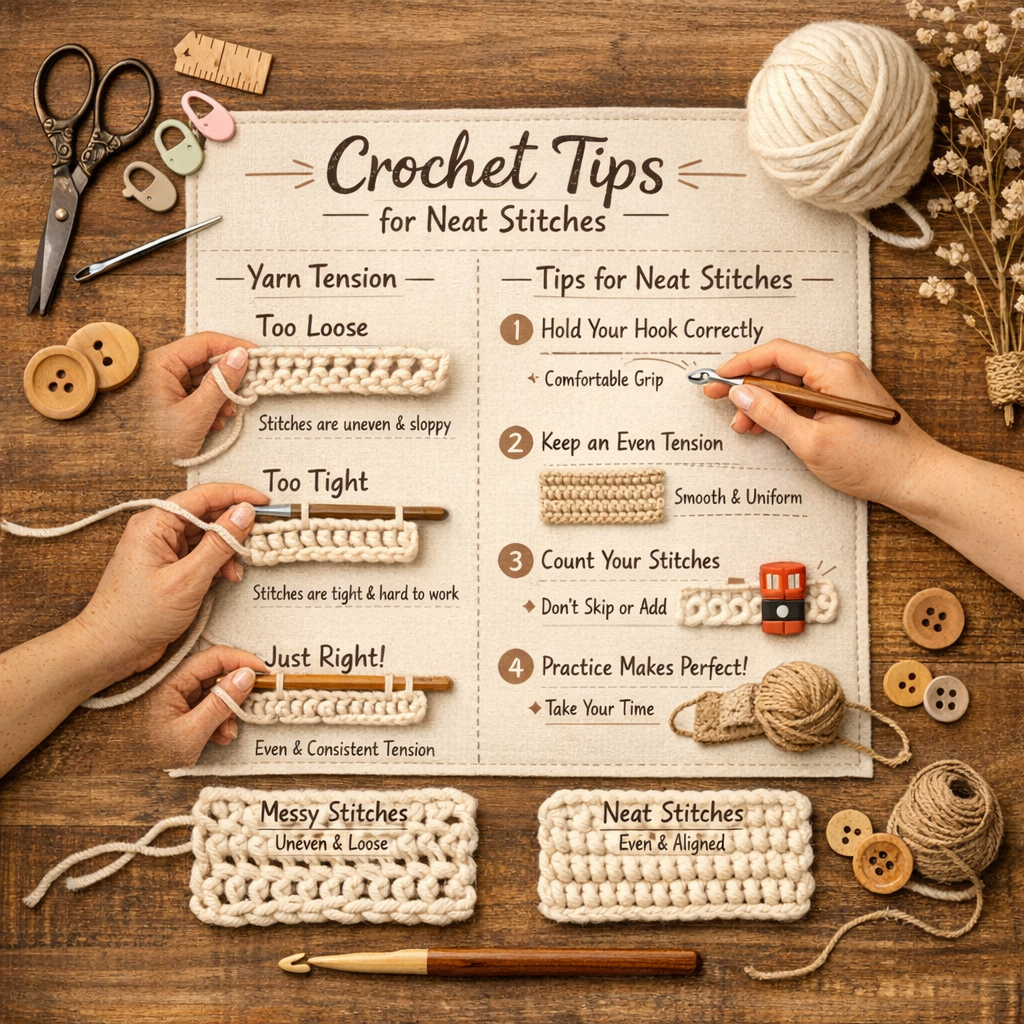
💡 Tips for Perfect Crochet Results
Use consistent tension while crocheting to maintain an even shape. Switching hook sizes for different parts helps achieve both structure and detail.
Don’t be afraid to experiment with colors to create your own unique version of this cherry bag.