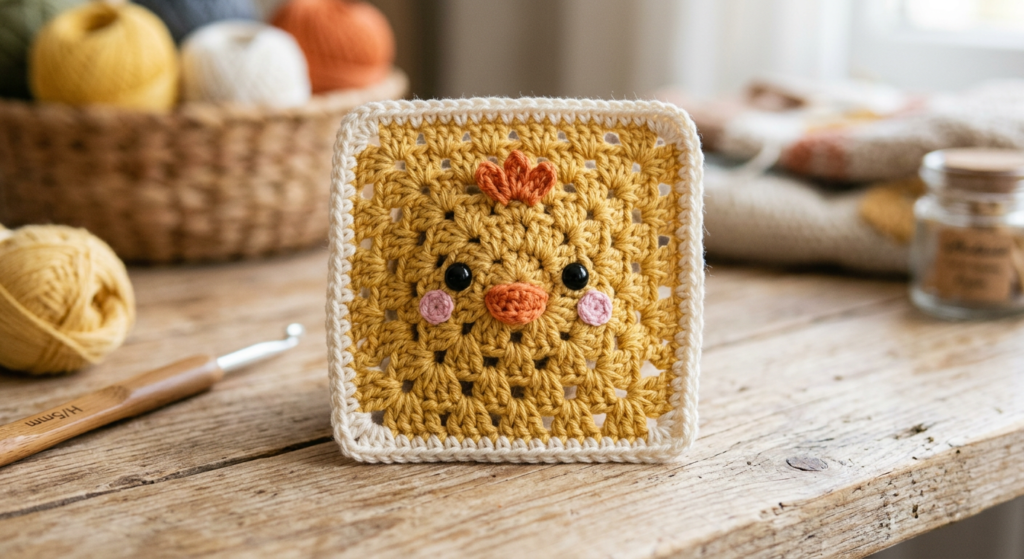
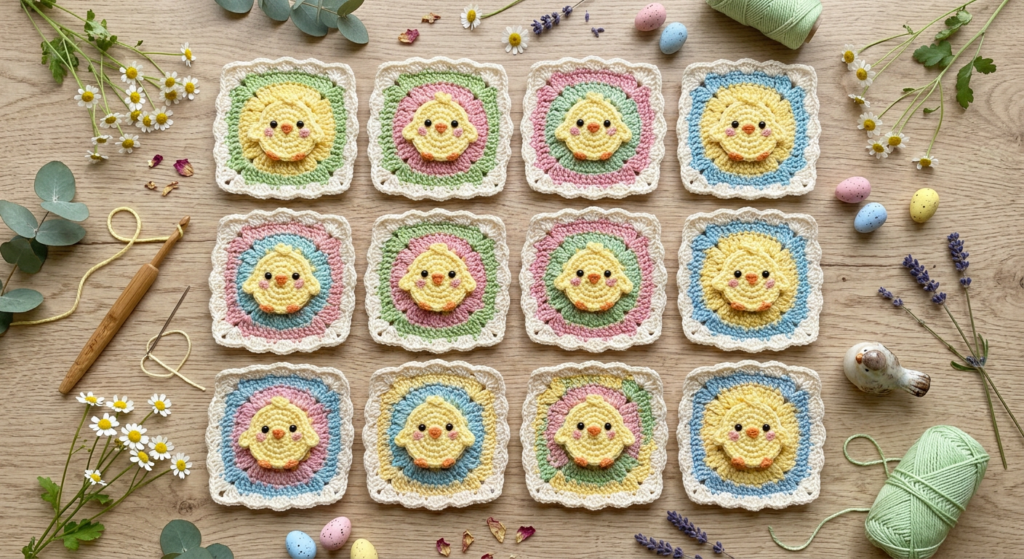
🐥Crochet Chick Granny Square Pattern (Step-by-Step Guide + PDF)
If you’re looking for a cute and beginner-friendly crochet project, this Chick Granny Square pattern is perfect for you. It’s ideal for spring-themed blankets, baby gifts, or even adorable cushion covers.
This guide breaks down the original PDF into an easy-to-follow, SEO-optimized tutorial—plus you’ll find image prompts and PDF download placements to boost engagement on your blog or Pinterest.
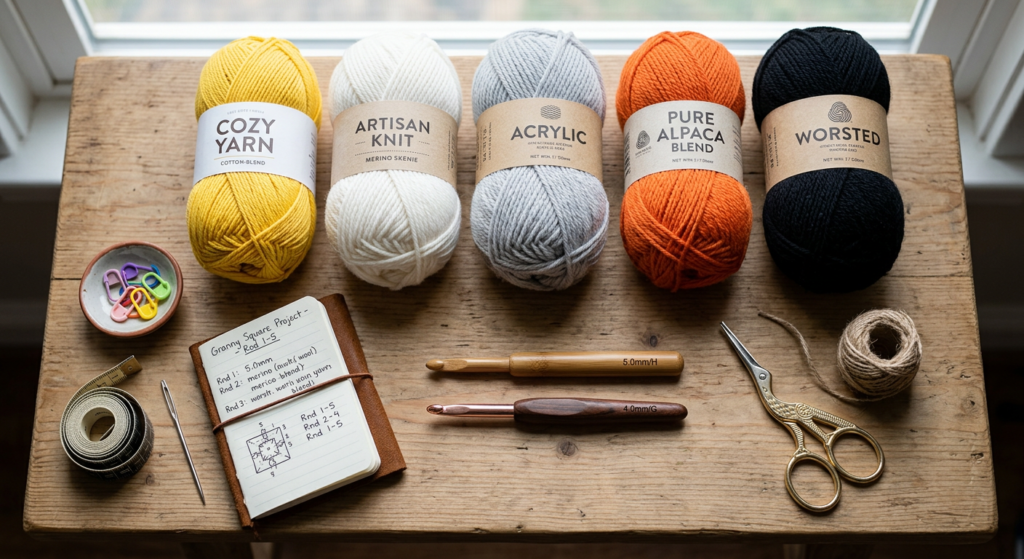
🧶 Materials You’ll Need
To create this charming crochet chick square, gather these supplies:
- Lightweight acrylic yarn in Yellow, White, Gray, Orange, Black
- 4 mm crochet hook
- Yarn needle
- Scissors
This pattern is flexible—you can switch yarn weights and hook sizes to adjust the final size.
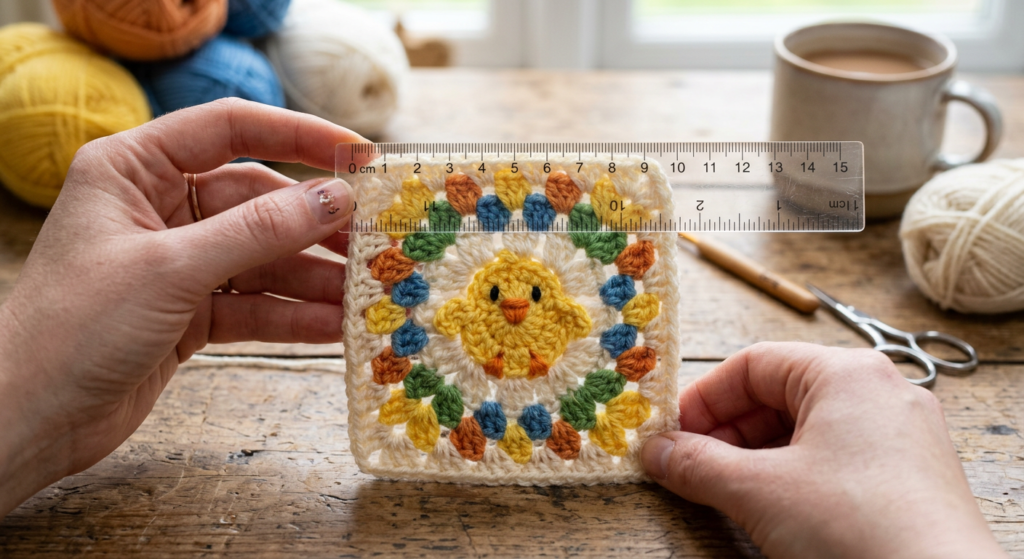
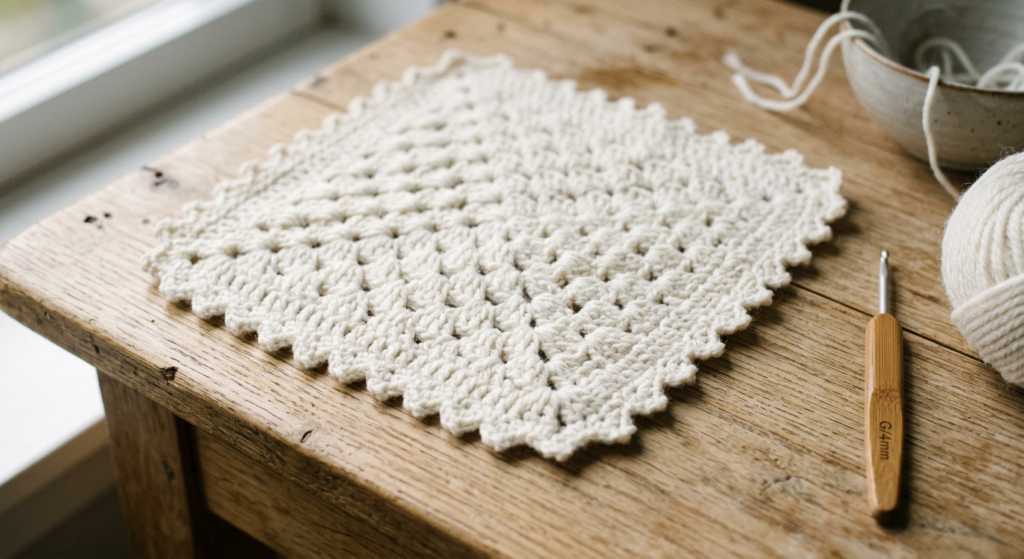
📏 Finished Size & Notes
The finished granny square measures approximately 11 cm x 11 cm, making it perfect for modular crochet projects.
Keep in mind:
- Chain stitches at the beginning usually don’t count as stitches
- Work through both loops unless stated
- Stitch counts are included at the end of each round
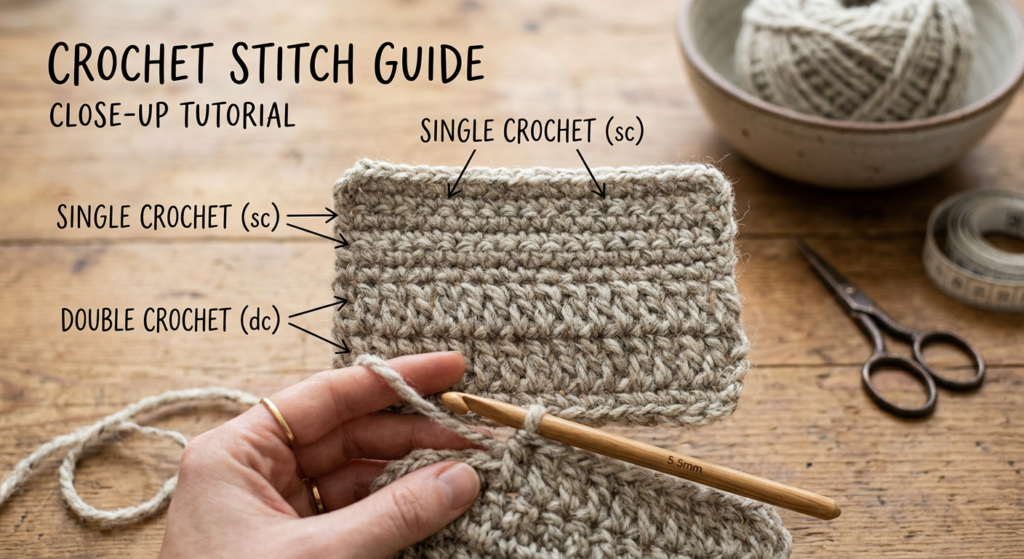
🧵 Crochet Abbreviations (Quick Guide)
Here are the stitches used in this pattern:
- MR – Magic Ring
- ch – Chain
- sc – Single Crochet
- hdc – Half Double Crochet
- dc – Double Crochet
- tc – Triple Crochet
- sl st – Slip Stitch
- inc – Increase
- p – Picot Stitch
Understanding these basics will make the pattern much easier to follow.
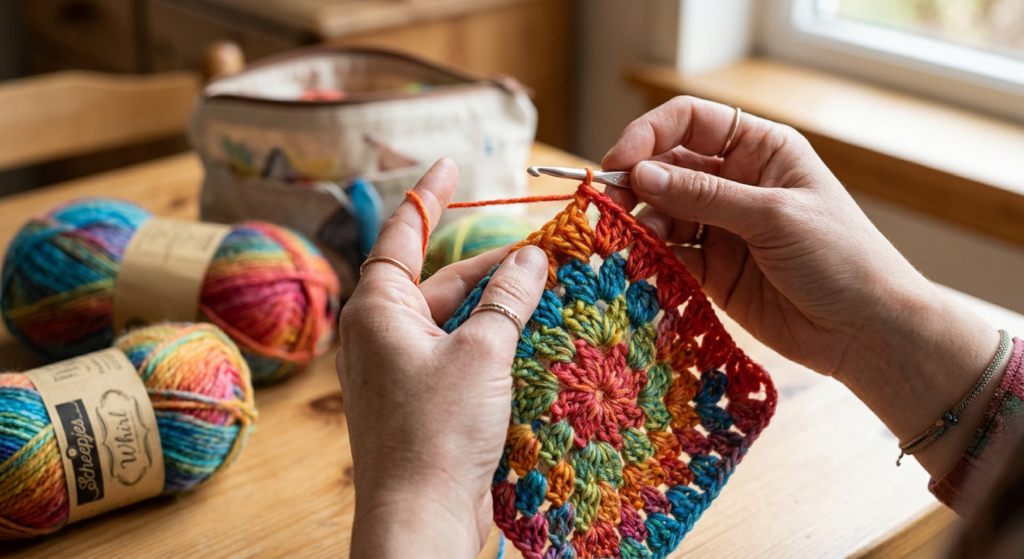
🟡 Step 1: Create the Chick Base (Granny Square)
Start with yellow yarn.
- Round 1: MR, ch2, 12 dc into ring (12)
- Round 2: ch2, dc increase in each stitch (24)
- Round 3: ch2, dc, dc inc repeat (36)
- Round 4: ch2, 2dc, dc inc repeat (48)
After Round 4, change color using your preferred method (invisible join recommended for a cleaner finish).
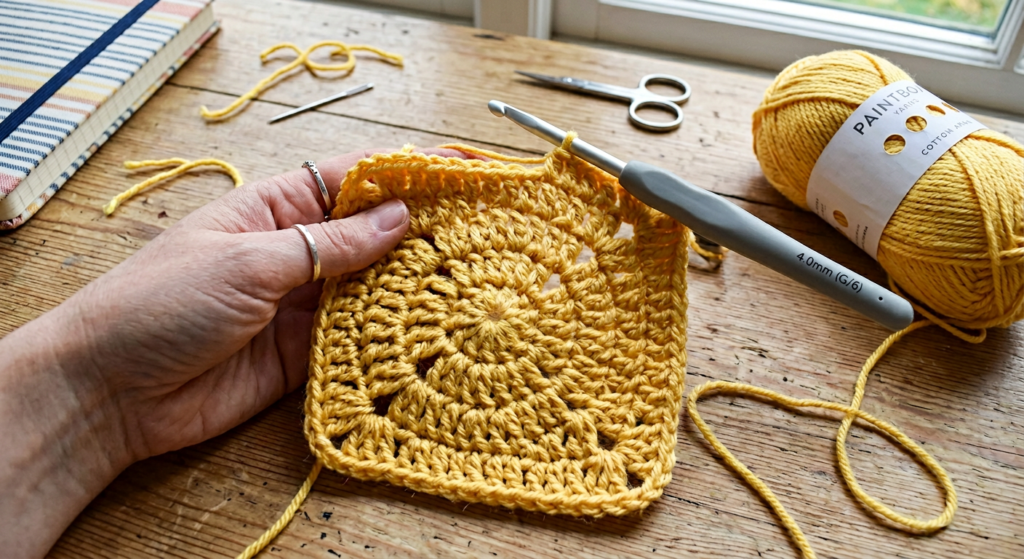
🎨 Step 2: Shape the Square
Now we transform the circle into a square:
- Round 5: Mix of sc, hdc, dc, and tc stitches with corners formed using (2tc + ch2 + 2tc)
- Round 6: dc all around with corner increases
Finish off and weave in neat ends neatly.
🥚 Step 3: Crochet the Eggshell
Using white yarn, create a half-circle shell:
- Work in turning rounds with increases
- Add a decorative edge using picot stitches for a cracked eggshell look
This adds personality and makes your chick design pop.
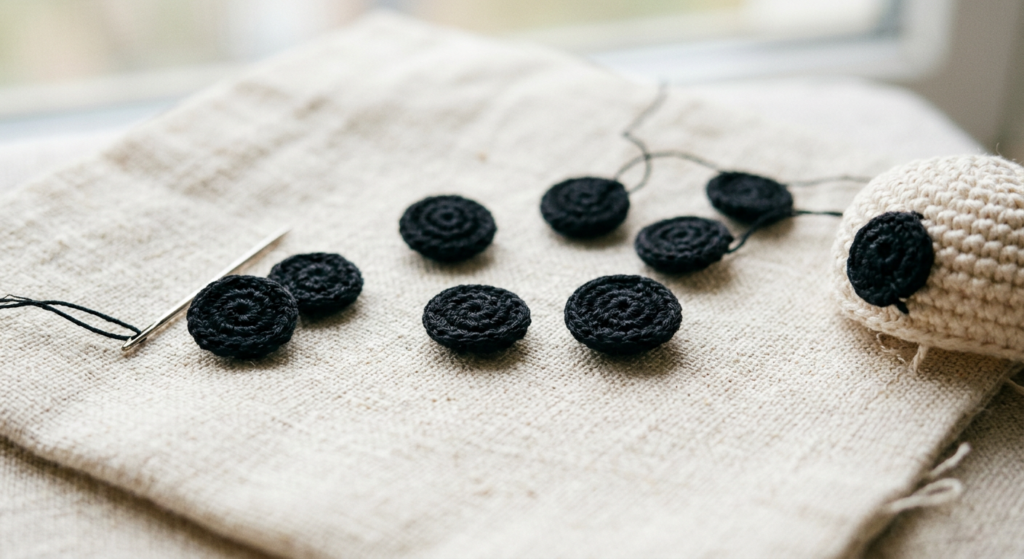
👀 Step 4: Make the Eyes
Using black yarn:
- MR, ch1, 5 sc into ring
- Finish off and leave a long tail for sewing
Make two small circles for the eyes.
🧡 Step 5: Crochet the Beak
Using orange yarn:
- Chain foundation and work a small textured shape
- Combine hdc, sc, and dc stitches
This small detail brings your chick to life.
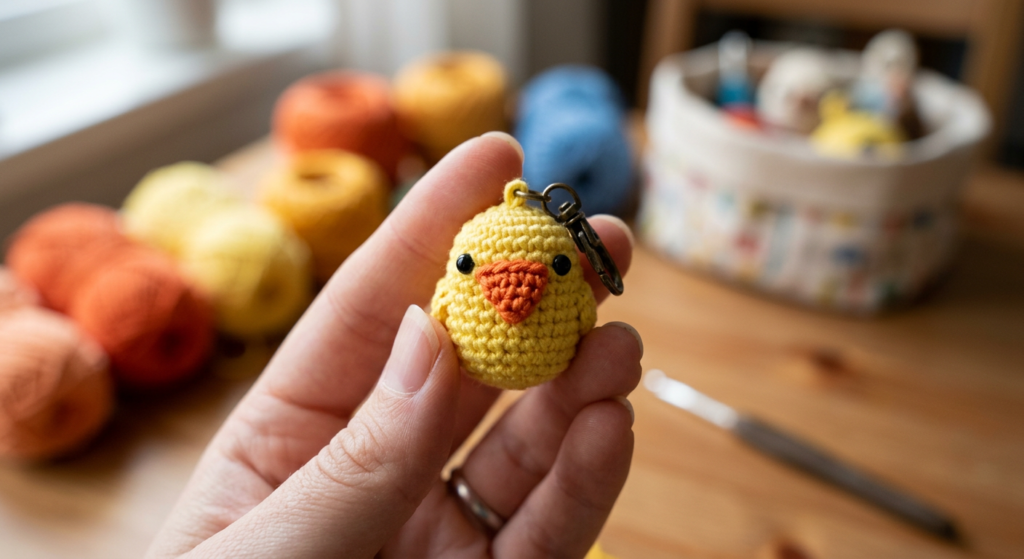
🧩 Step 6: Assembly
Now the fun part—putting everything together!
- Position the eggshell, eyes, and beak on the square
- Use yarn tails to stitch pieces securely
- Adjust placement for the cutest expression
💡 Tips for Best Results
- Use the invisible stitch method for cleaner joins
- Keep tension consistent for even stitches
- Block your square for a polished finish
This pattern is perfect for blankets, bags, or baby gifts, and works beautifully in seasonal crochet collections.
🧵 Final Thoughts
This Crochet Chick Granny Square pattern is a delightful and versatile project that’s easy enough for beginners yet fun for experienced crocheters.
Don’t forget to download the full PDF for a printable version and stitch along anytime!