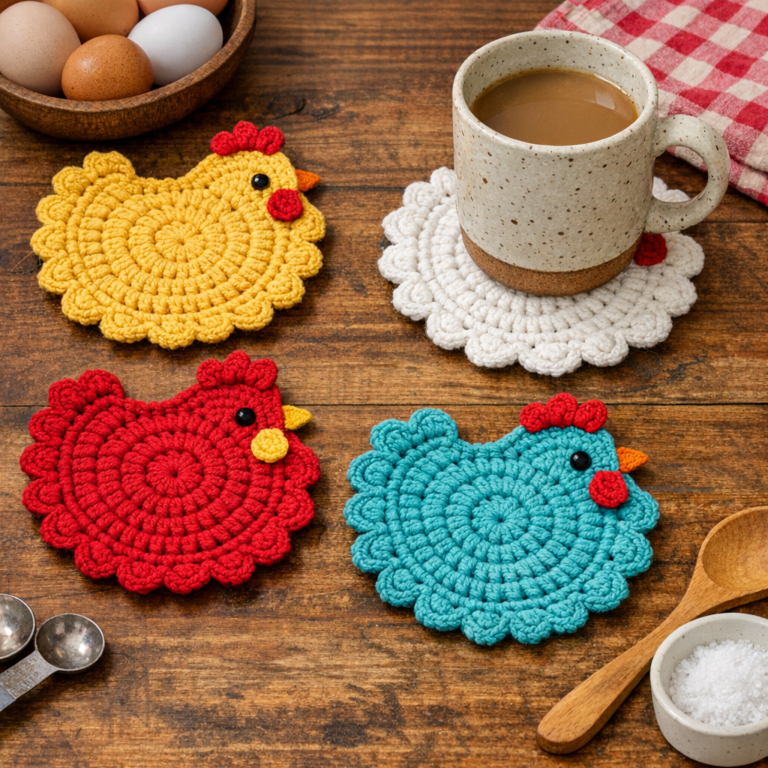
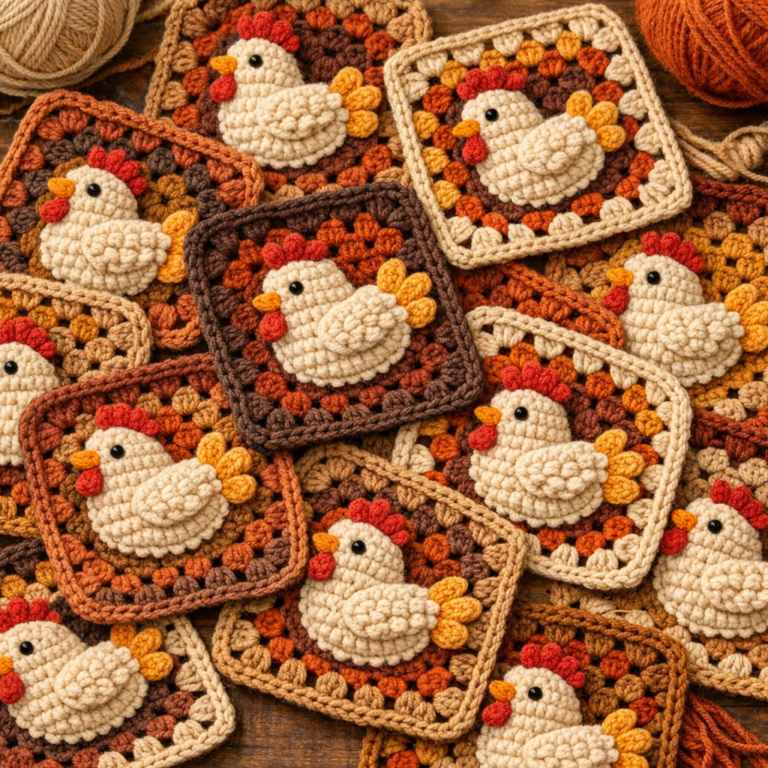
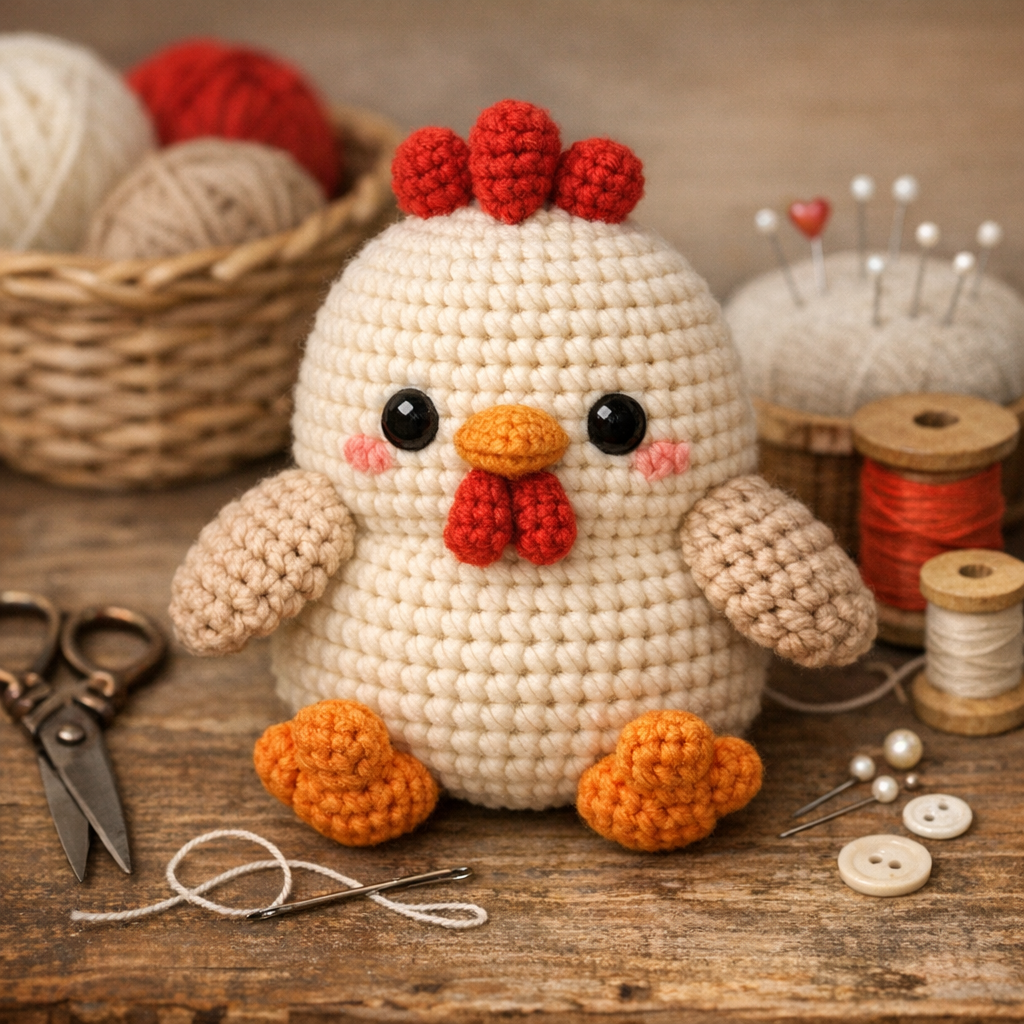
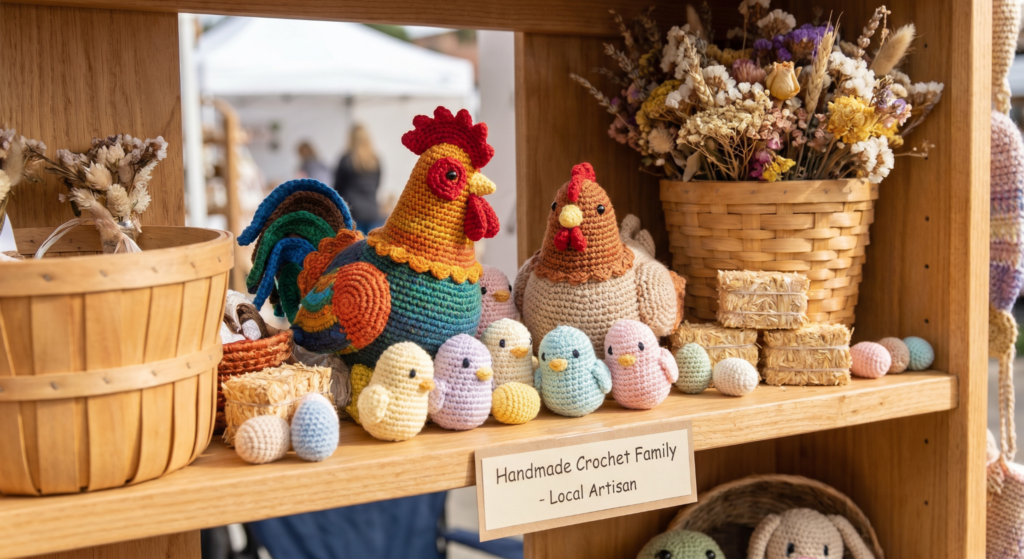
🐔Crochet Chicken and Chicks Pattern (Step-by-Step + Free PDF)
If you love amigurumi crochet patterns, this adorable crochet chicken and chicks set is a must-try. Perfect for Easter décor, kids’ toys, or handmade gifts, this pattern creates a soft and charming farmyard family.
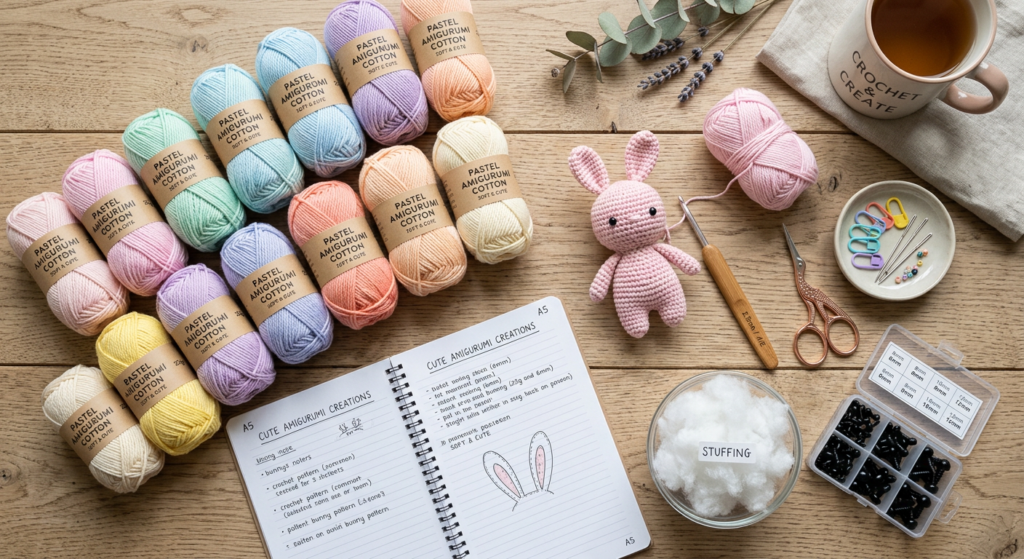
🧶 Materials You’ll Need
To create your crochet chicken and tiny chicks, gather these supplies:
- Sport weight 4ply yarn (multiple colors)
- 1.5 mm crochet hook
- Safety eyes (12 mm)
- Fiberfill stuffing
- Needle, sewing pins, and scissors
- Optional: wire for stability & pastel for cheeks
The finished chicken measures 20–22 cm, while chicks are about 5–6 cm tall.
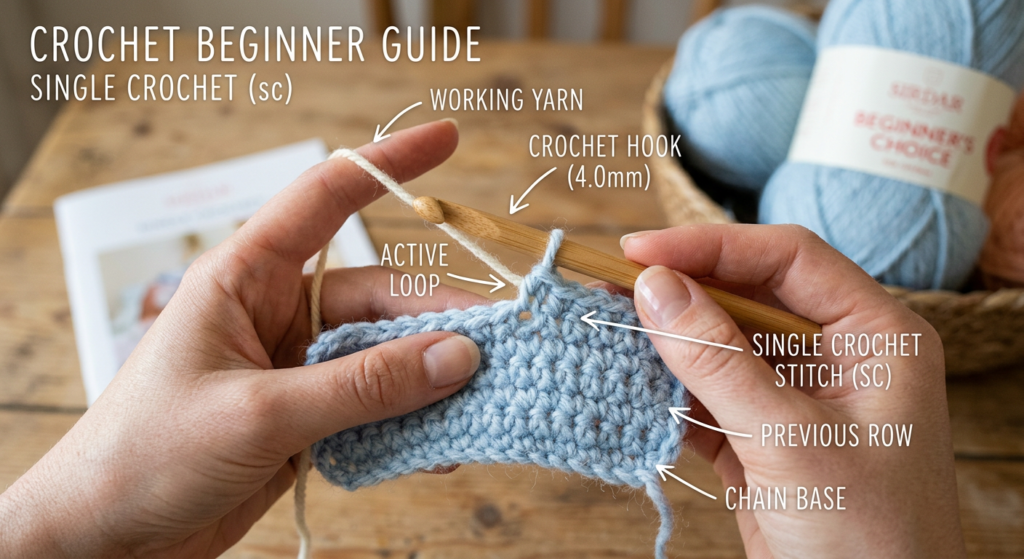
📚 Crochet Abbreviations & Basics
Before starting, familiarize yourself with common stitches:
- MR – Magic Ring
- sc – Single Crochet
- dc – Double Crochet
- inc – Increase
- dec – Decrease
- BLO / FLO – Back/Front Loop Only
- Bobble Stitch – textured decorative stitch
These are essential for shaping your amigurumi chicken smoothly.
🐔 Step 1: Crochet the Chicken Body, Neck & Head
Start with purple yarn and work in continuous rounds:
- Begin with MR and increase gradually to shape a rounded body
- Continue even rounds to build height
- Fold and shape to form the base
Switch to light yellow yarn to create the neck and head, stuffing as you go for a firm structure.
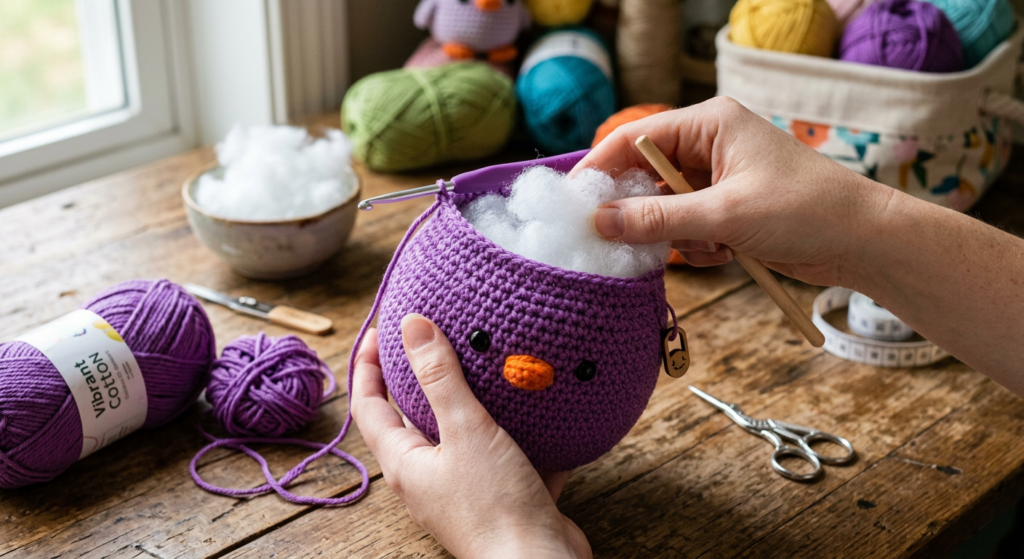
🧠 Step 2: Shape and Detail the Head
Increase stitches to form the head, then gradually decrease to close.
- Insert safety eyes between rounds for a cute expression
- Stuff firmly to maintain shape
- Tighten cheeks slightly for a realistic look
This step gives your crochet chicken its personality.
🎨 Step 3: Add Decorative Feather Layers
Using front loops from earlier rounds:
- Crochet decorative layers with light yellow and violet yarn
- Use chain and double crochet combinations for a feathered effect
This creates a textured, fluffy appearance.

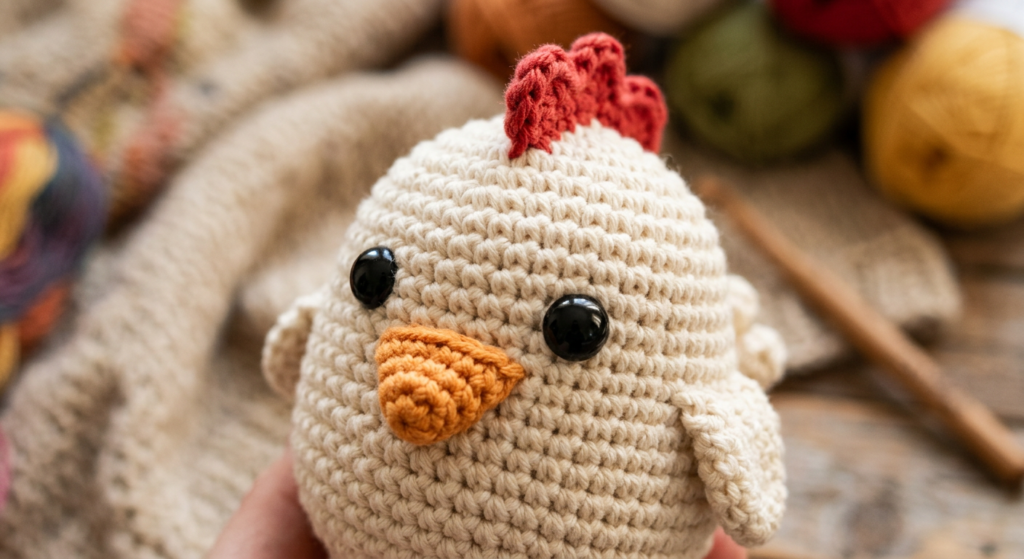
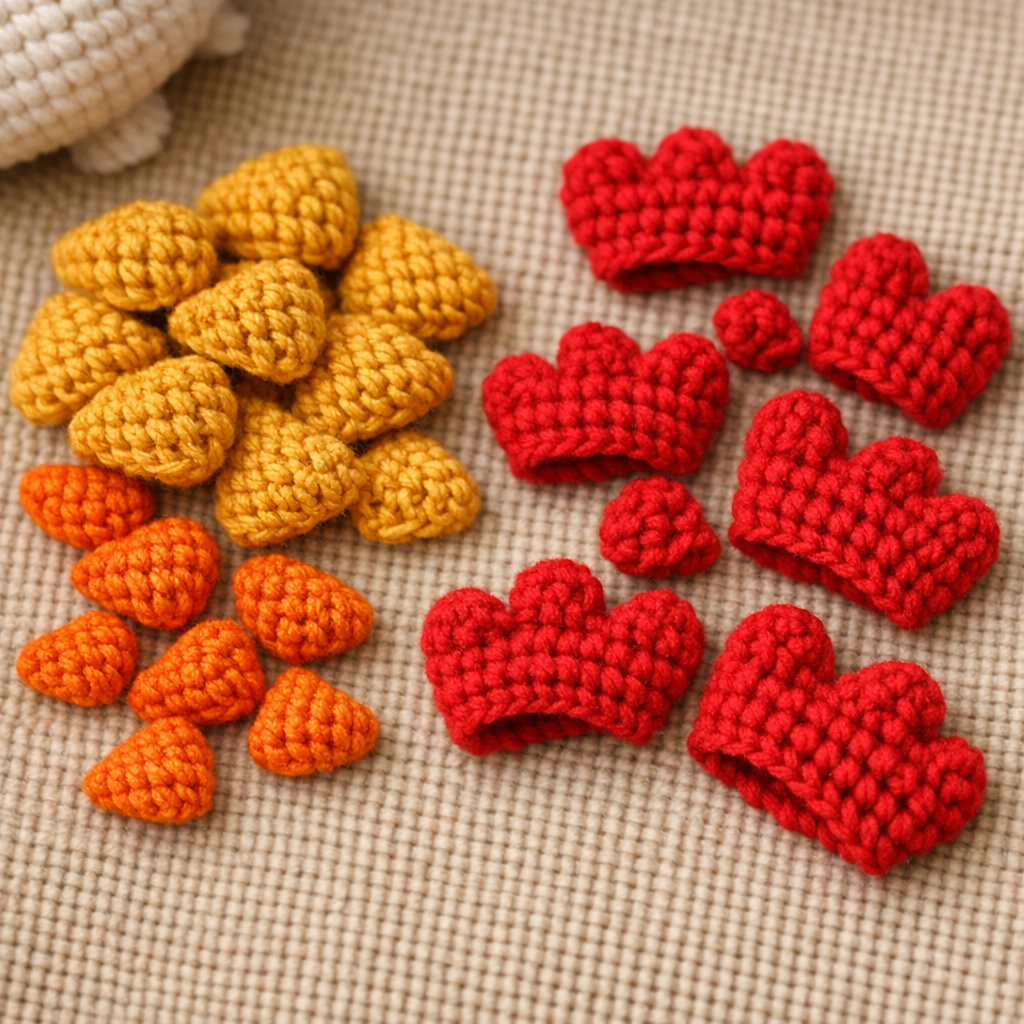
🧡 Step 4: Crochet the Beak & Comb
Beak (Beige yarn):
- Start with MR and increase gradually
- Stuff lightly and leave a tail for sewing
Comb (Purple yarn):
- Chain and use bobble stitches for texture
These small details bring your chicken to life.
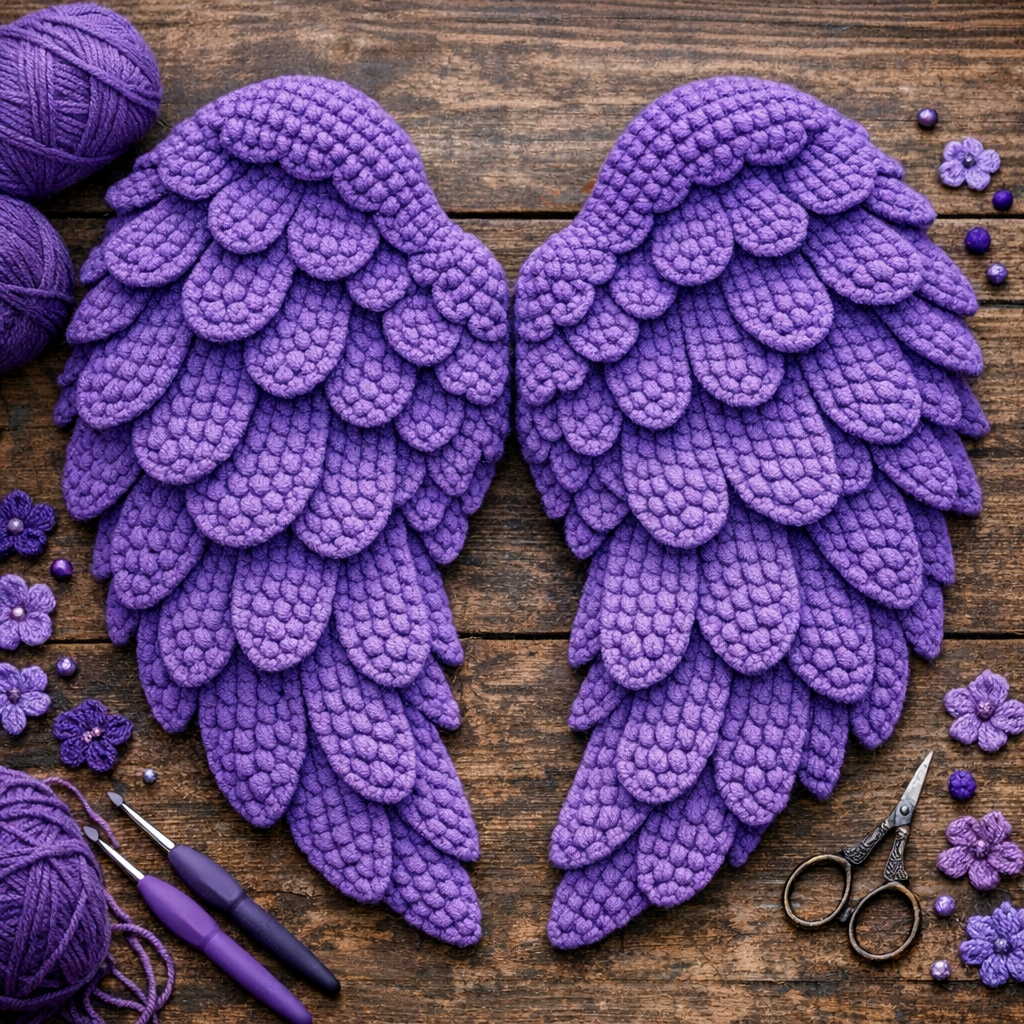
Step 5: Make the Wings
Create two wings using violet yarn:
- Work increasing rounds to form a wide shape
- Fold and crochet edges together
- Add decorative borders using multiple colors
Sew them symmetrically onto the body.
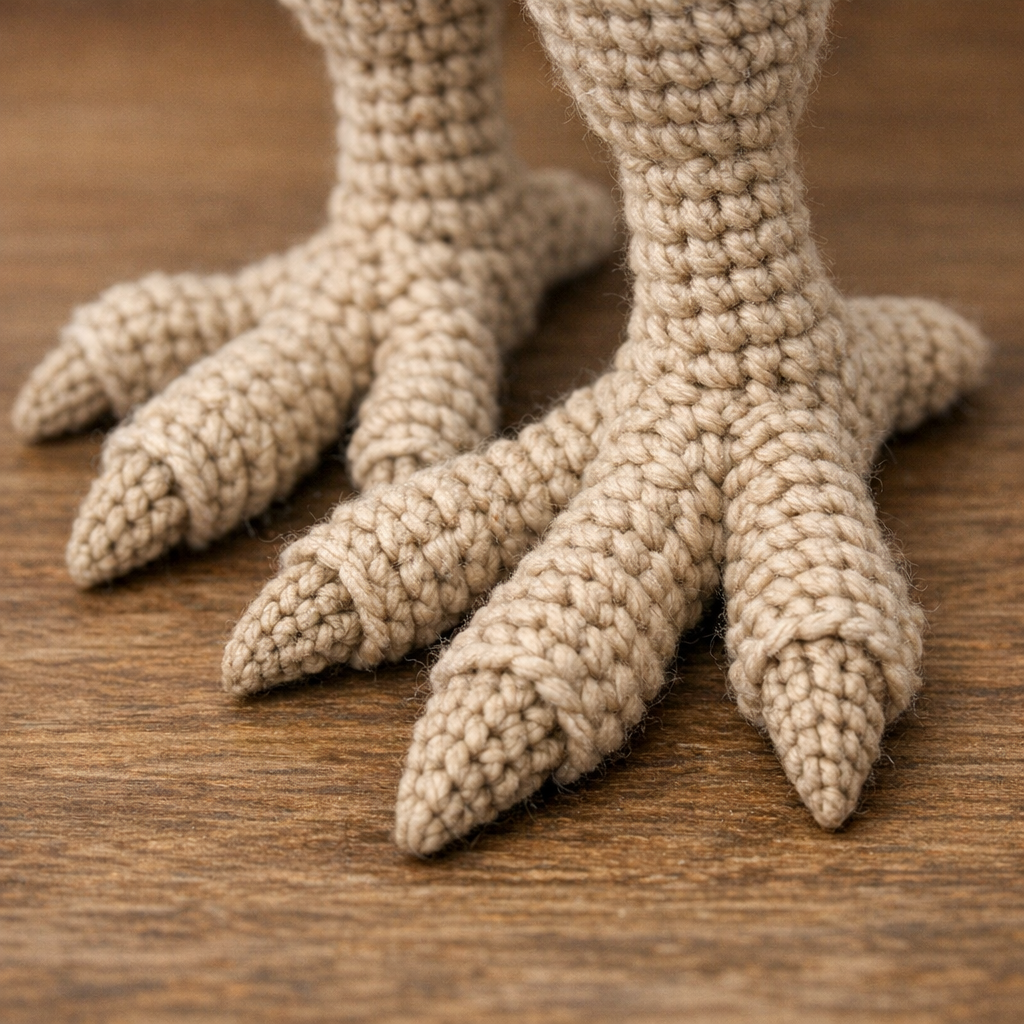
🦶 Step 6: Crochet the Feet
The feet are made by combining three toes:
- Crochet each toe separately
- Join them and build the foot structure
- Stuff firmly and optionally insert wire for support
Proper shaping ensures your chicken can stand upright.
🧵 Step 7: Assembly & Finishing Touches
Now assemble all parts:
- Sew beak, comb, wings, and feet
- Embroider eye details and eyelids
- Add soft pink pastel to cheeks
Make sure everything is aligned for a balanced look.
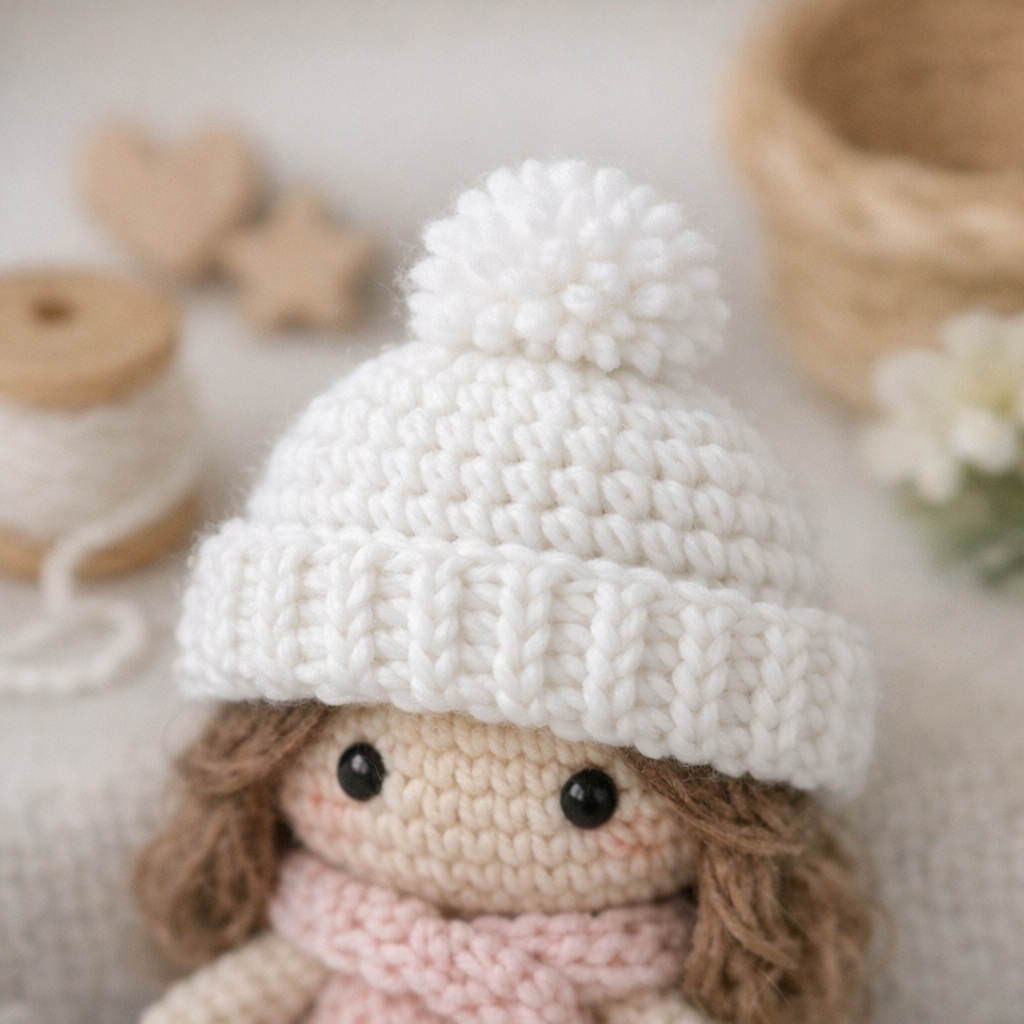
🎩 Step 8: Crochet the Hat (Optional but Cute!)
Create a small hat using white yarn:
- Work in rounds with increases
- Add a decorative edge
- Thread a crochet cord through for styling
This adds charm and uniqueness to your project.
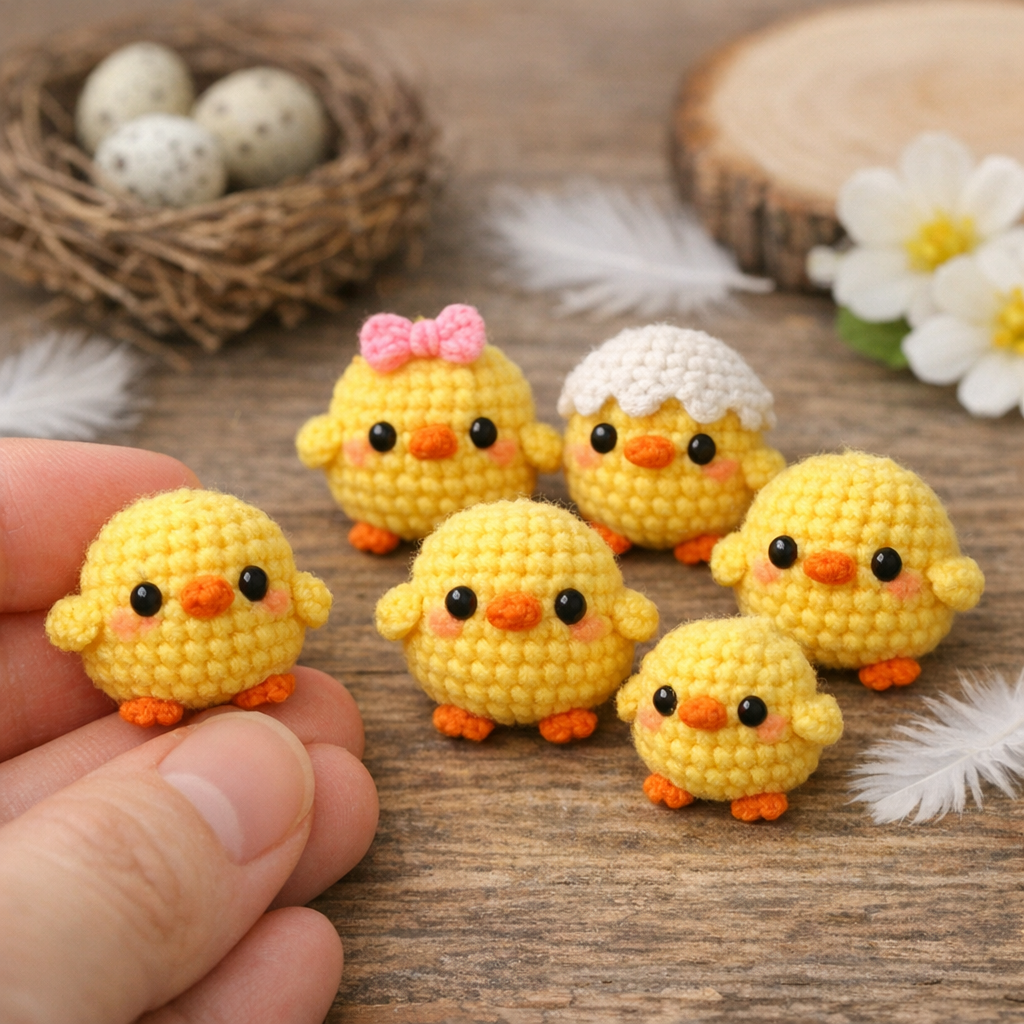
🐥 Step 9: Crochet the Baby Chicks
Make tiny chicks using yellow yarn:
- Start with MR and shape a small oval body
- Stuff lightly
- Embroider eyes, beak, and feet
You can make multiple chicks to create a full set.
💡 Tips for Perfect Amigurumi
- Use a smaller hook for tighter stitches
- Stuff gradually for even shaping
- Use stitch markers to track rounds
- Take time with assembly for a polished finish
This pattern is great for Easter crochet projects, gifts, or selling handmade toys.
🧶 Final Thoughts
This crochet chicken and chicks pattern is a delightful project that combines creativity with technique. Whether you’re a beginner or experienced crocheter, this pattern offers a rewarding and fun experience.
Don’t forget to download the full PDF for detailed stitch counts and visuals!