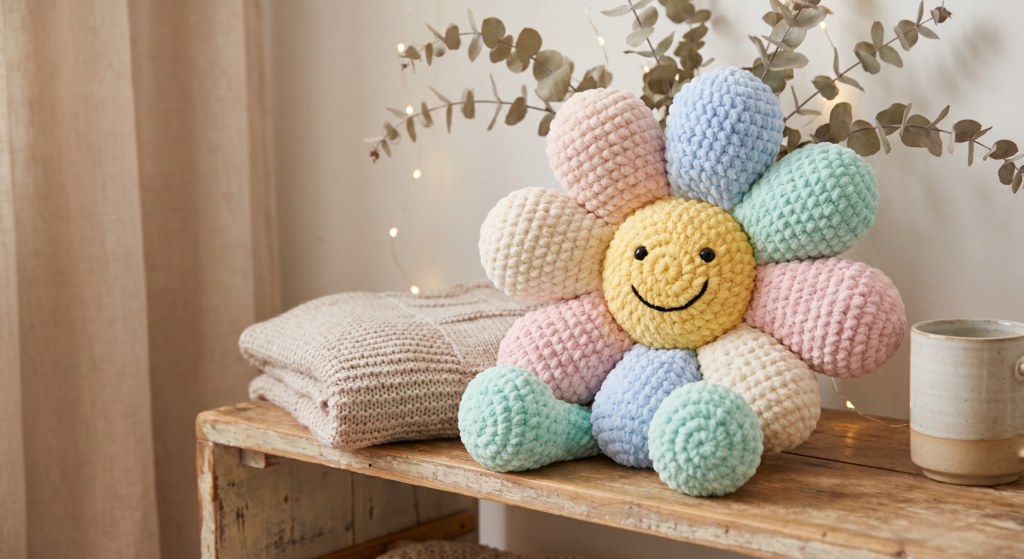
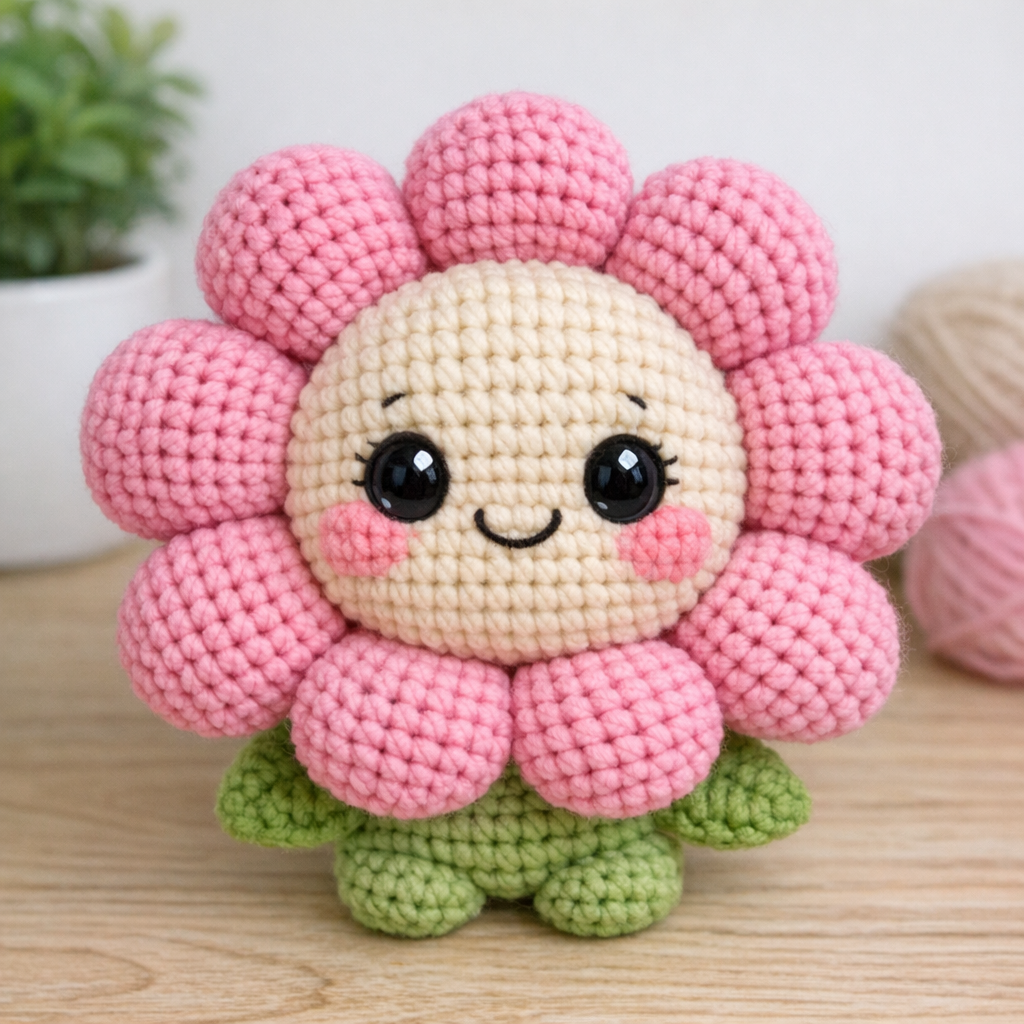
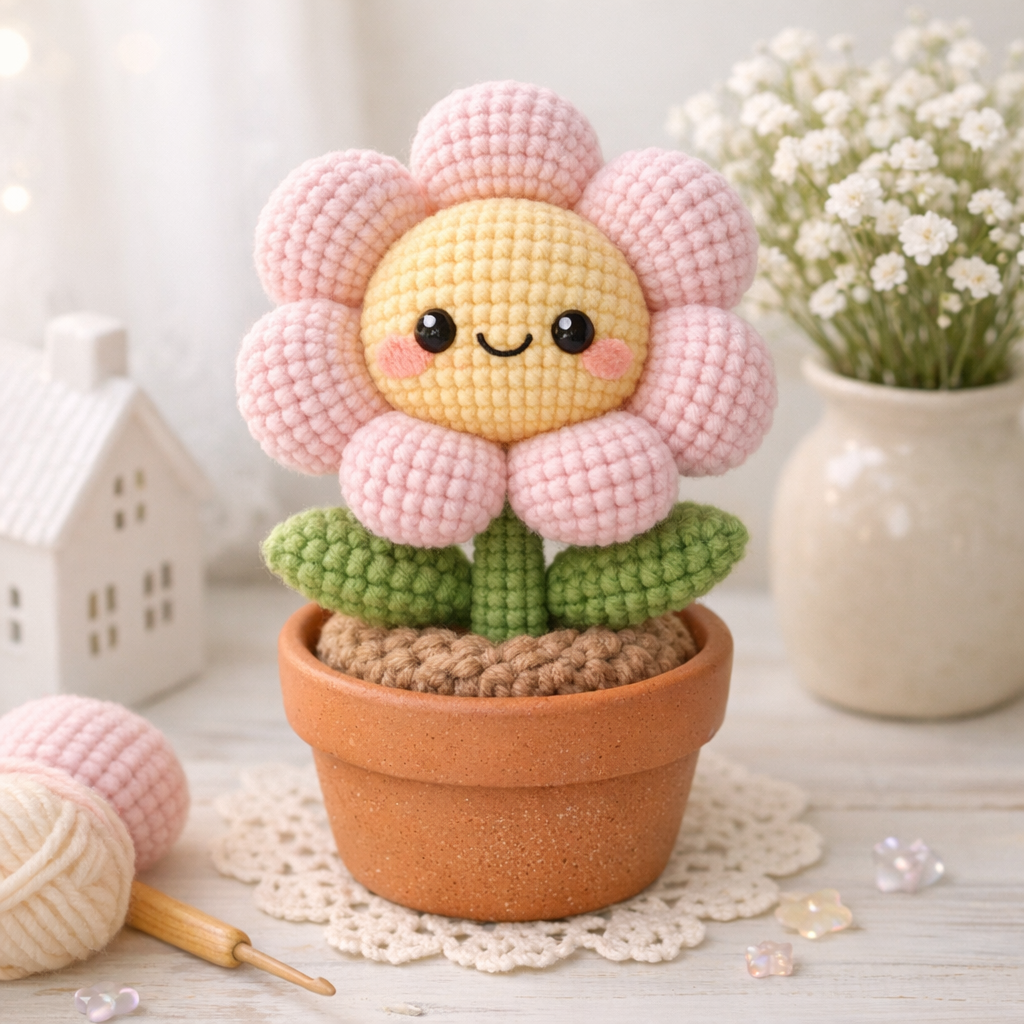
🌸How to Crochet a Cute Cheeky Flower Plush (Step-by-Step Beginner Guide)
Creating your own crochet flower plush is a fun and rewarding project that’s perfect for gifts, décor, or Pinterest-worthy crafts. This adorable “Cheeky Flower” design combines soft textures, bright colors, and simple amigurumi techniques to bring your handmade creation to life.
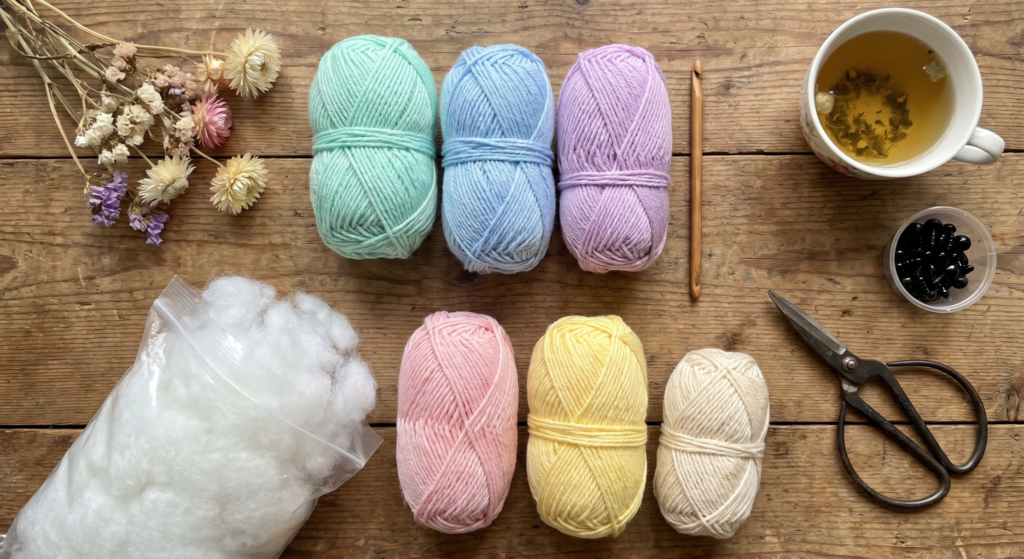
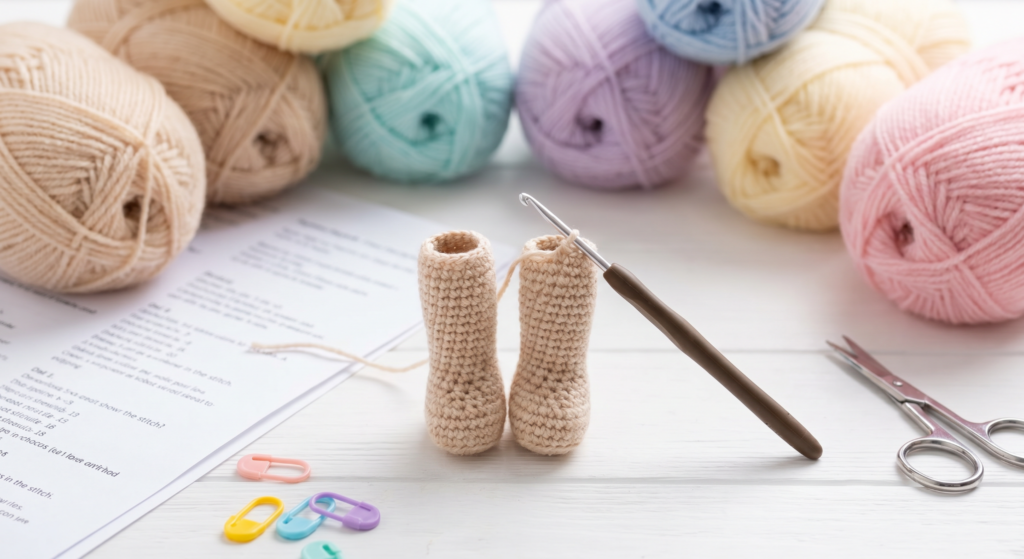
🧶 Materials You’ll Need for Your Crochet Flower
To get started, gather your essential crochet supplies. You’ll need cotton blend yarn in multiple shades (pink, yellow, green, and nude), a 2mm crochet hook, stuffing fiberfill, safety eyes, and a tapestry needle.
Choosing soft, high-quality yarn will give your flower plush a smooth, professional finish while making it easier to work with.
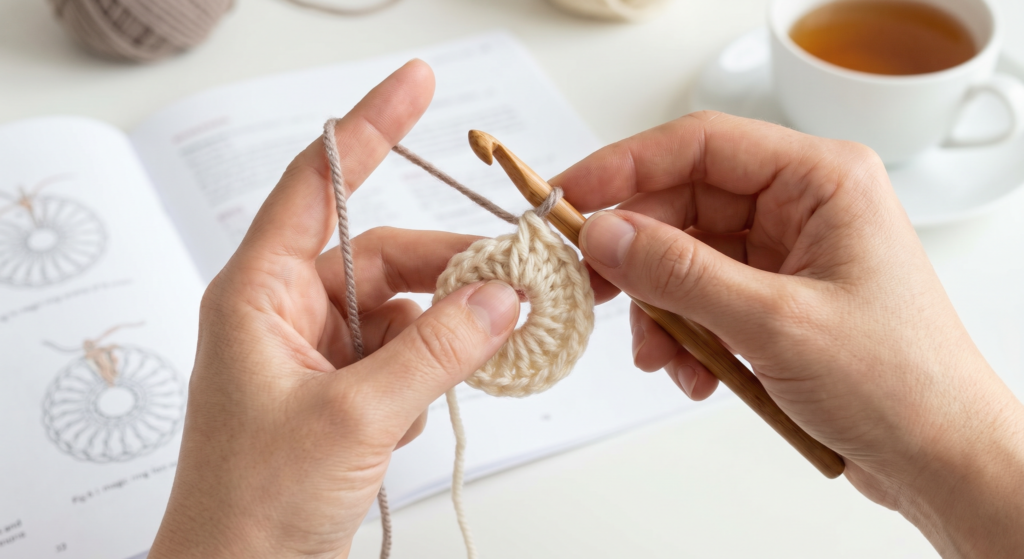
📘 Understanding Basic Crochet Abbreviations
Before diving into the pattern, it’s important to understand common crochet abbreviations like sc (single crochet), inc (increase), dec (decrease), and AMR (magic ring). These stitches form the foundation of most amigurumi projects.
If you’re a beginner, don’t worry—once you practice these basic stitches, the pattern becomes much easier to follow.
🦵 Step 1: Crochet the Legs and Body
Start your flower plush by crocheting the legs using a magic ring and increasing stitches gradually to shape them. The legs are worked separately at first, then joined together to form the body.
As you build the body, continue crocheting in rounds and stuffing as you go to maintain a firm, even shape.
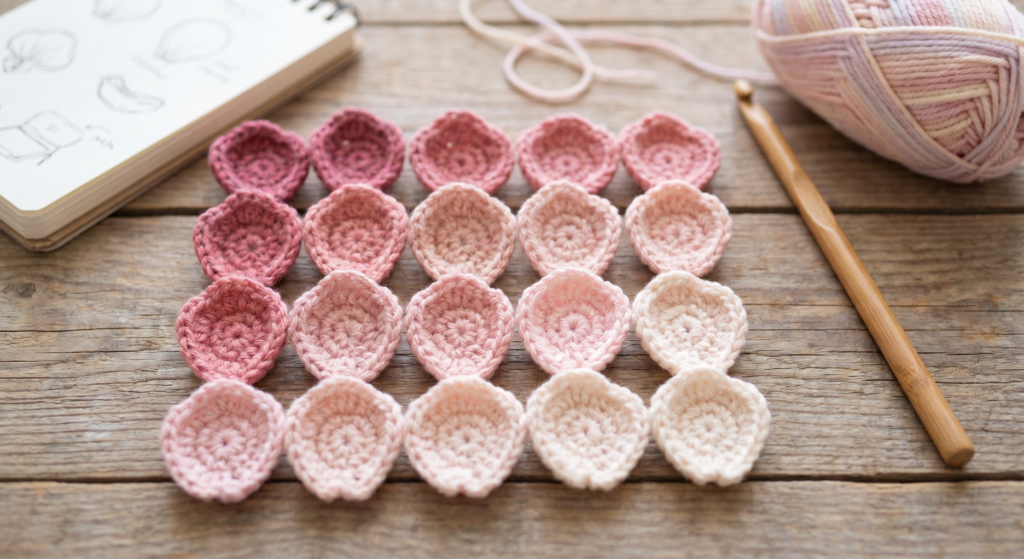
🌼 Step 2: Create the Flower Petals
The petals give your crochet flower its signature look. You’ll crochet six petals using pink yarn, shaping them with increases and decreases for a soft, curved finish.
Lightly stuff each petal and fold it before closing to give it a plush, dimensional appearance.
😊 Step 3: Crochet the Head and Attach Petals
The head forms the center of the flower and includes the facial features. Start with yellow yarn and gradually increase stitches to form a rounded shape.
As you crochet, attach the petals around the head, then add safety eyes and embroider a cute smile for personality.
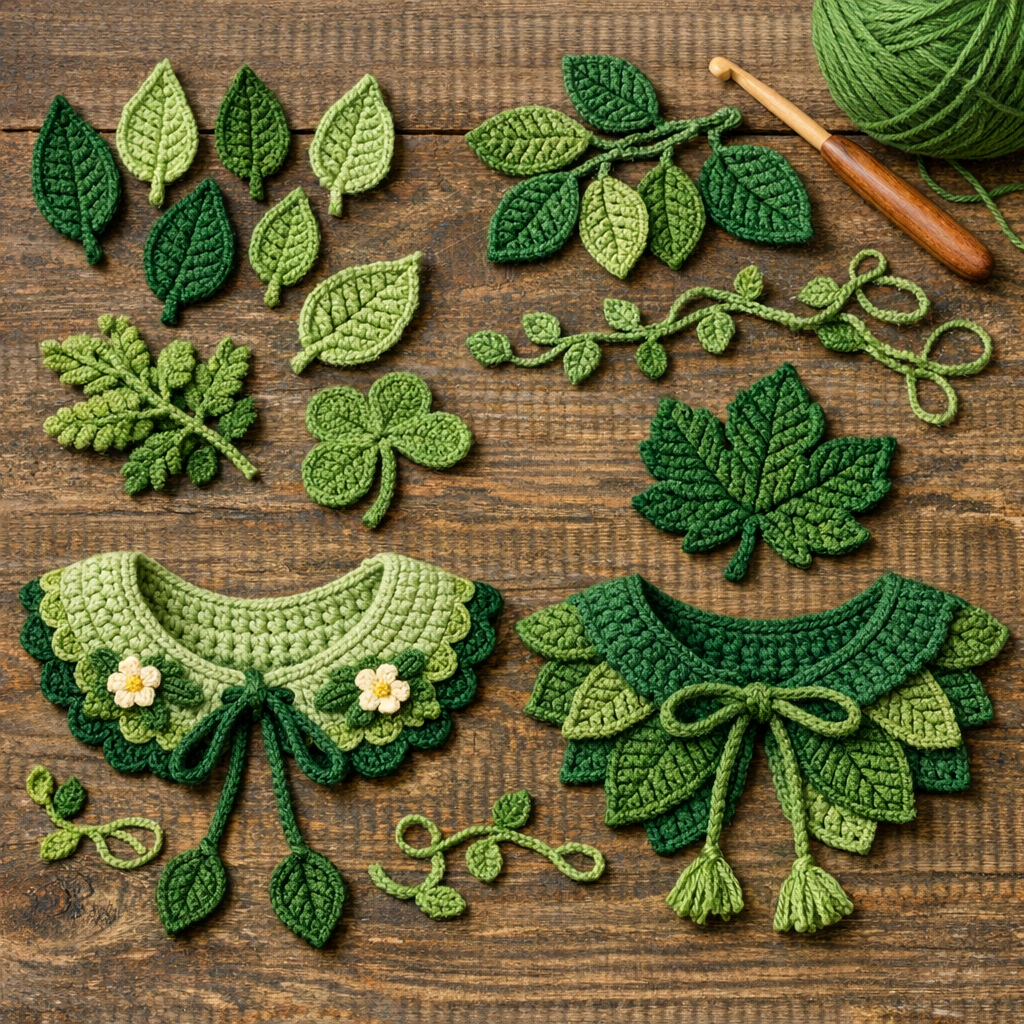
🍃 Step 4: Add Leaves and Collar Details
Next, crochet two green leaves that will act as the flower’s arms. These are made using a chain and worked on both sides for a realistic leaf shape.
You’ll also create a decorative collar that wraps around the neck, adding charm and detail to your finished plush.
Step 5: Make the Flower Pot Base
The flower pot completes the look and allows your plush to stand upright. Crochet it in rounds, gradually increasing to form a stable base.
Insert a cardboard circle at the bottom for support, then finish with decorative edging for a polished appearance.
✨ Final Assembly & Finishing Touches
Sew all parts together carefully, attaching the head, leaves, and pot securely. Add blush using pastel chalk for a cute cheeky effect.
Once assembled, your crochet flower plush will stand about 18 cm tall—perfect as a handmade gift or decorative piece.
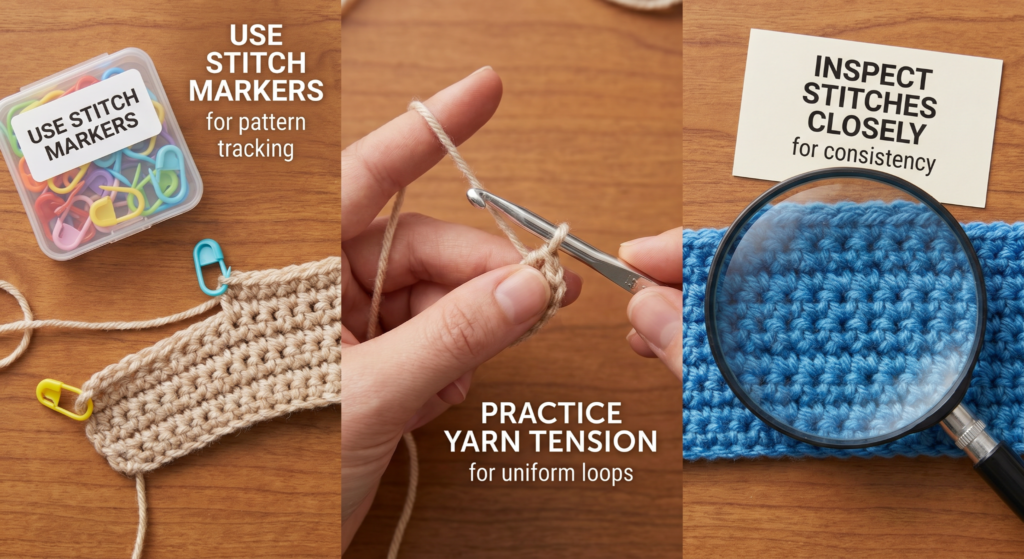
🌟 Tips for Perfect Crochet Results
Use stitch markers to keep track of rounds and ensure symmetry. Always stuff evenly to avoid lumps or uneven shaping.
Experiment with color combinations to create unique flower designs that match your personal style or seasonal themes.