Crochet Lion Amigurumi Pattern (Alan the Lion PDF)
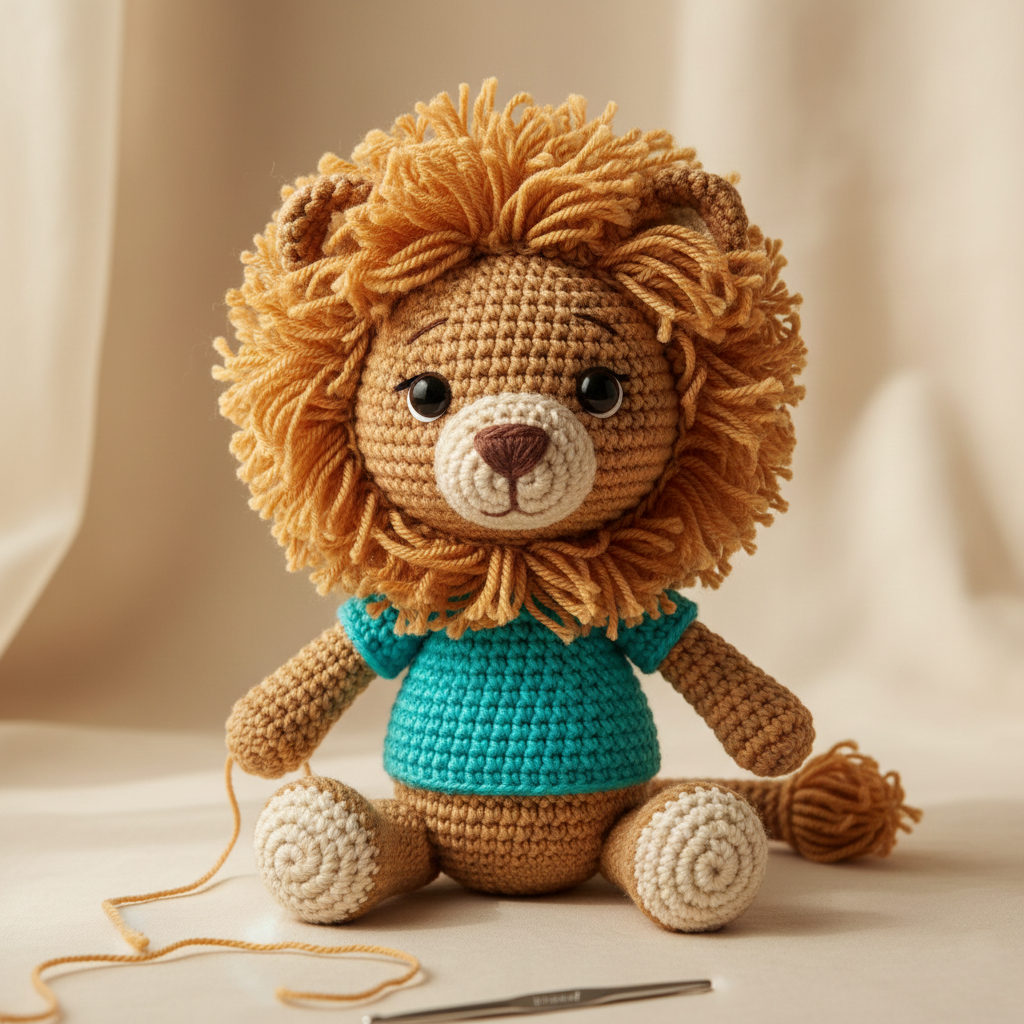
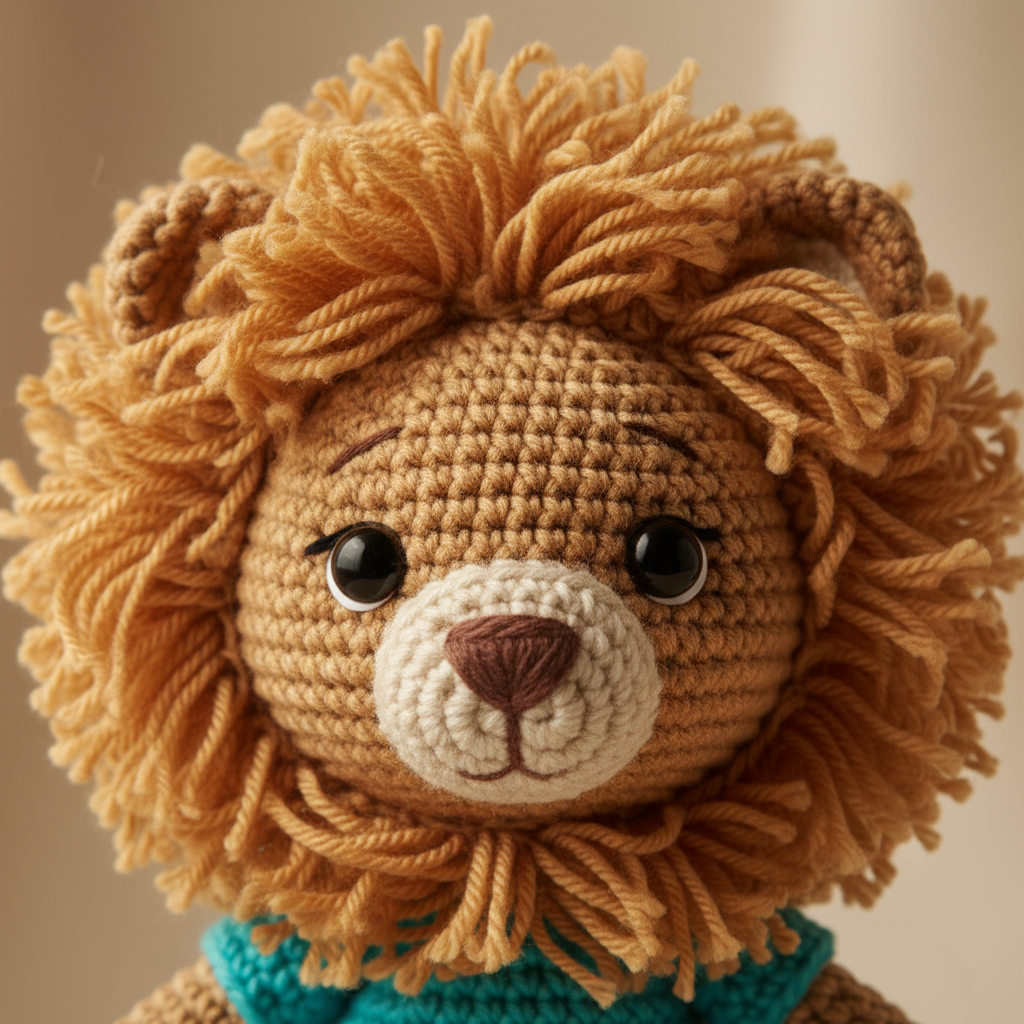
If you love adorable animal amigurumi, this crochet lion pattern is the perfect project. Alan the Lion is a 30cm tall handmade doll featuring a detailed mane, cute embroidered nose, and removable t-shirt.
This intermediate amigurumi pattern walks you step-by-step through head shaping, body construction, limbs, tail, and the iconic fluffy mane.
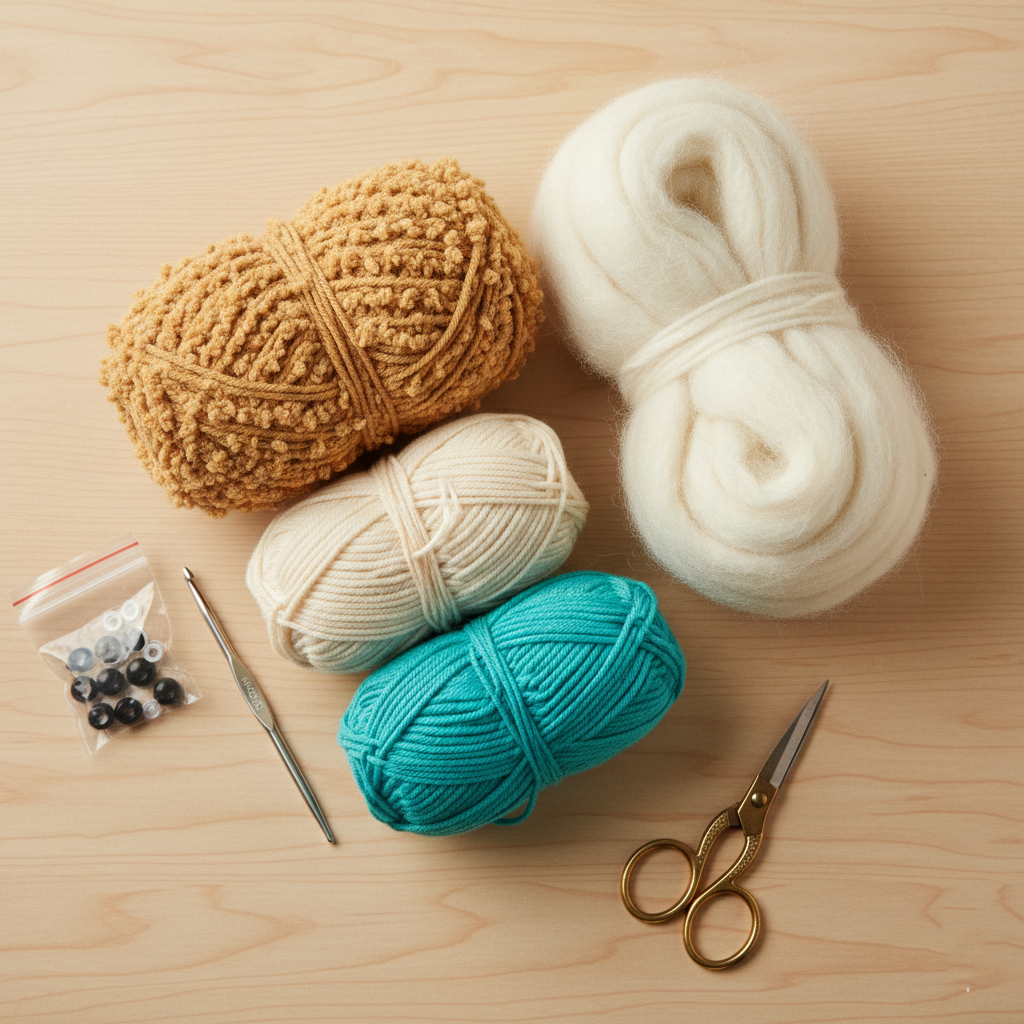
Materials Needed for This Crochet Lion Pattern
To make Alan the Lion, you’ll need semi-thick cotton yarn (DK weight) in camel and natural shades. The t-shirt uses light turquoise and aquamarine green, while the mane is made with soft wool for extra volume.
You’ll also need a 2.25mm–2.5mm crochet hook, polyester fiberfill stuffing, safety eyes (8mm–10mm), stitch markers, scissors, and a sewing needle.
Crochet Lion Head & Snout (Worked in Spiral Rounds)
The snout and head are crocheted in one continuous piece using spiral rounds. The pattern begins with a magic ring and gradual increases to shape the rounded face.
Color changes are carefully placed to keep the camel section centered, creating a realistic lion muzzle.
Shaping the Face & Adding Expression
Safety eyes are placed with 9–10 stitches of separation for a balanced look. Slight tightening around the eyes helps create depth and expression.
The nose and claws are embroidered using brown yarn, giving Alan a soft and sweet personality.
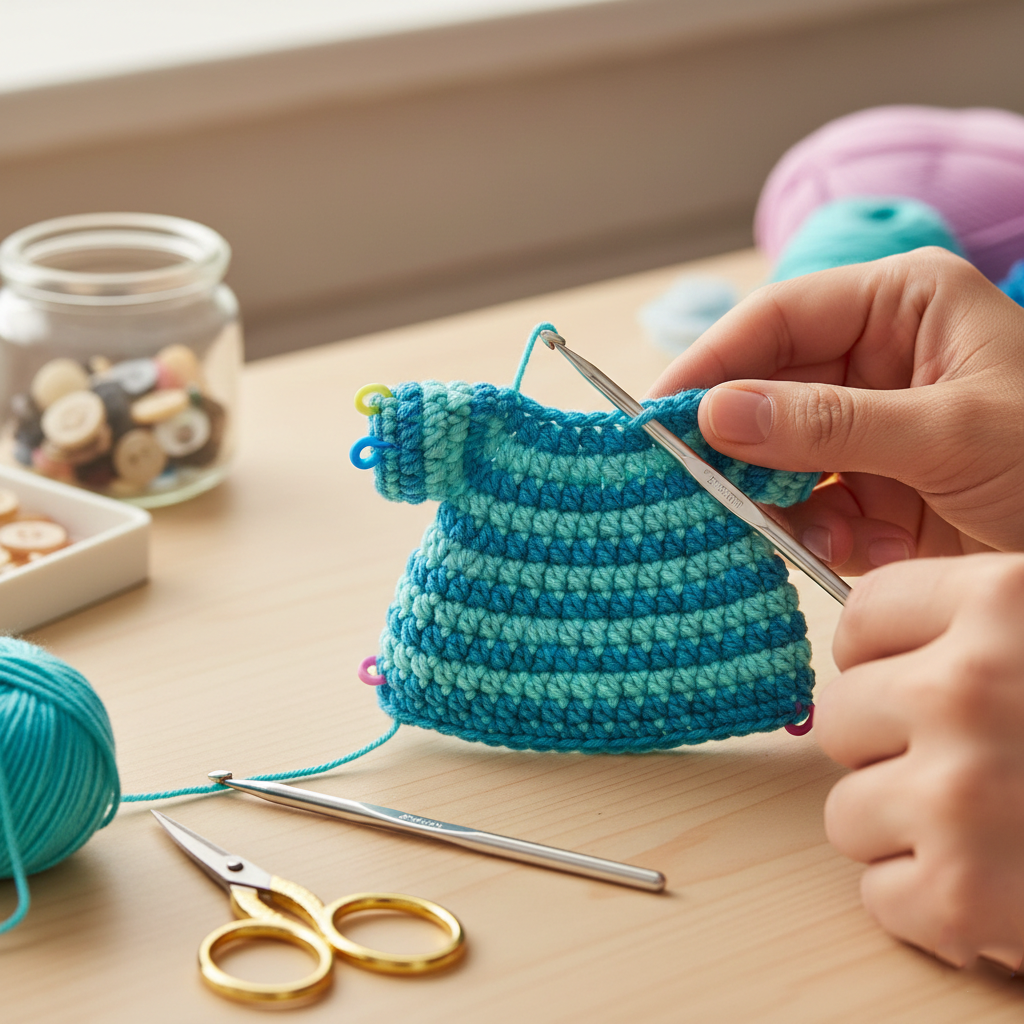
Crochet Lion Body with T-Shirt Color Changes
The body is worked from the bottom up, starting in camel and transitioning into the t-shirt colors. The pattern uses increases and decreases to create a stable, rounded torso.
Color changes are done in the last step of the stitch for a clean finish — an essential amigurumi technique.
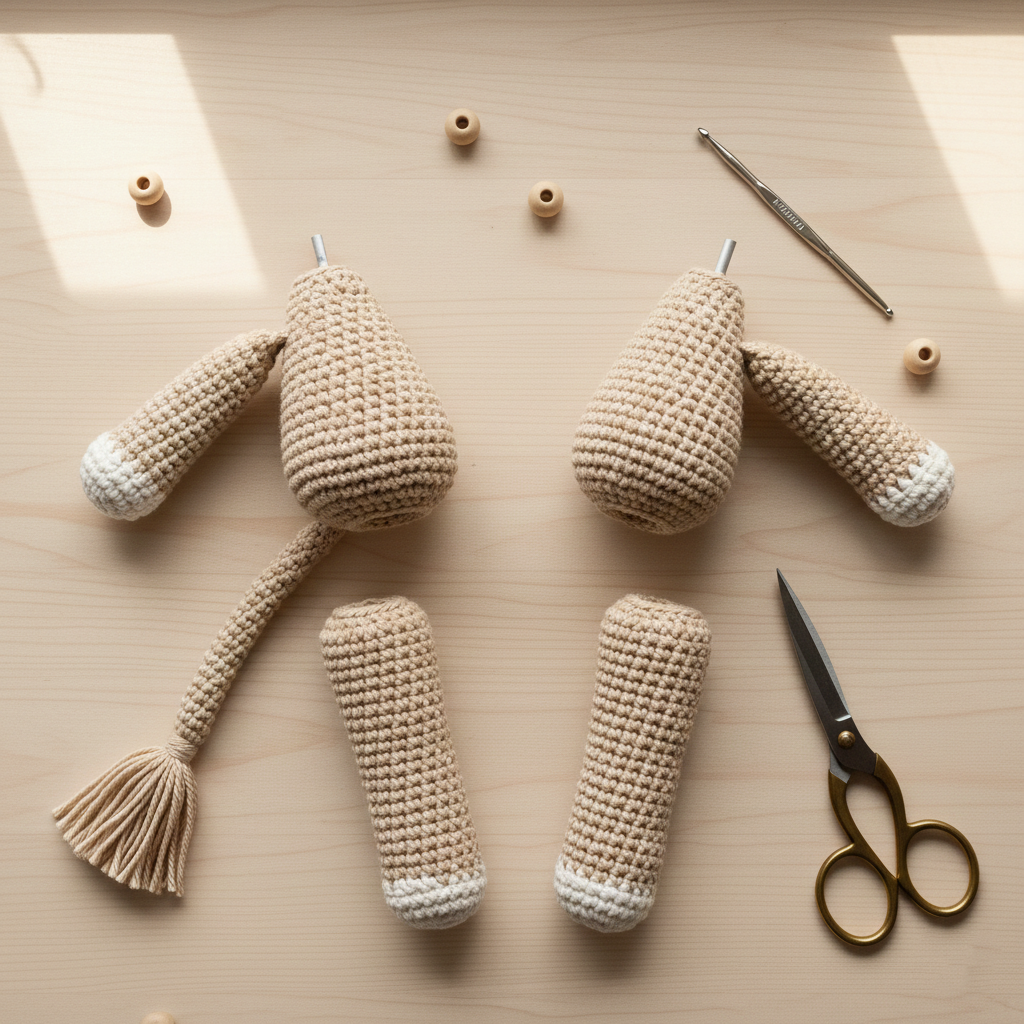
Arms, Legs & Tail Construction
The legs and arms are shaped with strategic decreases to create a natural curved form. The lower sections are stuffed firmly, while the upper rounds remain slightly softer for easier sewing.
The tail is lightly stuffed and finished with attached wool strands to create the lion’s tail tuft.
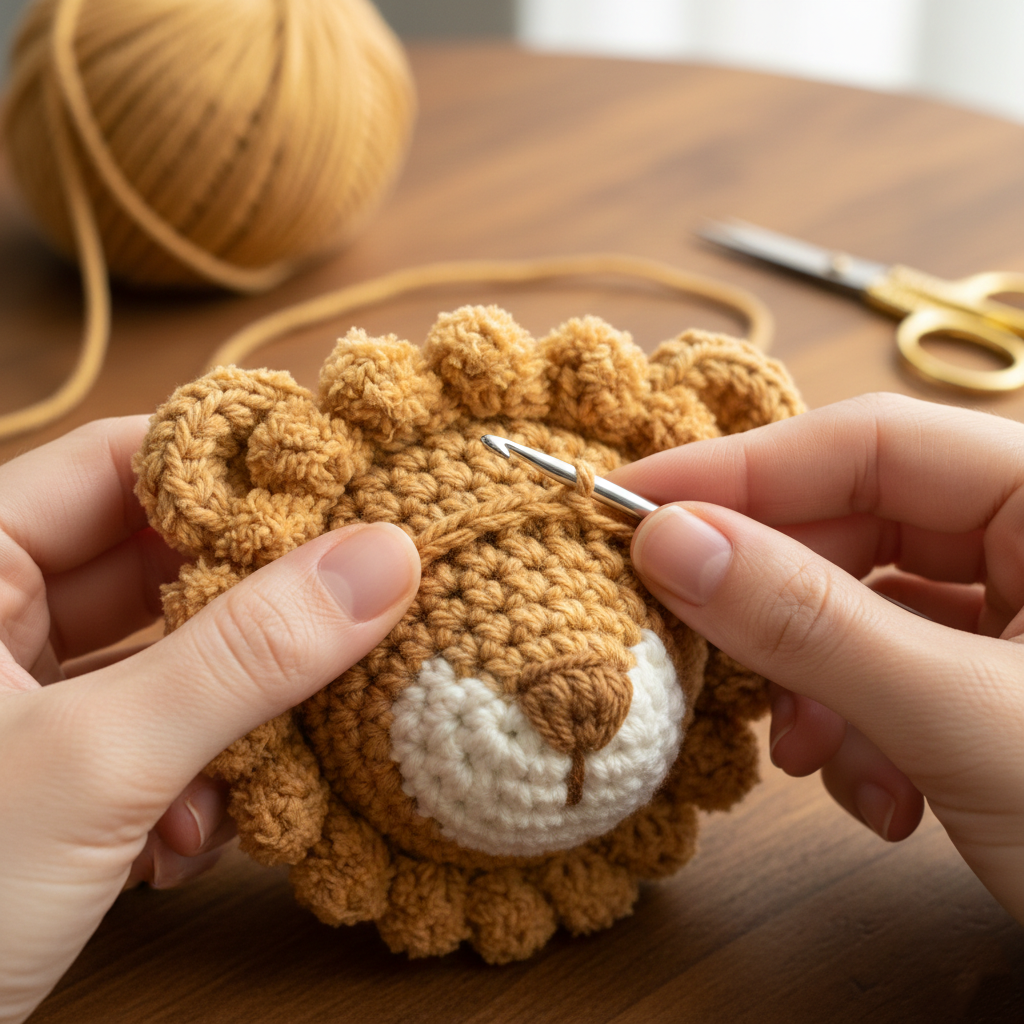
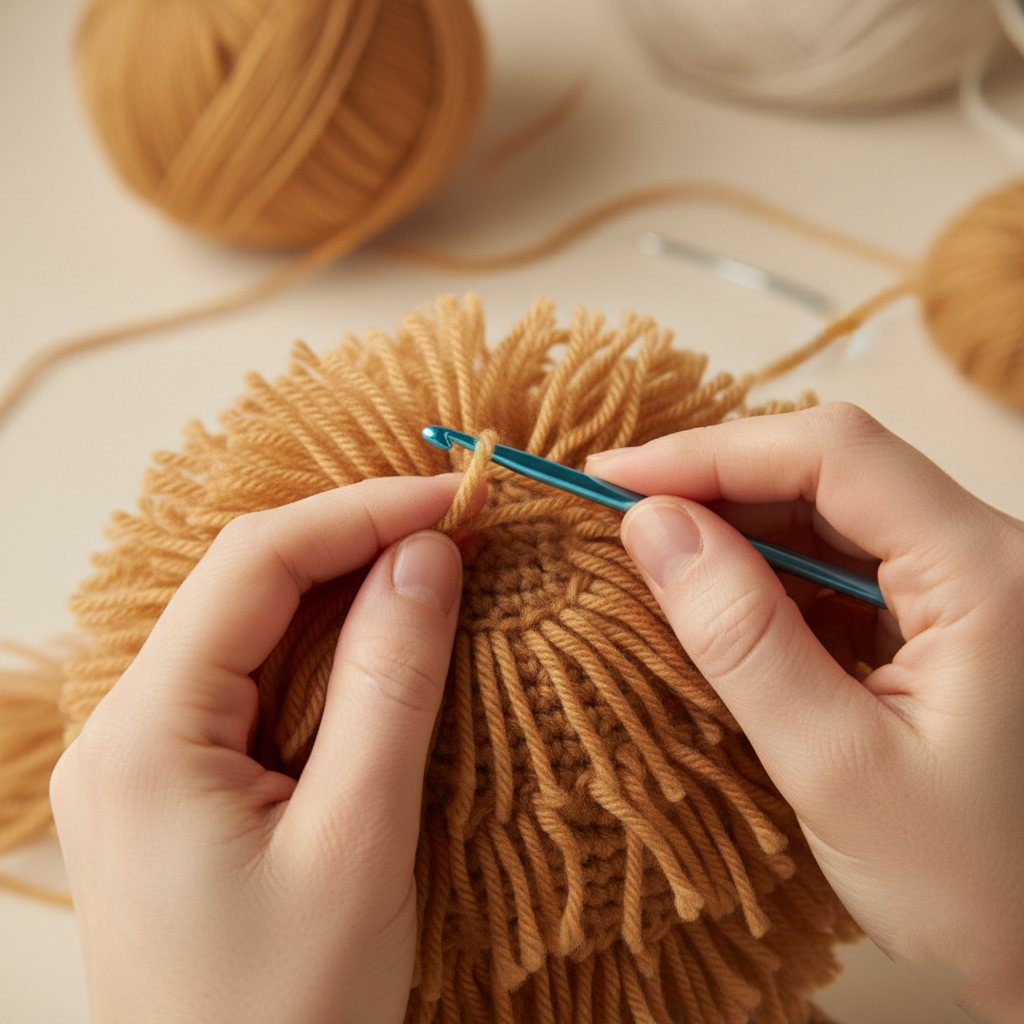
How to Attach the Lion’s Mane (Step-by-Step)
The mane is the most eye-catching part of this crochet lion. Wool strands are cut into equal lengths and attached stitch by stitch using a crochet hook.
Layering the strands in rows creates a full, voluminous mane that frames the face beautifully.
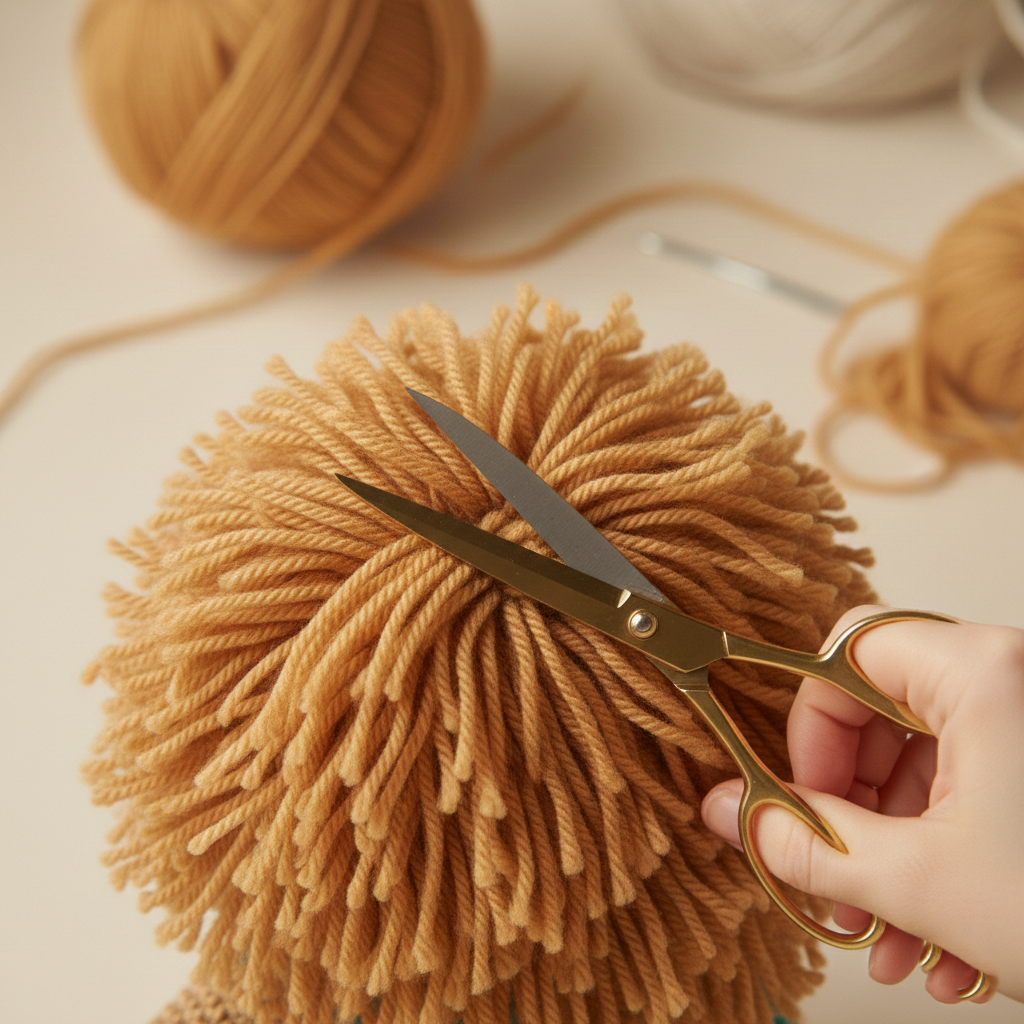
Styling & Trimming the Mane for a Professional Finish
Once all hairpieces are attached, trim gradually to shape the mane. Cutting slowly in layers helps create movement and natural flow.
You can customize the haircut to be fuller, shorter, or more playful depending on your style preference.
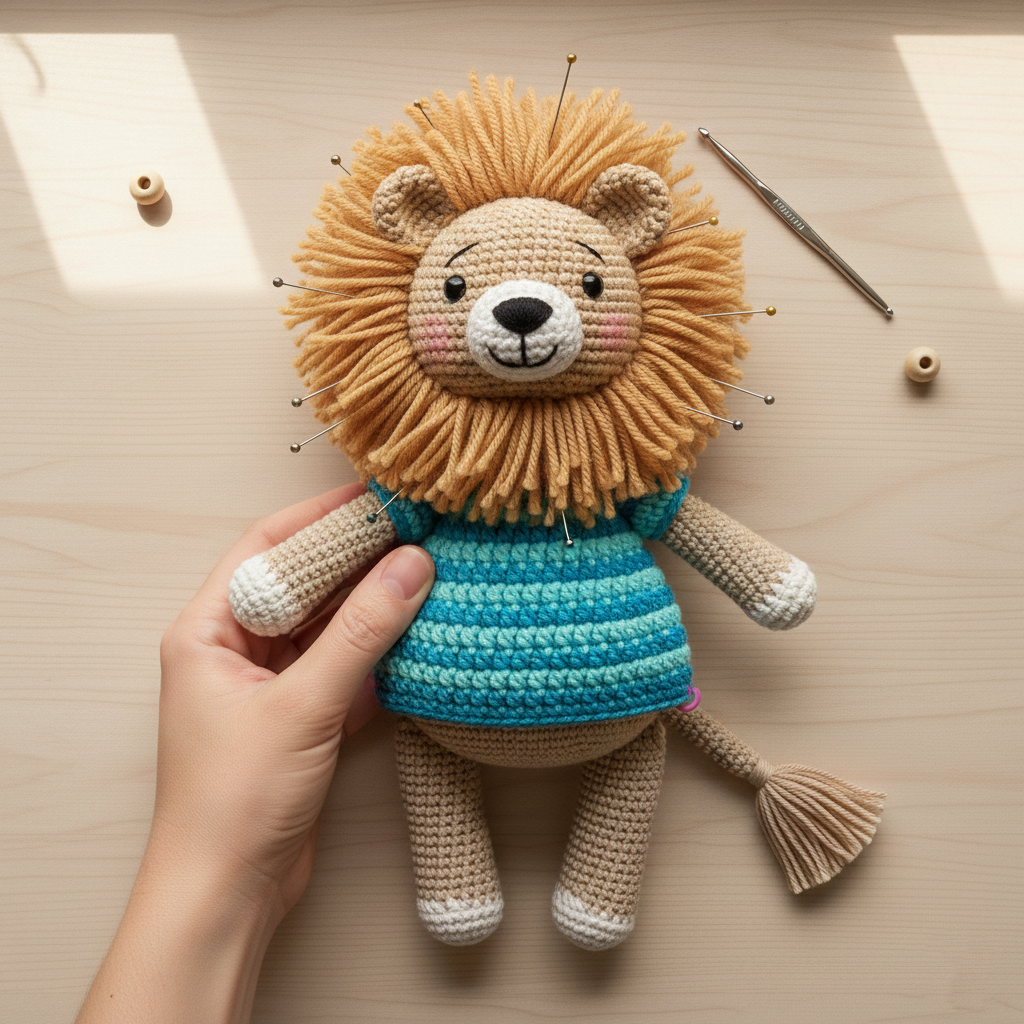
Assembly Tips for a Perfect Amigurumi Finish
The head is sewn securely to the body with the color transition positioned at the back. Legs are placed three rounds beneath the t-shirt line for proper balance.
Pin all parts first to ensure symmetry before stitching permanently.
Download the Full Alan the Lion Crochet Pattern PDF
Ready to crochet your own adorable amigurumi lion?
👉 Download the complete Alan the Lion Crochet Pattern PDF for detailed stitch instructions, assembly guidance, and mane placement tutorials.
Perfect for intermediate crocheters, handmade gift makers, and amigurumi lovers.