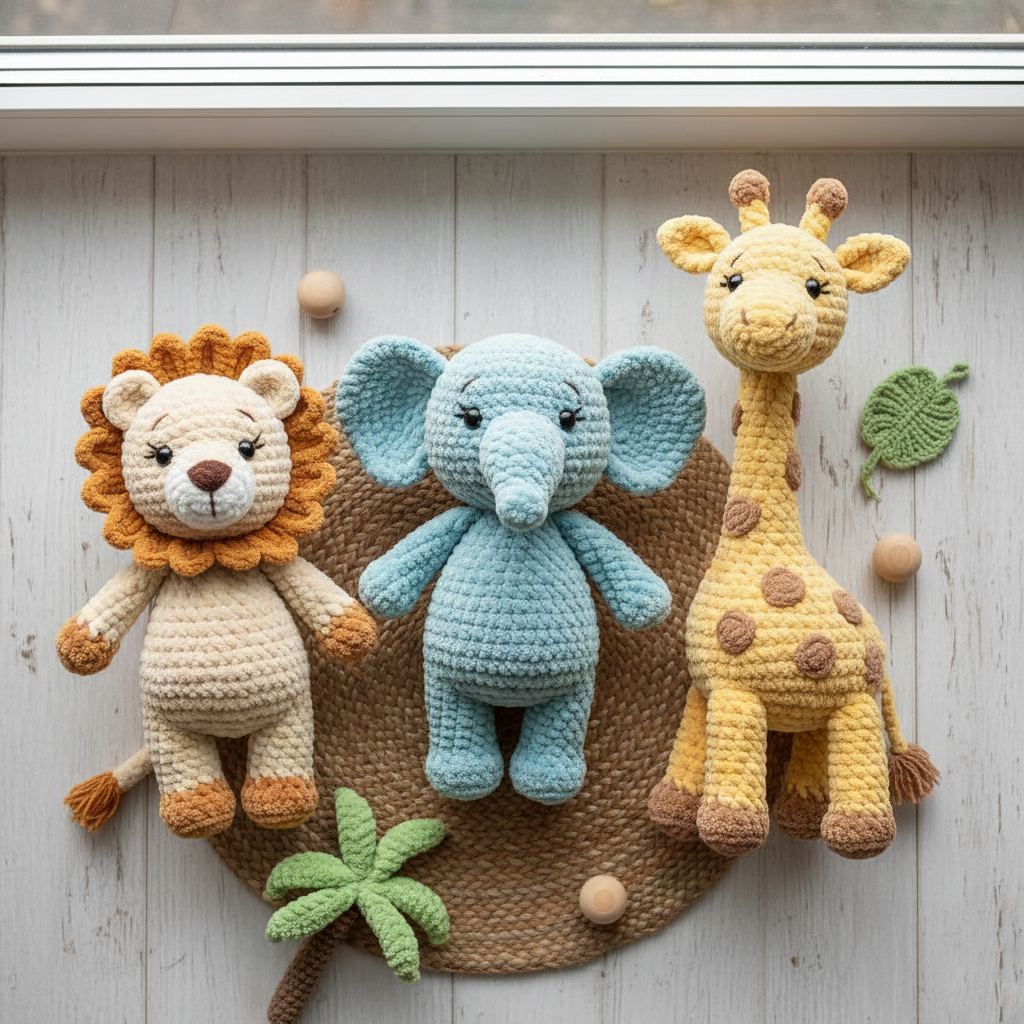
Animal Kingdom Crochet Pattern Collection (Amigurumi PDF Guide)
If you love making adorable amigurumi animals, this Animal Kingdom crochet pattern collection is the perfect project for your next cozy crafting session. Designed with plush yarn and beginner-friendly shaping techniques, these soft crochet animals are ideal for gifting, selling, or decorating a nursery.
Each animal pattern includes step-by-step instructions for the head, body, limbs, and facial features — all worked in continuous rounds using basic crochet stitches.
Materials You’ll Need for These Amigurumi Animals
To create these crochet animals, use soft chenille or velvet yarn for that plush, cuddly finish. A 3.5–4.5 mm crochet hook works well depending on your tension and yarn thickness.
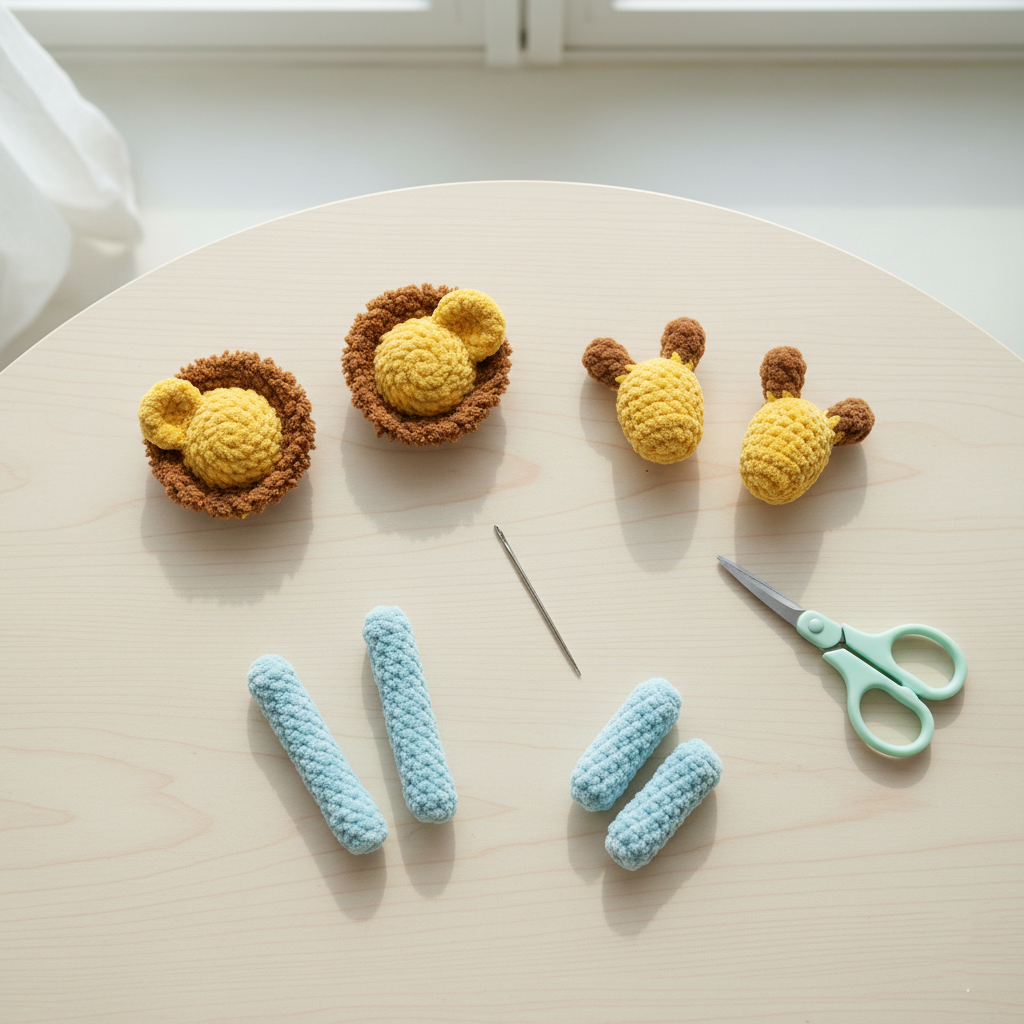
You’ll also need fiberfill stuffing, stitch markers, a yarn needle, scissors, and safety eyes or embroidery thread for facial details.

Crochet Abbreviations & Basic Stitches (US Terms)
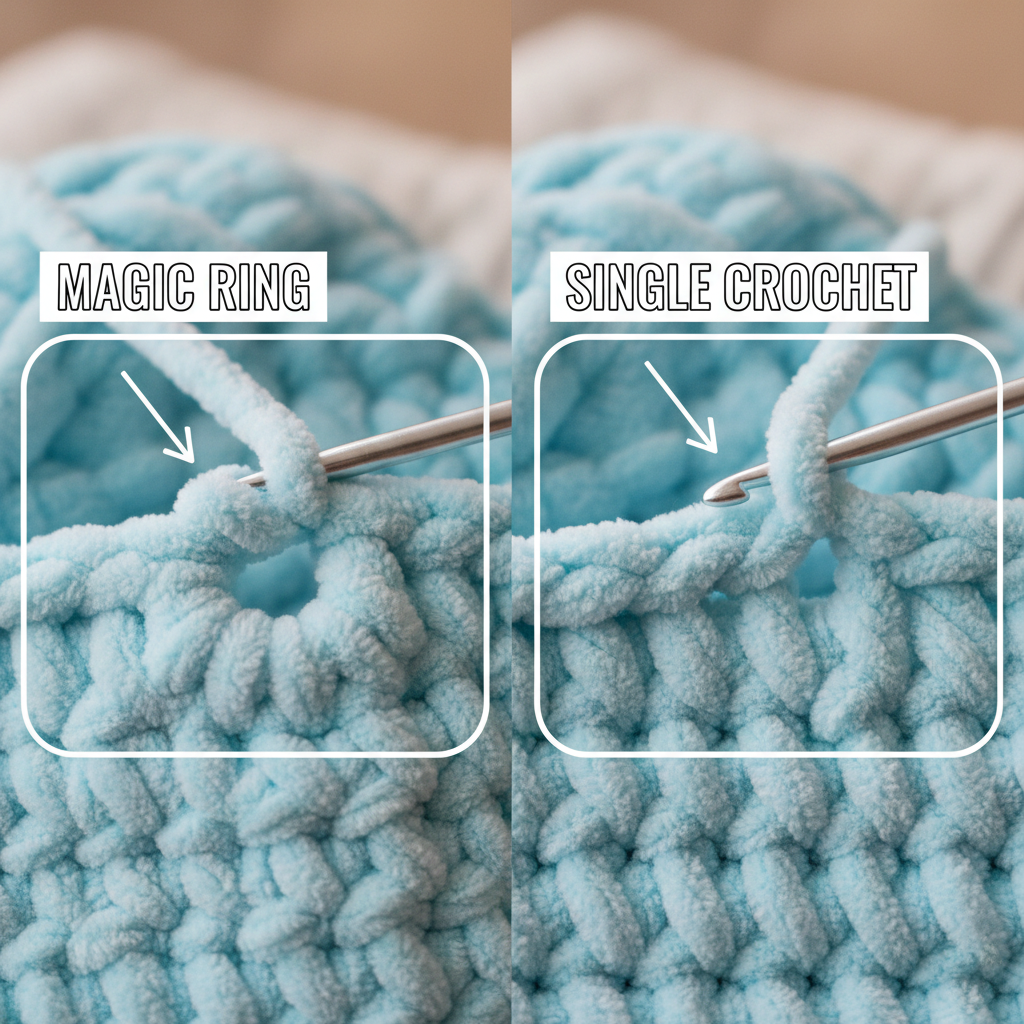
This Animal Kingdom pattern uses standard US crochet terminology. The most common stitches include:
- MR – Magic Ring
- SC – Single Crochet
- INC – Increase
- DEC – Invisible Decrease
- BLO – Back Loop Only
If you’re comfortable with basic amigurumi techniques, you’ll find these patterns easy and enjoyable to follow.
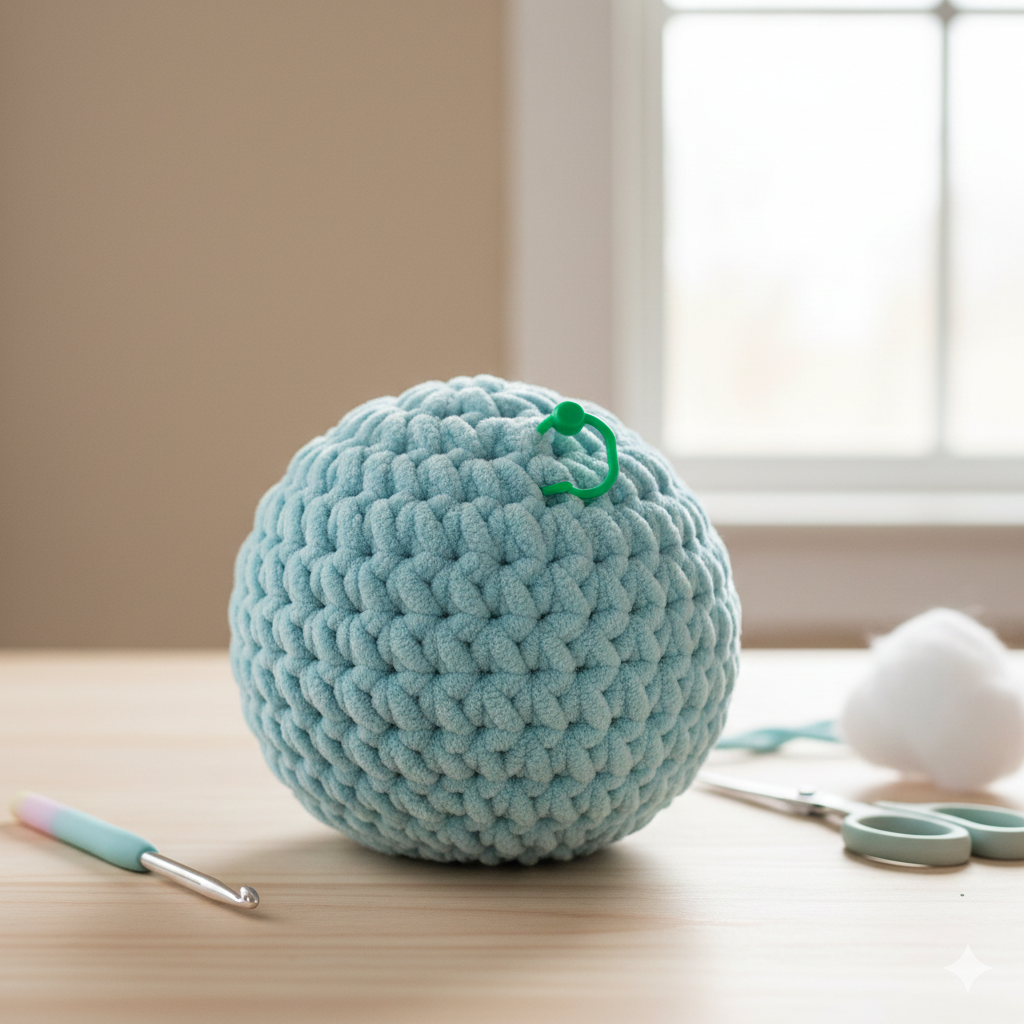
Crocheting the Animal Body
Each animal body begins with a magic ring and gradual increases to create a rounded base. The body is worked in continuous rounds, forming a smooth, seamless shape.
As you crochet upward, decreases help contour the torso. Stuff the body firmly but evenly to maintain structure without stretching the stitches.
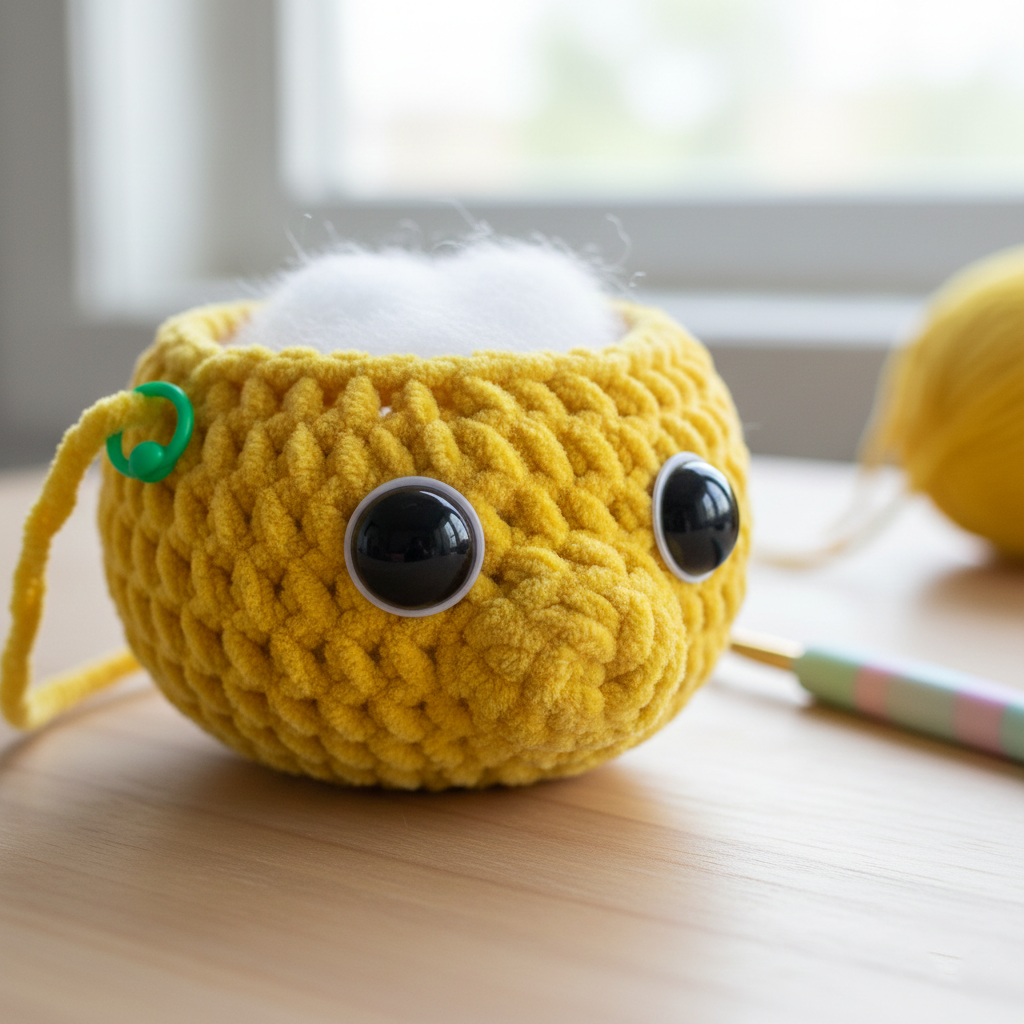
Making the Head for a Professional Finish
The head is usually crocheted separately using similar increase and decrease techniques. Larger rounds create a wide, expressive face perfect for embroidered details.
Before fully closing, insert safety eyes or prepare for embroidery placement. Proper stuffing ensures the head holds its shape over time.
Creating Arms, Legs & Ears
Limbs are worked in smaller rounds and lightly stuffed for flexibility. Many patterns use minimal shaping, making assembly easier for beginners.
Ears may be crocheted flat or slightly curved depending on the animal design. Small details like these bring personality and charm to your finished toy.
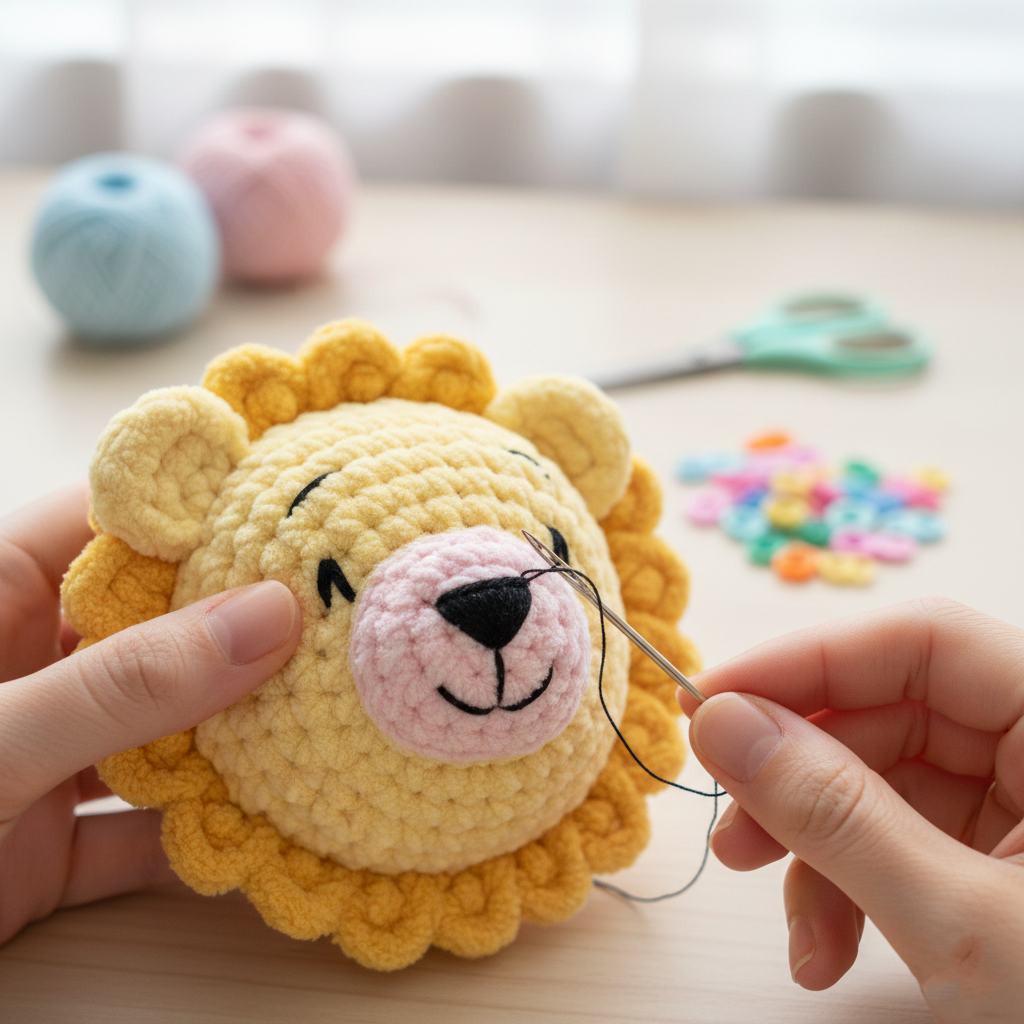
Facial Features & Character Details
Facial shaping can be done with embroidery thread to define cheeks, noses, or whiskers. For some animals, additional pieces like snouts or muzzles are sewn on separately.
Take time positioning the eyes and nose symmetrically — this step dramatically impacts the final expression of your crochet animal.
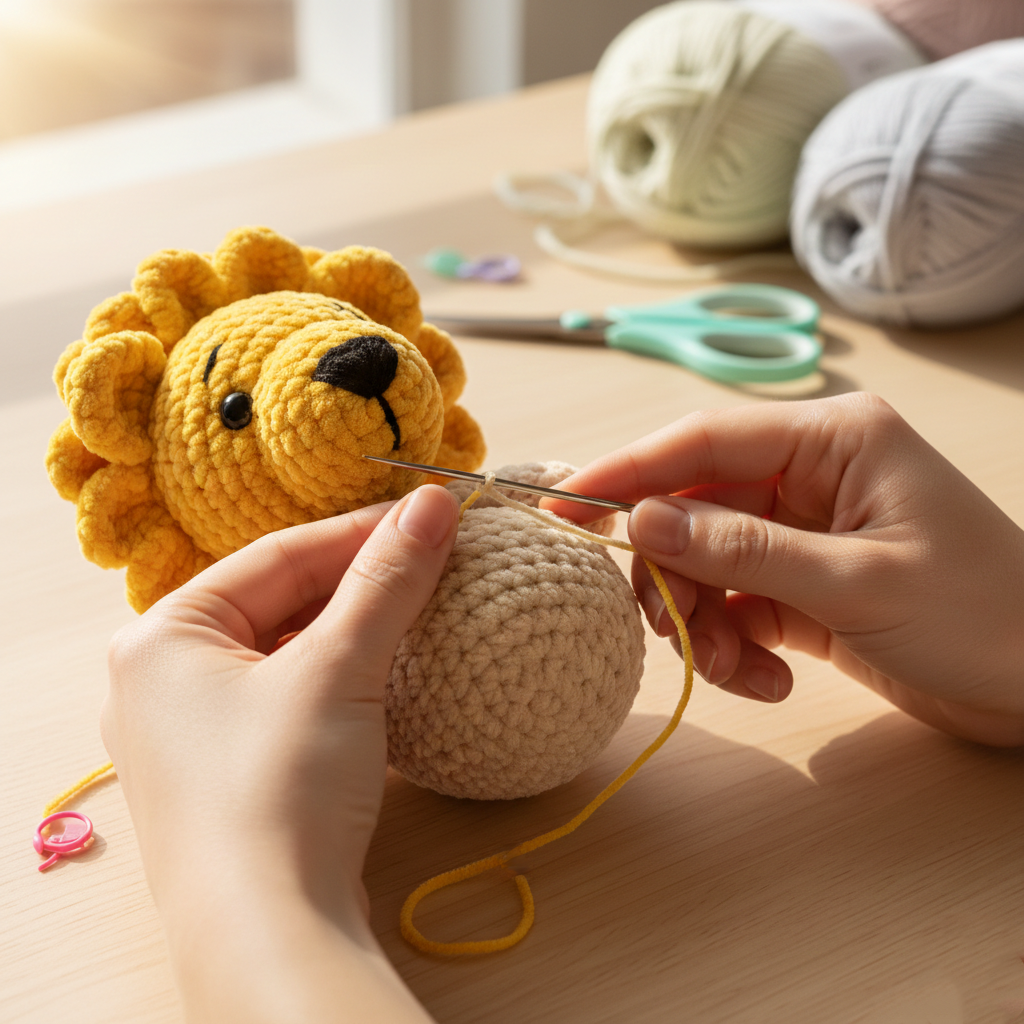
Assembly & Final Shaping Tips
Pin all parts before sewing to ensure perfect alignment. Attach the head securely to the body using a strong whip stitch or mattress stitch.
After assembly, gently shape the stuffing with your hands to smooth out any uneven areas. This gives your amigurumi animal a polished, professional finish.
Customization Ideas for Your Animal Kingdom
You can easily customize these crochet animals by changing yarn colors, adding accessories, or resizing with different hooks. Add scarves, bows, or tiny outfits for a unique touch.
These patterns are perfect for baby showers, handmade markets, or themed nursery décor.

Why This Animal Kingdom Crochet PDF Is a Must-Have
✔ Beginner-friendly amigurumi techniques
✔ Step-by-step shaping instructions
✔ Perfect for plush chenille yarn
✔ Great for gifts, décor, or selling finished toys
✔ Printable, easy-to-follow format
If you’re searching for easy amigurumi animal patterns, crochet safari animals, or a plush crochet toy PDF, this Animal Kingdom collection will quickly become one of your favorites.
👉 Download the full printable PDF pattern below and start crocheting your own handmade animal today!