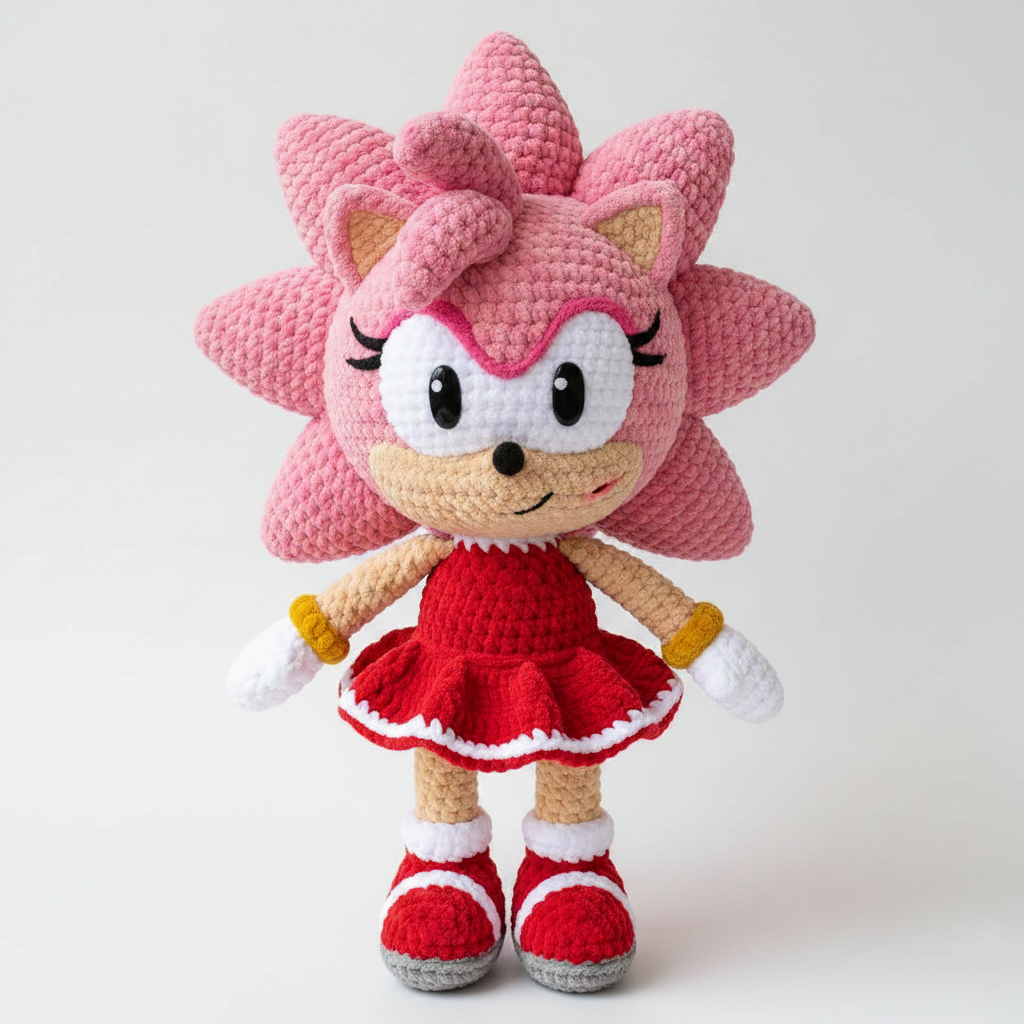
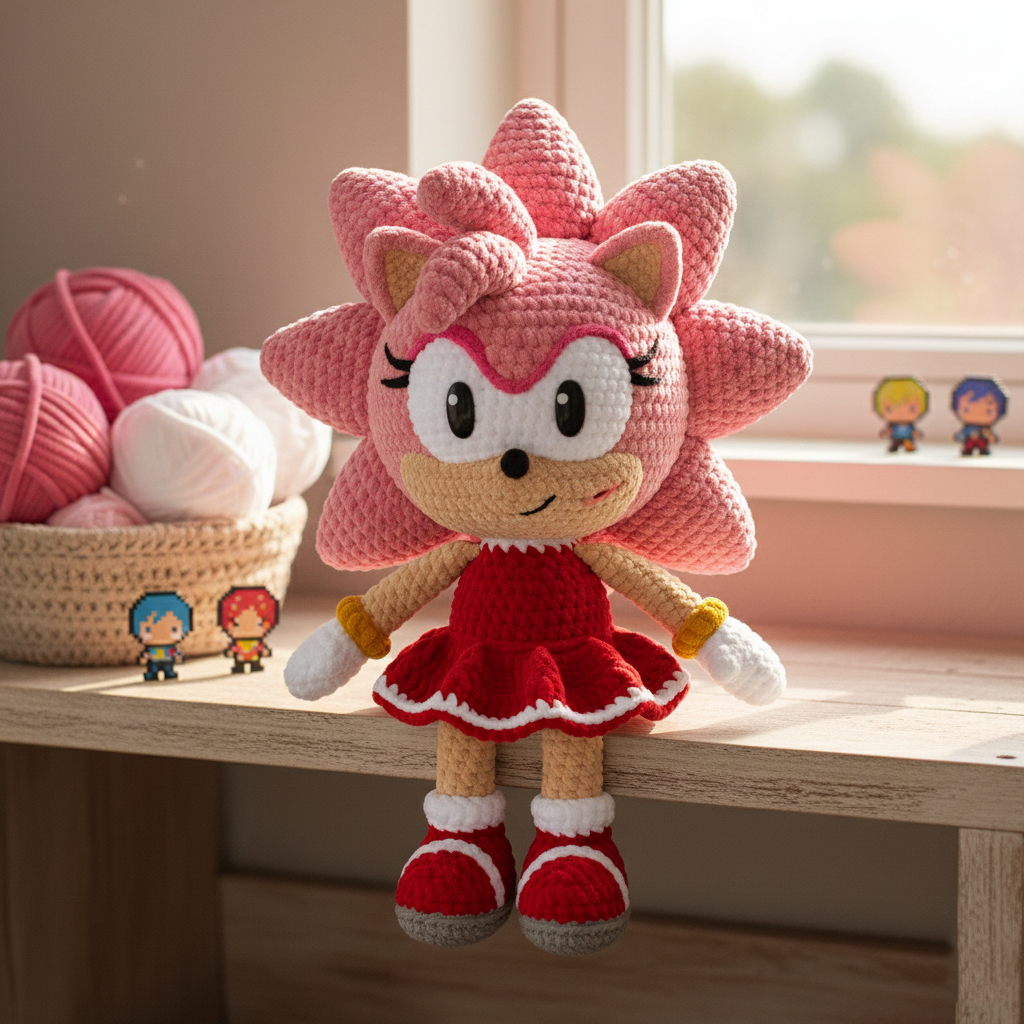
Amy-Inspired Crochet Doll Pattern (Plush Amigurumi Guide)
If you love making plush amigurumi dolls, this Amy-inspired crochet pattern is a must-try. Designed for chenille or velvet yarn, this soft and huggable crochet doll stands approximately 26–36 cm tall depending on your yarn choice and hook size.
This beginner-to-intermediate friendly pattern walks you through arms, legs, body, head shaping, facial features, and detailed embellishments like boots, skirt, and signature prickles.
Materials You’ll Need for This Plush Crochet Doll
To recreate this crochet doll pattern, use plush yarn like Himalaya Dolphin Baby or YarnArt Dolce for that soft velvet texture. For facial details, semi-cotton yarn works best for clean embroidery.
You’ll also need a 3.5 mm crochet hook (adjust based on tension), stitch markers, fiberfill stuffing, sewing needles, and scissors.

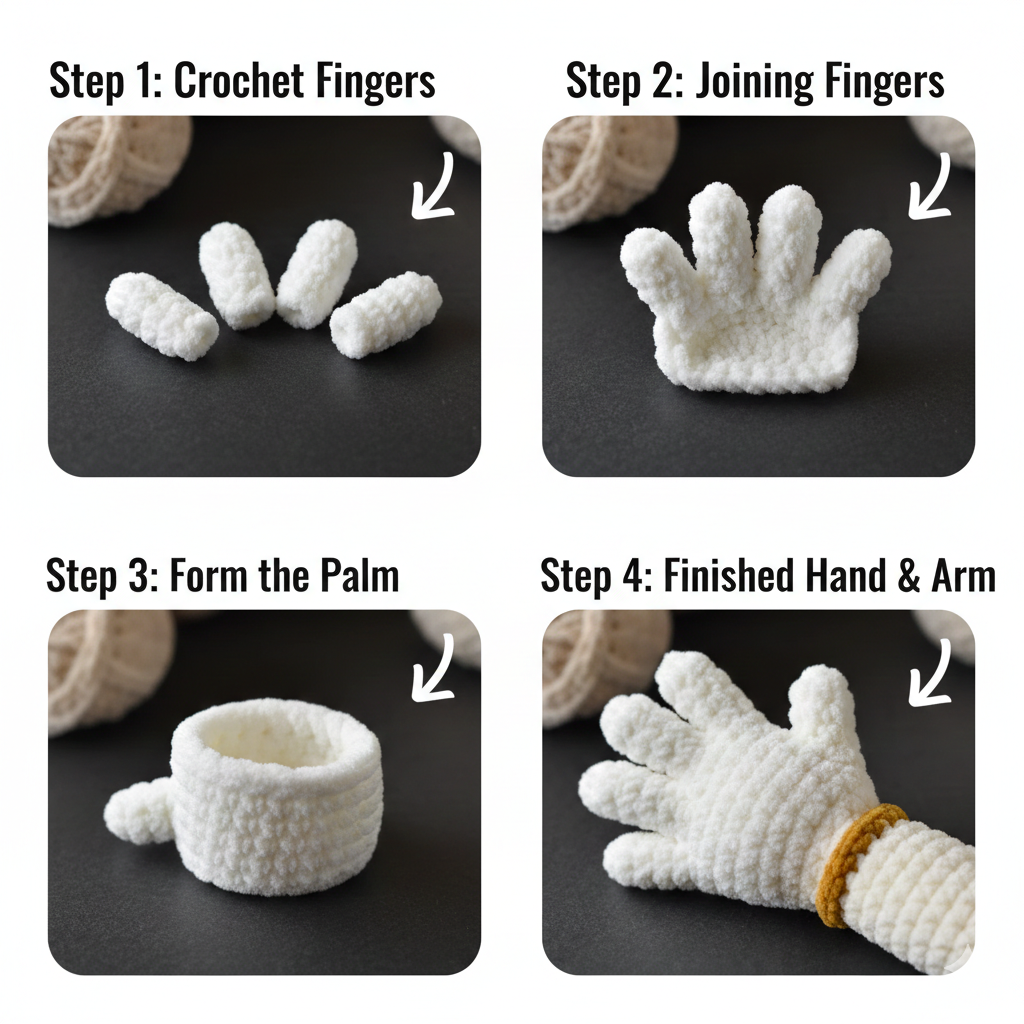
Crocheting the Arms and Fingers
Start with the fingers using white yarn. Each finger is worked in the round using single crochet stitches. The four fingers are joined together before attaching the thumb.
The palm is lightly stuffed to keep it flat. After shaping decreases, continue the arm in ivory and finish with a clean folded closure.
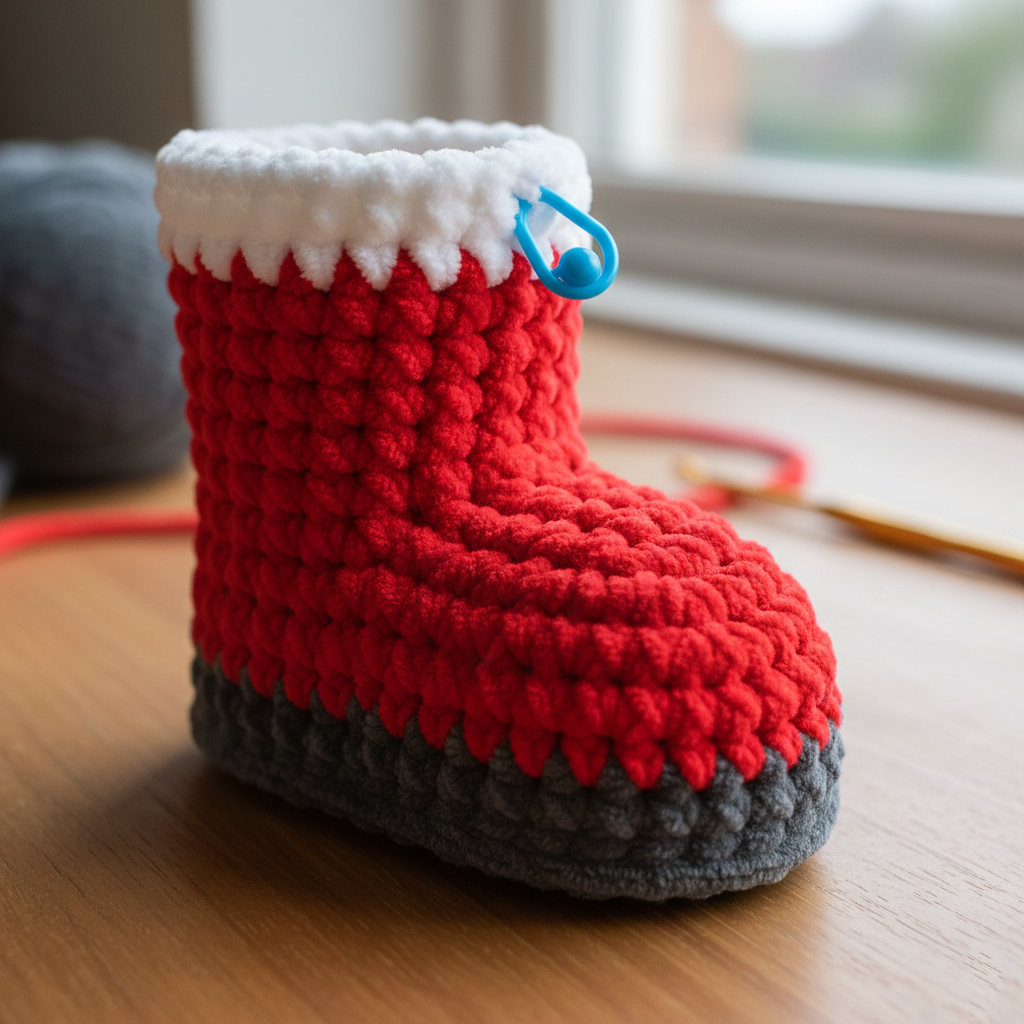
Crochet Boots and Legs (Oval Amigurumi Technique)
The legs begin with an oval foundation chain worked in the round. Grey and red yarn create the signature boot base, shaped using strategic decreases.
Switch to pink for the leg section and continue working upward. The boot edging is added using front loop stitches for a layered look.
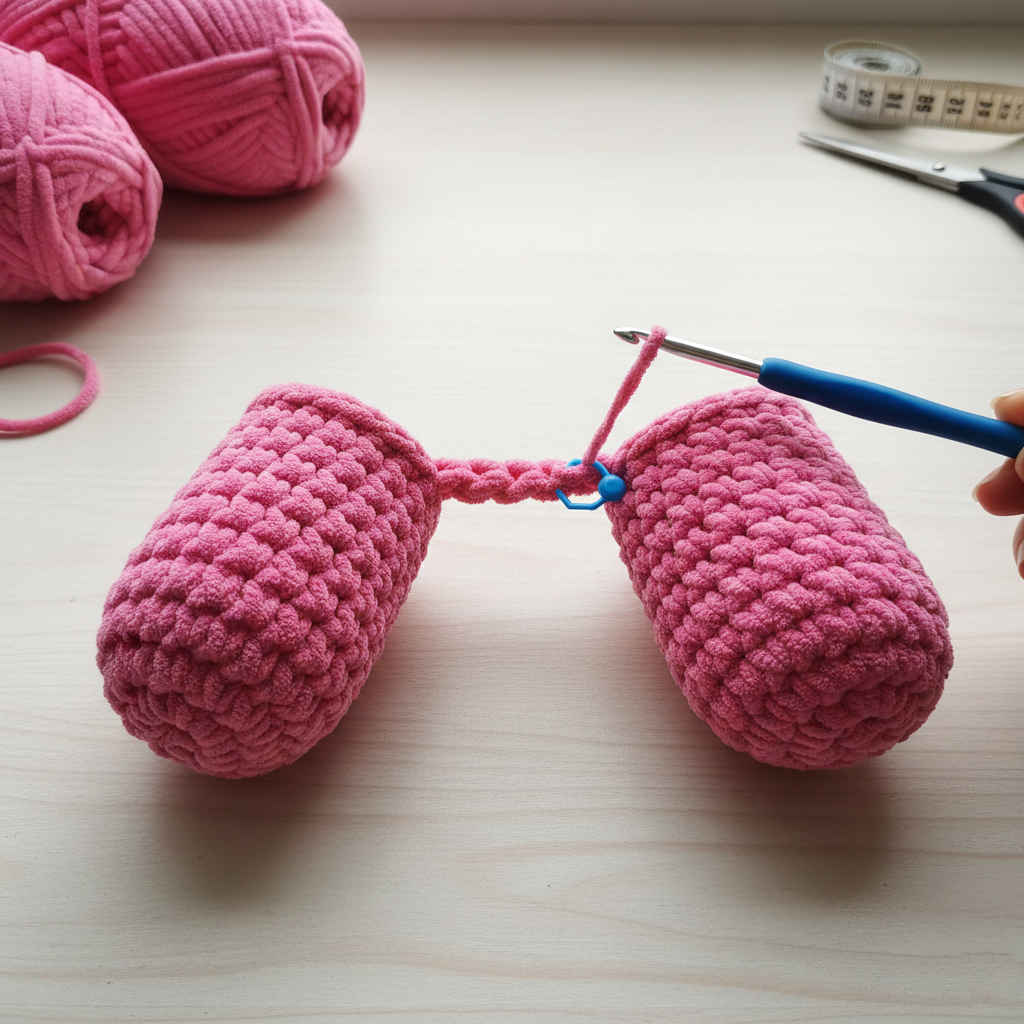
Joining the Legs & Building the Body
The legs are joined with a short chain bridge. Continue crocheting in the round to build the torso while stuffing gradually.
The tail is attached during body rounds for seamless construction. Later, arms are crocheted directly into the body for stability.
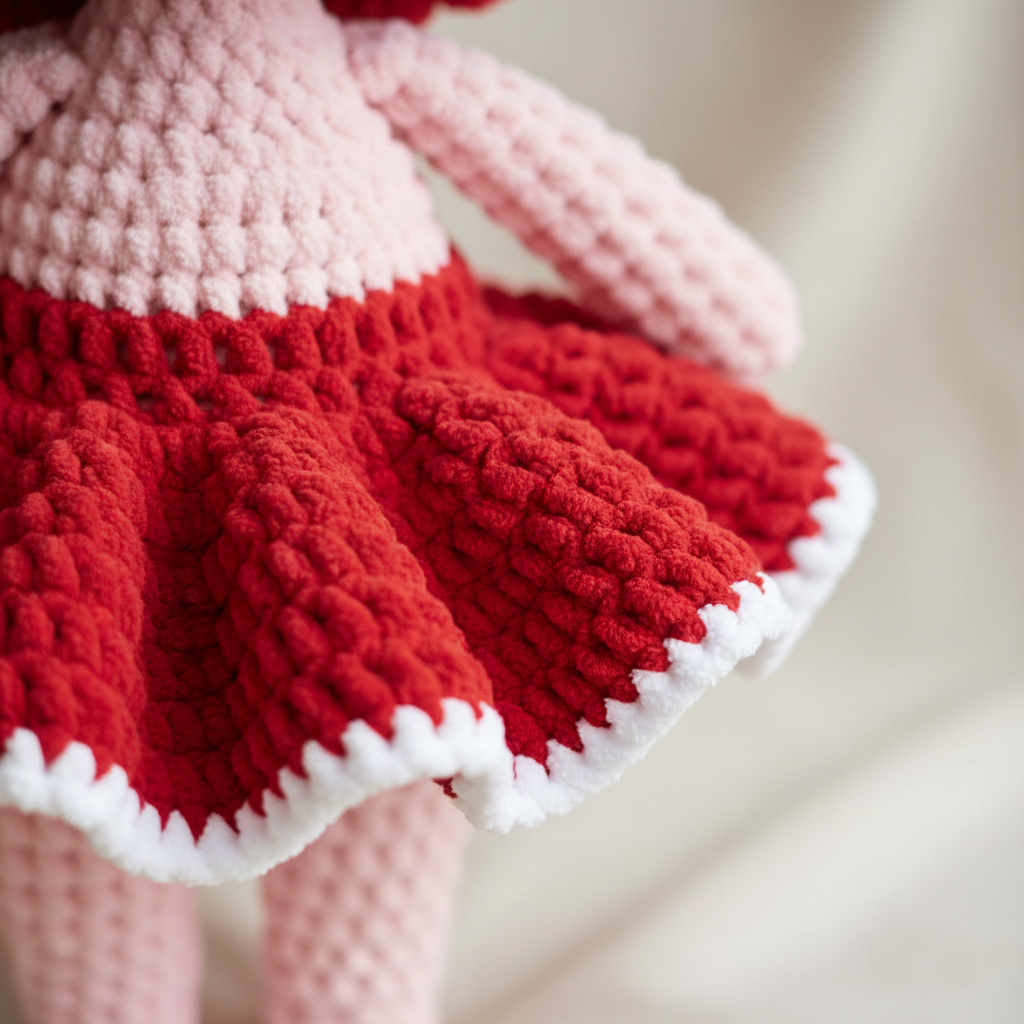
Adding the Skirt Detail
The skirt is created by attaching yarn to a front loop of the body and increasing gradually to form a flared shape.
Switch yarn colors for contrast stripes and finish neatly. This layered skirt gives the doll extra personality and movement.
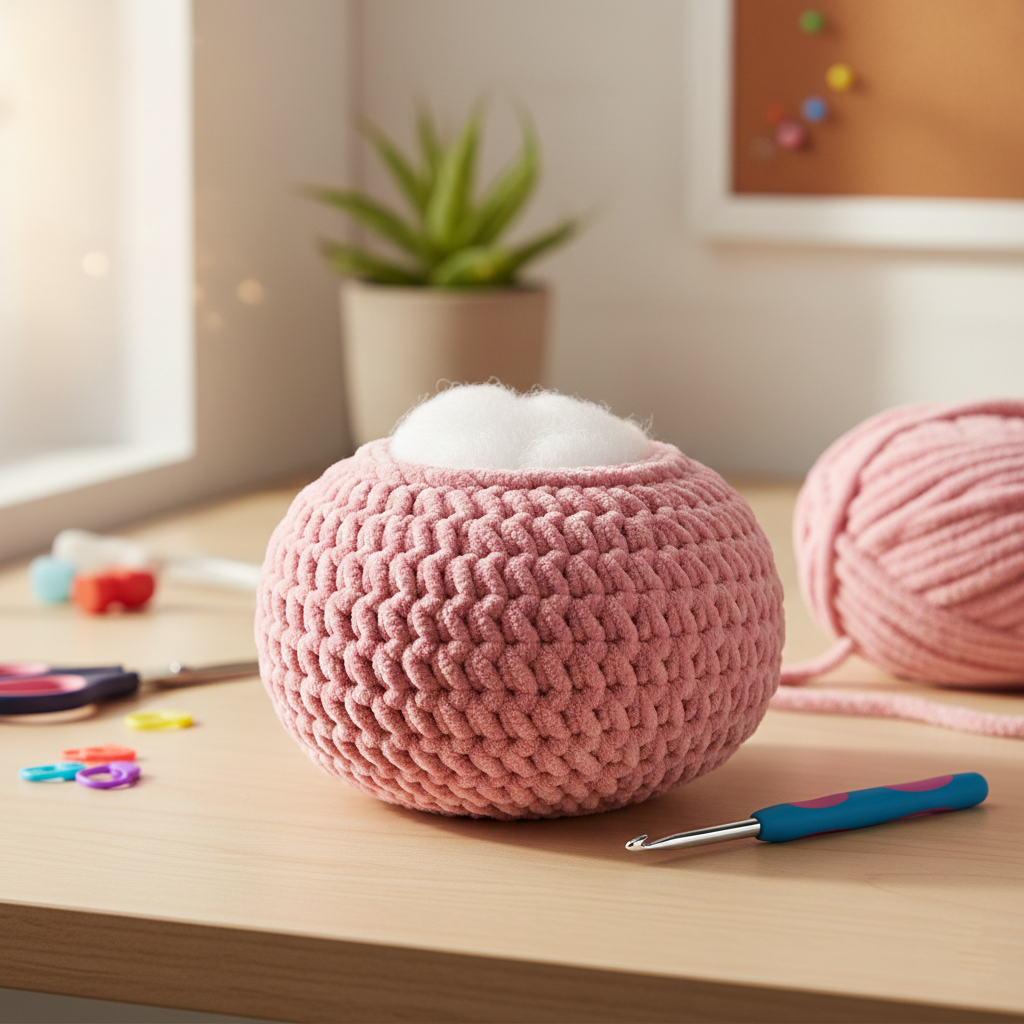
Shaping the Head for a Professional Finish
The head is crocheted directly onto the body. Increases create a rounded top, while decreases narrow the bottom for natural shaping.
Stuff firmly but keep the lower part slightly narrower. Leave the opening loose for facial sculpting and tightening.
Creating the Muzzle, Eyes & Facial Features
The muzzle is crocheted separately in ivory and lightly stuffed before sewing. Position it between early head rounds for correct placement.
Eye whites are crocheted in white, pupils in black, and eyelashes sewn carefully. Use tightening techniques to define cheeks and create a sweet smile.
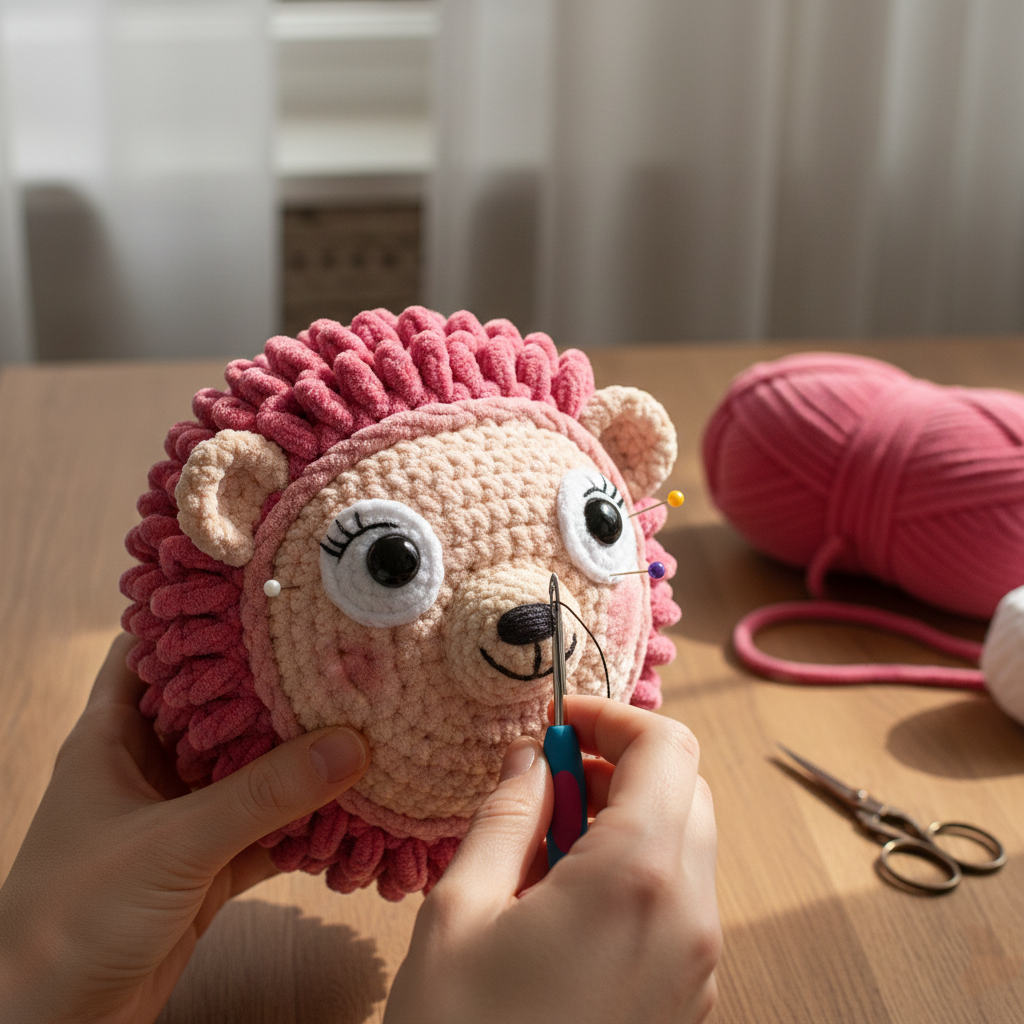
Ears, Prickles & Final Assembly
Ears are made in two parts (inner ivory and outer pink) and crocheted together. The prickles are worked separately, folded, and sewn securely onto the head.
Careful placement is key—pin everything before stitching permanently. This step transforms your crochet doll into a polished handmade masterpiece.
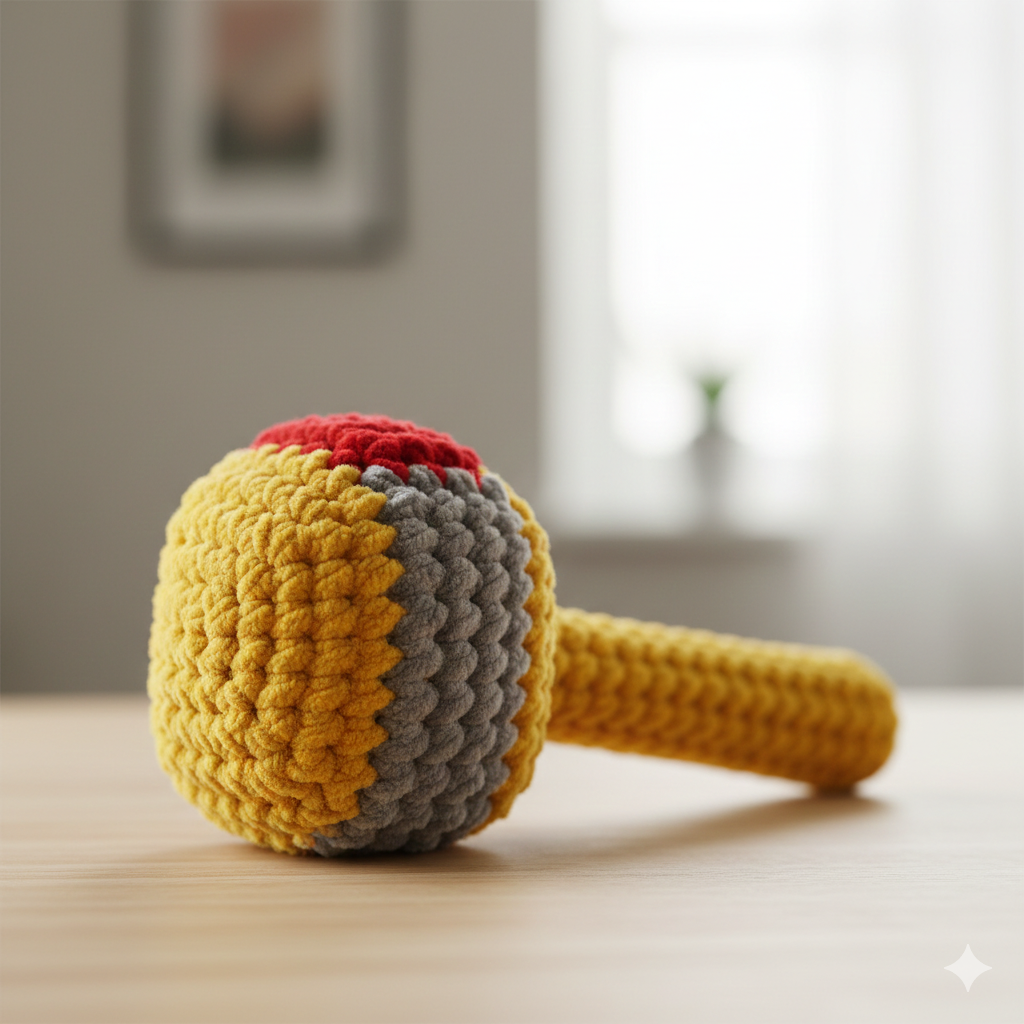
Optional Accessory: Crochet Hammer
For an extra fun detail, the pattern includes a crocheted hammer worked in mustard, grey, and red.
You can insert insulated wire for shaping (avoid if making for small children). This accessory makes your doll even more display-worthy.
Why You’ll Love This Plush Crochet Pattern
✔ Beginner-friendly shaping techniques
✔ Detailed step-by-step construction
✔ Perfect for plush or velvet yarn
✔ Great for gifting or selling finished dolls
✔ Pinterest-worthy finished project
If you love crochet doll patterns, amigurumi plush toys, hedgehog-inspired characters, and detailed handmade projects, this pattern belongs in your collection.
👉 Don’t forget to download the full printable PDF version below!