🎄Crochet Christmas Bells Pattern (Free Amigurumi + PDF)
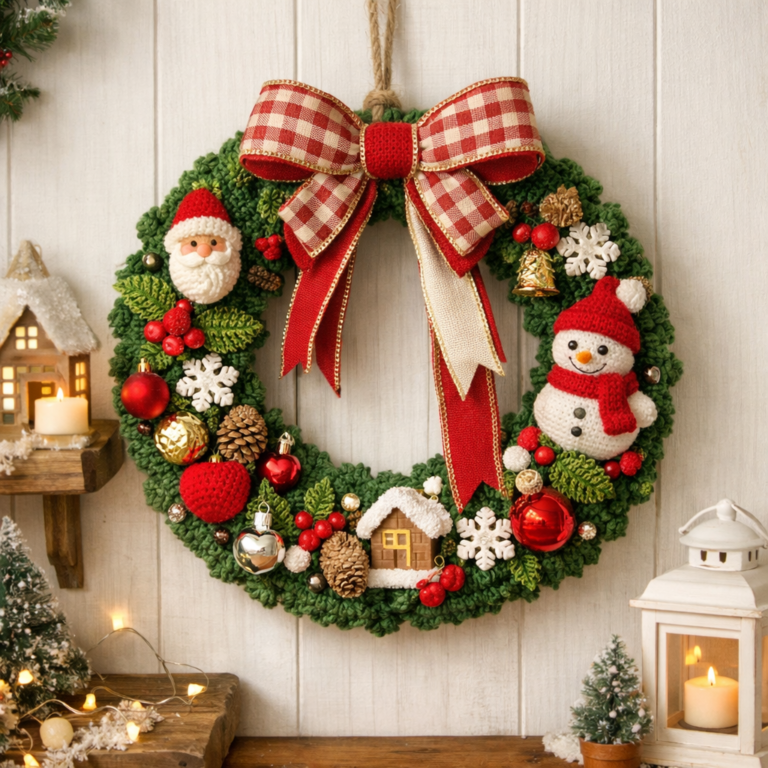
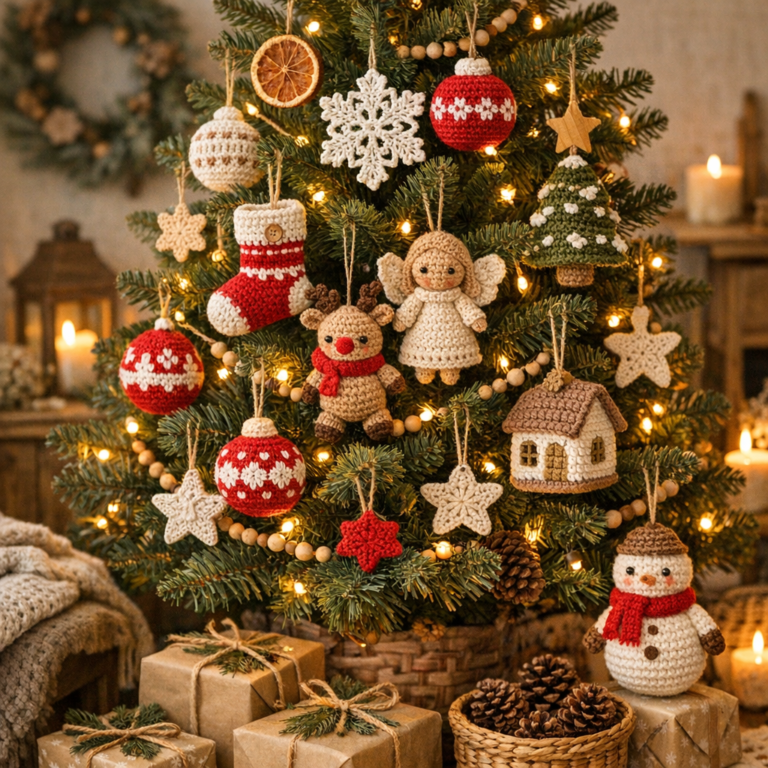
Looking for a festive and beginner-friendly crochet project? These adorable crochet Christmas bells are perfect for holiday decorations, gifts, or even Christmas tree ornaments.
This step-by-step amigurumi pattern creates cute bells with leaves and berries, giving your handmade decor a cozy holiday charm.

🧶 Materials You’ll Need
Before you start, gather your crochet supplies to make the process smooth and enjoyable. This pattern uses lightweight yarn and simple tools, making it ideal for beginners.
- DK weight yarn (yellow, green, red)
- 2.25 mm crochet hook
- Fiberfill stuffing
- Tapestry needle & scissors
- Stitch marker
- Small bell inserts (optional for sound)
💡 Tip: Cotton-acrylic blends work best for structure and durability.

📏 Size & Crochet Notes
These crochet bells are small, cute, and perfect for ornaments. The finished size is approximately 4.7 x 5.1 inches, including the hanging loop.
- Worked in continuous spirals (no turning chains)
- Use tight stitches to prevent stuffing from showing
- Size may vary depending on your tension
Consistency is key for a neat amigurumi finish.

🧵 Basic Crochet Stitches Used
This pattern uses simple stitches, making it beginner-friendly while still fun for advanced crocheters.
- Magic Ring (MR)
- Single Crochet (sc)
- Increase (inc)
- Decrease (dec)
- Slip Stitch (sl st)
✨ The crab stitch (reverse single crochet) adds a decorative edge to the bells.

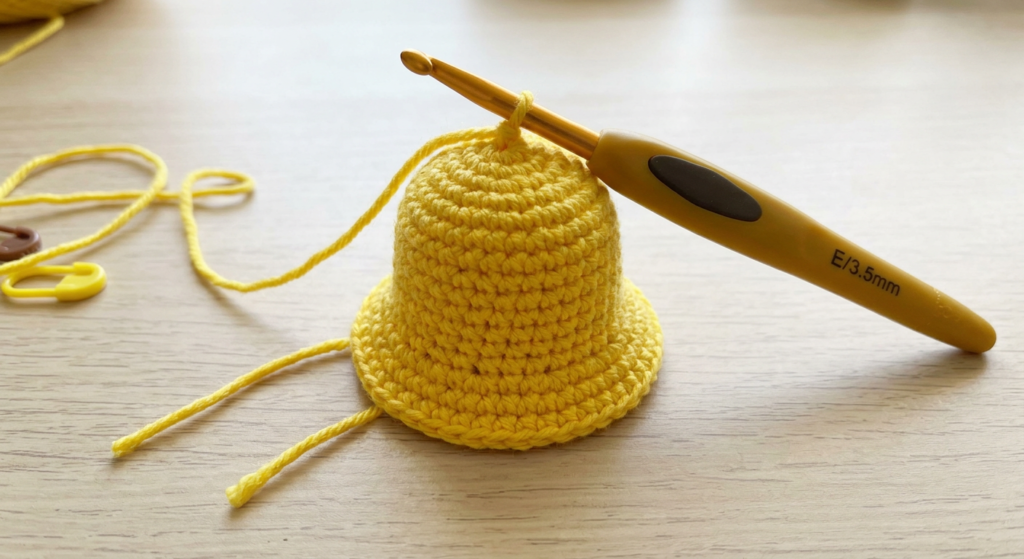
🔔 How to Crochet the Bells
Start by making two identical bells using yellow yarn. The shape is created by gradually increasing stitches in the round.
- Begin with a magic ring
- Increase rounds to form a dome shape
- Continue straight rounds for height
- Finish with a decorative crab stitch edge
This creates a smooth, rounded bell shape perfect for ornaments.
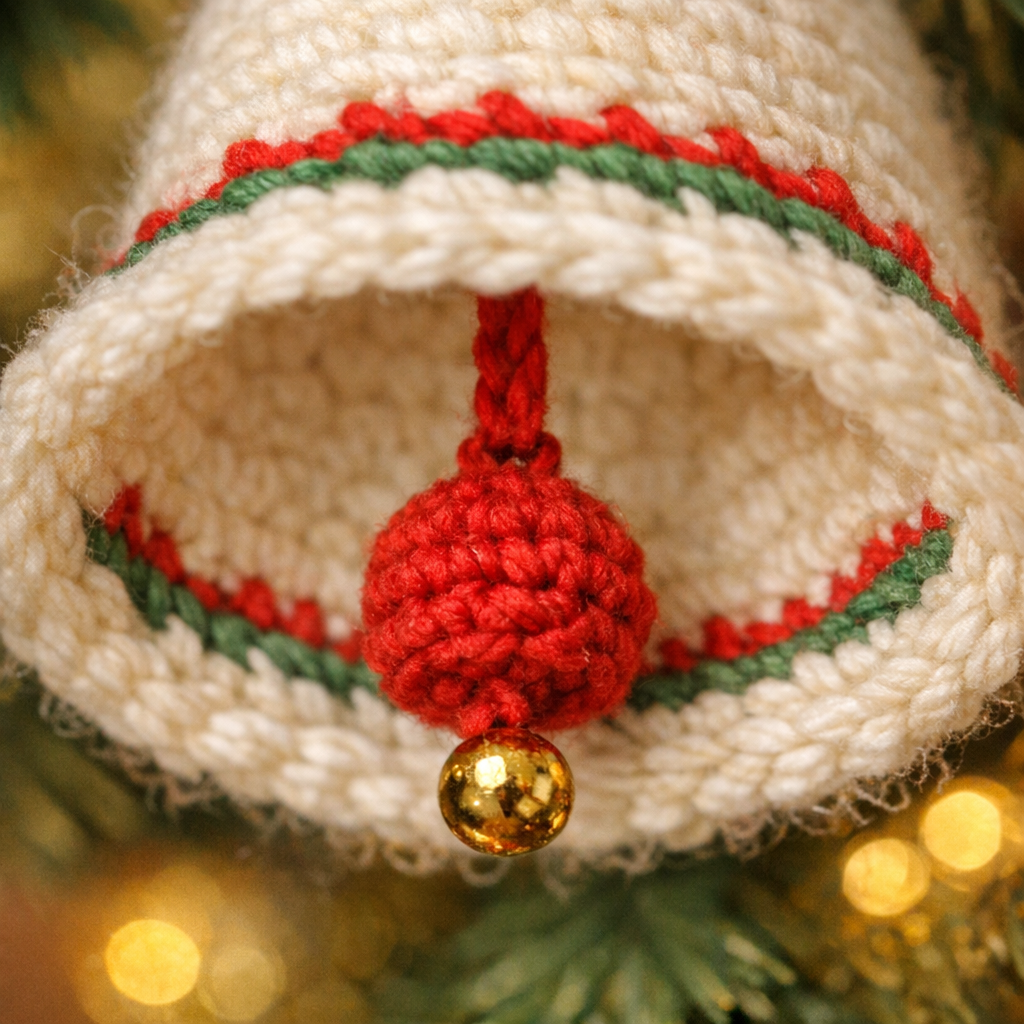
🧶 Adding the Bell Clapper (Inside Piece)
To make your bells more realistic, create a small inner piece (clapper).
- Chain stitches using contrasting yarn
- Work single crochet across
- Attach inside the bell
You can also insert a small jingle bell for sound 🎶
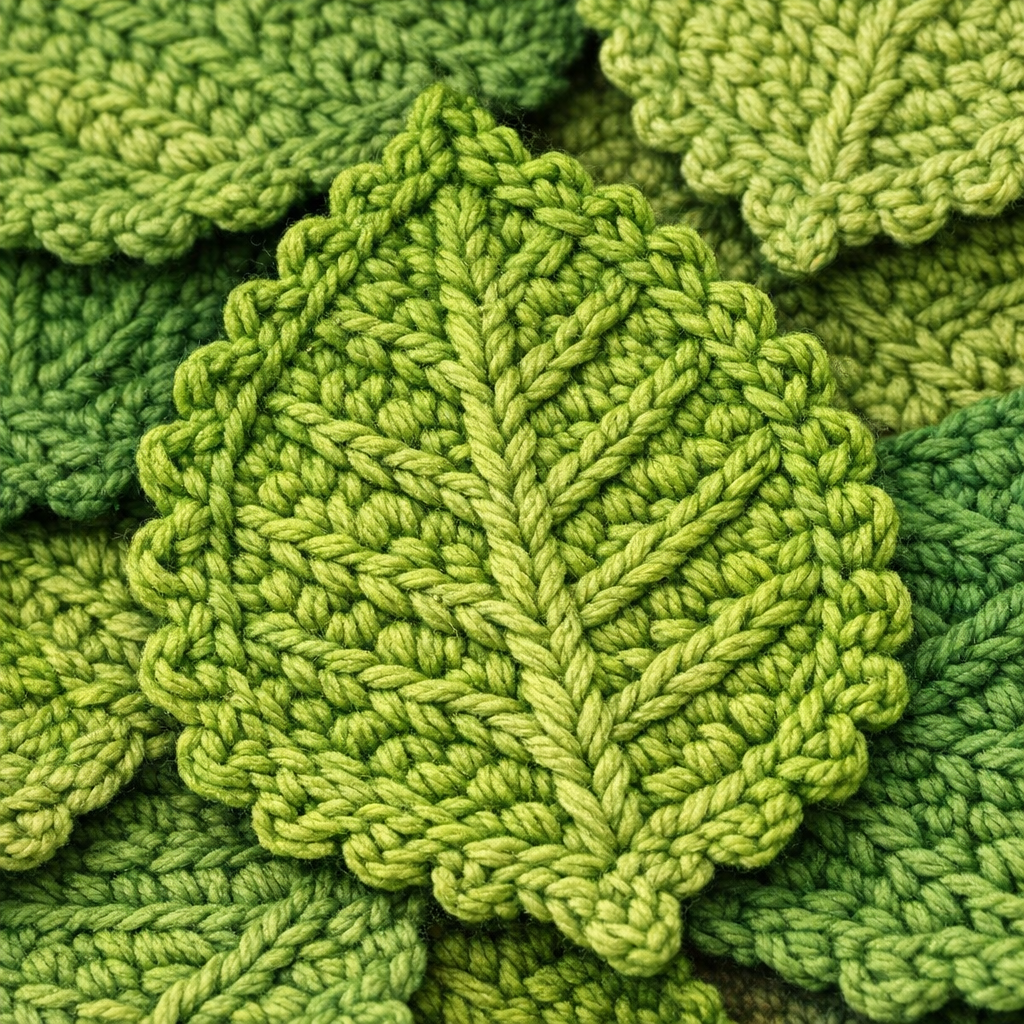
🍃 Crocheting Leaves for Decoration
The green leaves add a natural, festive touch to your crochet bells.
- Chain foundation and work around both sides
- Use increases to shape the leaf
- Add chain loops for decorative edges
Make four leaves for a full, balanced design.
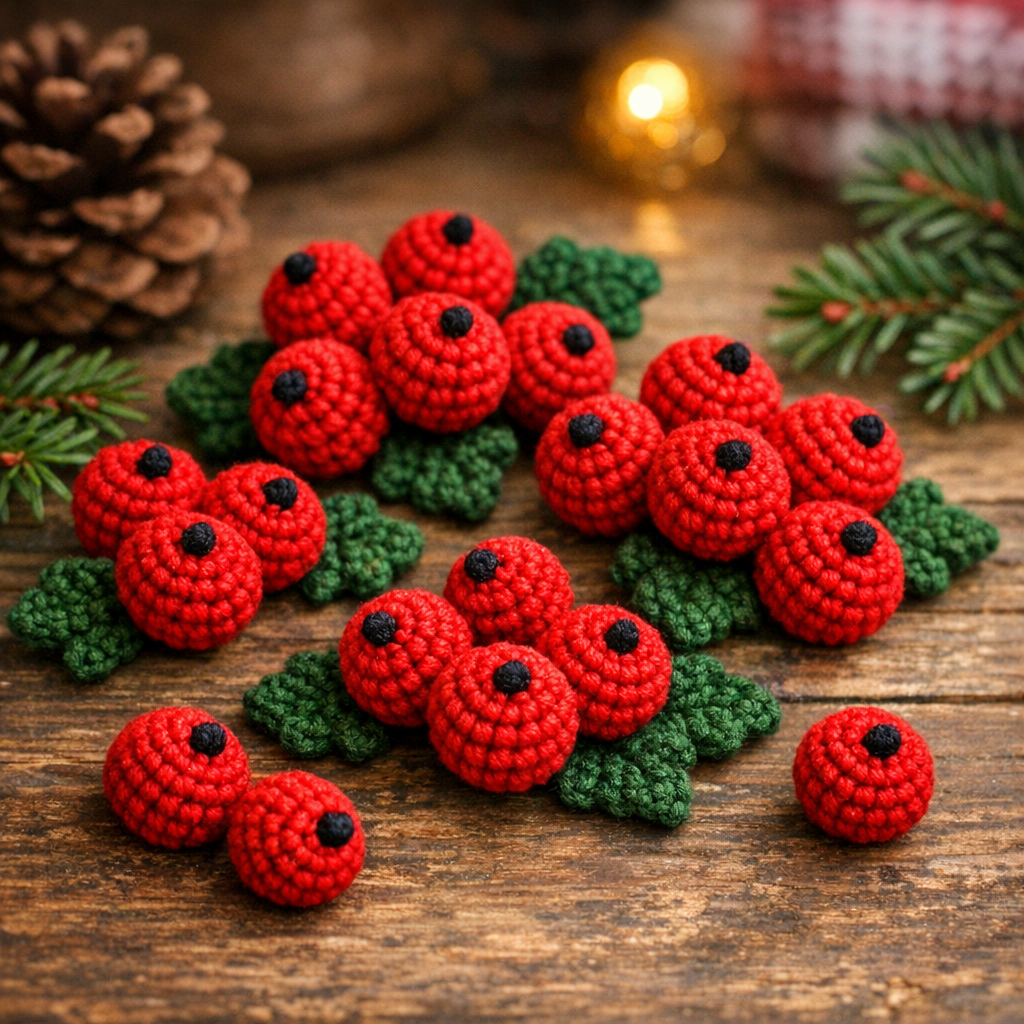
🍒 Making Cute Crochet Berries
The red berries complete the Christmas look and add a pop of color.
- Start with a magic ring
- Increase slightly, then work even rounds
- Lightly stuff with fiberfill
- Close and secure
These tiny details make your project stand out beautifully.
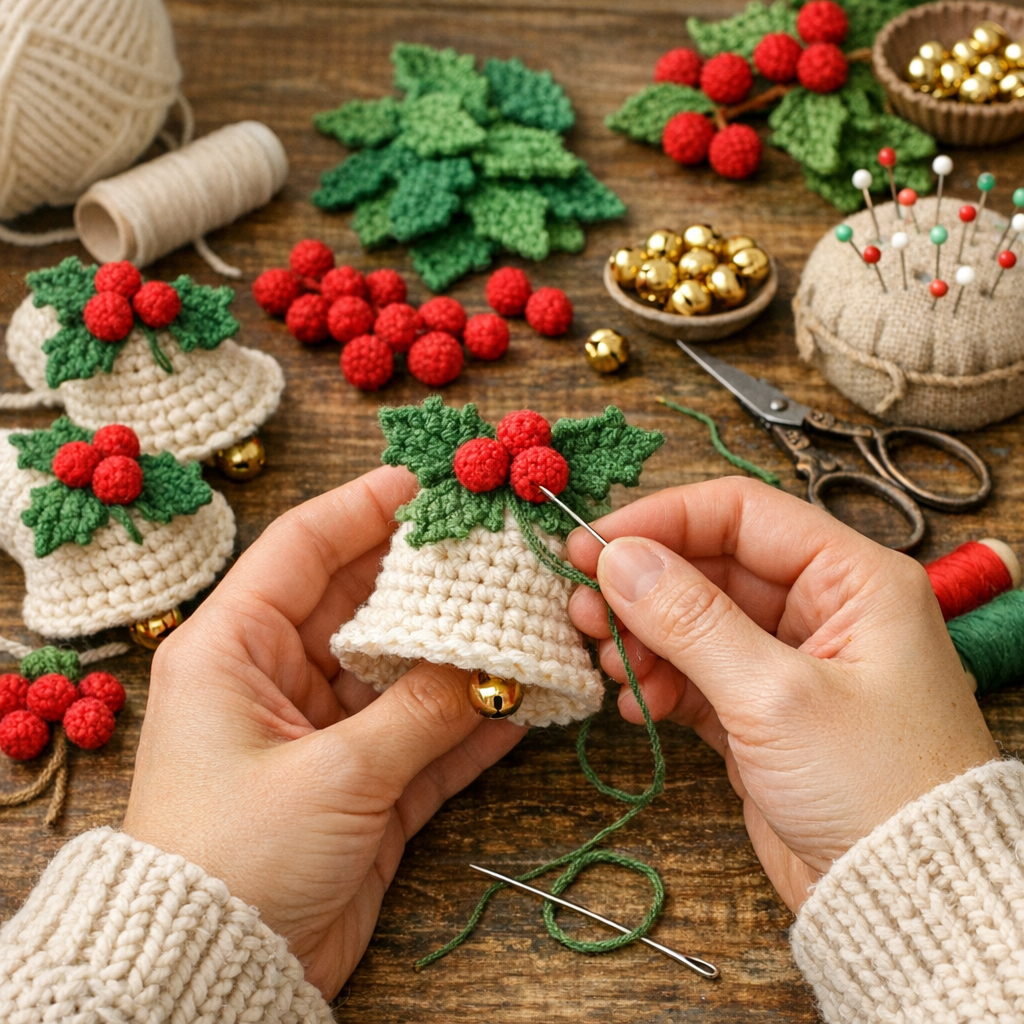
🧵 Assembly & Finishing
Now it’s time to bring everything together!
- Sew leaves together
- Attach bells securely
- Add berries on top
- Hide all yarn ends neatly
Take your time with assembly for a polished, professional look.
🔗 Adding the Hanging Loop
To turn your bells into ornaments, create a sturdy loop.
- Chain stitches and crochet back across
- Attach securely to the back
- Ensure it’s strong enough for hanging
Perfect for decorating your Christmas tree 🎄

💡 Tips for Perfect Crochet Bells
- Keep stitches tight for clean amigurumi results
- Use a smaller hook for better structure
- Steam-block leaves for a smooth finish
- Experiment with colors for unique designs
These small adjustments can make a big difference in your final piece.
🎁 Final Thoughts
These crochet Christmas bells are quick, cute, and perfect for holiday crafting. Whether you’re decorating your home or making handmade gifts, this pattern is a must-try.
📌 Save this idea for later and don’t forget to download the full printable pattern!