Christmas Ornament Embroidery Pattern for Beginners (Free PDF Guide)
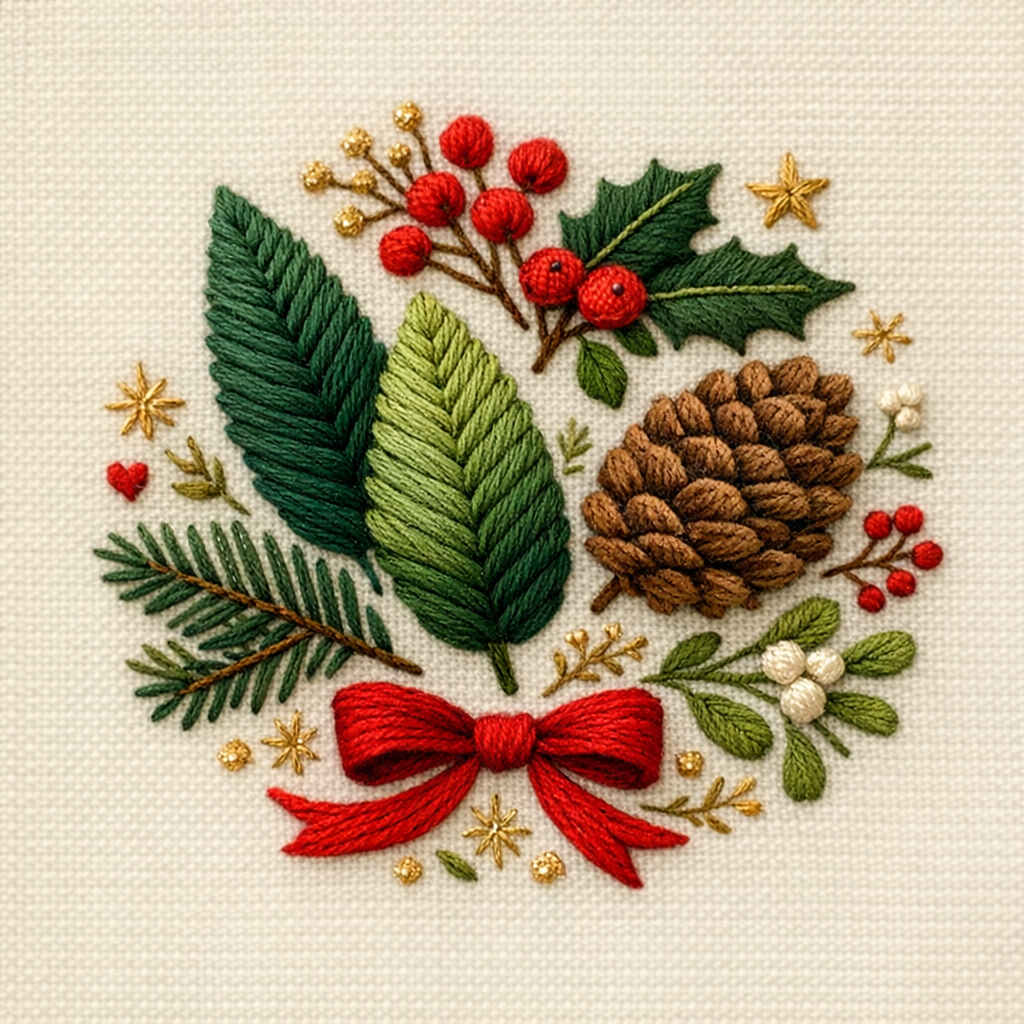
Create beautiful handmade holiday decor with this easy Christmas ornament embroidery pattern. This beginner-friendly embroidery project features festive stitches, cozy holiday colors, and simple techniques that make it perfect for relaxing winter crafting. Whether you’re decorating your home or making handmade gifts, this embroidery hoop pattern is a creative way to celebrate the season.
After following this guide, you’ll also be able to download the printable embroidery PDF pattern for easy stitching at home.

Materials You Need for This Christmas Embroidery Pattern
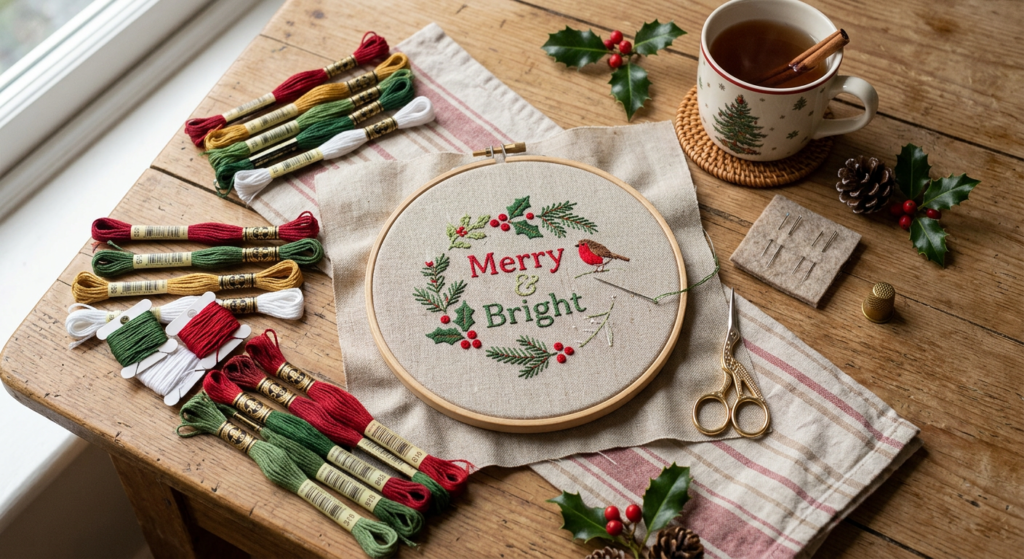
Before starting your embroidery project, gather a few basic embroidery supplies. The pattern uses simple materials that most beginners already have at home, making it an affordable and relaxing DIY craft.
You’ll need a 15 cm embroidery hoop, embroidery needles, cotton fabric or linen canvas, scissors, carbon paper, and colorful embroidery floss. The original pattern recommends DMC cotton threads for vibrant holiday colors and smooth stitching results.
Best Fabric and Thread Choices for Holiday Embroidery
Natural fabrics like cotton or linen work best for embroidery because they hold stitches neatly and create a clean finished look. Using two layers of fabric can also help improve stitch stability, especially for beginners learning decorative embroidery techniques.
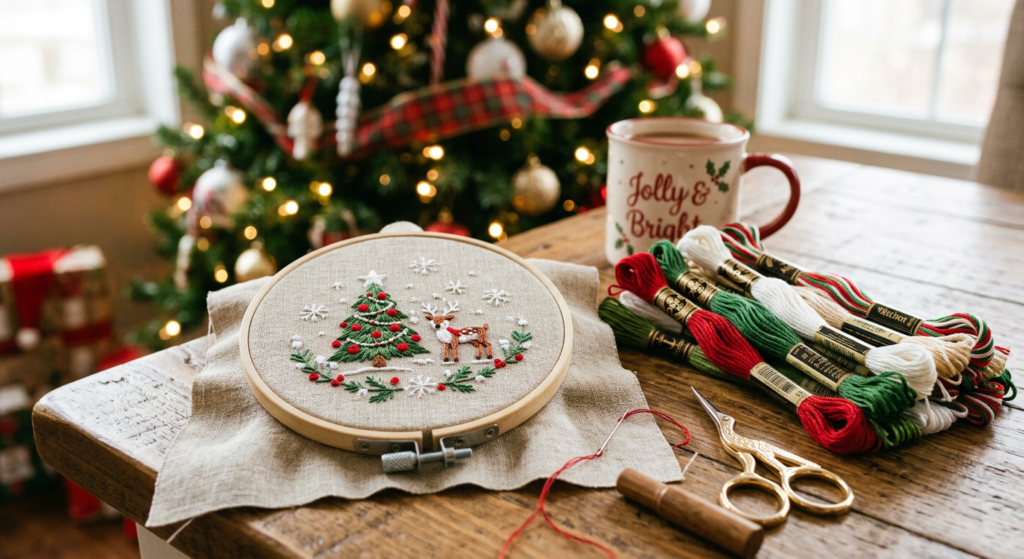
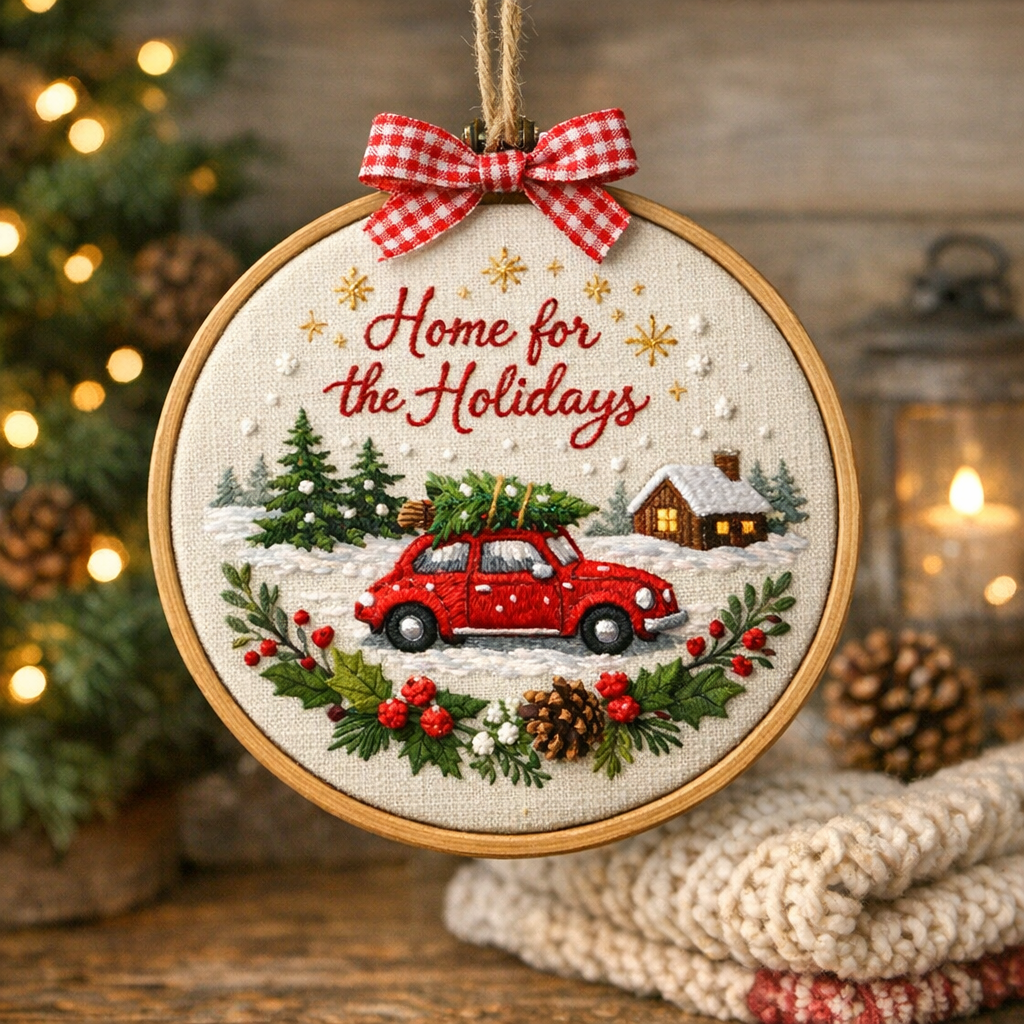
For the festive ornament design, traditional Christmas shades like red, white, green, and gold create a timeless handmade appearance. Cotton embroidery floss gives the stitches a soft texture and beautiful detail.
How to Transfer the Embroidery Pattern to Fabric
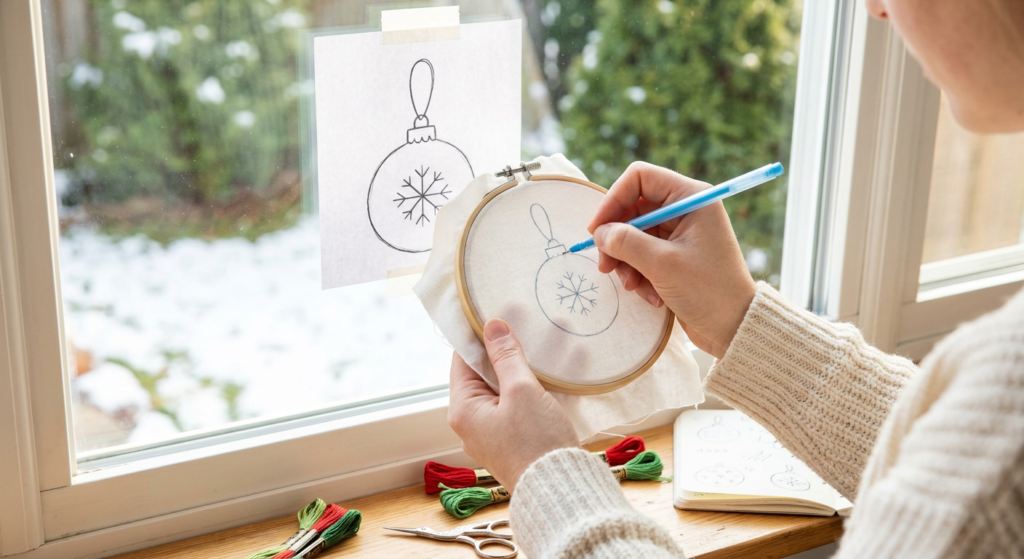
Transferring the embroidery design is one of the easiest steps in the project. You can use carbon paper, a window, tablet, or smartphone screen to trace the pattern onto your fabric before stitching.
Tape the printed design behind the fabric and carefully trace it using a washable pen or fabric marker. This method helps keep the lines neat and makes stitching easier later.
Essential Embroidery Stitches Used in This Pattern
This Christmas ornament embroidery pattern includes several beginner-friendly embroidery stitches. These decorative stitches create texture, dimension, and festive floral details throughout the design.
Back Stitch for Clean Decorative Lines
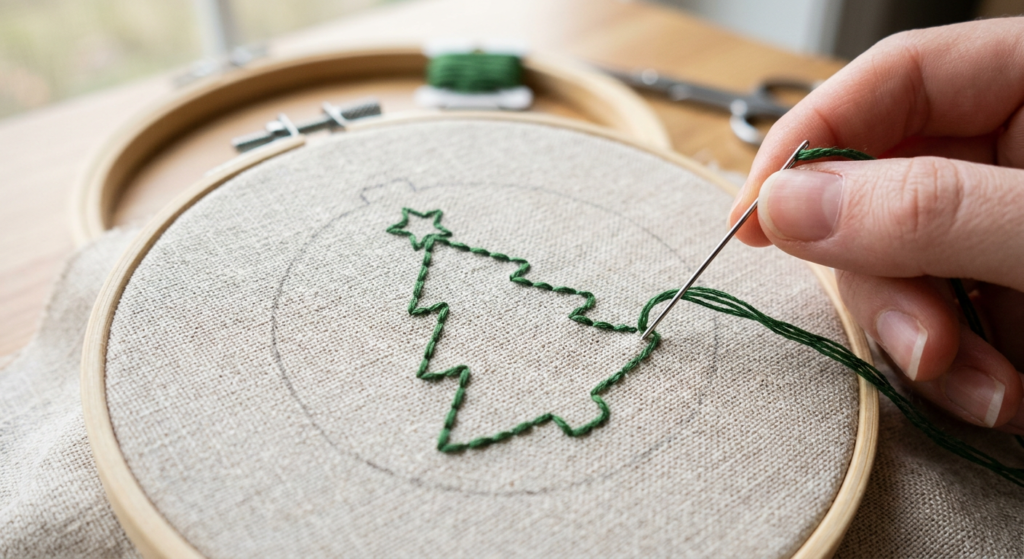
The back stitch is perfect for outlines, borders, and decorative details. It creates smooth continuous lines and is one of the most important beginner embroidery stitches to learn.
The pattern uses back stitch with green thread tones to highlight ornament details and create elegant outlines around floral elements.
Satin Stitch for Bold Color Areas
The satin stitch fills shapes with smooth blocks of color and gives embroidery a polished professional finish. This stitch works beautifully for ornaments, berries, and decorative accents.
In this holiday embroidery design, satin stitch is mainly used with red and white thread shades to create festive Christmas ornament textures.

Fishbone Stitch for Embroidered Leaves
Fishbone stitch is commonly used for leaves and botanical embroidery. Its layered diagonal stitches create a natural leaf appearance that adds elegance to holiday embroidery patterns.
This stitch works especially well for pine-inspired greenery and decorative Christmas foliage around ornaments and flowers.
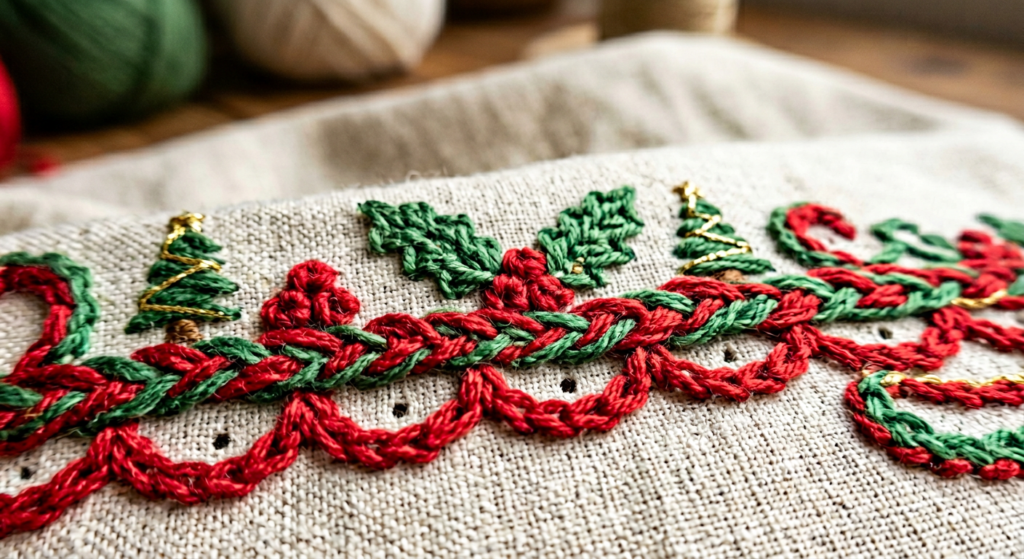
Chain Stitch for Decorative Texture
Chain stitch creates beautiful linked loops that add texture and movement to embroidery projects. It’s ideal for vines, decorative borders, and curved ornament details.
The raised texture of chain stitch gives holiday embroidery a handcrafted artisan feel that looks stunning in embroidery hoops.
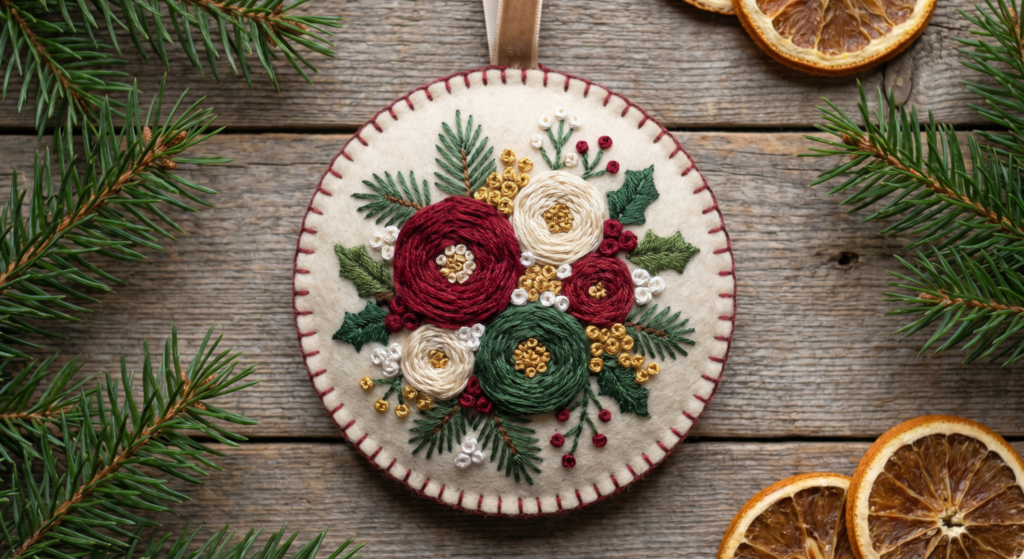
French Knots and Woven Wheel Flowers
French knots add tiny dimensional details that resemble berries or snow accents. Woven wheel stitches create gorgeous floral textures that make the embroidery design stand out beautifully.
Combining these two stitches creates decorative holiday flowers that look detailed while remaining beginner-friendly to stitch.
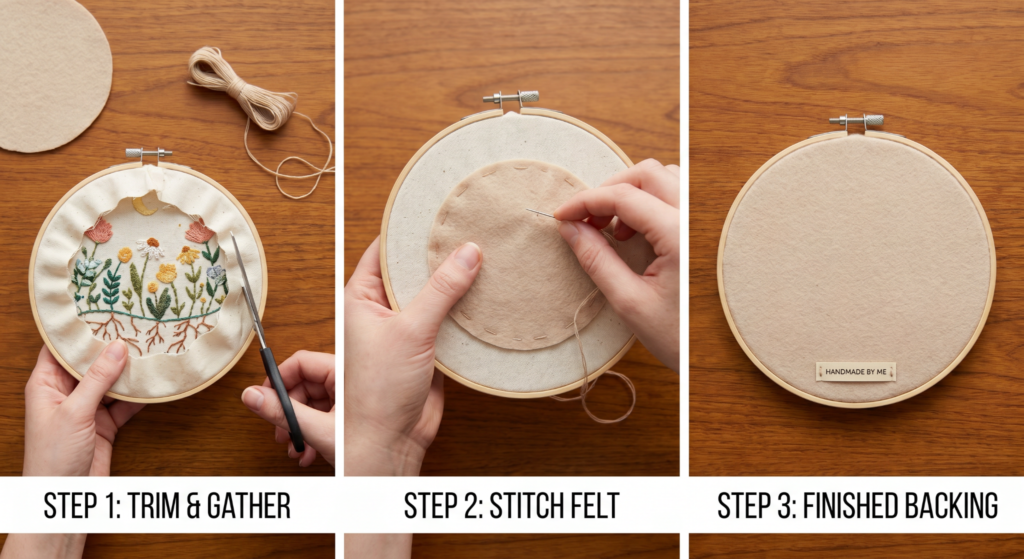
How to Finish Your Embroidery Hoop Professionally
Once your embroidery is complete, finishing the back of the hoop gives it a polished handmade appearance. Cut a felt circle matching the inner hoop size and pin it to the gathered fabric.
Use small overstitches to secure the felt backing neatly around the hoop. This creates a clean professional finish perfect for holiday gifts, wall decor, or Christmas tree ornaments.
Why This Christmas Embroidery Pattern is Perfect for Beginners
This embroidery project combines simple stitches with festive holiday charm, making it ideal for beginners learning embroidery techniques. The pattern is easy to follow, relaxing to stitch, and creates beautiful seasonal decor you can proudly display every Christmas.
Hand embroidery projects like this are also perfect for Pinterest-inspired DIY gifts, cozy winter crafting nights, and handmade holiday decorations.
Final Thoughts
If you love easy embroidery projects, festive DIY decor, and beginner-friendly stitching tutorials, this Christmas ornament embroidery pattern is a wonderful project to try this holiday season. Download the printable PDF pattern, gather your embroidery supplies, and enjoy creating beautiful handmade Christmas art.