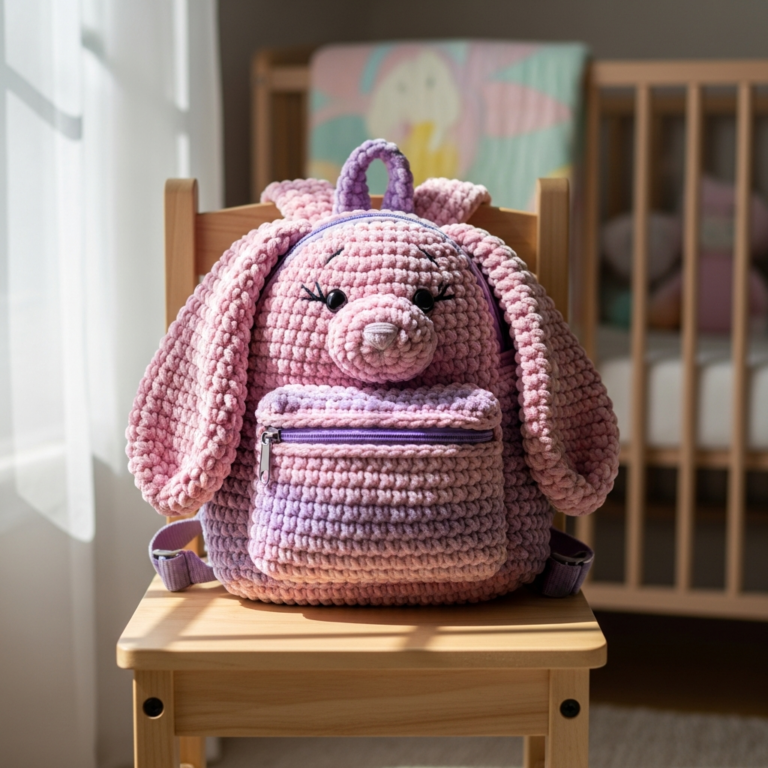
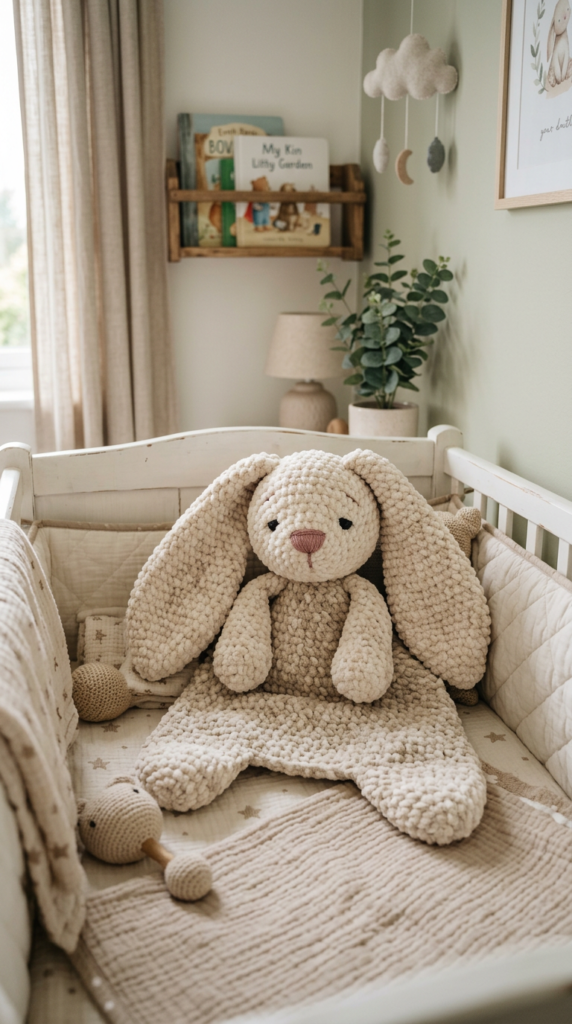
Plush Snuggler Bunny Crochet Pattern (Free + PDF)
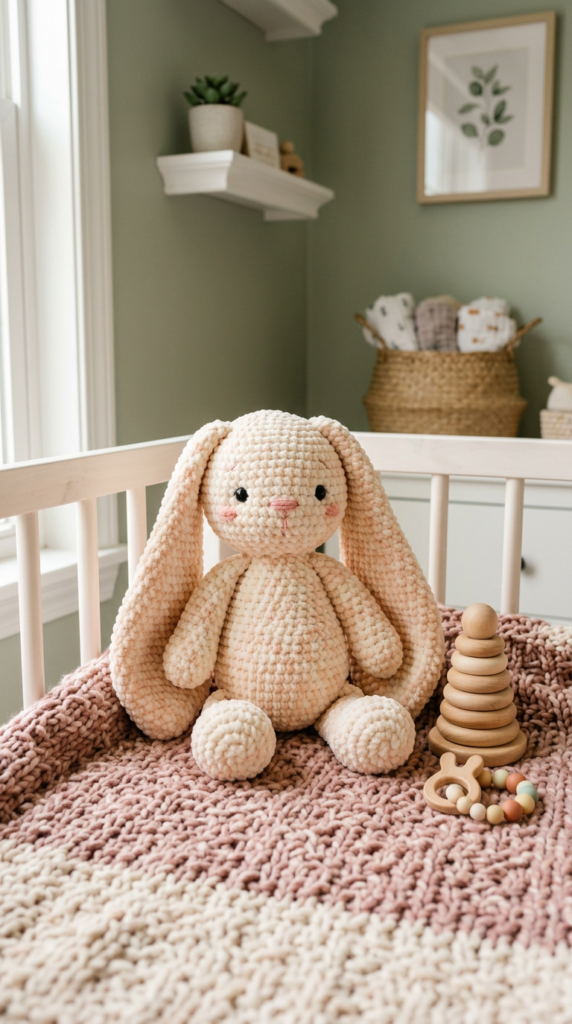
Looking for a soft, cuddly crochet bunny pattern that’s perfect for gifts or nursery decor? This Plush Snuggler Bunny is made with chunky chenille yarn and works up to approximately 41 cm (16 inches) tall. It’s beginner-friendly, works in continuous rounds, and is absolutely adorable.
Below you’ll find everything you need to make this amigurumi bunny, plus a convenient downloadable PDF pattern.
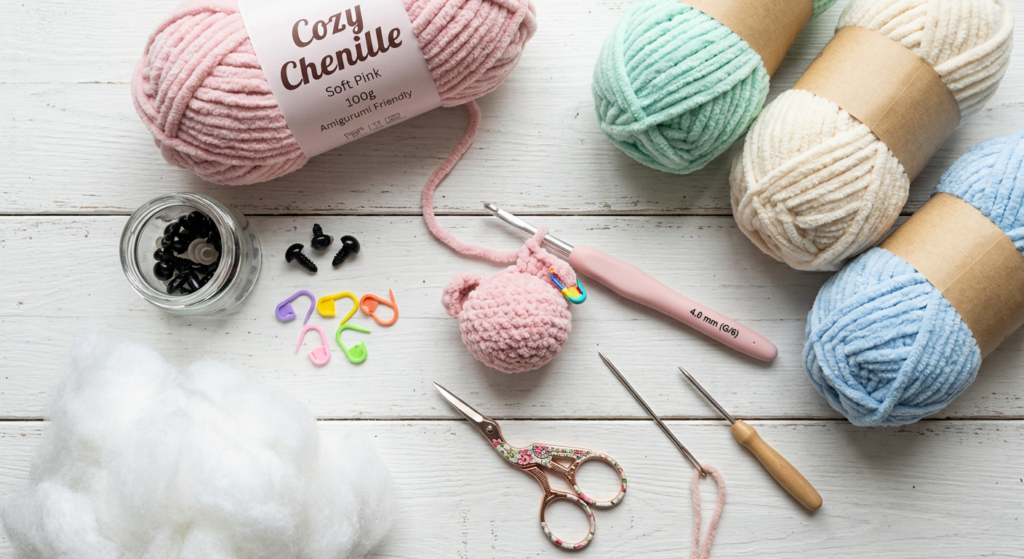
Materials for Your Plush Crochet Bunny
To create this plush amigurumi bunny, you’ll need super bulky chenille yarn (100g / 120m). The original pattern uses Wolans Bunny Baby yarn, but great alternatives include YarnArt Dolce, Premier Parfait Chunky, Katia Bambi, and similar plush yarns.
You’ll also need a 4 mm (G6) crochet hook, toy stuffing, stitch markers, tapestry needle, scissors, and either 16 mm safety eyes or dark embroidery thread.
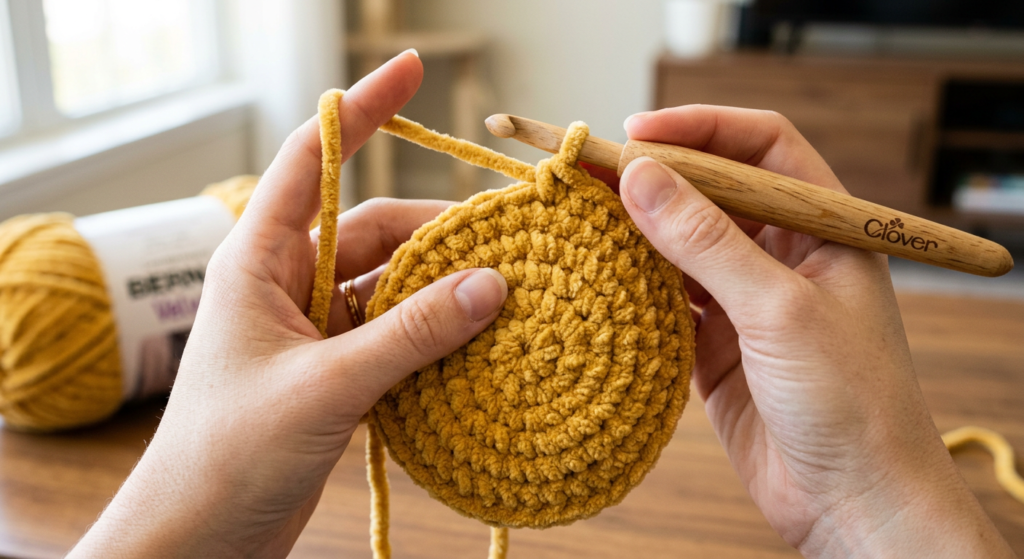
Crochet Abbreviations & Technique (Spiral Method)
This bunny is made using the spiral crochet technique, meaning you’ll work in continuous rounds without joining with a slip stitch. This method creates a seamless, smooth amigurumi finish.
Common stitches used include:
- sc (single crochet)
- inc (increase)
- dec (decrease)
- MR (magic ring)
- sl st (slip stitch)
If you’re comfortable with basic amigurumi stitches, this pattern will feel simple and repetitive—in the best way.
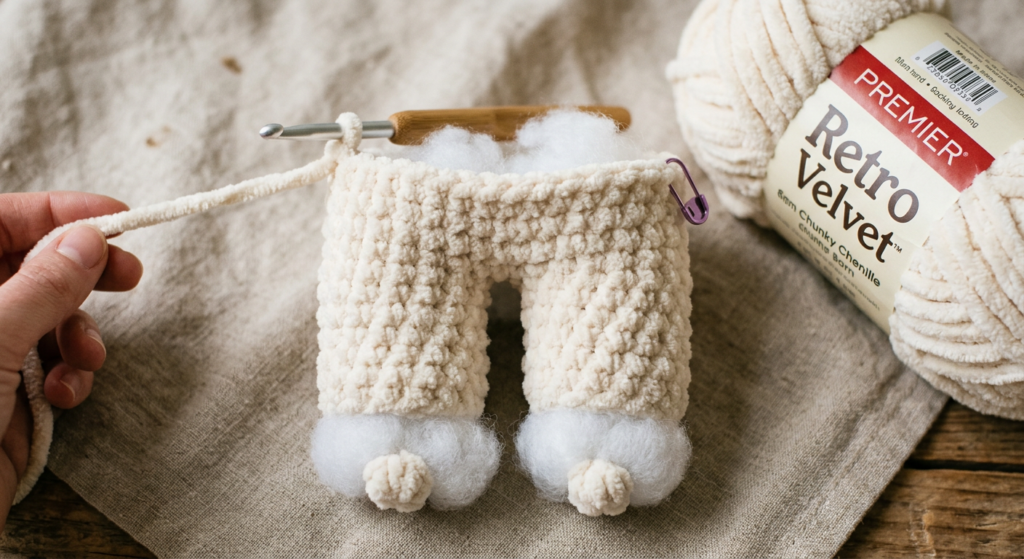
How to Crochet the Bunny Legs & Body
The bunny starts with two identical legs, crocheted separately in the round. Each leg begins with a magic ring and gradually increases before tapering and extending upward to form the base of the body.
Once both legs are complete, they are joined together and worked as one piece to create the body. The body gradually decreases to shape the torso, giving your bunny that sweet snuggly silhouette.
This construction method keeps the bunny sturdy and perfectly balanced when sitting.
Crocheting the Arms
The arms are worked in the round from a magic ring and lightly stuffed. A small decrease helps shape the top before folding and sealing with single crochets.
One subtle detail: the decreases are mirrored so the arms look symmetrical when sewn onto the body. This small touch makes your finished bunny look polished and professional.
How to Make the Bunny Head
The head begins with a secondary color (for a sweet face contrast) and transitions to the main color after round 8. It worked in increasing rounds, then decreased gradually to create a perfectly round amigurumi head.
Attach the 16 mm safety eyes between rounds 10 and 11, leaving about 8 stitches between them. If making this for a baby, embroidered eyes are a safer alternative.
Don’t forget to firmly stuff the head before closing to maintain its shape.
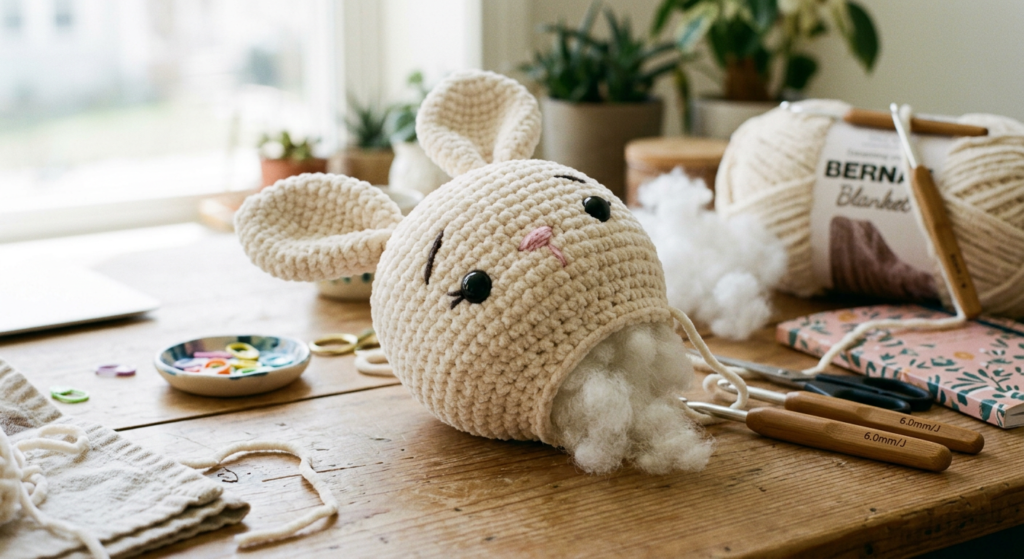
Long Floppy Ears & Cute Tail
The bunny’s long ears are one of its most charming features. They are worked in the round, gradually increased to full width, then decreased to taper naturally before folding and closing.
The small round tail is quick and simple—just a few rounds with increases and decreases. Sew it to the back for the perfect finishing touch.
Finishing & Assembly Tips
Sew the head securely to the body, then attach the arms with about four stitches between them. Position the ears between rounds 17 and 18 on the head for balanced placement.
Embroider a pink nose between rounds 8 and 9 (about 5 stitches wide). Add eyelashes and brows with dark thread, and gently tighten the muzzle to shape the face.
These small details bring your handmade crochet bunny to life.
Why You’ll Love This Plush Bunny Pattern
- Beginner-friendly amigurumi project
- Uses soft, trendy plush yarn
- Perfect baby shower or Easter gift
- Great for nursery decor
- Instant downloadable PDF option
This bunny is cozy, modern, and Pinterest-perfect. Whether you’re making it as a gift or adding it to your handmade shop, it’s guaranteed to become a favorite.