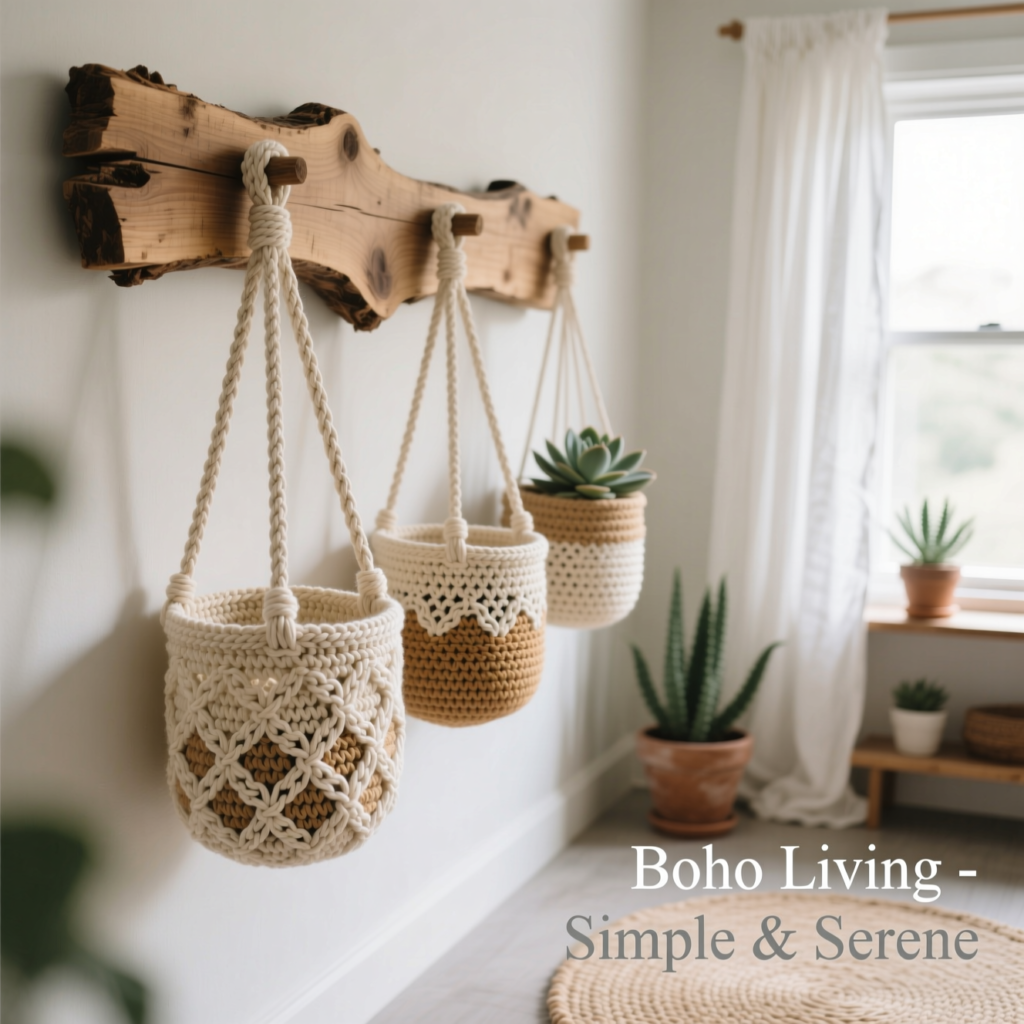
Easy Crochet Hanging Basket Pattern (3 Sizes DIY Storage)
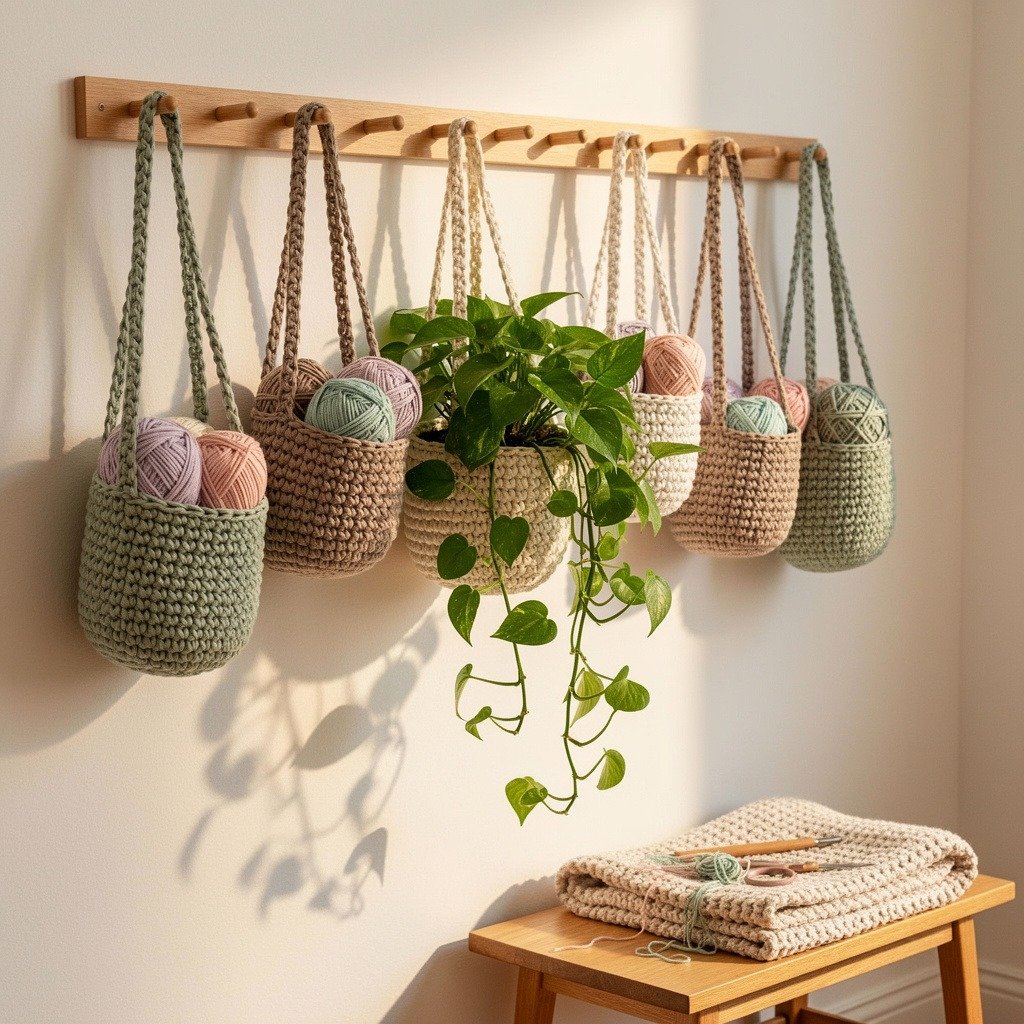
If you’re looking for a stylish and practical crochet home decor project, this crochet hanging basket pattern is the perfect choice. These baskets are sturdy, beginner-friendly, and ideal for organizing small items around the home.
This tutorial shows you how to crochet a set of three hanging baskets using simple stitches like single crochet and double crochet. The baskets are worked in a spiral and finished with a strong hanging loop so they can easily be displayed on hooks or wall racks.
Crochet Hanging Basket Sizes
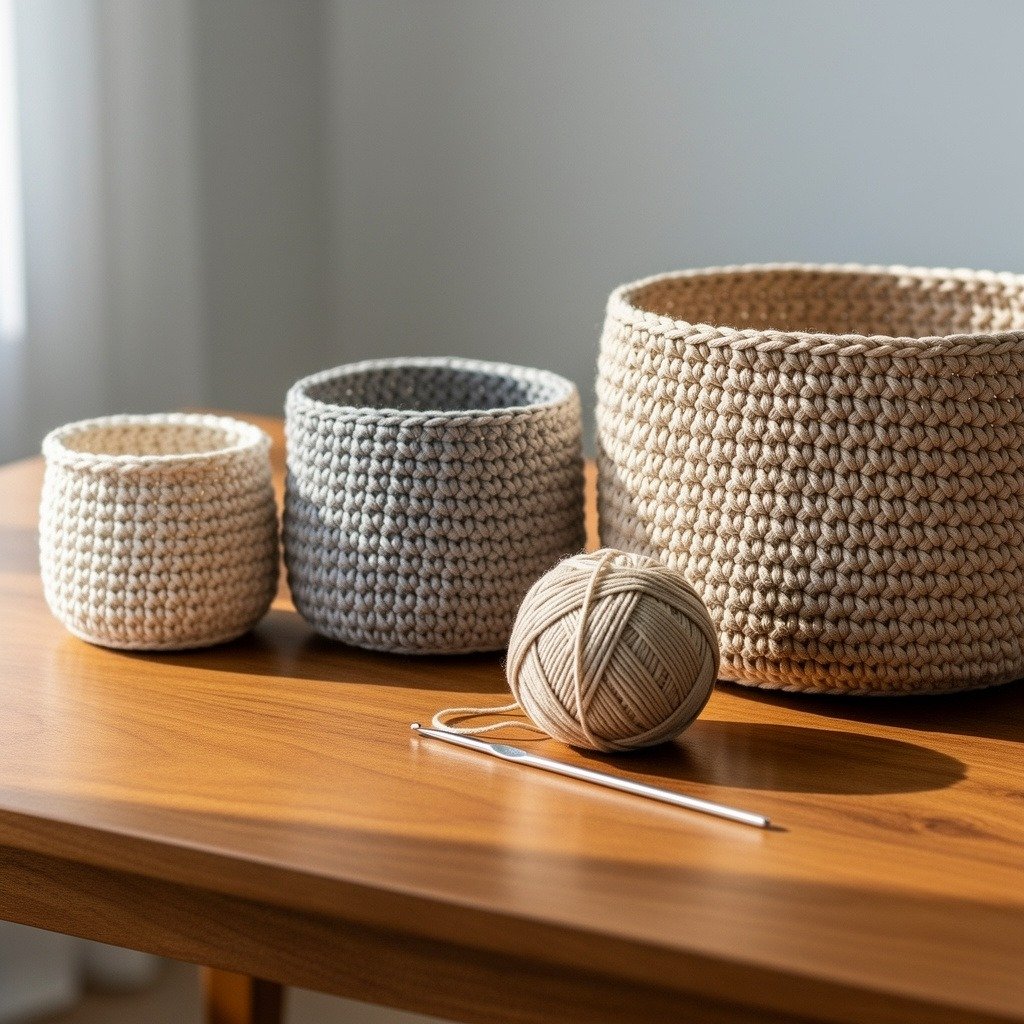
This crochet pattern includes three basket sizes so you can create a matching wall storage set. The baskets gradually increase in size and are perfect for organizing different items around your home.
Typical sizes include:
- Small Basket – perfect for keys, yarn scraps, or accessories
- Medium Basket – great for plants or bathroom storage
- Large Basket – ideal for toys, craft supplies, or larger items
Because crochet tension varies, the final basket size may change slightly depending on your yarn thickness.
Materials You’ll Need
To crochet this hanging basket set, gather a few basic crochet tools and sturdy yarn. The pattern uses thicker cord yarn so the baskets hold their shape well.
Materials list:
- 4–5 mm cotton, acrylic, or polyester cord (250–300 meters total)
- Crochet hook size 5 mm or 6 mm
- Scissors
- Stitch marker
Using thicker yarn will produce a larger basket with stronger structure.
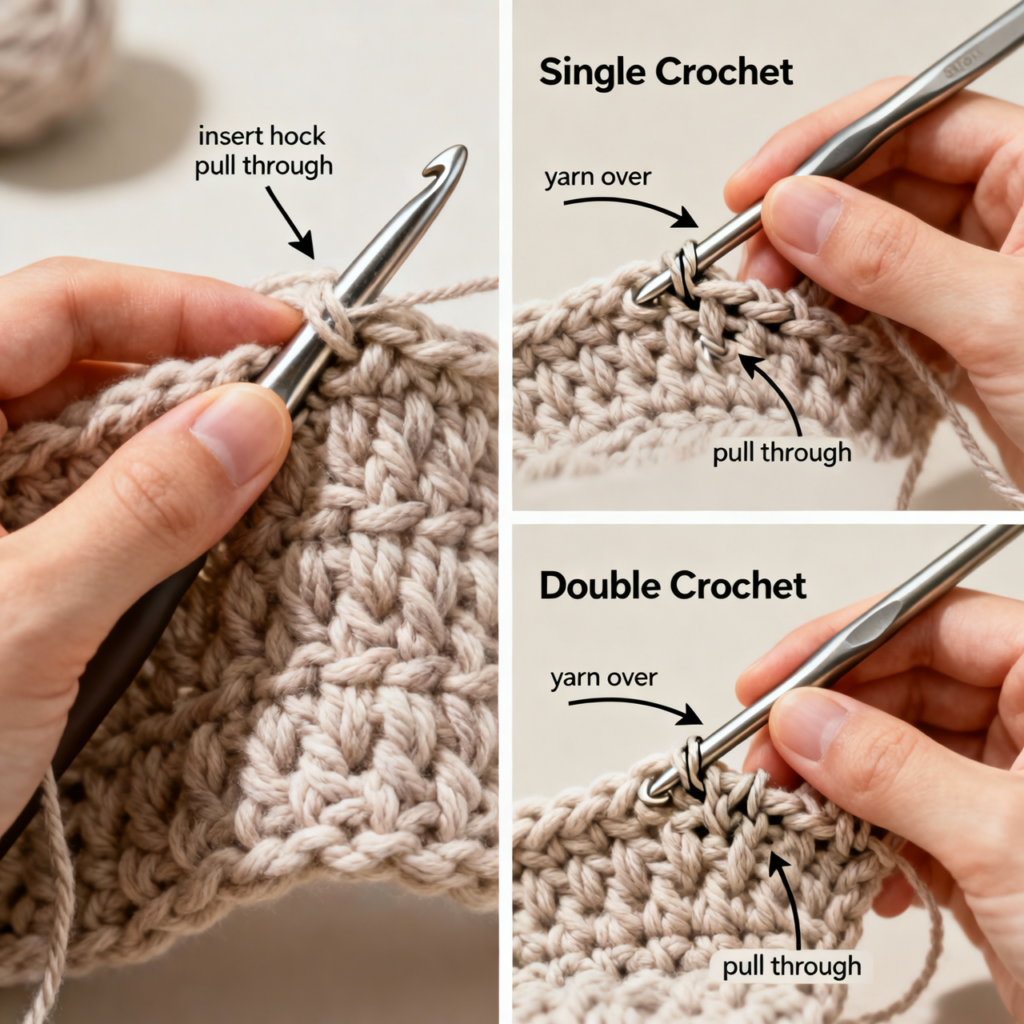
Image Prompt:
Crochet stitch tutorial showing single crochet and double crochet stitches using chunky yarn.

Crochet Abbreviations Used in the Pattern
Understanding the crochet abbreviations will make following the pattern much easier. These common crochet terms are used throughout the basket instructions.
Key abbreviations include:
- MR – Magic Ring
- ch – Chain stitch
- sc – Single crochet
- dc – Double crochet
- inc – Increase (2 stitches in one stitch)
- dcdec – Double crochet decrease
- sl st – Slip stitch
- BLO – Back loop only
These stitches create the texture and structure of the basket walls.
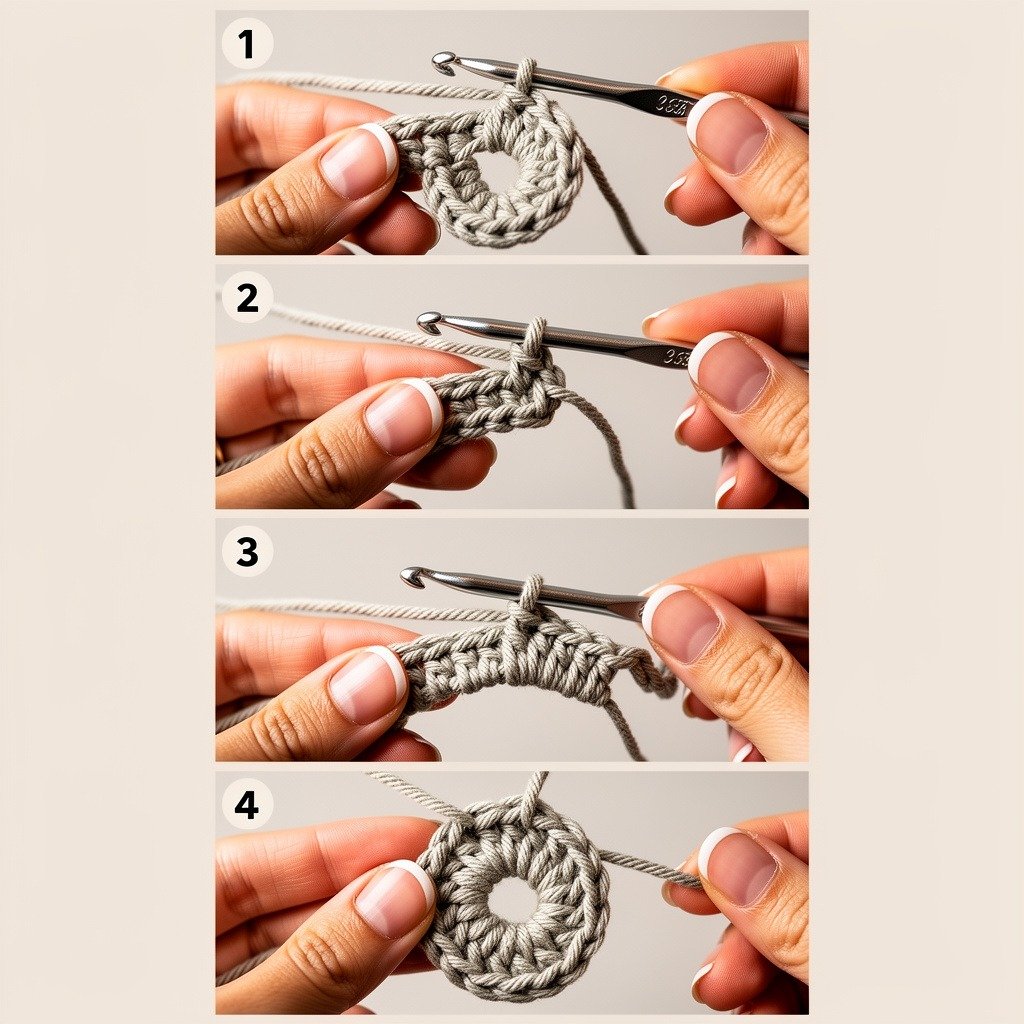
Step 1 – Start With a Magic Ring
Begin the basket by making a magic ring and crocheting 6 single crochet stitches into the ring. Pull the yarn tight to close the center and create a strong base.
Crochet in a spiral and place a stitch marker in the first stitch of each round to keep track of your progress.
Step 2 – Crochet the Basket Base
Next, increase stitches each round to form a flat circular base. These increases allow the basket bottom to expand evenly.
Typical base rounds include:
- Round 1: 6 increases (12 stitches)
- Round 2: (sc, inc) repeat
- Round 3: (2 sc, inc) repeat
- Round 4: (3 sc, inc) repeat
- Round 5: (4 sc, inc) repeat
All stitches are worked in the back loop only, which makes the basket stronger and more textured.
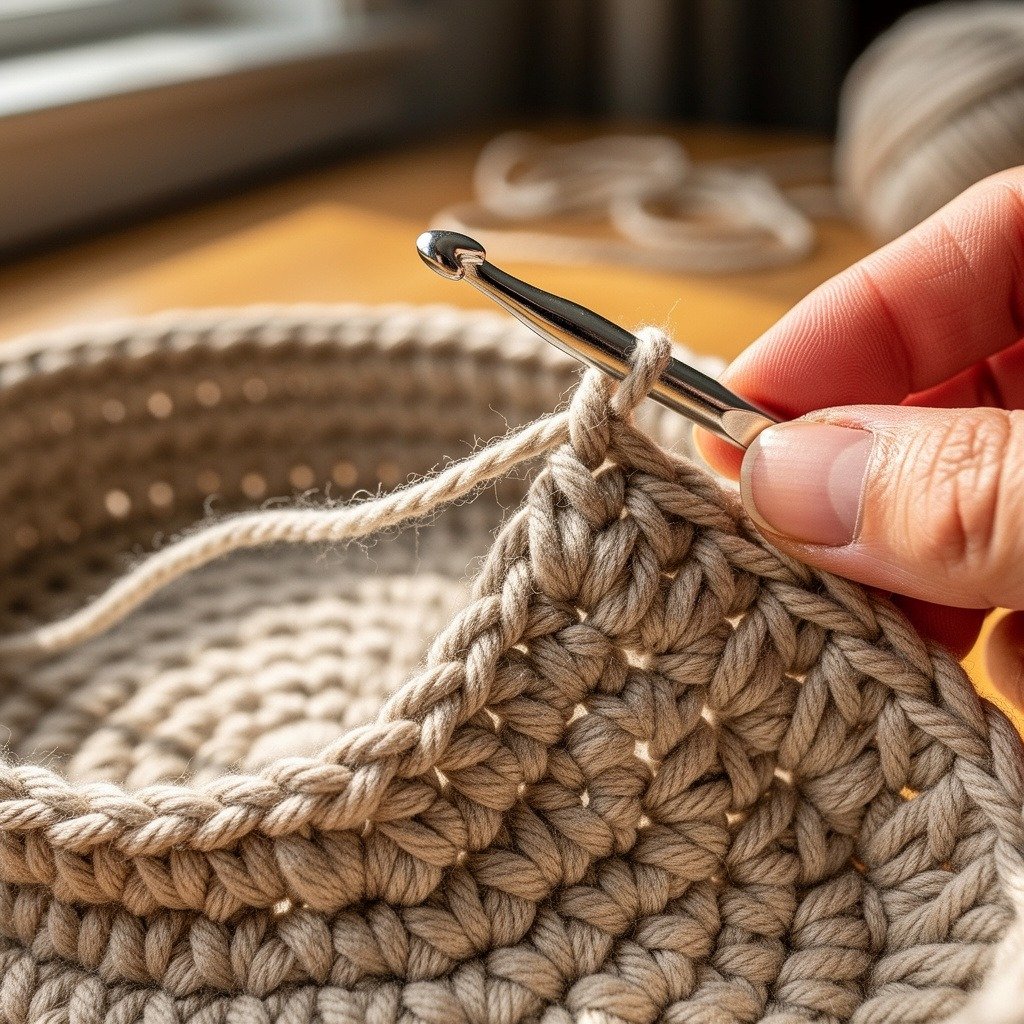
Step 3 – Build the Basket Walls
After completing the base, the pattern transitions into taller stitches like double crochet to build the basket walls.
These rounds include chains and double crochet stitches worked around the basket. This technique helps the basket grow quickly while maintaining structure.
Continue crocheting in a spiral until the basket reaches the desired height.
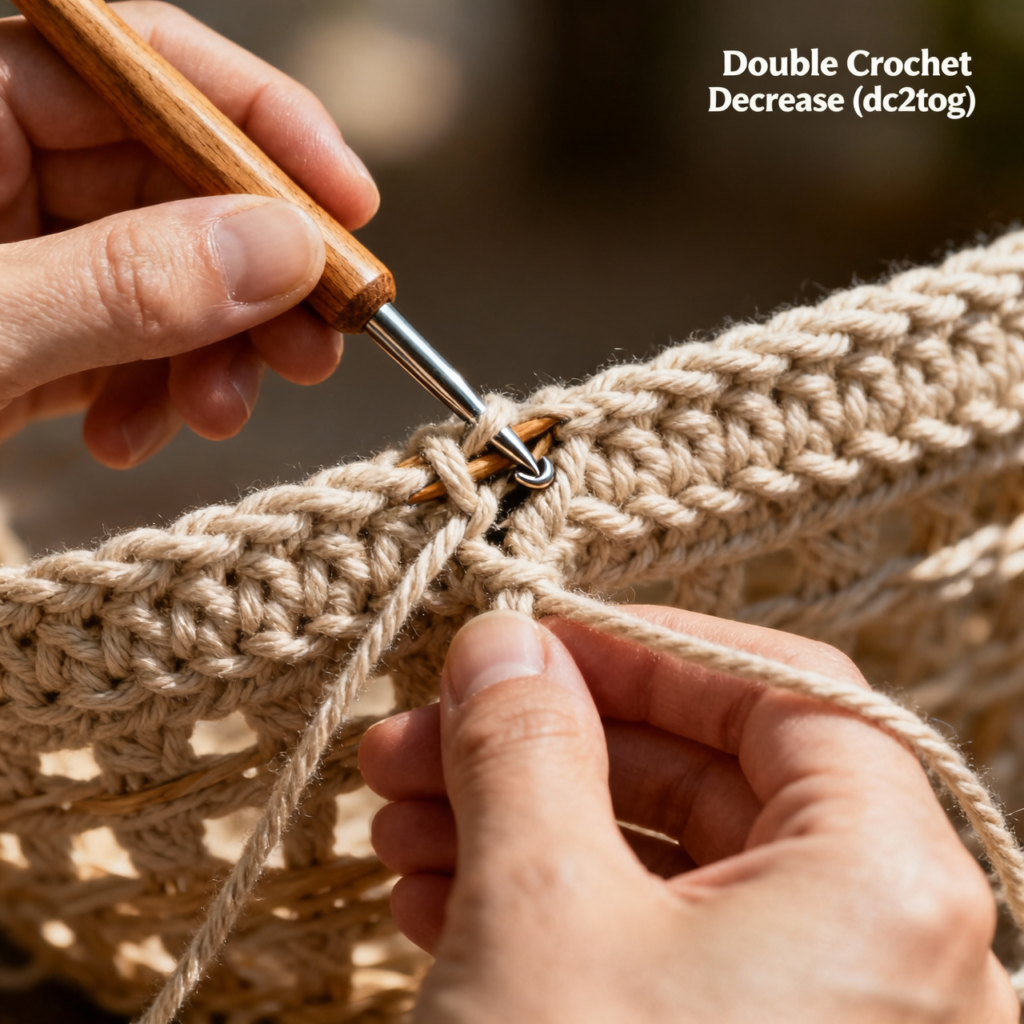
Step 4 – Shape the Basket Top
Toward the top of the basket, double crochet decreases are used to shape the rim and slightly narrow the opening.
These decreases help the basket maintain its structure and create a neat, finished edge.
This shaping step also prepares the basket for attaching the hanging loop.
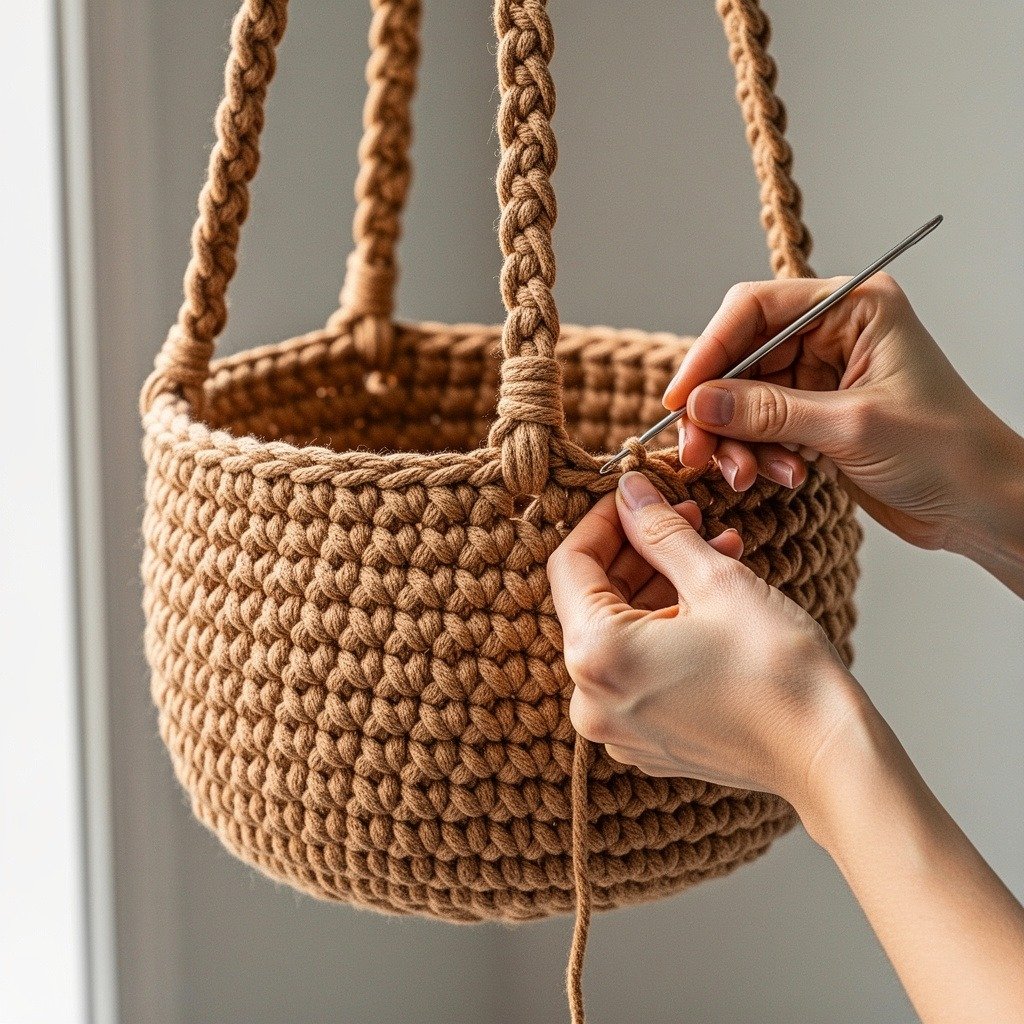
Step 5 – Add the Hanging Loop
The hanging loop allows the basket to be mounted on a wall hook or peg.
To create the loop:
- Chain 25 stitches
- Slip stitch into the base of the basket
- Slip stitch along the loop to strengthen it
This creates a durable hanging strap that supports the basket weight.

Step 6 – Finishing the Crochet Basket
To finish the project neatly, cut the yarn leaving a long tail. Use a smaller hook or needle to hide the yarn end inside the stitches.
Wrap the cord tightly near the hanging loop base to secure it and give the basket a clean professional look.
Once finished, your crochet basket is ready to hang.
Medium and Large Basket Variations
The medium and large baskets follow the same technique but include additional increase rounds to expand the base.
- Medium basket grows to about 42 stitches before building the walls.
- Large basket increases to about 48 stitches for a wider base.
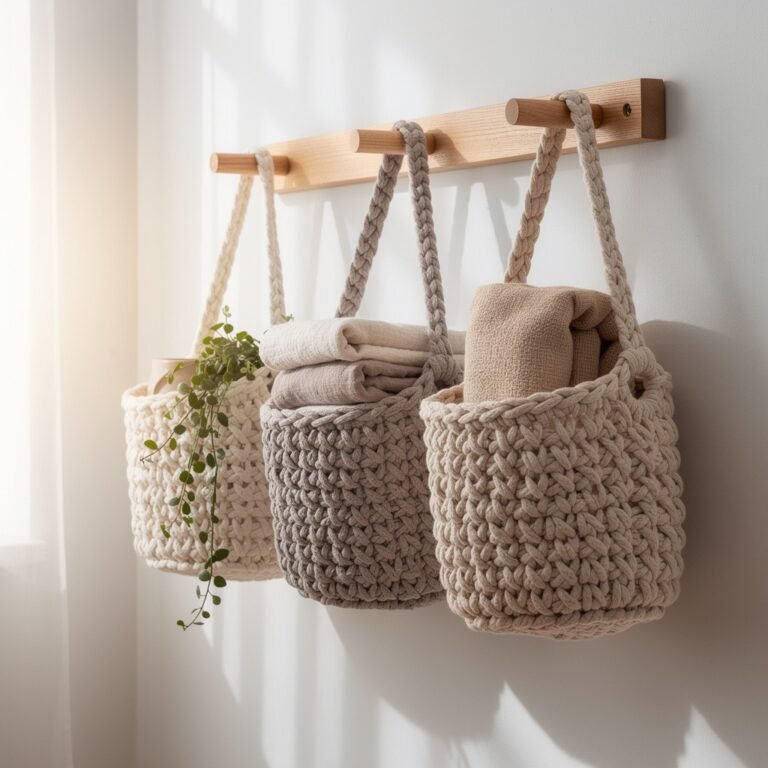
This allows you to create a matching three-basket storage set for stylish wall organization.
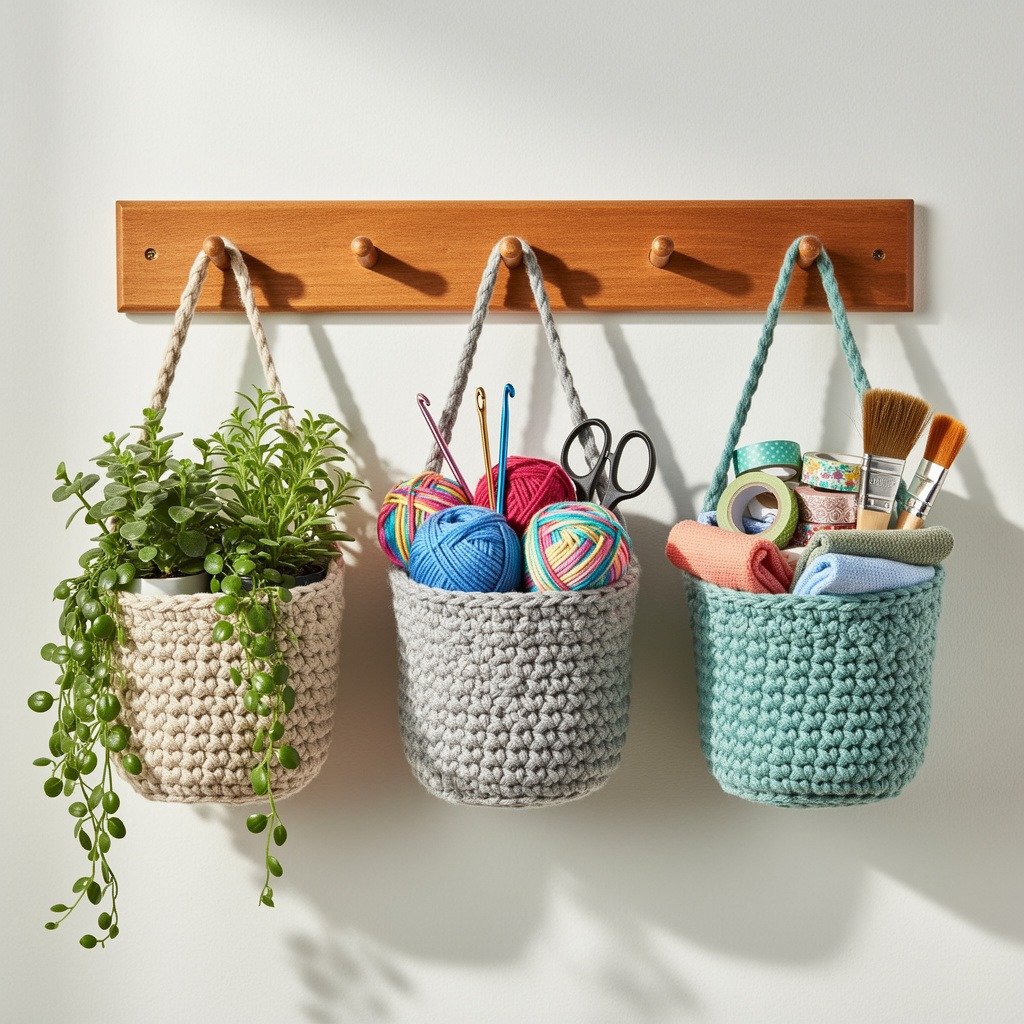
Final Result
Congratulations! After completing these steps, you’ll have a beautiful DIY crochet hanging basket set.
These baskets are perfect for:
- Yarn storage
- Bathroom organization
- Kitchen storage
- Kids toys
- Plant holders
This crochet project is quick, functional, and adds a cozy handmade touch to your home decor.