Crochet Hanging Basket Set Pattern (3 Sizes)
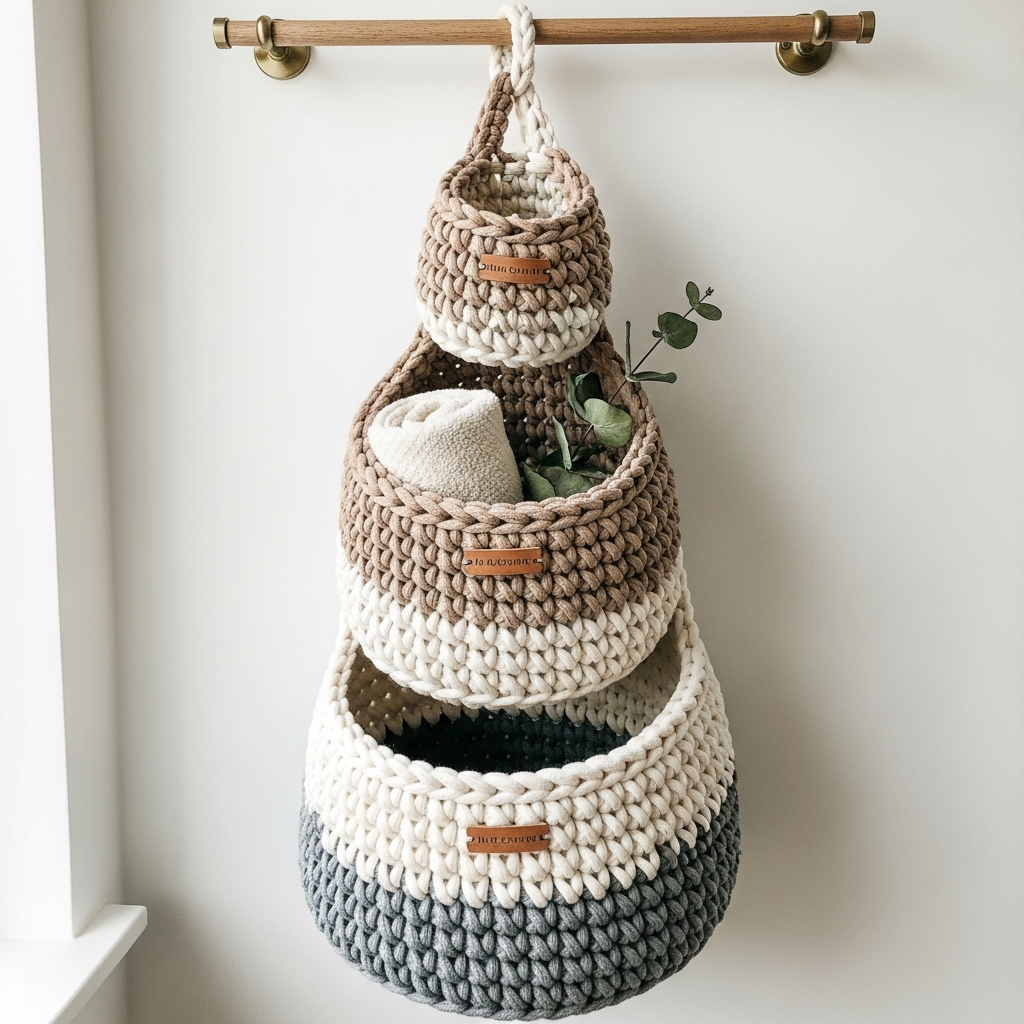
If you love practical crochet projects, this Crochet Hanging Basket Set is a perfect DIY project for organizing your home. These handmade baskets are ideal for storing plants, yarn, toiletries, or small household items while adding a cozy handmade touch to your space.
This crochet basket pattern includes three sizes — small, medium, and large — so you can create a matching storage set. The baskets are made using strong cord yarn and simple stitches like double crochet and magic ring, making the project beginner-friendly.
Materials Needed for the Crochet Basket Set
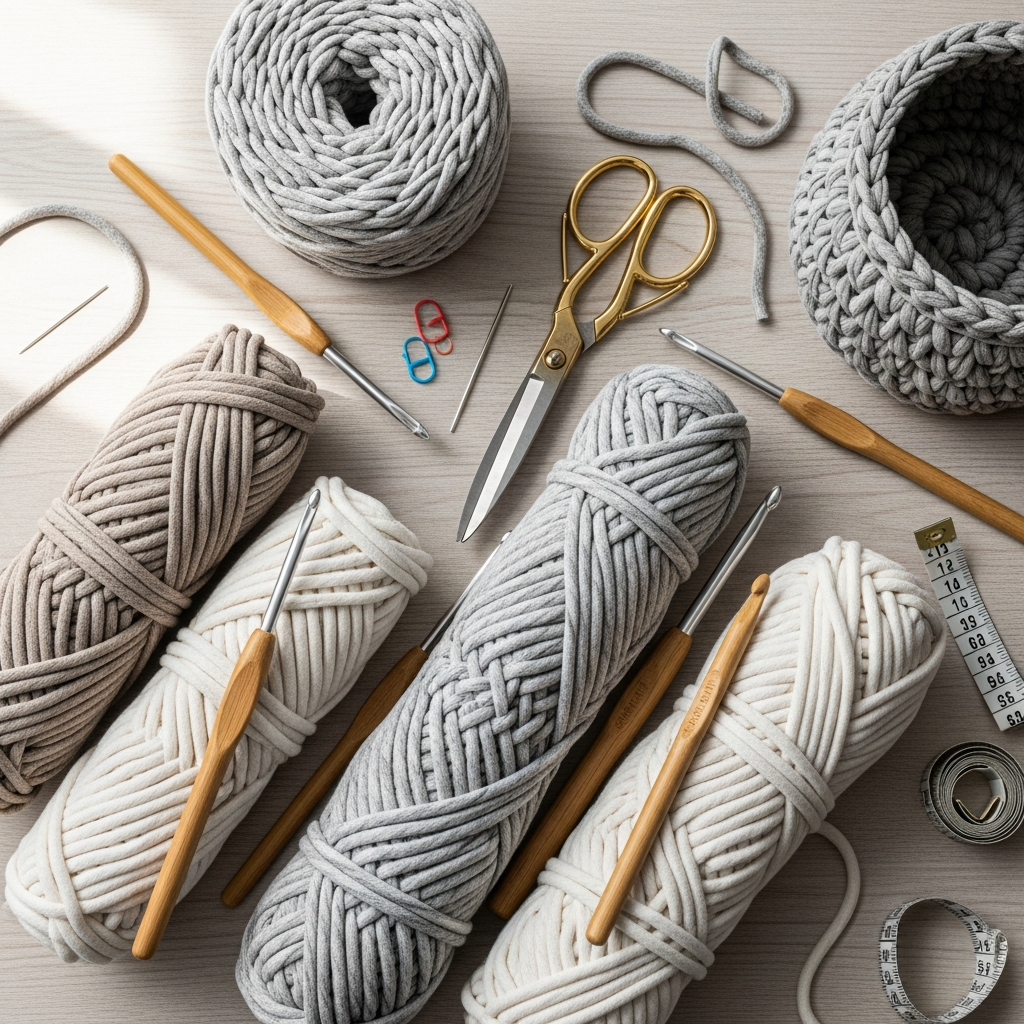
Before starting your crochet baskets, gather the necessary tools and yarn. Strong cord yarn works best because it helps the baskets hold their shape and remain durable.
Materials
- 4–5 mm cotton, acrylic, or polyester cord (250–300 meters for all baskets)
- 5 mm or 6 mm crochet hook
- 3 mm hook for joining and finishing
- Scissors
You can adjust the basket size by changing yarn thickness or adding more rows to the pattern. Thicker yarn will create larger baskets.
Crochet Abbreviations Used in the Pattern
Understanding crochet abbreviations will make following the pattern easier.
Crochet Terms
- MR – Magic Ring
- ch – chain stitch
- dc – double crochet
- dcinc – increase (2 dc in one stitch)
- sl st – slip stitch
The pattern mainly uses double crochet stitches and increases, which makes it simple even for beginner crocheters.
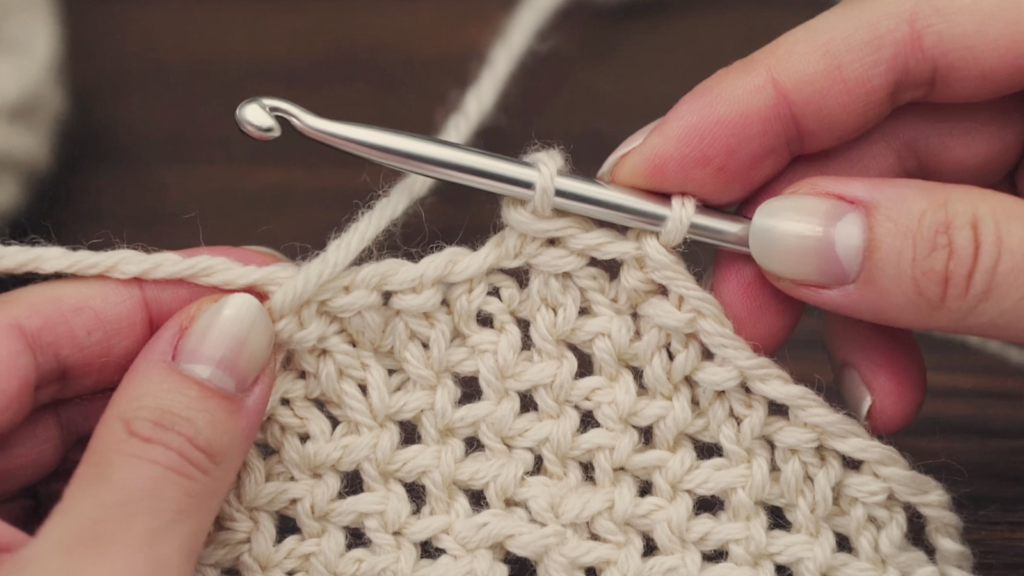
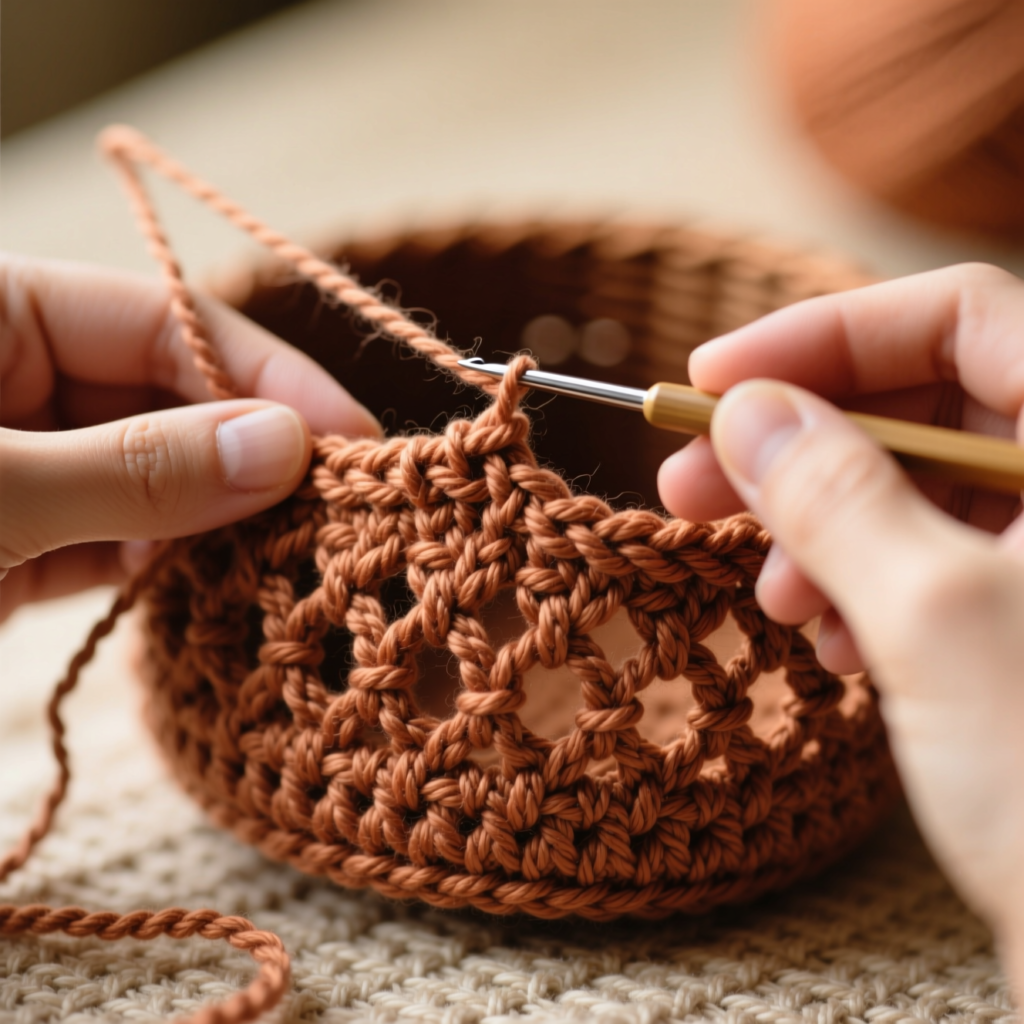
Step 1: Start with a Magic Ring
Every basket in this set begins with a magic ring, which creates a tight and adjustable center.
Row 1
- Make a Magic Ring
- Chain 3 (counts as first double crochet)
- Work 3 double crochet stitches
- Chain 2 and add 4 double crochet stitches
Once completed, pull the ring tight to close the center neatly.
Step 2: Expand the Basket Base
After the magic ring, the base begins to expand using increases.
Row 2
- Chain 3
- Work 4 double crochet stitches
- In the chain-space corner crochet 2 dc, ch2, 2 dc
- Continue with 3 dc and a dc increase
This row creates a wider base and starts shaping the basket structure.
Step 3: Continue Increasing the Basket
The next rows gradually expand the basket by adding more double crochet stitches.
Rows 3–8
Each row follows the same pattern:
- Chain 3
- Crochet double crochet stitches along the side
- In the corner space work 2 dc, ch2, 2 dc
- Finish with an increase at the end of the row
With every row, the base grows wider and forms the body of the basket.
Step 4: Add the Hanging Loop
The final rows create the hanging loop used to attach the basket to hooks or wall hangers.
Final Row
- Work double crochet stitches across the row
- In the corner space crochet 2 dc, chain 10, 2 dc
The chain-10 loop becomes the hanger for the basket.
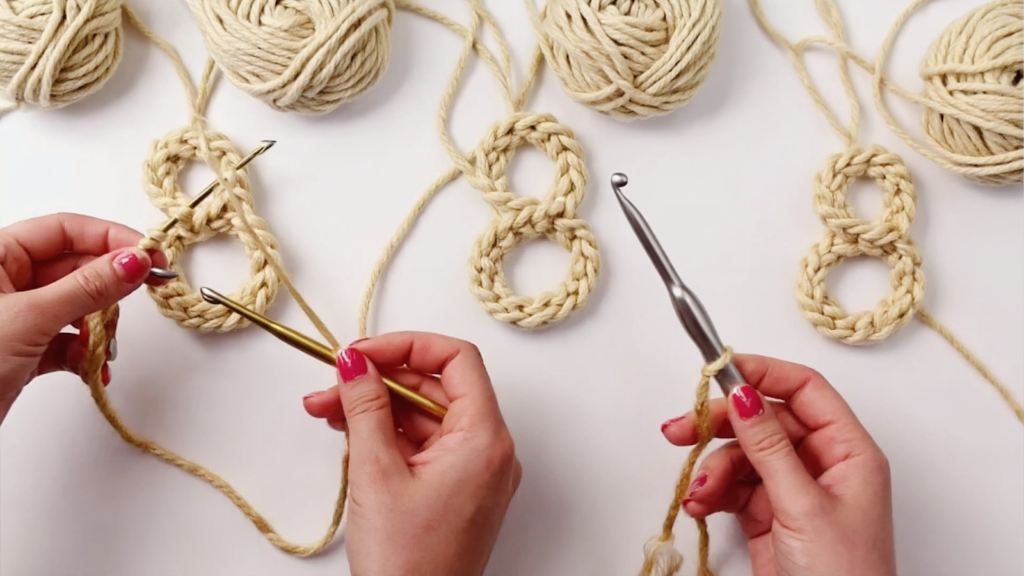
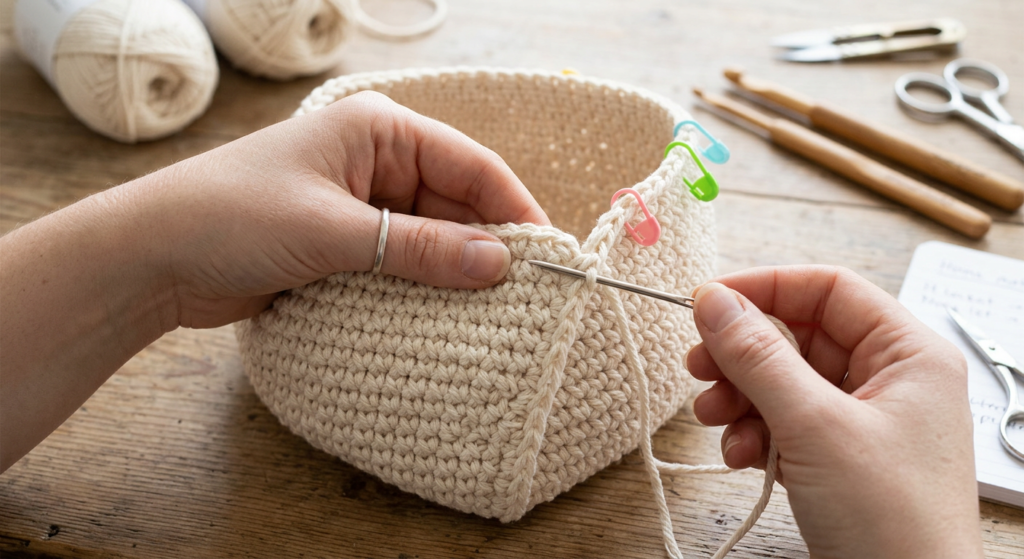
Step 5: Create the Basket Shape
After finishing the crochet panel, the basket begins to take its final shape.
Cut the yarn leaving a long tail, then fold the crochet piece according to the pattern layout. Use a smaller hook to connect the three sides together, forming the basket pocket.
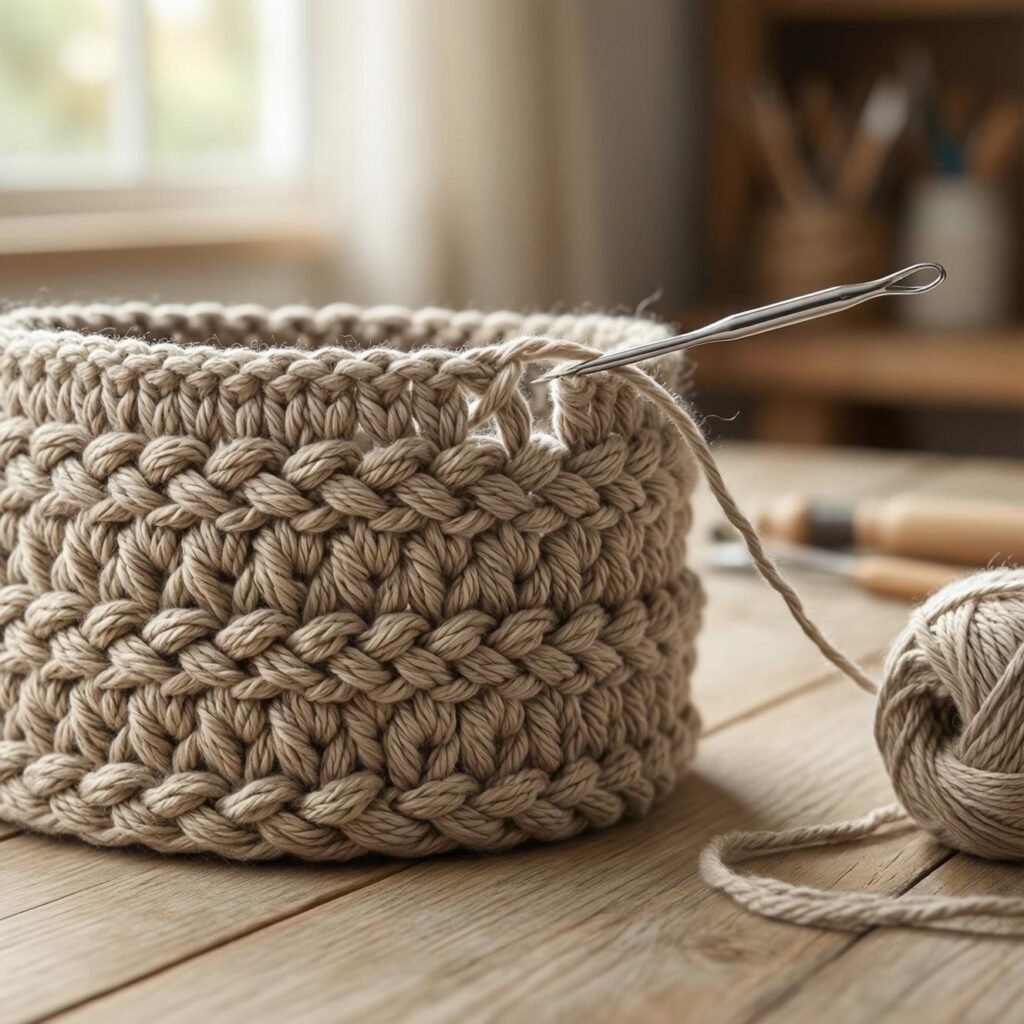
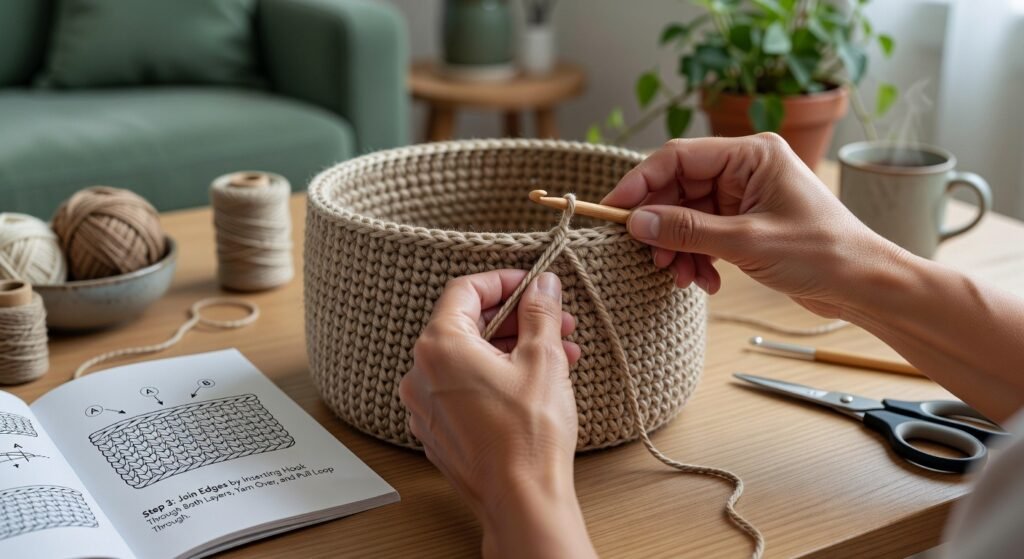
Step 6: Join the Basket Edges
Now join the upper edges of the basket to secure the structure.
Use slip stitches or a crochet hook to connect the layers together. After joining, weave in the loose yarn ends inside the stitches to keep the basket neat and tidy.
Basket Sizes Included in the Pattern
This crochet pattern includes three different basket sizes, making it perfect for organizing multiple spaces.
Basket Sizes
- Small Basket: approx. 5 x 10 inches
- Medium Basket: approx. 6 x 12 inches
- Large Basket: approx. 7 x 14 inches
Each basket follows the same basic pattern but uses additional rows to increase the size.
Finished Crochet Hanging Basket Set
Once completed, you’ll have a beautiful set of handmade crochet baskets perfect for organizing your home.
These baskets are great for:
- Plant holders
- Bathroom storage
- Yarn organization
- Kitchen storage
- Decorative wall baskets
Download the full pattern below so you can easily follow the detailed instructions while crocheting.