Crochet Cactus Frog Pattern (Adorable Amigurumi PDF Download)
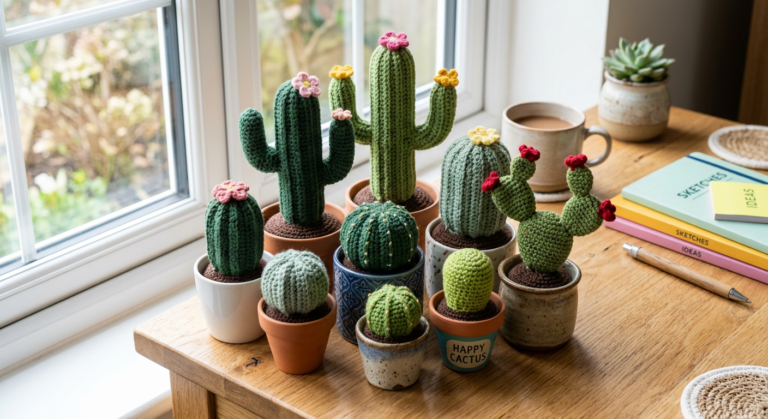
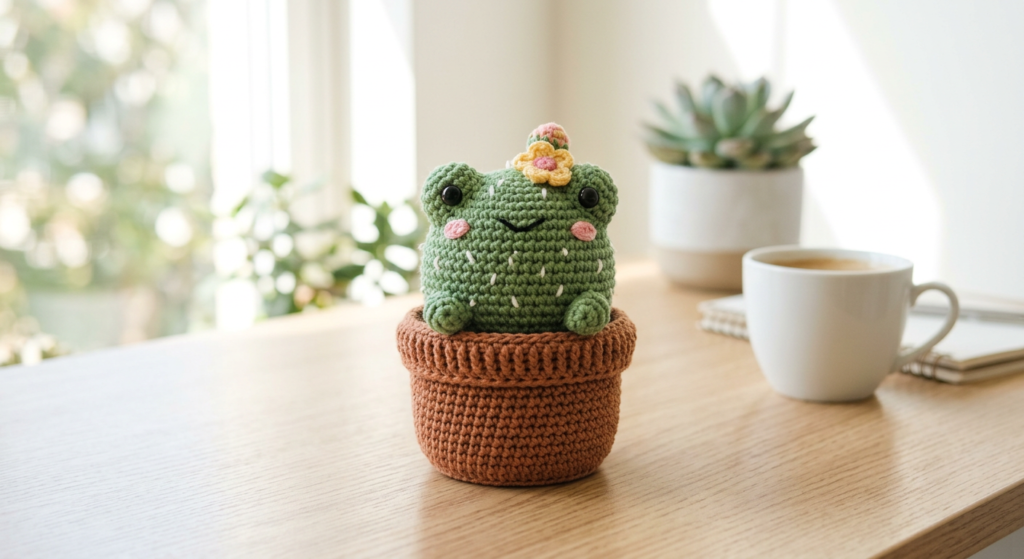
If you love cute amigurumi and quirky plant décor, this crochet cactus frog pattern is about to be your new favorite project. It combines a sweet little frog with a crochet flower pot to create the ultimate Pinterest-worthy desk buddy.
This beginner-friendly crochet pattern is worked in continuous spiral rounds and uses simple stitches like single crochet, increase, and decrease.
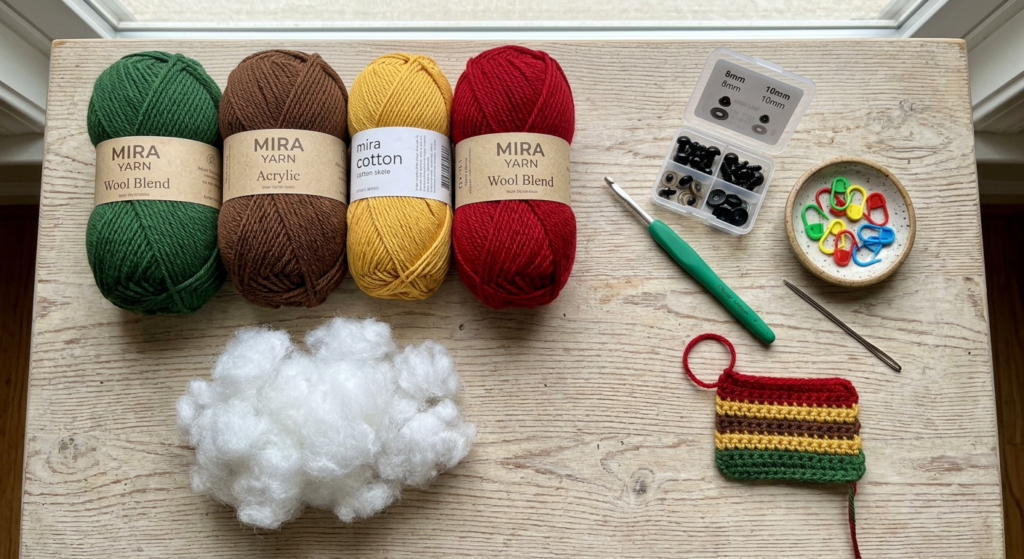
Crochet Cactus Frog Supplies & Materials
Before we start, gather your materials. This pattern uses DK/light worsted weight yarn and a 3.0–3.5 mm crochet hook (adjust as needed for tight amigurumi stitches).
You’ll need:
- Green yarn (frog body & legs)
- White yarn (body detail round)
- Yellow and light red yarn (flower)
- Brown yarn (flower pot)
- Safety eyes
- Stuffing
- Stitch marker
- Yarn needle
The pattern uses standard amigurumi abbreviations like MR (magic ring), sc, inc, dec, hdc, dc, BLO, and FLO.
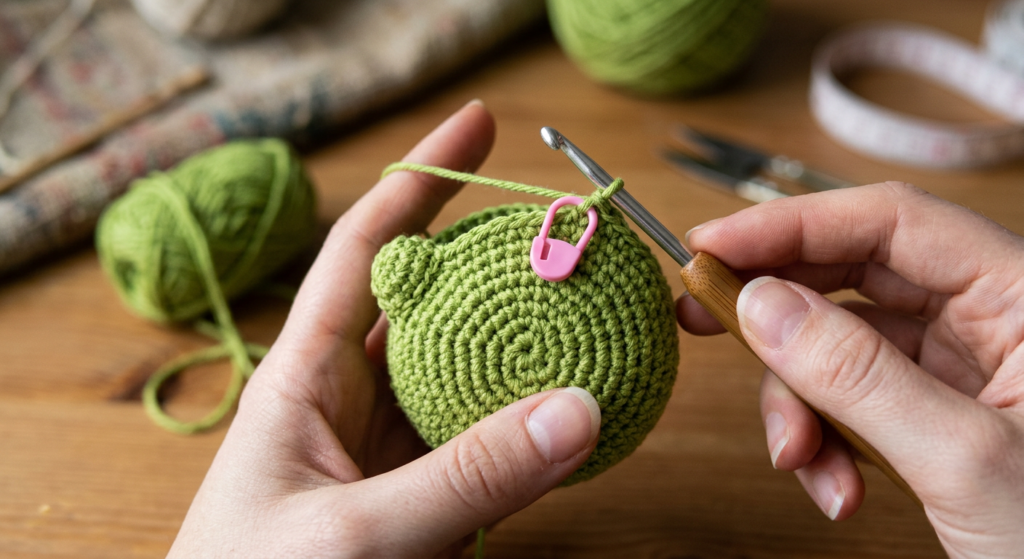
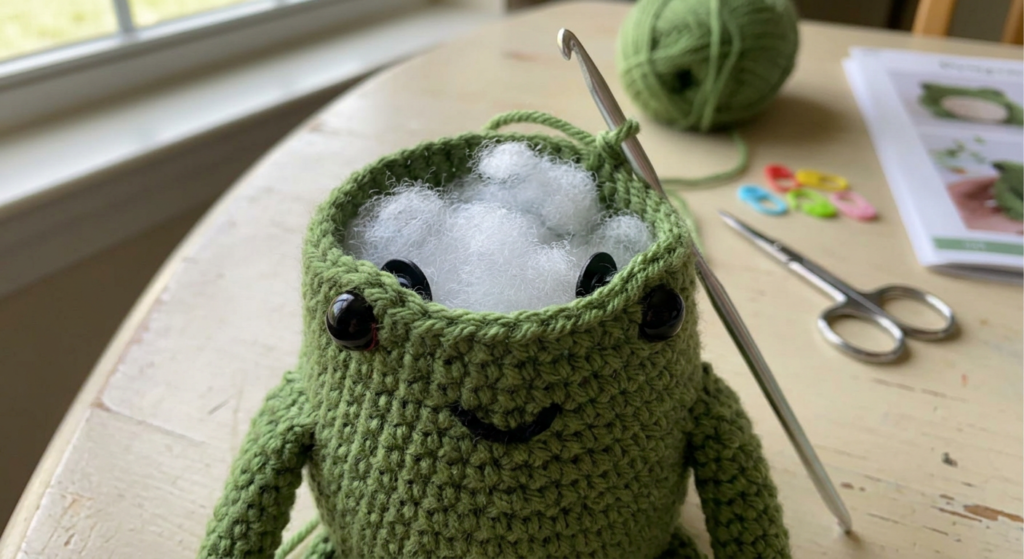
How to Crochet the Frog Head & Body
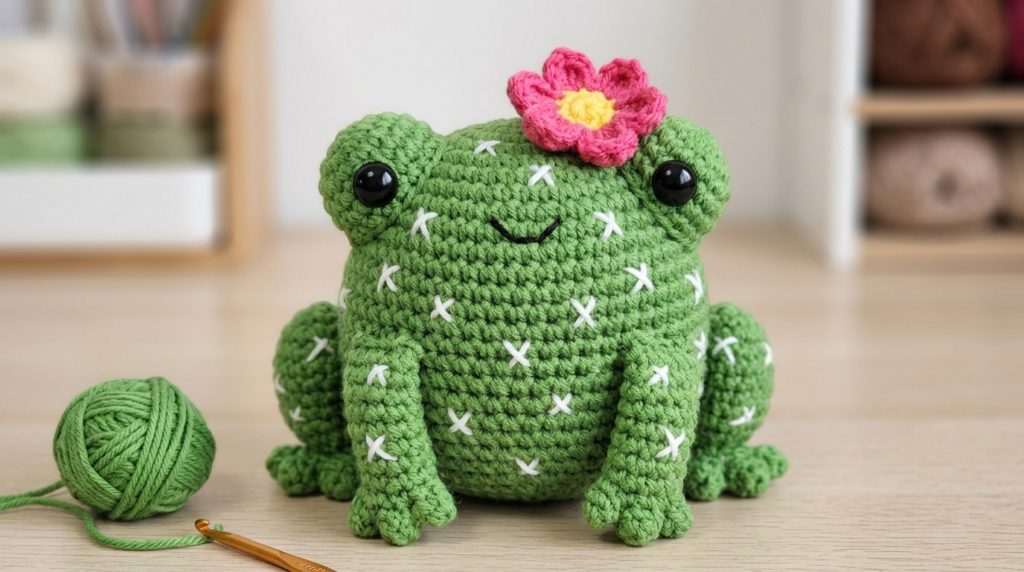
The frog’s head and body are made as one continuous piece, starting with green yarn in a magic ring. You’ll gradually increase from 8 stitches up to 47 stitches to create the rounded head shape.
A color change to white adds a cute belly detail using back loop only stitches for texture.
Adding Safety Eyes & Shaping
Insert the safety eyes between rounds 5 and 6, spacing them about four stitches apart. Make sure the nose sits centered between the eyes for that sweet expression.
After round 13, stuff the body firmly before continuing with decreasing rounds to close the shape neatly.
Crochet Frog Legs & Toes (Step-by-Step)
The cactus frog has both back legs and long front legs for personality and balance.
The back legs are worked in rounds and lightly stuffed before sewing to the body. The toes are created using chains and half double crochet stitches to form three tiny points.
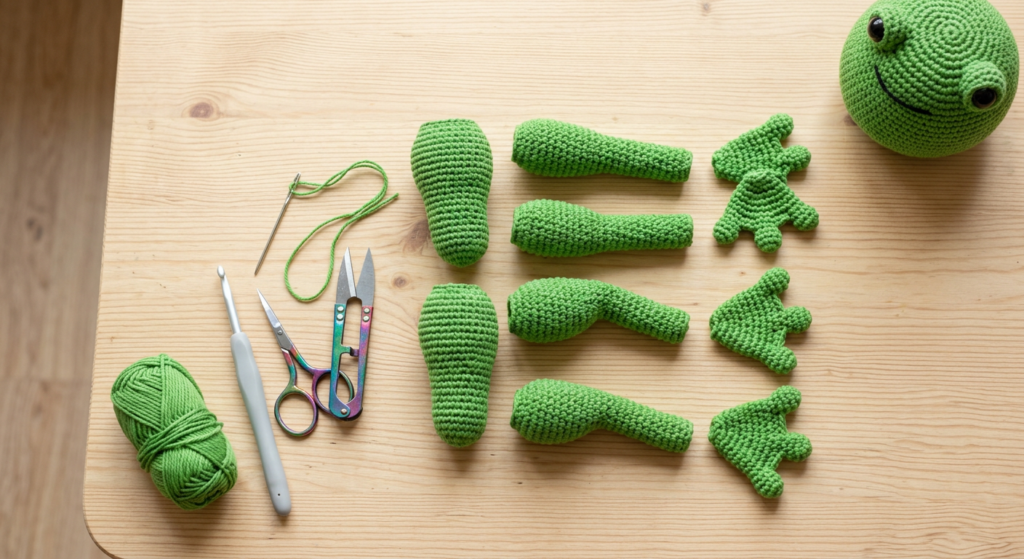
Front Legs Assembly
The front legs are narrow tubes worked in continuous rounds. They are not stuffed, which allows them to bend naturally.
Sew each leg two stitches away from the back legs, then tack the tips slightly into the belly for a relaxed seated pose.
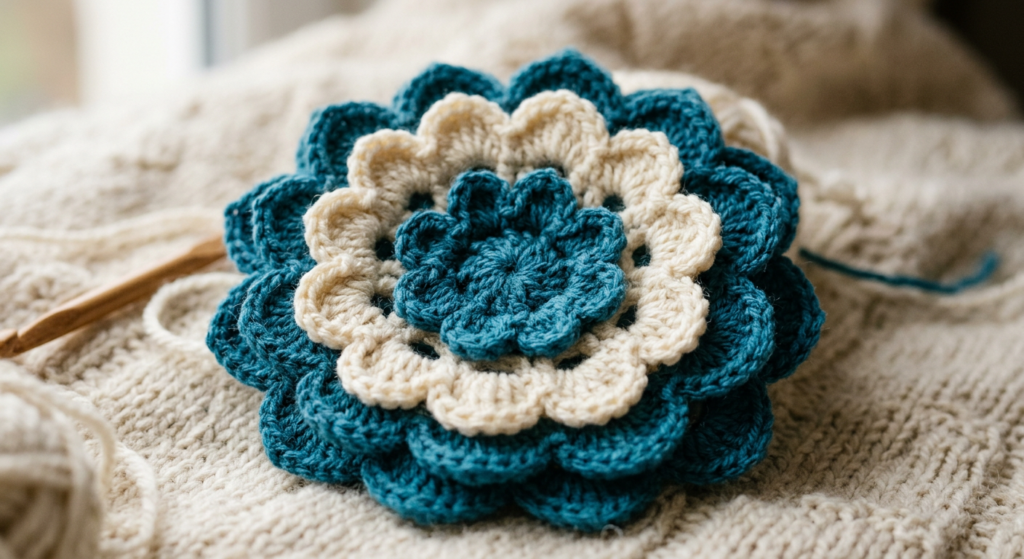
Crochet Flower (16-Petal Layered Design)
This flower is what transforms your frog into a true cactus frog! It’s made in two layers using back loops and front loops to create dimension.
Start with yellow yarn for the base rounds. Then switch to light red yarn to crochet eight petals in the back loops—and eight more in the front loops—for a full 16-petal flower.
You can sew the flower to the side of the frog’s head or attach it on top for a blooming cactus look.
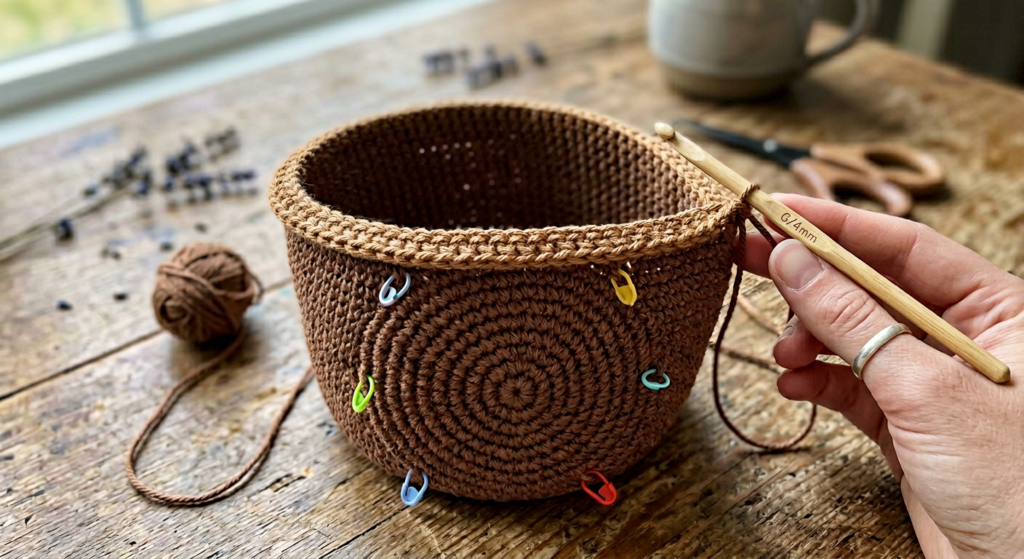
Crochet Flower Pot Pattern
The flower pot is worked from the bottom up using brown yarn. It increases gradually from 8 stitches to 56 stitches to form a sturdy base.
Back loop only stitches create the pot edge detail, and a final round of half double crochet in the front loop gives the rim a finished look.
Once complete, place your frog inside or lightly sew it in place so it sits securely.
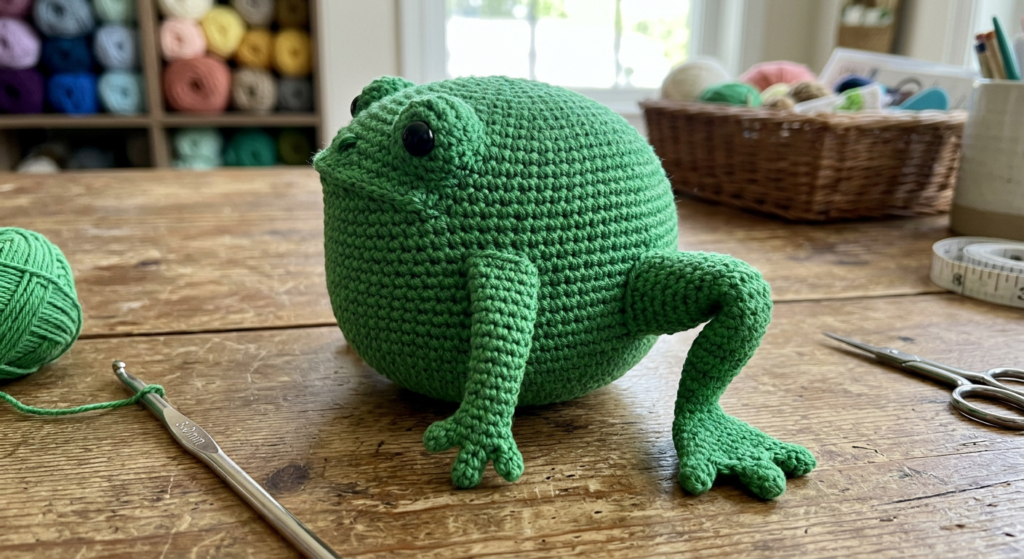
Final Assembly: Creating Your Cactus Frog
Start by attaching the back legs and sewing on the toes with three points facing outward. Then attach the front legs and secure their tips to the belly.
Use white yarn to embroider small “X” details around the frog’s body to mimic cactus spines.
Finally, sew the flower in place—and your cactus frog is complete!
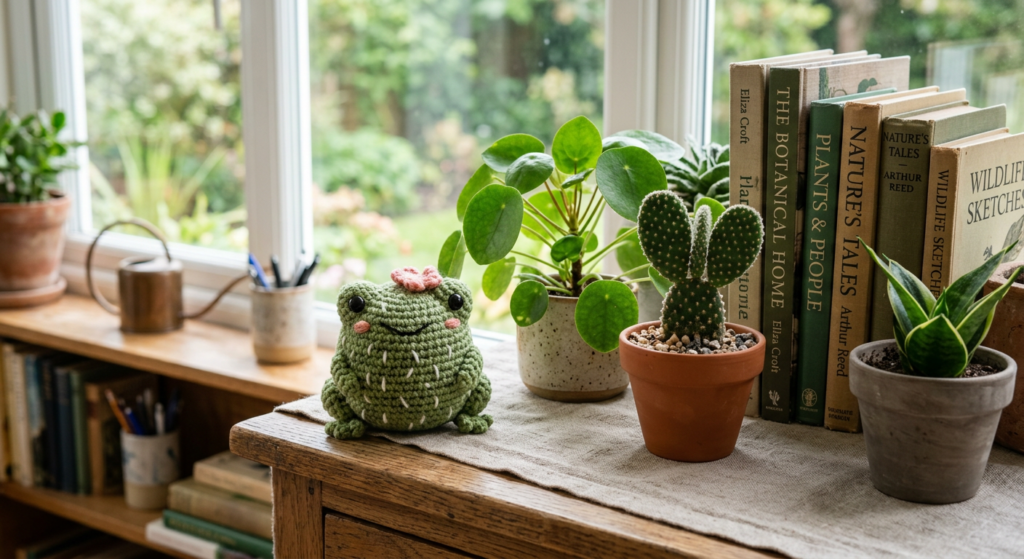
Why This Crochet Cactus Frog Is Perfect for Gifts
This amigurumi cactus frog is:
- A unique handmade gift idea
- Perfect for plant lovers
- A cute desk or shelf decoration
- Great for craft fairs and Etsy shops
- Beginner-friendly with simple stitches
Plus, no watering required 🌵🐸
Download the Crochet Cactus Frog PDF Pattern
Want the full printable version with complete round-by-round instructions?
The PDF includes:
- Detailed stitch counts for every round
- Clear assembly steps
- Flower layering instructions
- Pot construction details
Click below to download and start crocheting today!