Crochet Bear Toy Pattern – Cute 18cm Amigurumi Teddy (Free PDF)
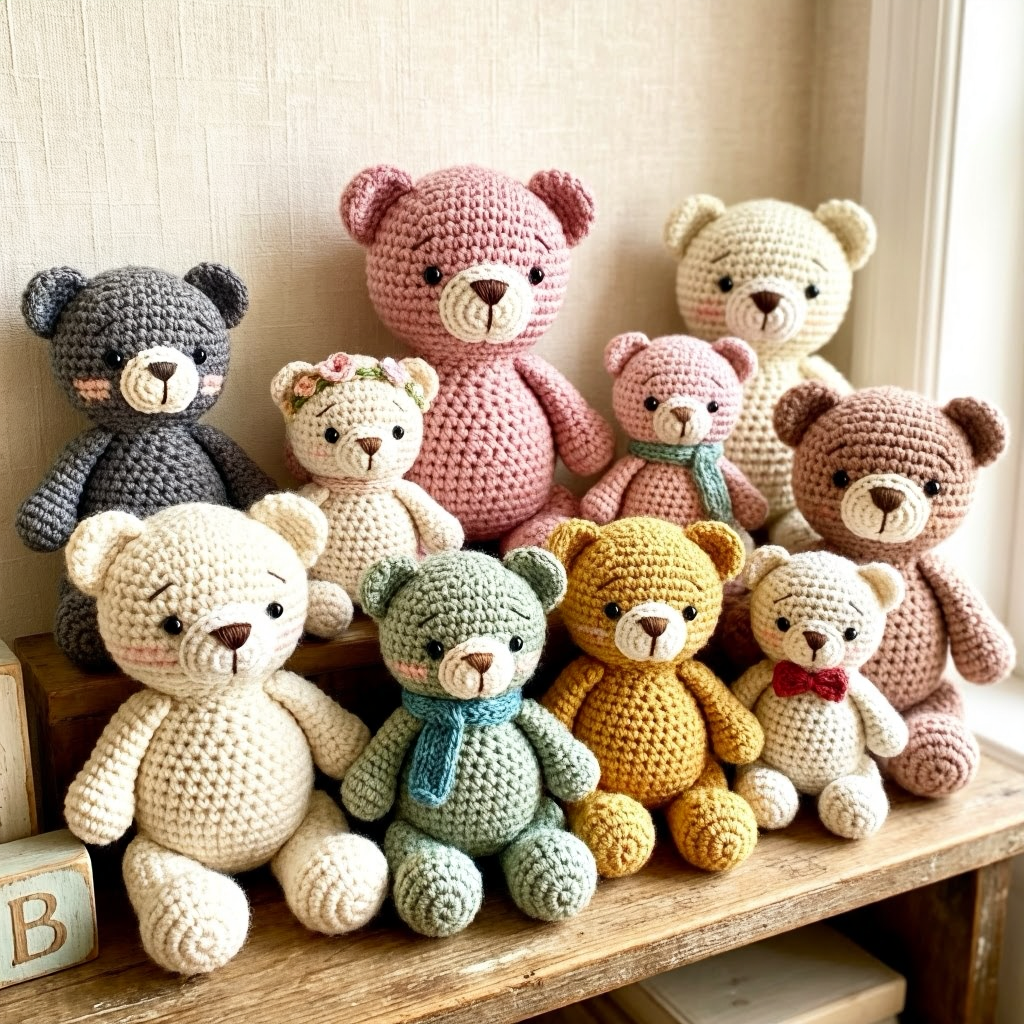
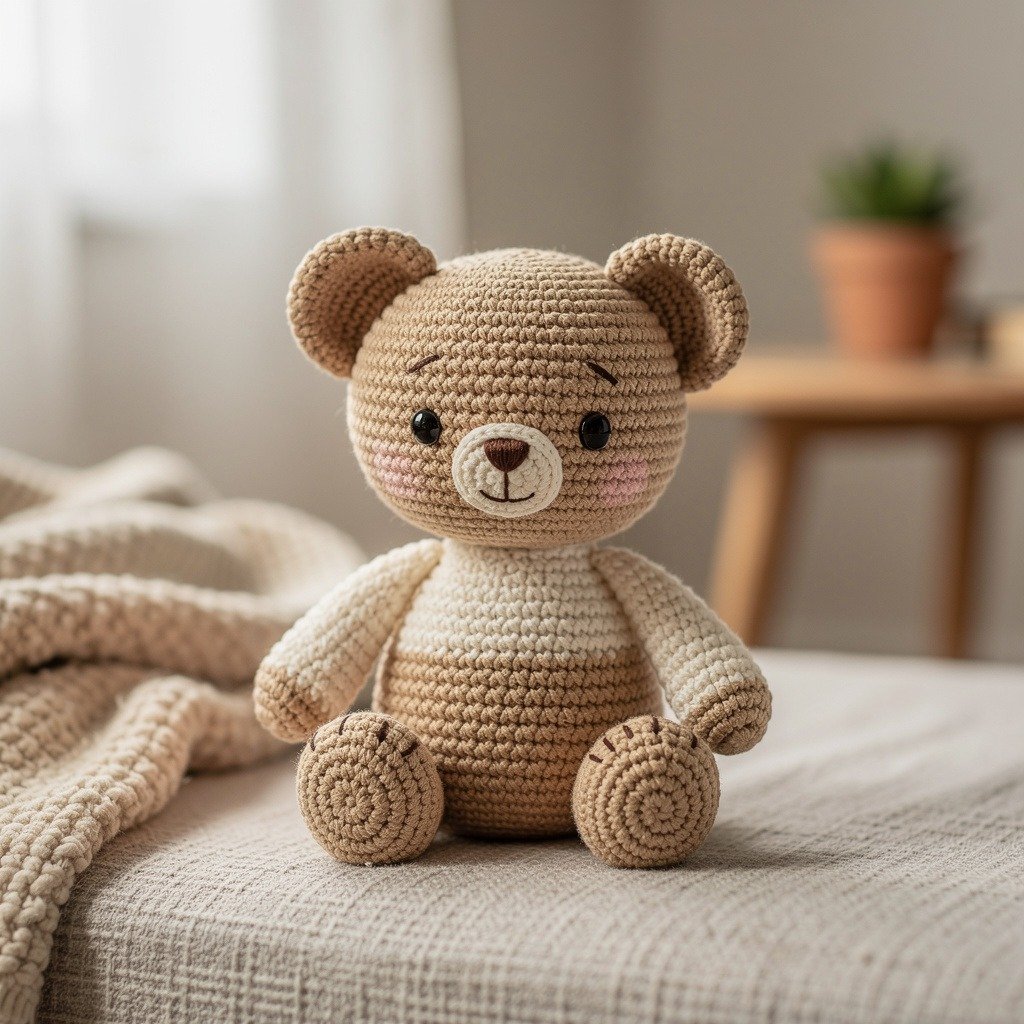
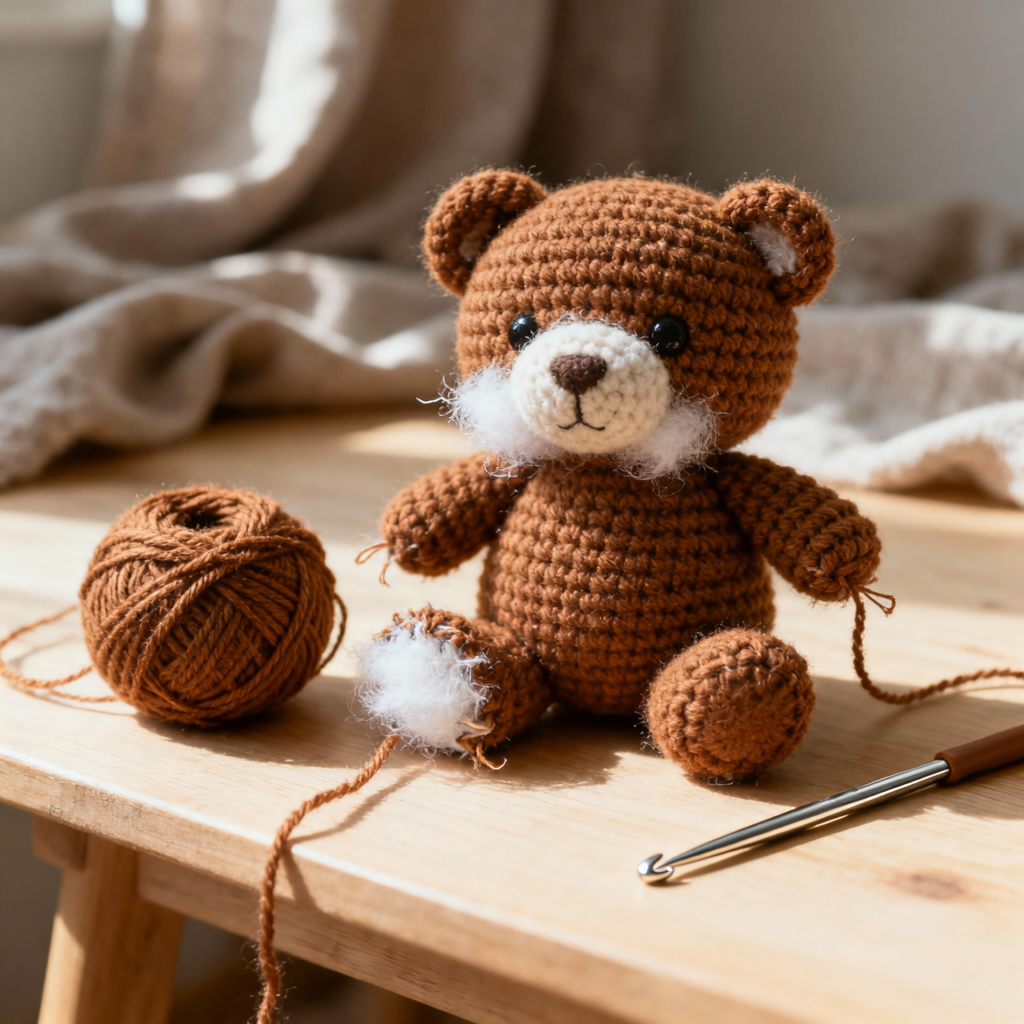
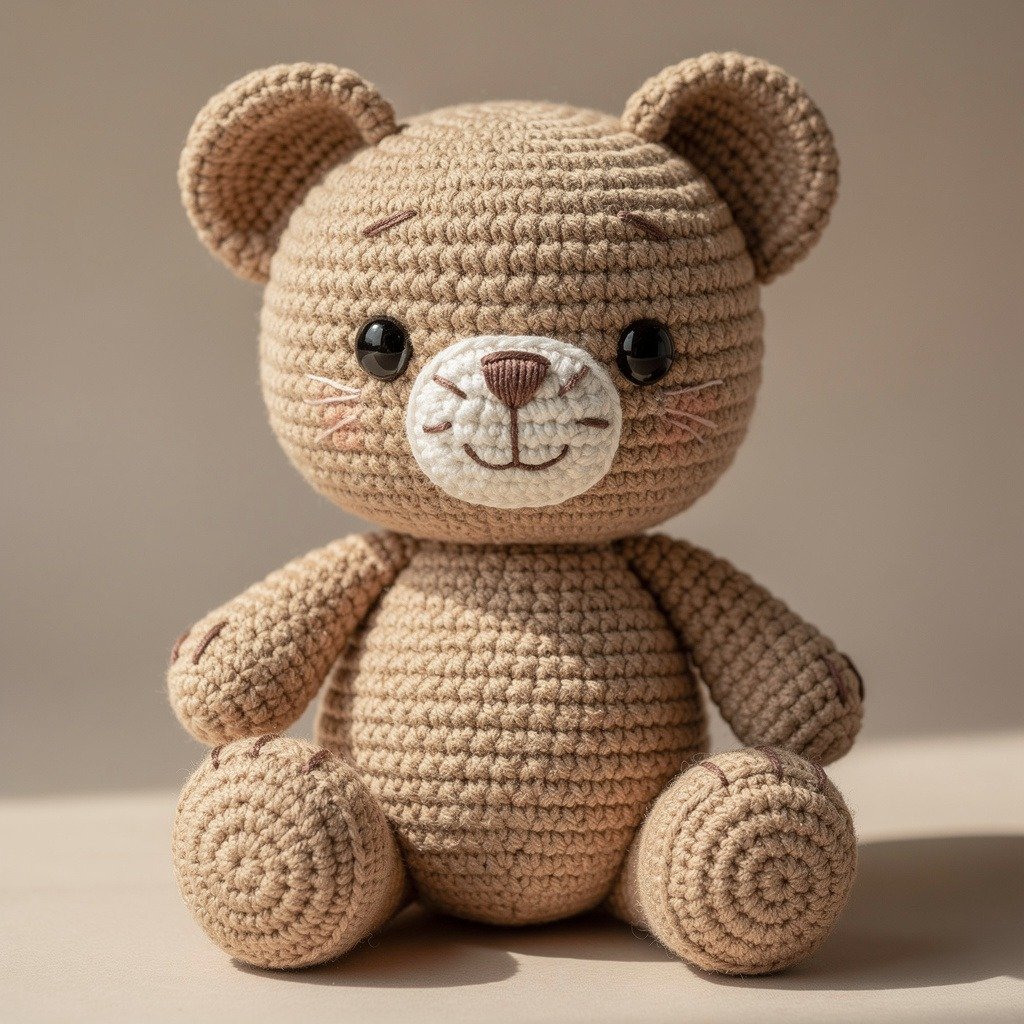
If you love making adorable crochet toys, this Crochet Bear Toy Pattern is a perfect project. This sweet amigurumi teddy bear measures about 18 cm (7 inches) and makes a wonderful handmade gift for children, baby showers, or nursery décor.
With simple stitches and step-by-step rounds, this crochet bear is beginner-friendly while still looking beautifully detailed. The finished toy has soft proportions and a classic teddy bear look that crochet lovers adore.
Materials Needed for the Crochet Teddy Bear
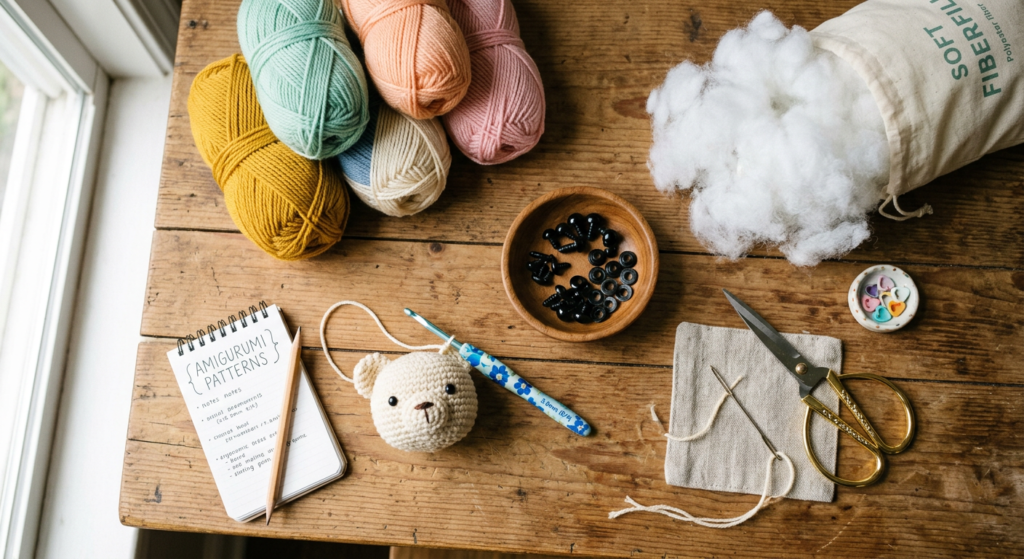
Before starting the pattern, gather the recommended materials to achieve the correct toy size and texture. The pattern suggests YarnArt Jeans yarn and YarnArt Dolce Baby yarn, along with soft fiber filling for shaping the toy.
You will also need a 2 mm crochet hook, 8 mm safety eyes, scissors, and a large needle for sewing pieces together. These tools are common in most amigurumi projects and help create a neat, professional finish.
Crochet Abbreviations Used in This Pattern
This crochet teddy bear uses standard US crochet terms. Understanding the abbreviations will make it easier to follow the step-by-step instructions.
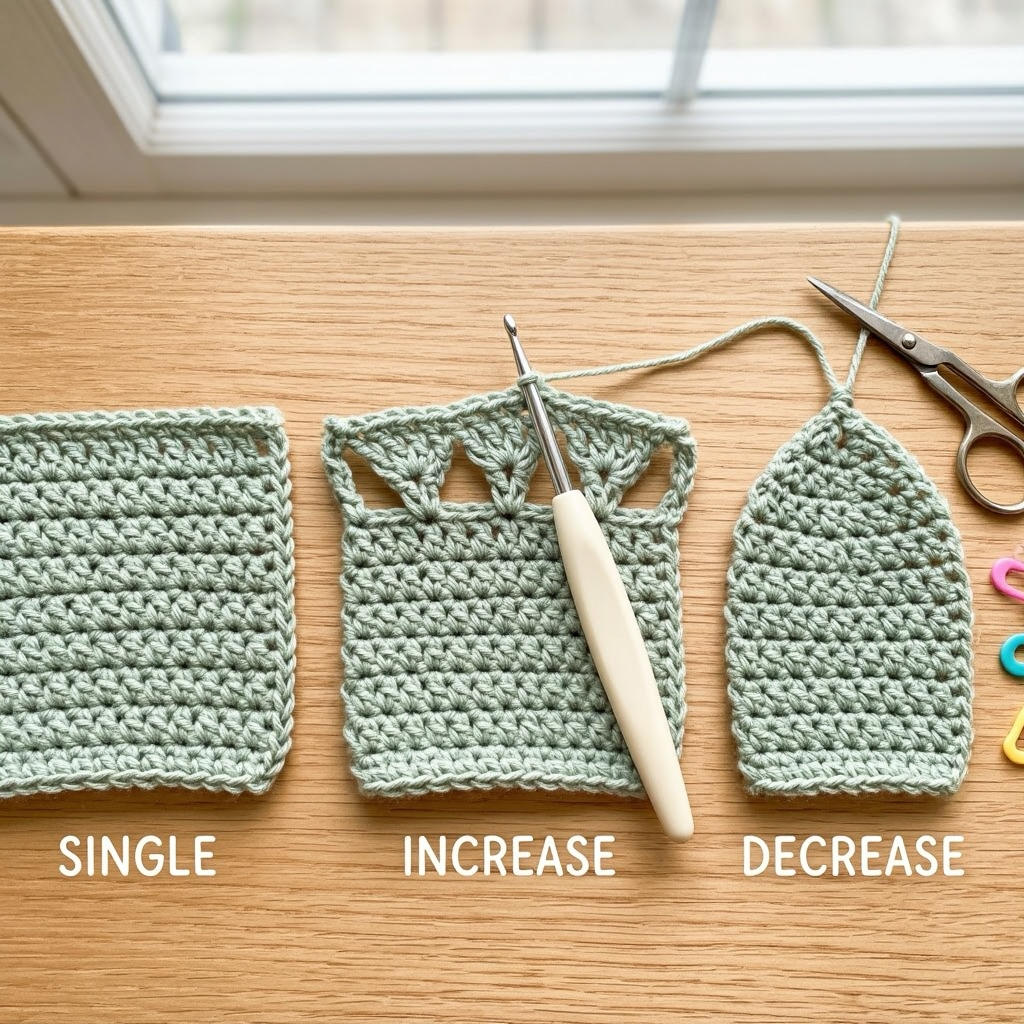
Common stitches include ch (chain), sc (single crochet), dc (double crochet), inc (increase), dec (decrease), and hdc (half double crochet). These basic stitches form the structure of the bear’s body and facial features.
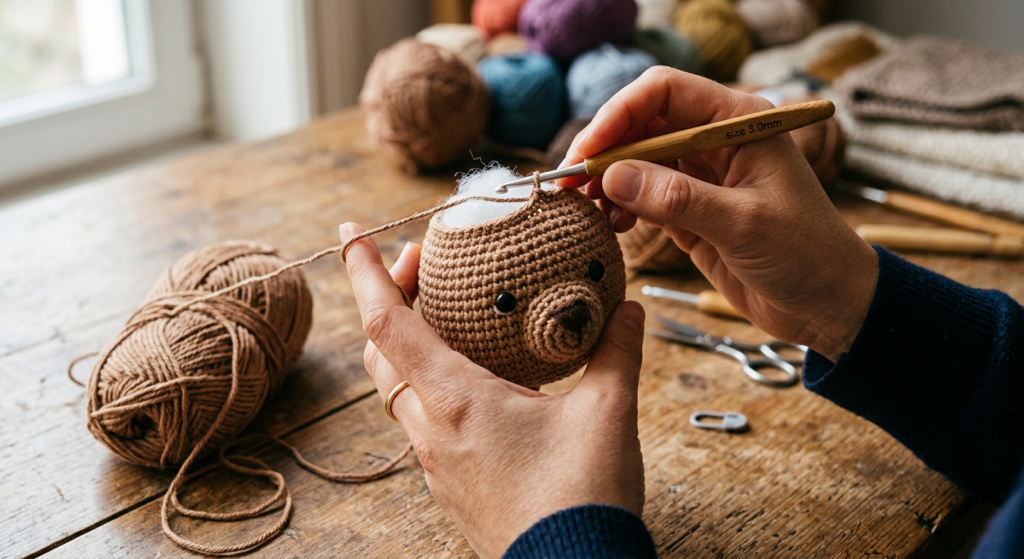
Step 1: Crochet the Bear Head
The teddy bear head starts with a magic ring and six single crochet stitches. Gradually increase stitches across several rounds to create a smooth round head shape.
Continue crocheting until the head reaches the correct width, then crochet several rounds evenly to maintain the shape before beginning decreases. Add fiber stuffing to give the head a soft and plush form.
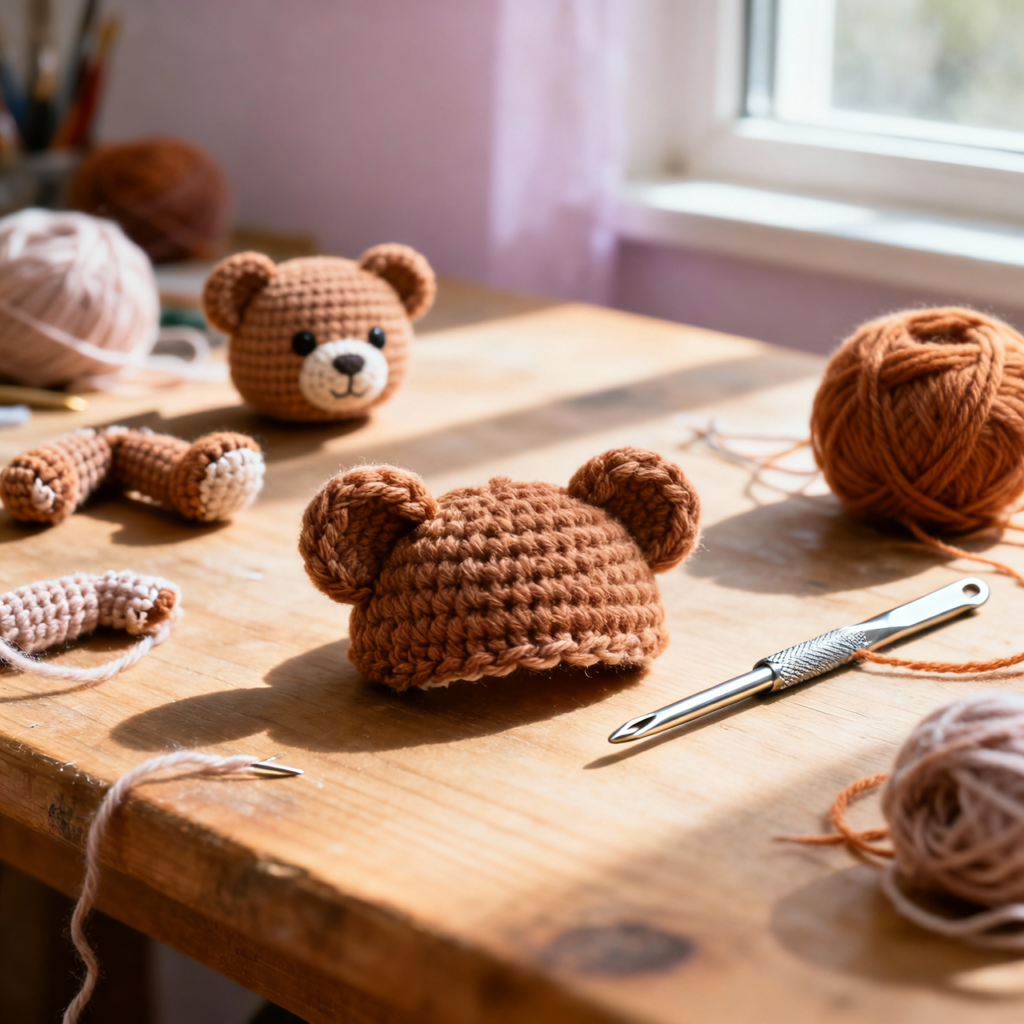
Step 2: Make the Bear Ears
The ears are small circular pieces that give the bear its recognizable teddy look. Each ear begins with a magic ring and increases across the first few rounds.
After shaping the ear, leave a yarn tail so it can easily be sewn onto the top of the head later. Proper ear placement will help balance the bear’s face.
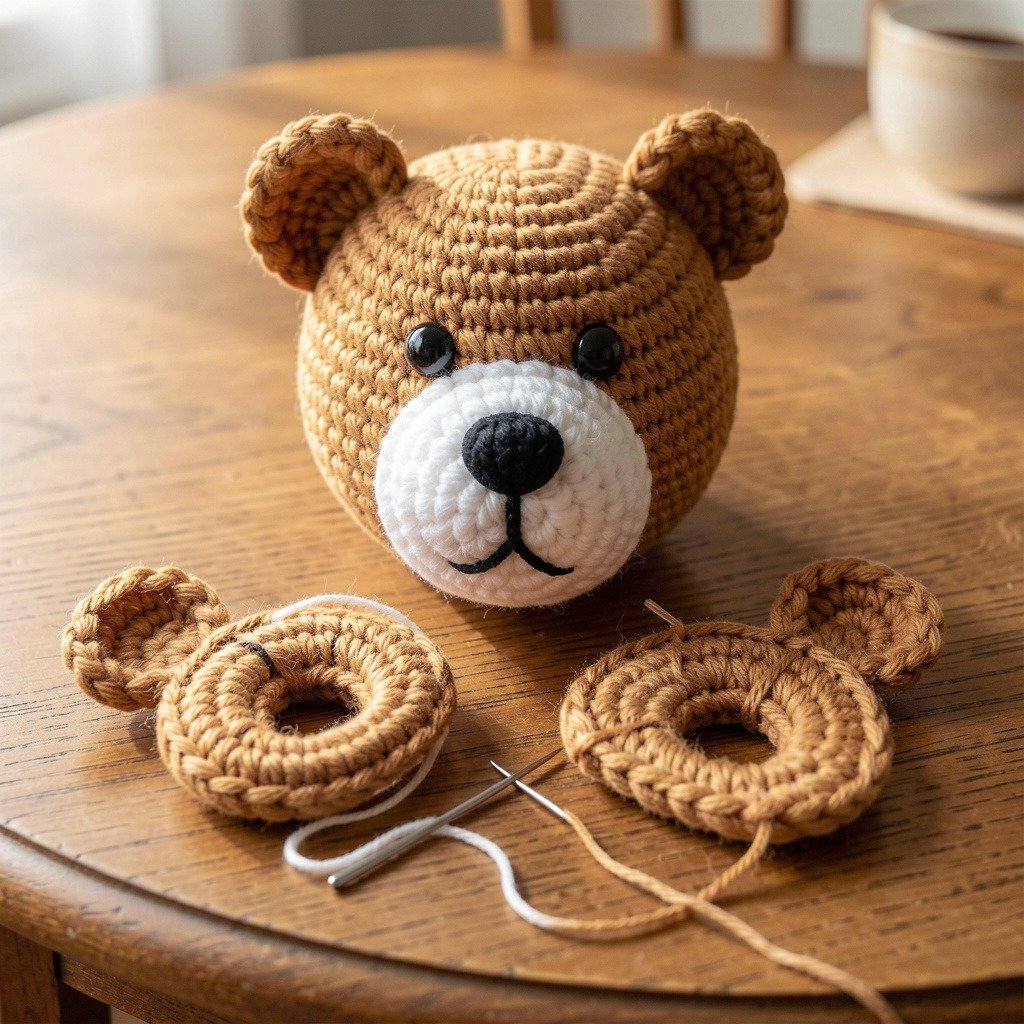
Step 3: Crochet the Muzzle and Nose
The muzzle forms the soft snout area of the teddy bear’s face. This piece is crocheted in small rounds with gradual increases to form a rounded shape.
The nose is crocheted separately and sewn onto the muzzle. After attaching the nose, embroidery details can be added to create a cute teddy bear expression.
Step 4: Crochet the Arms
The arms are crocheted in small cylindrical rounds using single crochet stitches. A few decreases help shape the paw area and create a natural teddy bear arm shape.
Light stuffing can be added before closing the arms so they keep their shape while still remaining soft and flexible.
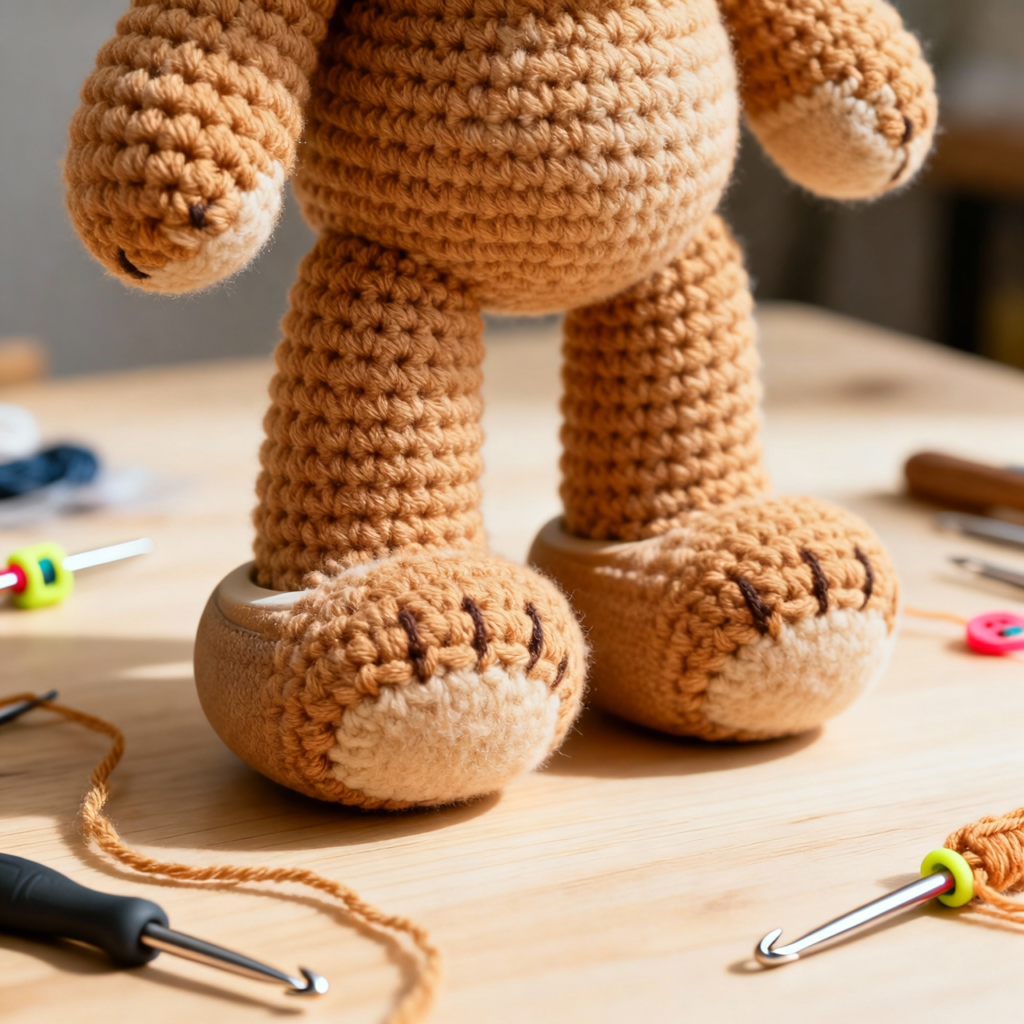
Step 5: Crochet the Legs
The legs begin with a chain foundation and then continue in the round to create the base of the feet. Gradual increases help shape the bottom of the paw.
Later rounds reduce the stitch count to shape the leg and allow stuffing to give the toy a stable structure.
Step 6: Crochet the Teddy Bear Body
The body is crocheted starting from a magic ring and increasing gradually to build the torso shape. Several rounds are crocheted evenly to maintain the body size.
Later rounds include decreases that shape the upper body where the head will be attached. The body should be firmly stuffed before finishing.
Step 7: Assemble the Crochet Teddy Bear
Once all parts are complete, the teddy bear can be assembled. Sew the arms four rows below the top of the body and the legs about eleven rows from the bottom.
Finally attach the head, sew the ears, add the muzzle and nose, and glue the safety eyes. Embroider small eyebrow details to give your crochet teddy bear a charming personality.
Tips for Perfect Amigurumi Crochet Toys
When crocheting amigurumi toys, use tight stitches and consistent tension to avoid gaps where stuffing might show. A small hook size helps keep the fabric dense and neat.
Take time when sewing the pieces together so the toy looks symmetrical and professional. Proper placement of the eyes, ears, and muzzle makes a big difference in the final appearance.