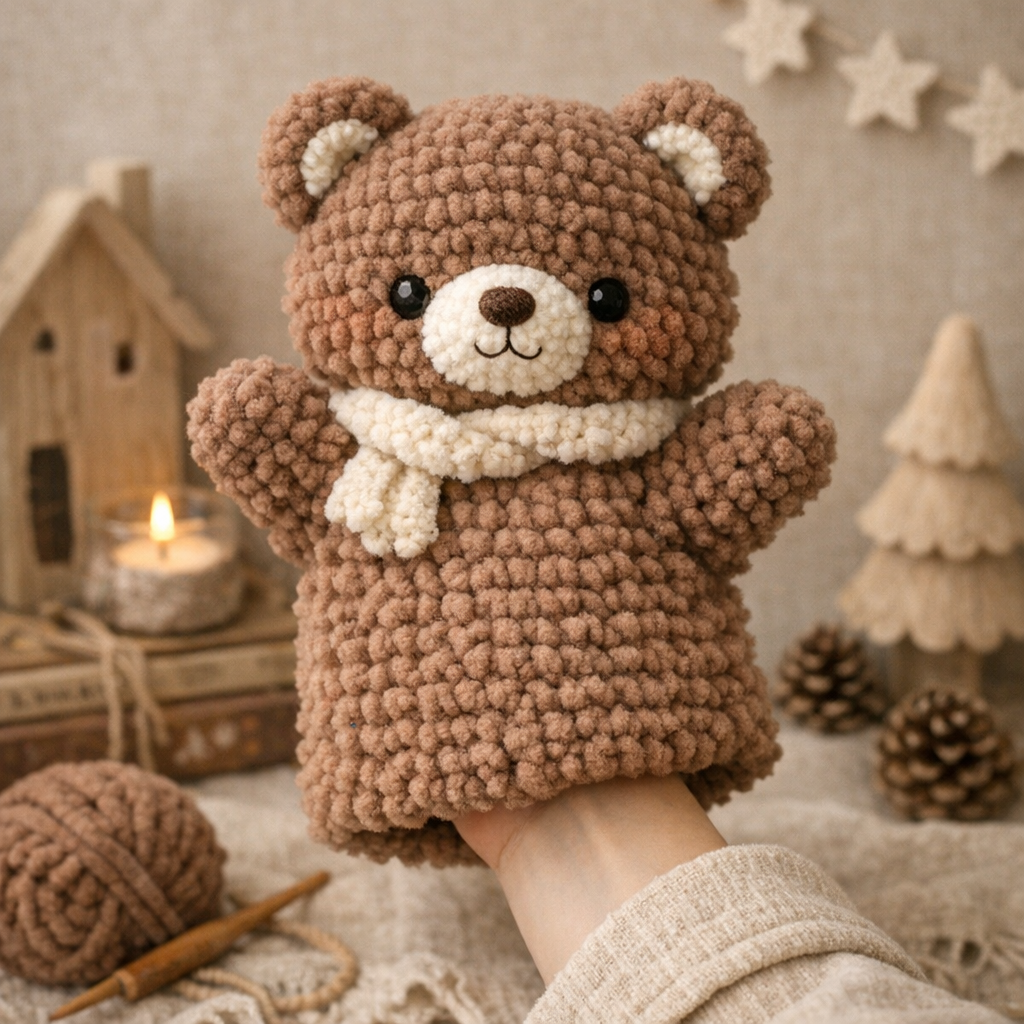
Crochet Bear Hand Puppet Pattern – Cute Amigurumi Toy (Free PDF)
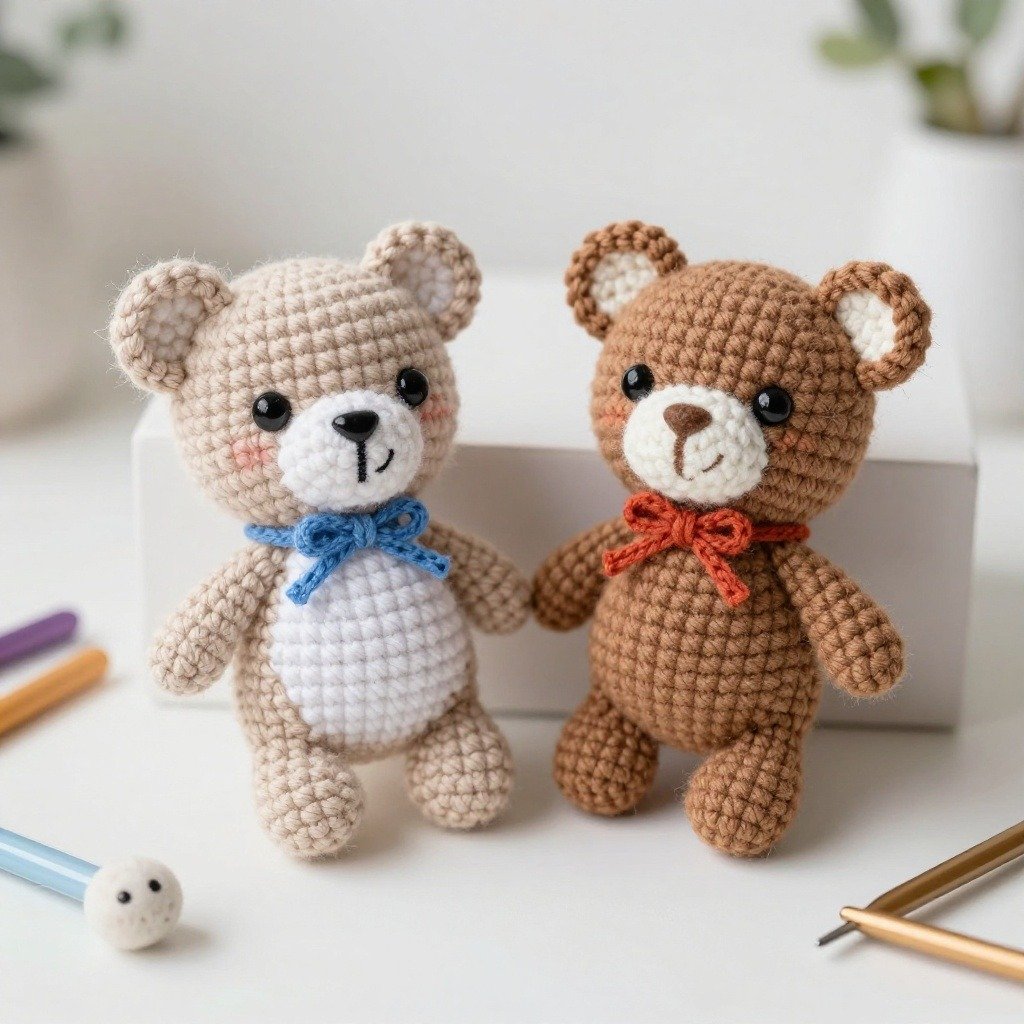
If you love making cute crochet toys, this Crochet Bear Hand Puppet Pattern is a fun and creative project to try. This adorable amigurumi puppet is perfect for storytelling, kids’ playtime, or handmade gifts.
The soft plush yarn and simple stitches make it beginner-friendly while still producing a professional-looking crochet toy. Even if you’re new to amigurumi, you can easily follow the steps and create your own handmade bear puppet.
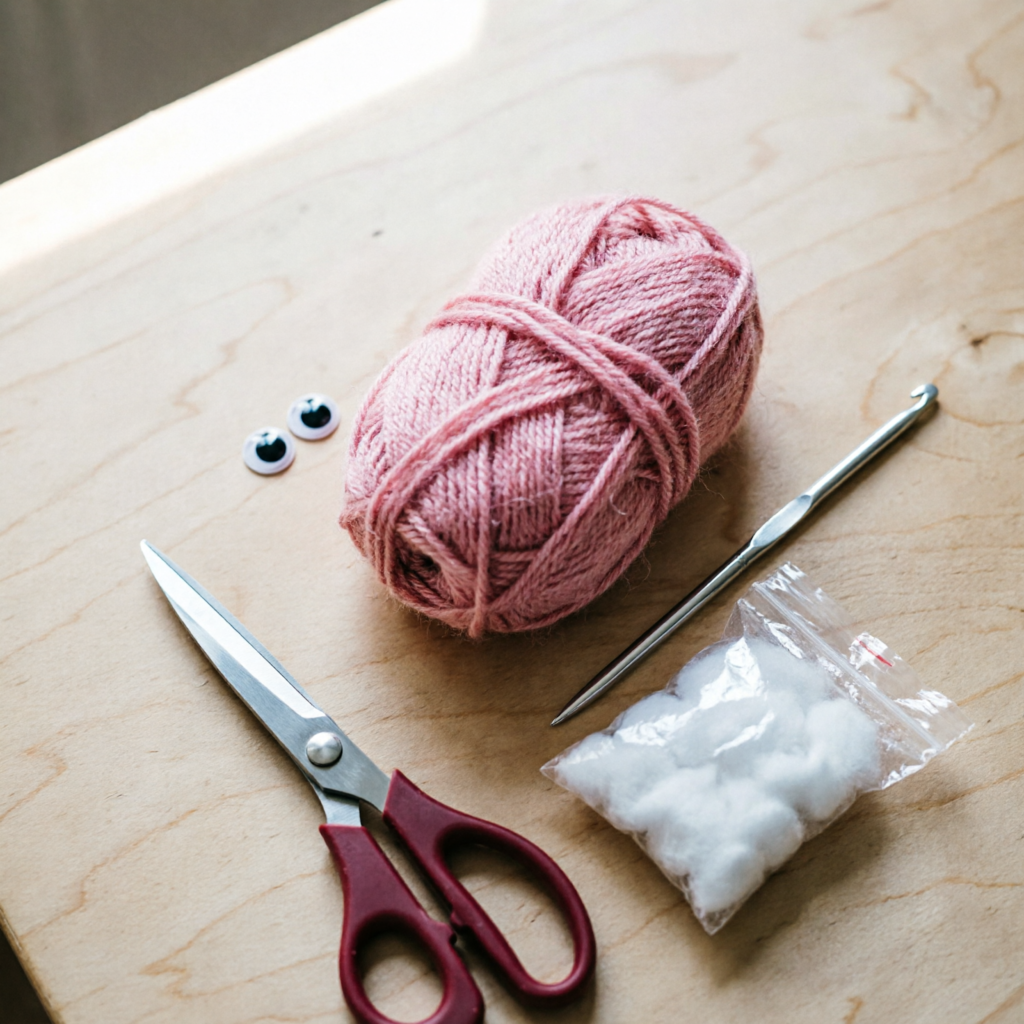
Materials Needed for the Crochet Bear Puppet
Before starting this crochet project, gather the essential materials. The pattern mainly uses plush yarn to create a soft and fluffy teddy bear texture.
You will need super bulky plush yarn (Himalaya Dolphin Baby or similar), cotton yarn for embroidery, plastic safety eyes, fiber filler, and a 4.5 mm crochet hook. A yarn needle and stitch markers will also help during assembly.
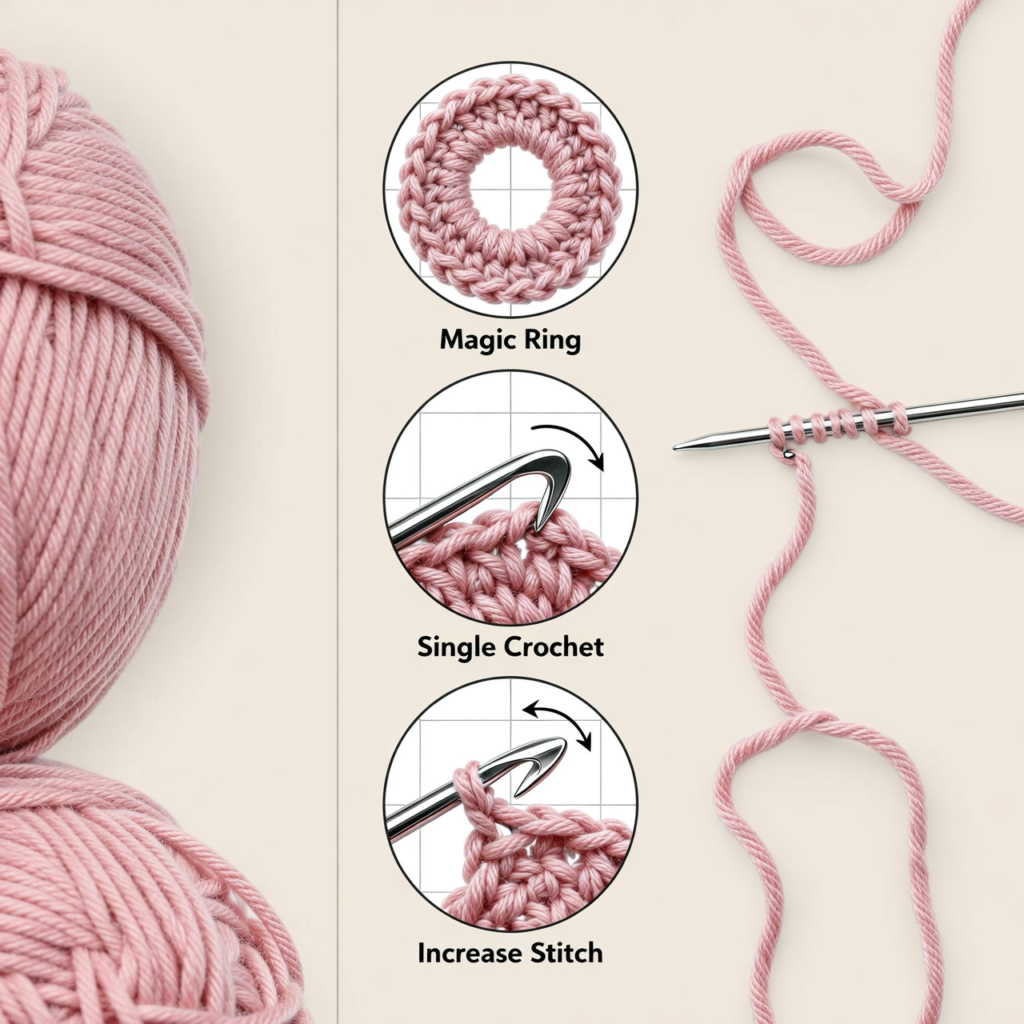
Crochet Abbreviations Used in the Pattern
This crochet pattern uses standard US crochet terms commonly used in amigurumi projects.
Some important abbreviations include MR (magic ring), sc (single crochet), dc (double crochet), inc (increase), dec (decrease), ch (chain), and sl st (slip stitch). Learning these stitches will make the project much easier to follow.
Step 1: Crochet the Bear Head
Start with brown plush yarn and create a magic ring. Crochet single crochet stitches into the ring and gradually increase stitches across several rounds to form the round teddy bear head.
Continue crocheting evenly until the head becomes a smooth sphere. Add fiber filling before closing the final rounds to give the bear a soft stuffed shape.
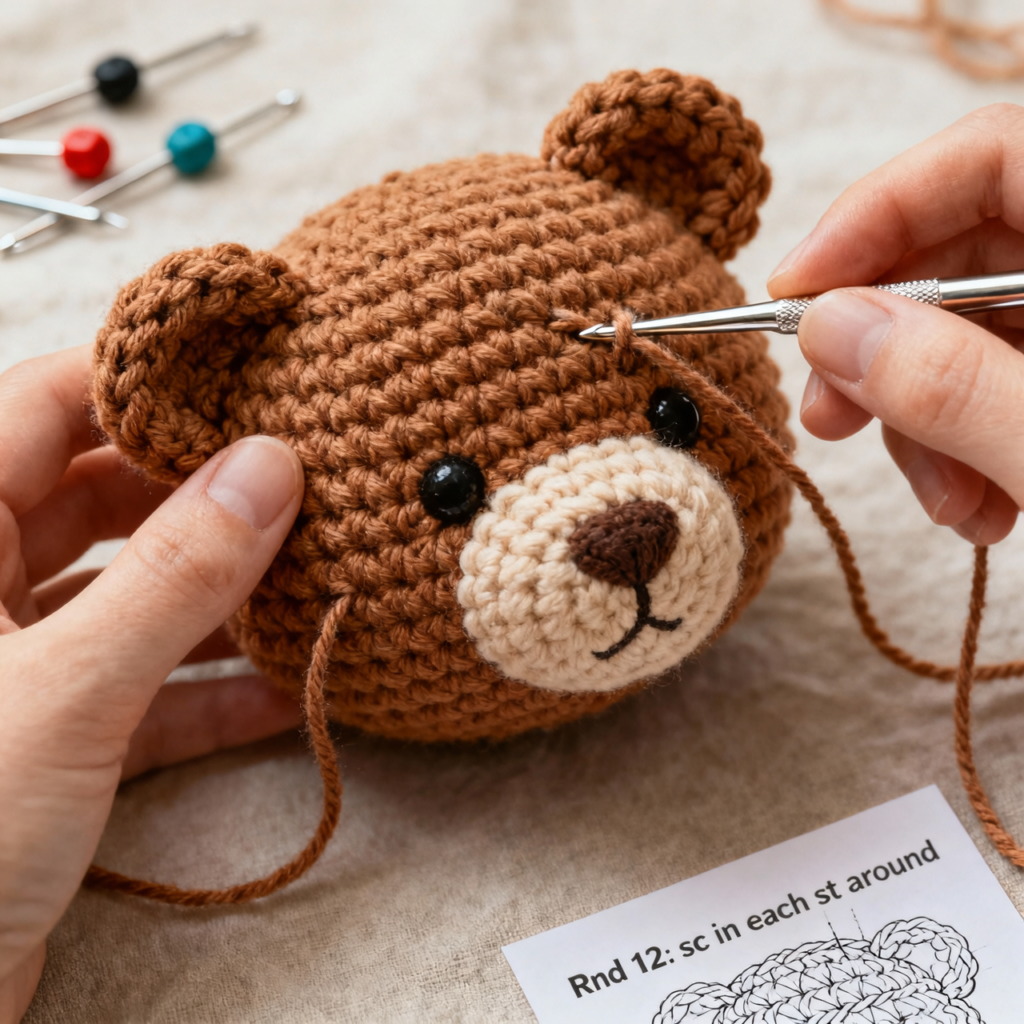
Step 2: Insert Safety Eyes and Shape the Face
Once the head is almost complete, insert 8 mm safety eyes between rounds 9 and 10. The recommended spacing between the eyes is about 7 stitches.
Proper eye placement gives the bear its adorable expression and helps balance the face design.
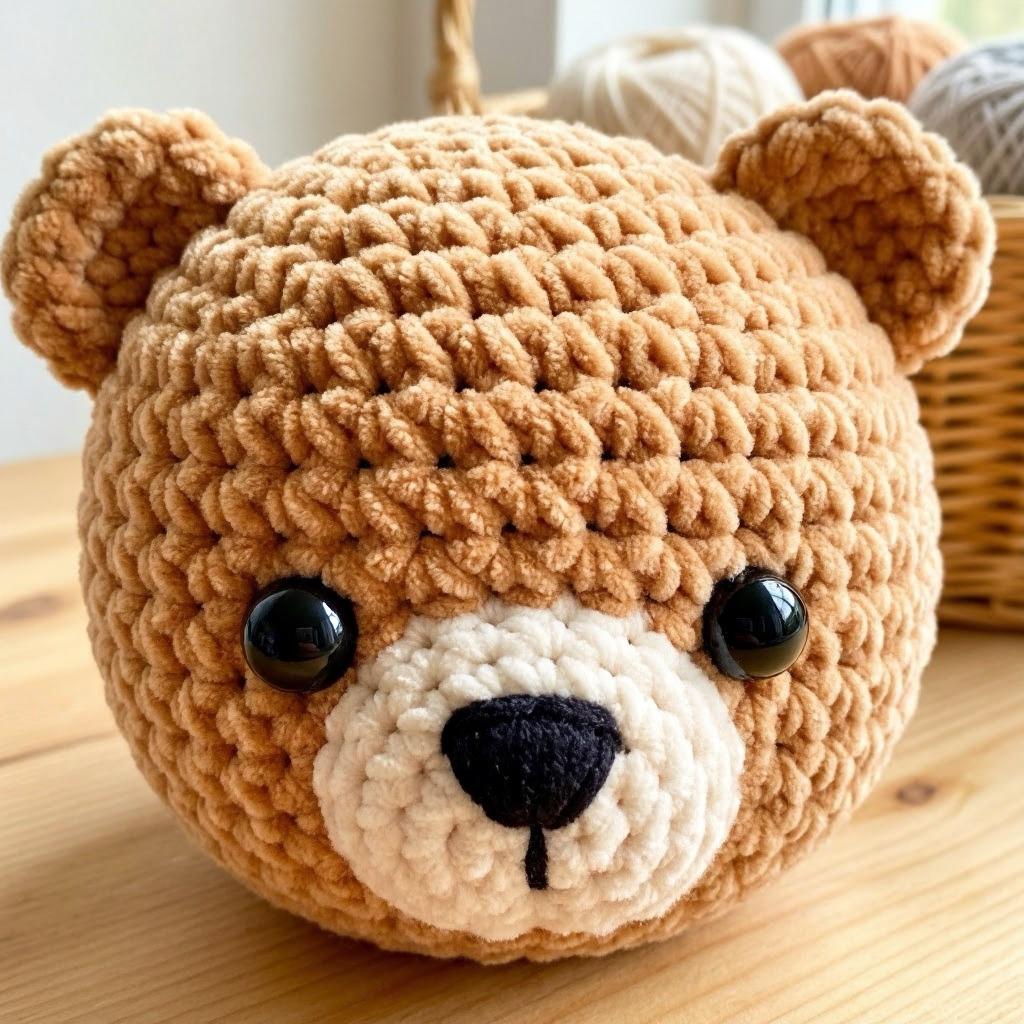
Step 3: Crochet the Bear Ears
The ears are small but important details that give the puppet its cute teddy bear appearance.
Using brown yarn, crochet two small circles starting with a magic ring and single crochet stitches. Fold each ear in half and sew them onto the top of the head.
Step 4: Make the Bear Muzzle and Nose
The muzzle creates the soft snout area for the bear’s face. Crochet a small rounded piece and lightly stuff it before sewing it under the eyes.
Use black cotton yarn and a needle to embroider the nose and facial details, giving your crochet puppet a friendly teddy bear expression.
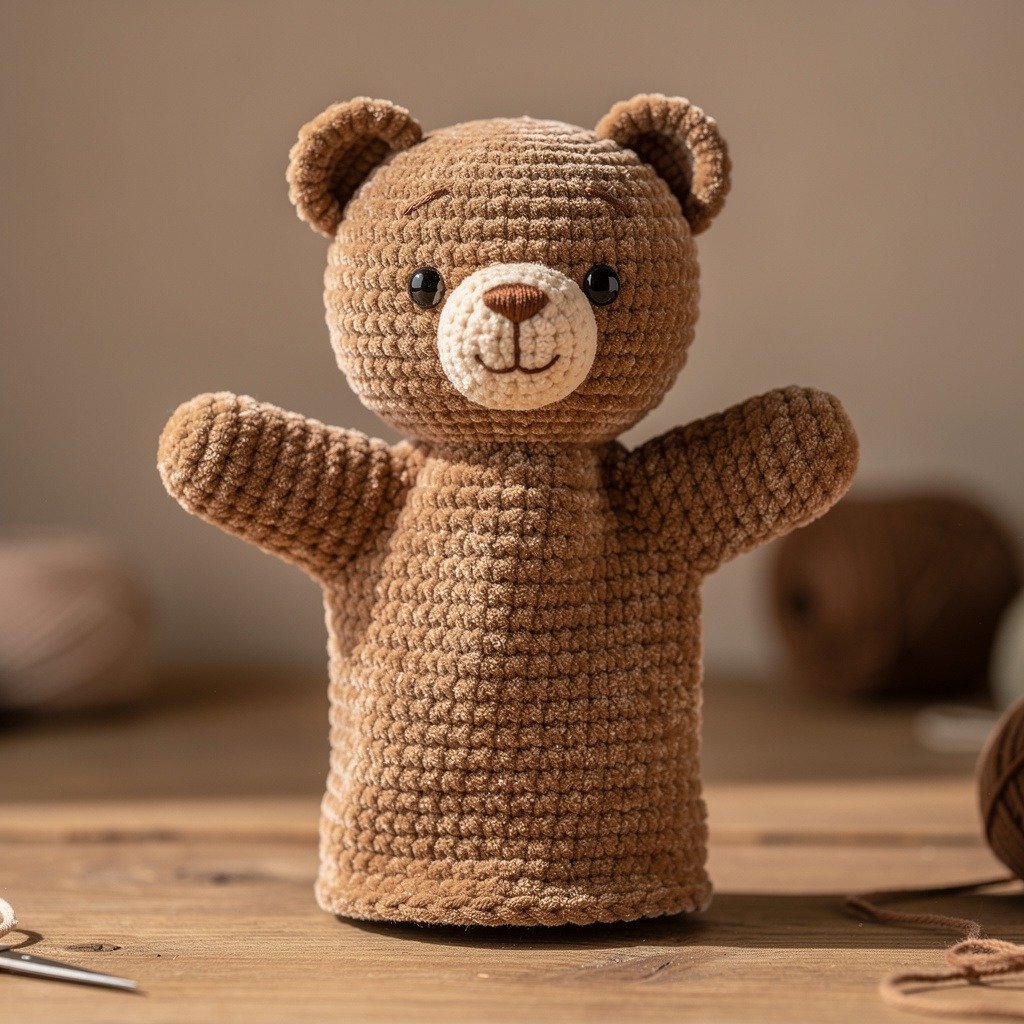
Step 5: Crochet the Arms
The puppet arms are crocheted in small rounds using plush yarn.
Each arm is created with single crochet stitches and gradual decreases to shape the paw. Do not overstuff the arms because they will later attach directly to the puppet body.
Step 6: Crochet the Puppet Body
The puppet body starts with a chain ring that forms the opening for the hand. This allows the puppet to fit comfortably over a child’s or adult’s hand.
Continue crocheting rounds while gradually increasing stitches until the puppet body reaches the correct width.
Step 7: Attach the Arms and Finish the Puppet
Attach the arms while crocheting the body rounds. This method secures the arms firmly without additional sewing.
Finally, sew the finished body to the bear head. Once assembled, your crochet bear puppet will measure approximately 28 cm (11 inches).
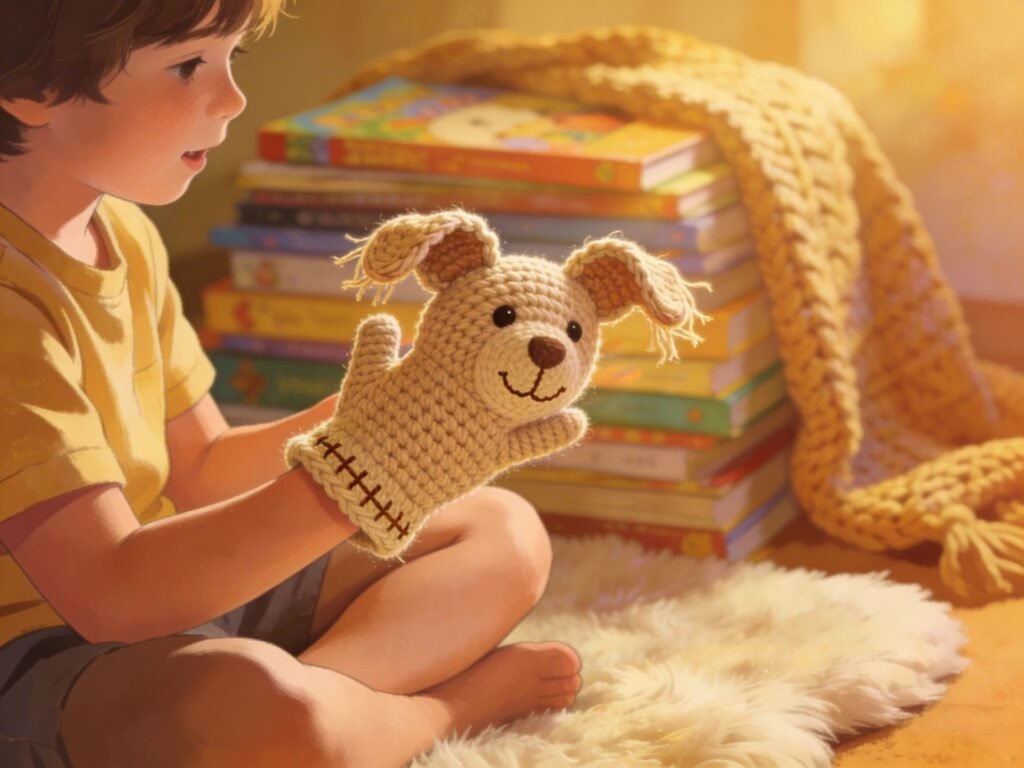
Fun Ways to Use a Crochet Hand Puppet
A crochet hand puppet is not only adorable but also very versatile. Kids love using puppets for storytelling, imaginative play, and puppet shows.
This handmade bear puppet also makes a perfect baby shower gift, preschool toy, or nursery decoration.
Final Tips for Crocheting Plush Amigurumi Toys
When working with plush yarn, crochet slowly and keep your stitches even. Plush yarn can hide stitches, so using stitch markers can help track rounds easily.