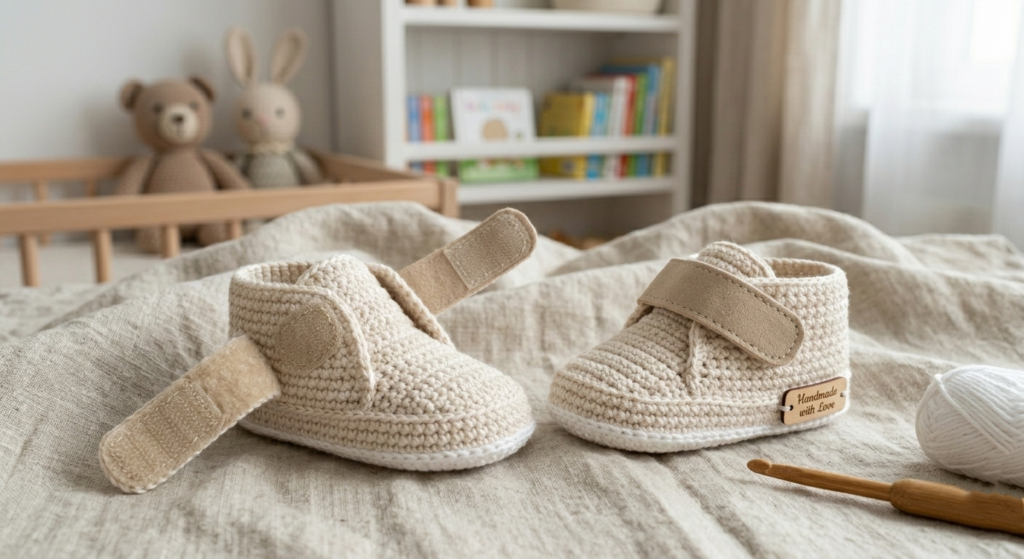
Crochet Baby Booties Pattern (Velcro Sneakers Style)
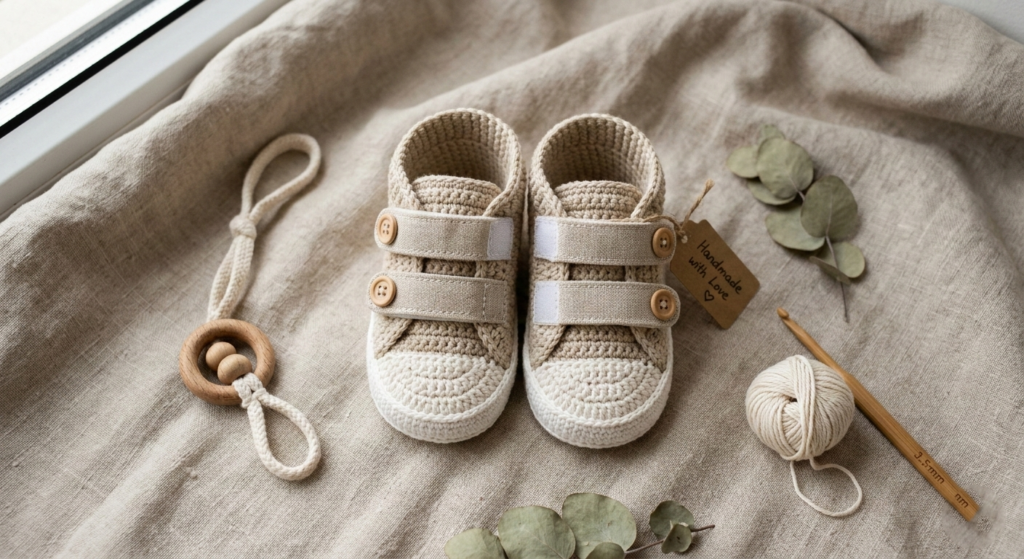
Looking for the perfect crochet baby booties pattern that’s stylish, secure, and practical? These adorable Velcro sneakers are designed for babies from newborn to 9 months and feature a reinforced sole, sporty tongue, and easy hook-and-loop closure.
This intermediate-level crochet pattern creates modern baby sneakers that stay on little feet — and look absolutely Pinterest-worthy.
Skill Level, Sizes & Yarn Details
This crochet baby sneaker pattern is written in US terms and comes in four sizes:
- Newborn
- 0–3 months
- 3–6 months
- 6–9 months
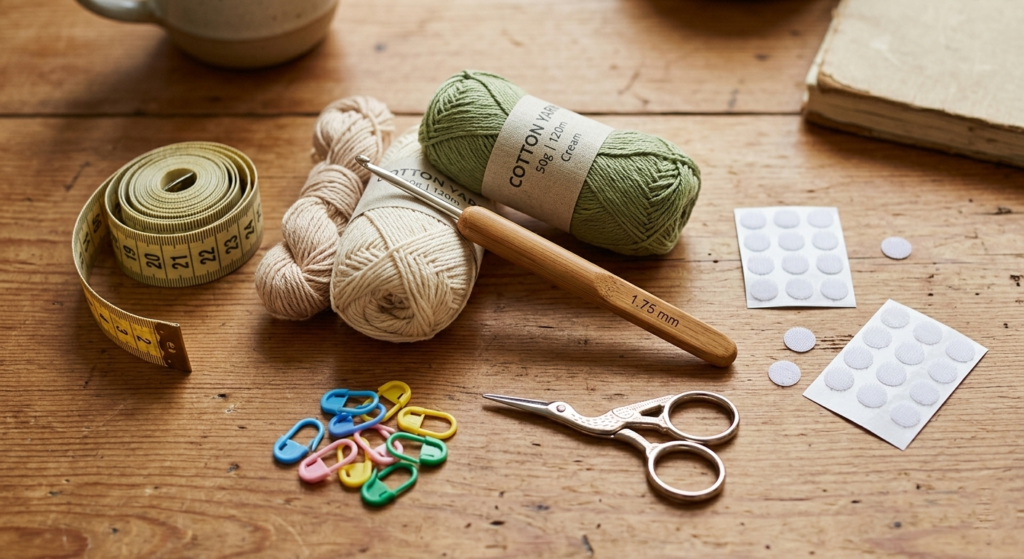
The pattern uses #1 Super Fine / Fingering 100% cotton yarn with a 1.75 mm crochet hook. Cotton yarn gives the booties structure, durability, and breathability — perfect for baby footwear.
Gauge: 30 sc × 33 rounds = 4 inches (10 cm). Always check gauge to ensure proper fit.
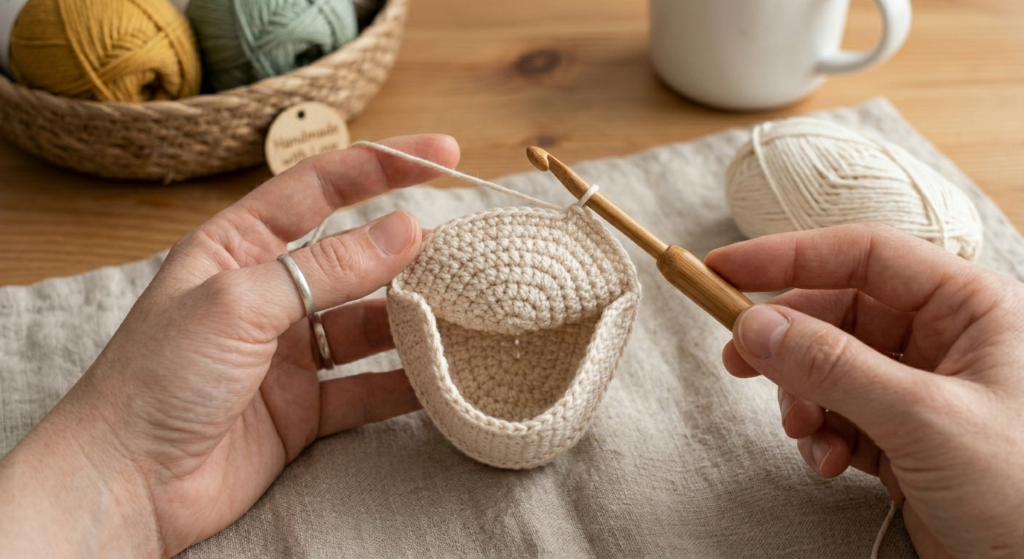
Step 1: How to Crochet the Sole (Make 4 Pieces)
The reinforced sole is what makes these crochet baby sneakers sturdy and long-lasting. Each shoe uses two soles joined together for extra durability.
You’ll begin by crocheting around the foundation chain, increasing at the toe and heel sections to create that classic oval baby shoe sole shape.
After completing the rounds, use slip stitches to join two soles together. This creates a firm base that helps the sneakers hold their shape beautifully.
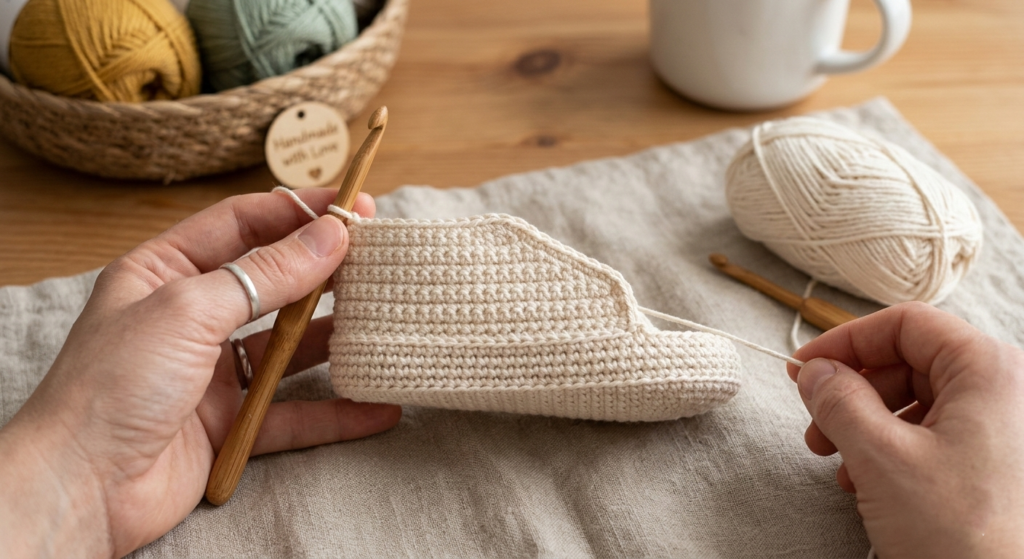
Step 2: Building the Sides of the Baby Booties
Next, you’ll crochet the sides of the shoe by working in the front loops only (FLO). This creates a clean edge and natural bend where the sole meets the upper.
Several rounds of single crochet build the height of the shoe. This stage defines the structure and gives the sneaker its realistic shape.
Finish with an invisible join for a seamless look.
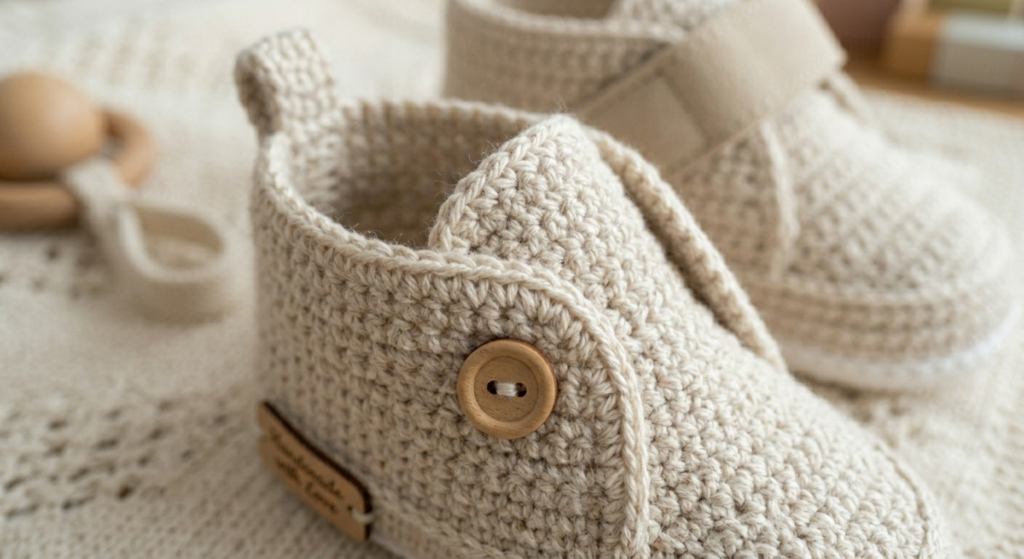
Step 3: Decorative Stitching Detail
To give these crochet baby sneakers their sporty style, slip stitches are added around the upper sole edge.
This simple technique mimics real sneaker stitching and adds a professional touch. It’s a small detail that makes a big visual difference.
Step 4: Shaping the Shoe Top
The top of the shoe is where the magic happens. Strategic double crochet decreases (dc2tog) shape the toe area and create that rounded sneaker front.
Each size includes specific stitch counts to ensure the toe curves properly while maintaining comfort and flexibility.
This shaping step transforms your project from a simple bootie into a realistic crochet sneaker.
Step 5: Crocheting the Sneaker Tongue
The tongue is worked separately in rows using white yarn for that classic sneaker look.
You’ll increase gradually to widen the tongue and finish with edging stitches for a smooth border. This adds dimension and gives the shoe a polished, sporty appearance.

Step 6: Adding the Velcro Closures
Instead of traditional laces, these baby booties feature practical Velcro straps. The straps are crocheted directly onto the shoe sides.
After completing the strap rows, attach hook-and-loop tape using textile glue. This makes the sneakers easy to put on and take off — perfect for wiggly babies.
Left and right shoes are worked slightly differently, so be sure to follow placement instructions carefully.
.
Step 7: Final Finishing Touches
For the final step, slip stitch edging is added along the top edge and straps using white yarn.
This final round enhances durability and sharpens the sneaker design. Once complete, your fashion-forward crochet baby booties are ready to wear (or gift!).
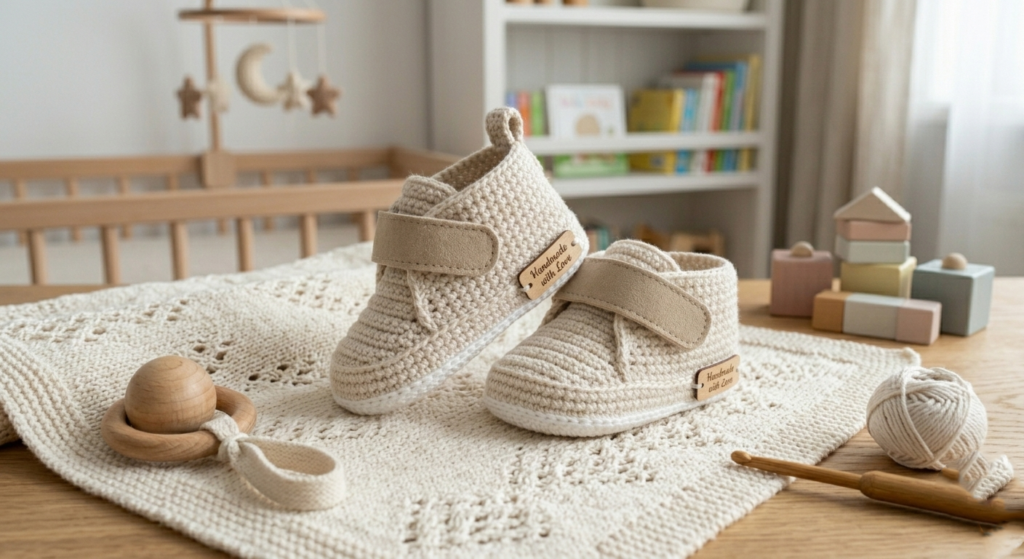
Why You’ll Love This Crochet Baby Booties Pattern
- Reinforced sole for structure
- Realistic sneaker design
- Secure Velcro closure
- Multiple baby sizes included
- Perfect handmade baby shower gift
If you love modern crochet baby patterns, this sporty sneaker design is a must-make.