Beatrix the Little Witch Crochet Pattern (Free Amigurumi Guide)
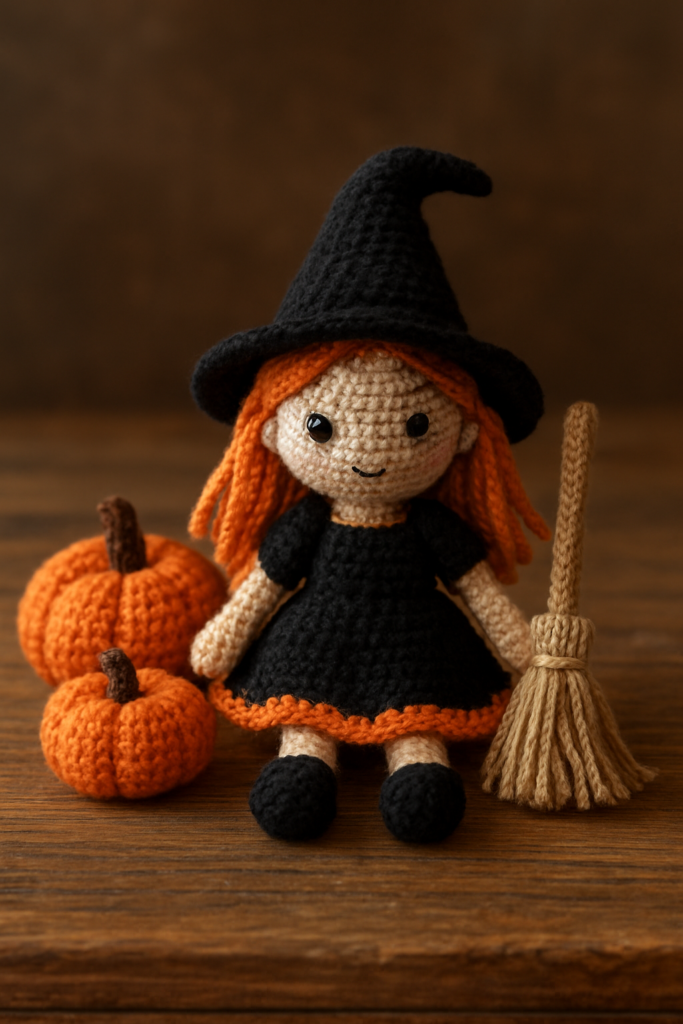
If you love making magical amigurumi dolls, the Beatrix the Little Witch crochet pattern is a fun and creative project to try. This adorable witch doll stands about 30 cm tall, making it perfect for Halloween decorations, handmade gifts, or cute nursery toys.
This beginner-friendly guide will walk you through the main steps to crochet your own Beatrix doll, including materials, stitches, and assembly tips. If you want the complete step-by-step pattern, you can download the full PDF below.
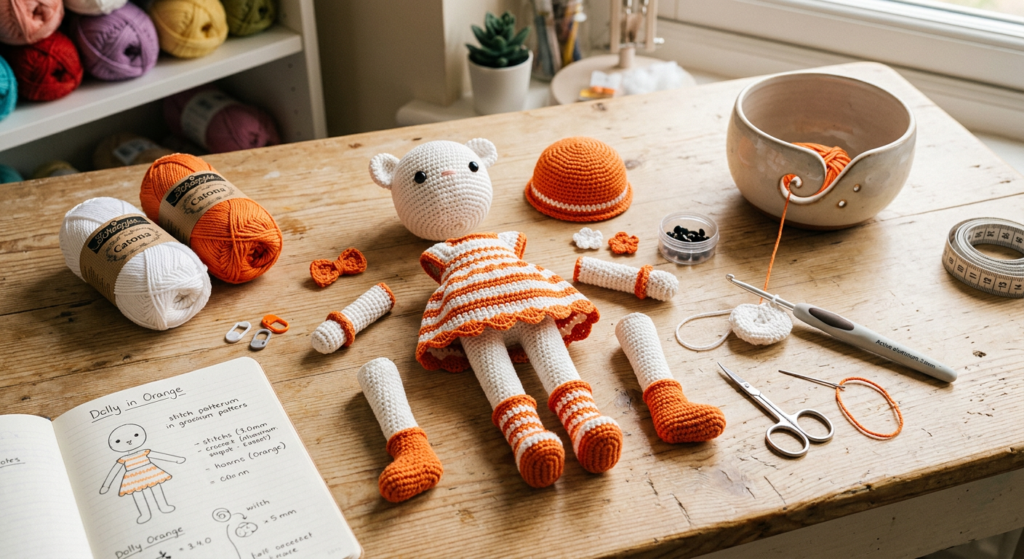
Materials You Need for the Beatrix Witch Doll
Before starting your crochet project, gather all the materials to make the process smooth and enjoyable. Using the recommended yarn will help achieve the best result.
Recommended yarns
- YarnArt Jeans (skin, black, white, orange, grey)
- Gazzal Baby Cotton (orange and green shades)
These sport-weight yarns work perfectly with a 2.3 mm crochet hook and create tight stitches ideal for amigurumi dolls.
Other tools
- 10mm safety eyes
- Polyester fiberfill stuffing
- Sewing needle and scissors
- Ribbon and small buttons
- Black felt fabric
- Copper wire (optional for structure)

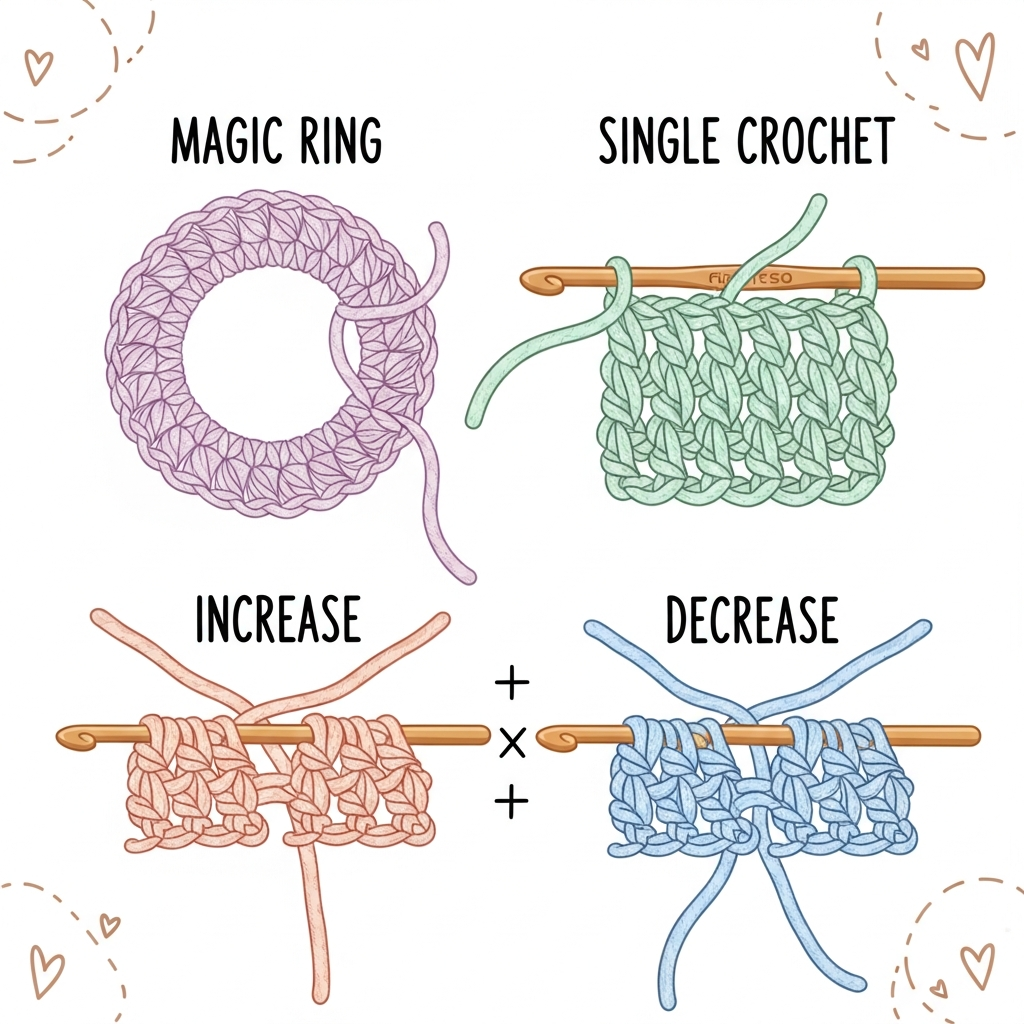
Crochet Abbreviations You Should Know
Like most amigurumi patterns, the Beatrix witch uses common crochet abbreviations. Understanding these stitches will make following the pattern much easier.
Common stitches used include:
- MR – Magic Ring
- SC – Single Crochet
- INC – Increase
- DEC – Decrease
- DC – Double Crochet
- SLST – Slip Stitch
The pattern is crocheted in continuous spirals, so using a stitch marker helps keep track of your rounds.
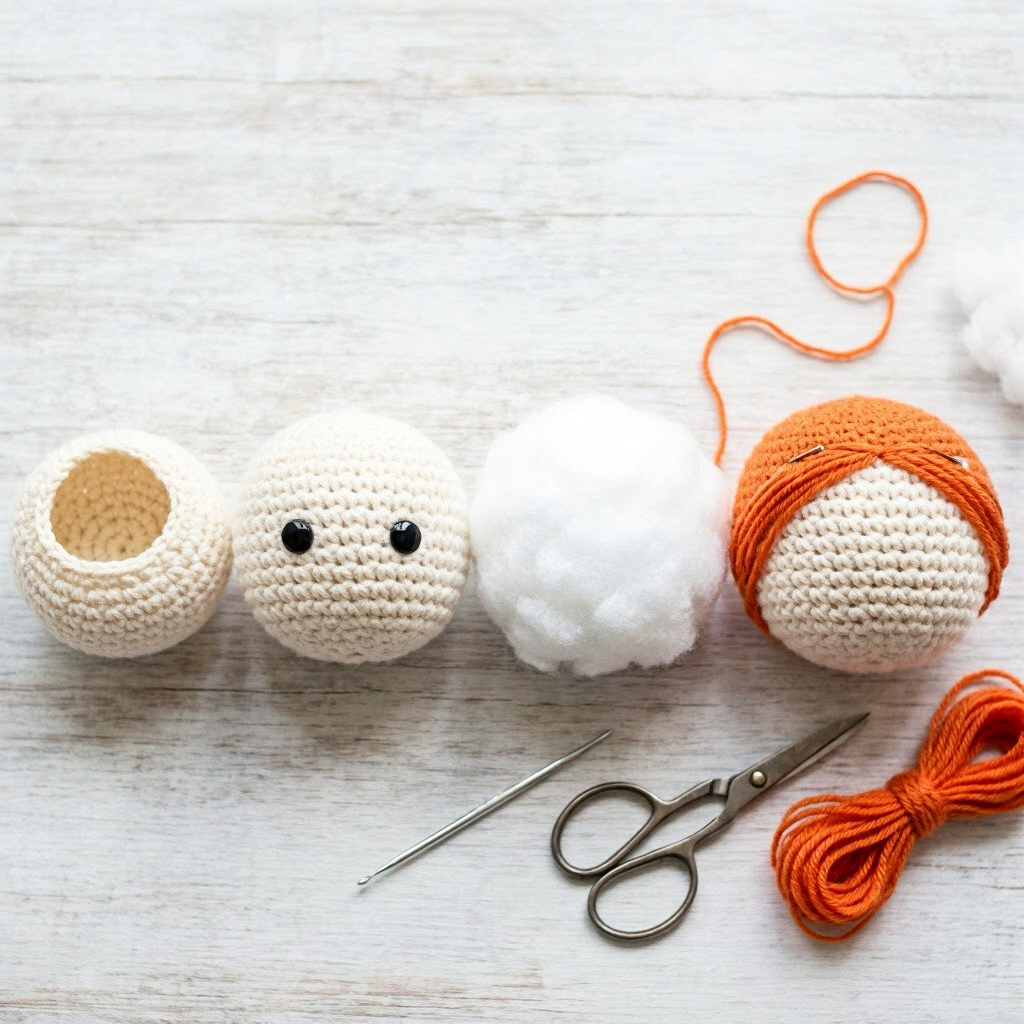
How to Crochet the Witch Doll Head
The head is the first piece of the doll and forms the base for the face details. It starts with a magic ring and gradually increases to create a rounded shape.
You will increase stitches across several rounds until the head reaches the correct width. After that, several rows are crocheted evenly before decreasing to close the shape.
Safety eyes are typically placed between rounds 17 and 18, with about 10 stitches between them for balanced facial proportions.
Crocheting the Legs and Body
The legs are crocheted separately and then joined together to create the base of the body. Each leg starts with a small chain and increases to form the foot.
Once both legs are complete, they are joined with chain stitches to begin crocheting the body in continuous rounds. The body gradually decreases toward the shoulders to shape the torso.
Adding fiberfill stuffing every few rounds helps keep the doll evenly shaped and stable.
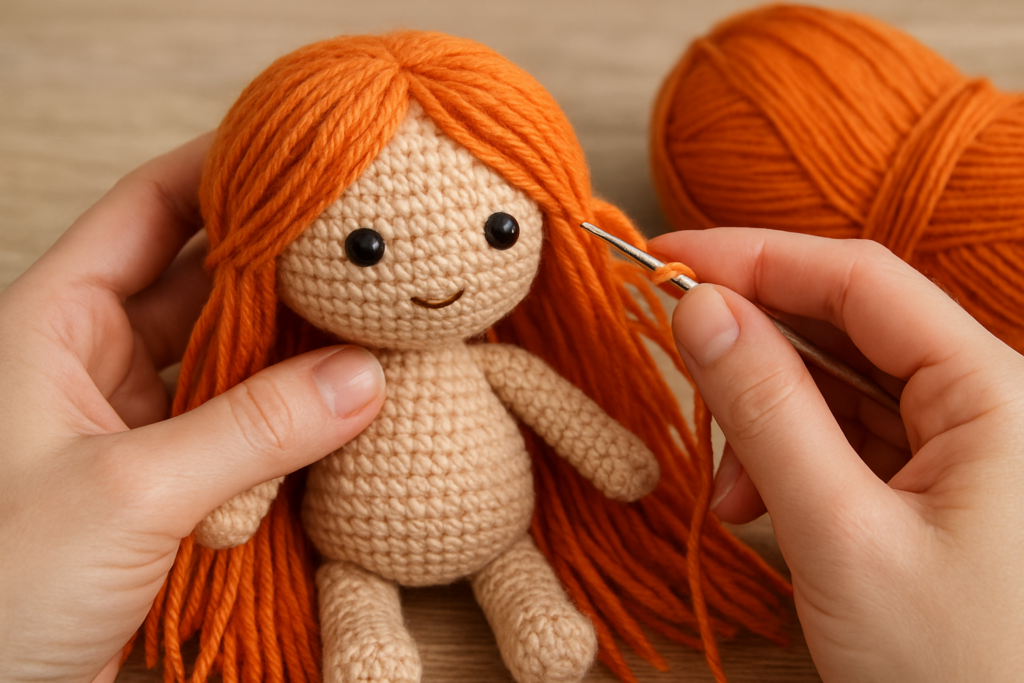
Adding Arms, Hair, and Face Details
The arms are crocheted separately using skin-colored yarn before switching to black yarn to create sleeves. They are later sewn onto the body to give the doll a natural pose.
For the hair, orange yarn is used to create layered strands attached to the head. The strands are arranged to frame the face and create the witch’s hairstyle.
Finally, embroidery is used for the eyebrows, eyelids, and mouth, while blush or paint adds a soft cheek color.
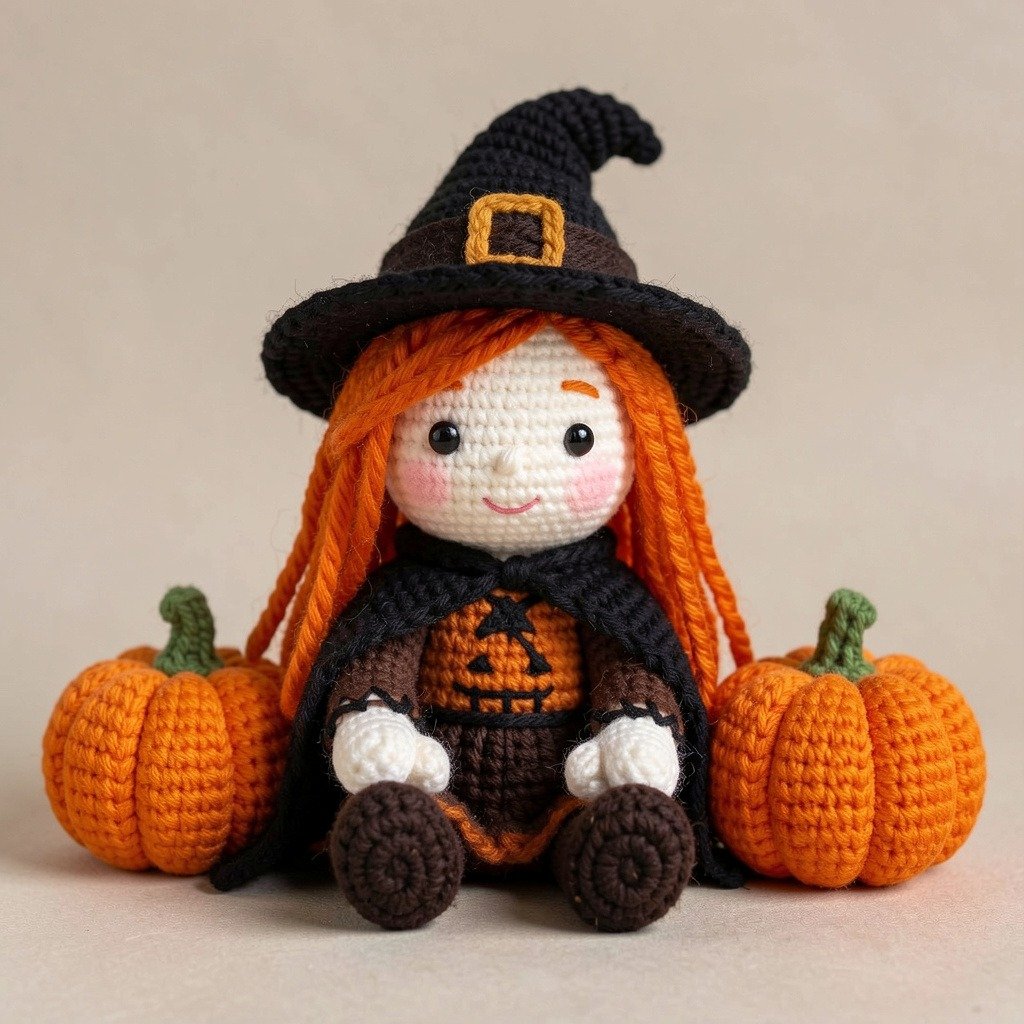
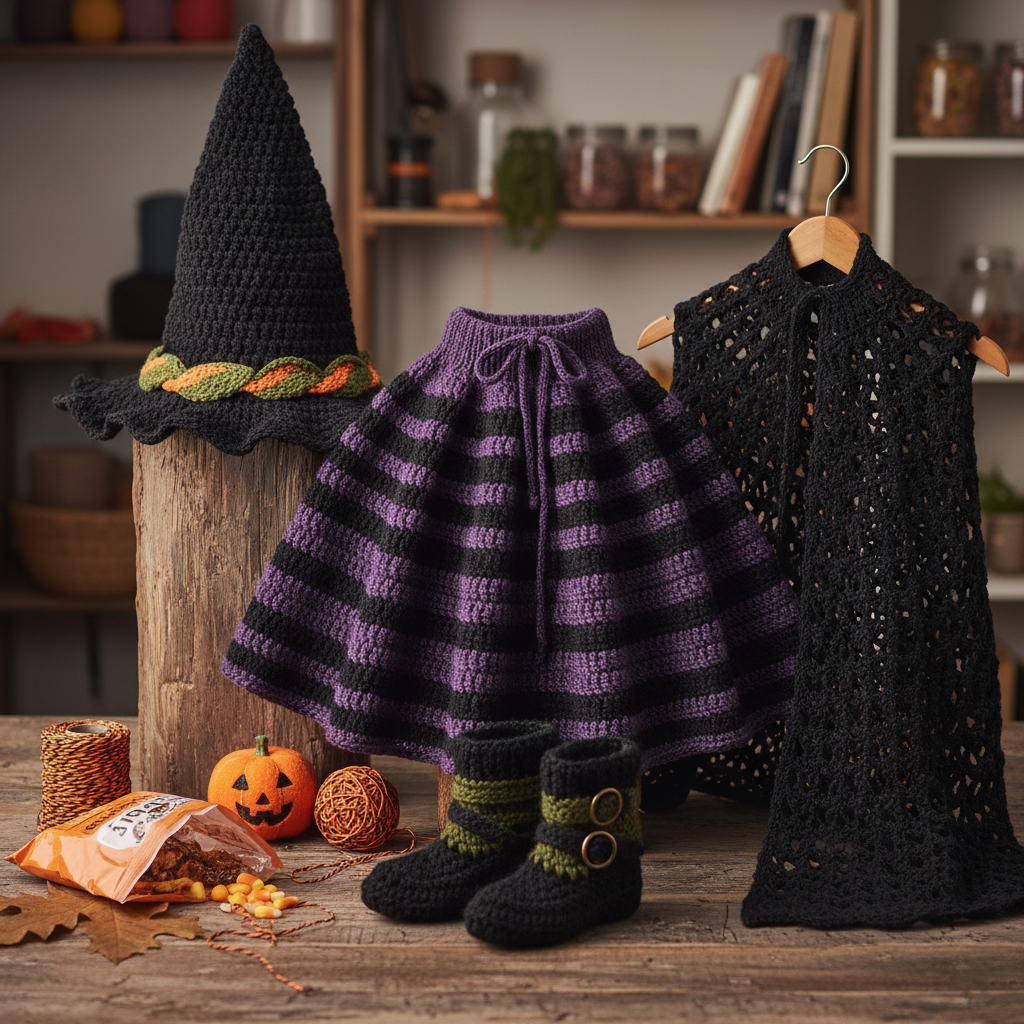
Making the Witch Outfit and Accessories
Beatrix’s charming outfit includes several crocheted accessories that complete her magical look.
These pieces include:
- A layered orange skirt
- A black witch cape
- A classic pointed witch hat
- Small crochet shoes
These elements give the doll a festive Halloween aesthetic and make it look like a real little witch character.
Crochet Pumpkins and Broom Accessory
To finish the scene, the pattern also includes instructions for crocheting two decorative pumpkins and creating a tiny broom.
The pumpkins are crocheted in orange yarn and shaped using a sewing needle to create the classic pumpkin ridges. A green crochet stem completes the look.
The broom can be made from a small twig and hemp rope, giving the doll a charming handmade prop.
Final Assembly and Finishing Touches
Once all pieces are complete, the final step is assembling the doll. Start by sewing the head to the body, ensuring the neck area is tightly stuffed for stability.
Next attach the arms, shoes, and outfit pieces. The cape and ribbon ties can be adjusted to give the doll personality and movement.
After assembly, your Beatrix the Little Witch crochet doll will be ready for decoration, gifting, or display.