Baby Bat Crochet Pattern (Adorable Amigurumi Tutorial)
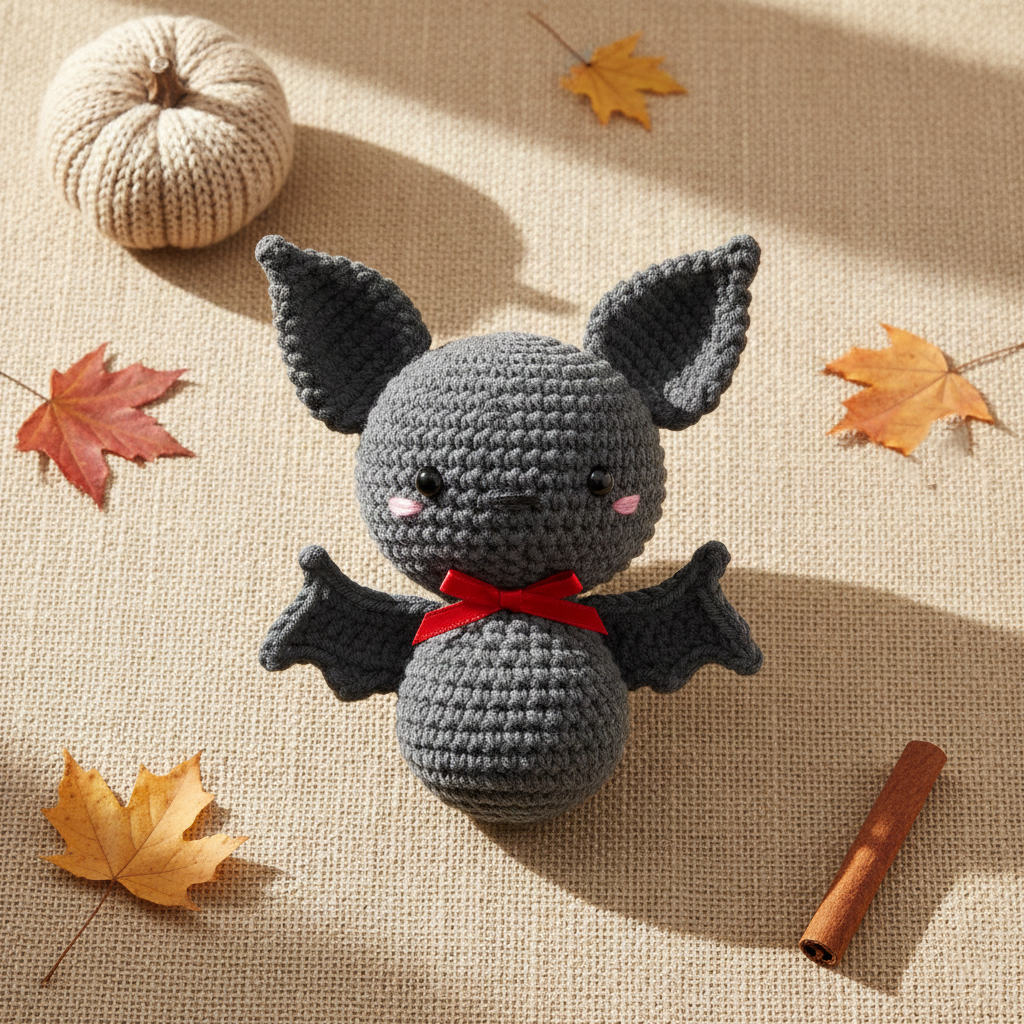
Looking for the cutest baby bat crochet pattern for Halloween or year-round spooky decor? This beginner-friendly amigurumi bat features tiny wings, blushing cheeks, and an oversized bow tie that makes it completely irresistible.
Whether you’re making a handmade gift, selling crochet plushies, or creating Pinterest-worthy fall decor, this crochet bat pattern PDF is a must-have.
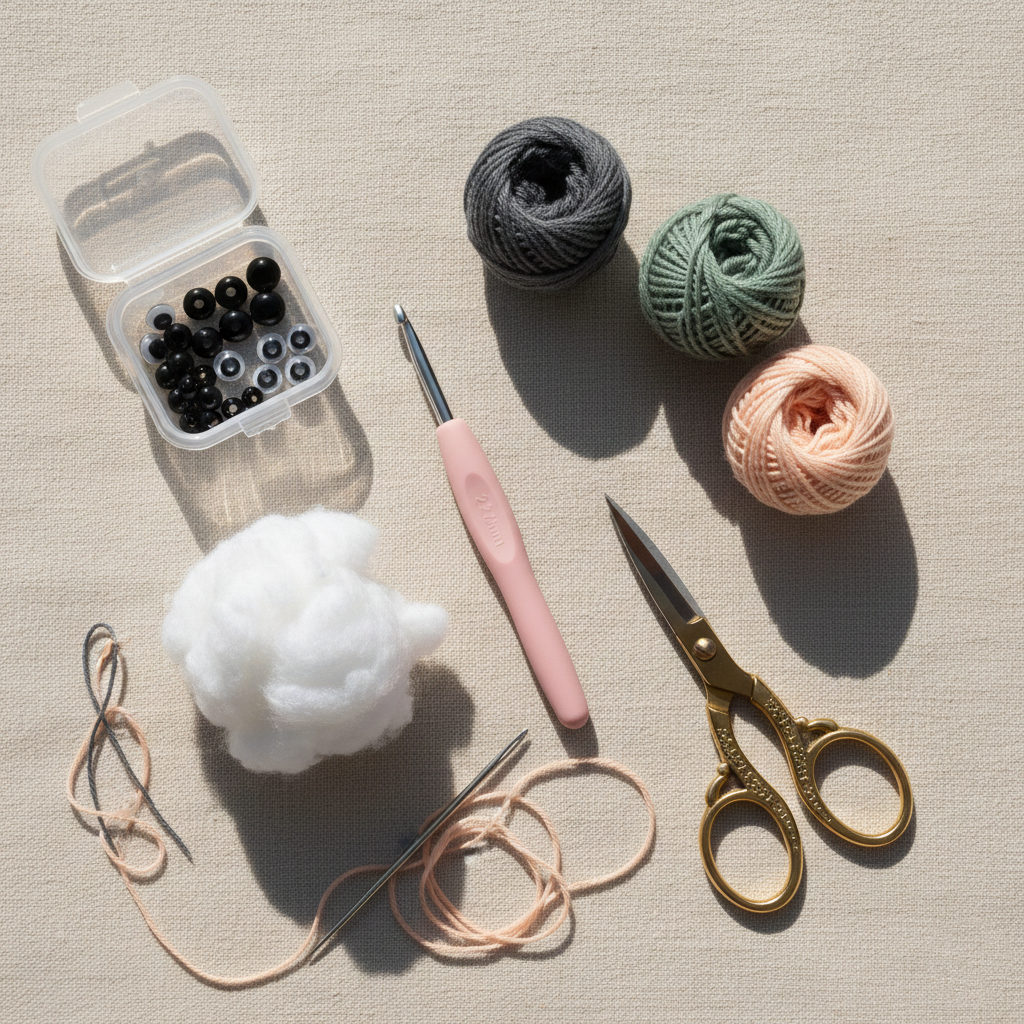
Materials & Tools for Your Crochet Bat
This amigurumi bat pattern uses lightweight cotton yarn and a small hook for tight stitches. You’ll need approximately 25g of yarn for the main body color plus small amounts for accent details like blush and bow tie.
Materials include:
- Sport/fingering weight cotton yarn
- 2.25 mm crochet hook
- 6 mm safety eyes
- Stuffing
- Yarn needle, scissors, pins
Maintaining tight, consistent tension is important — especially since this pattern uses both single crochet and double crochet stitches in the wings.
How to Crochet the Bat Head (Amigurumi Style)
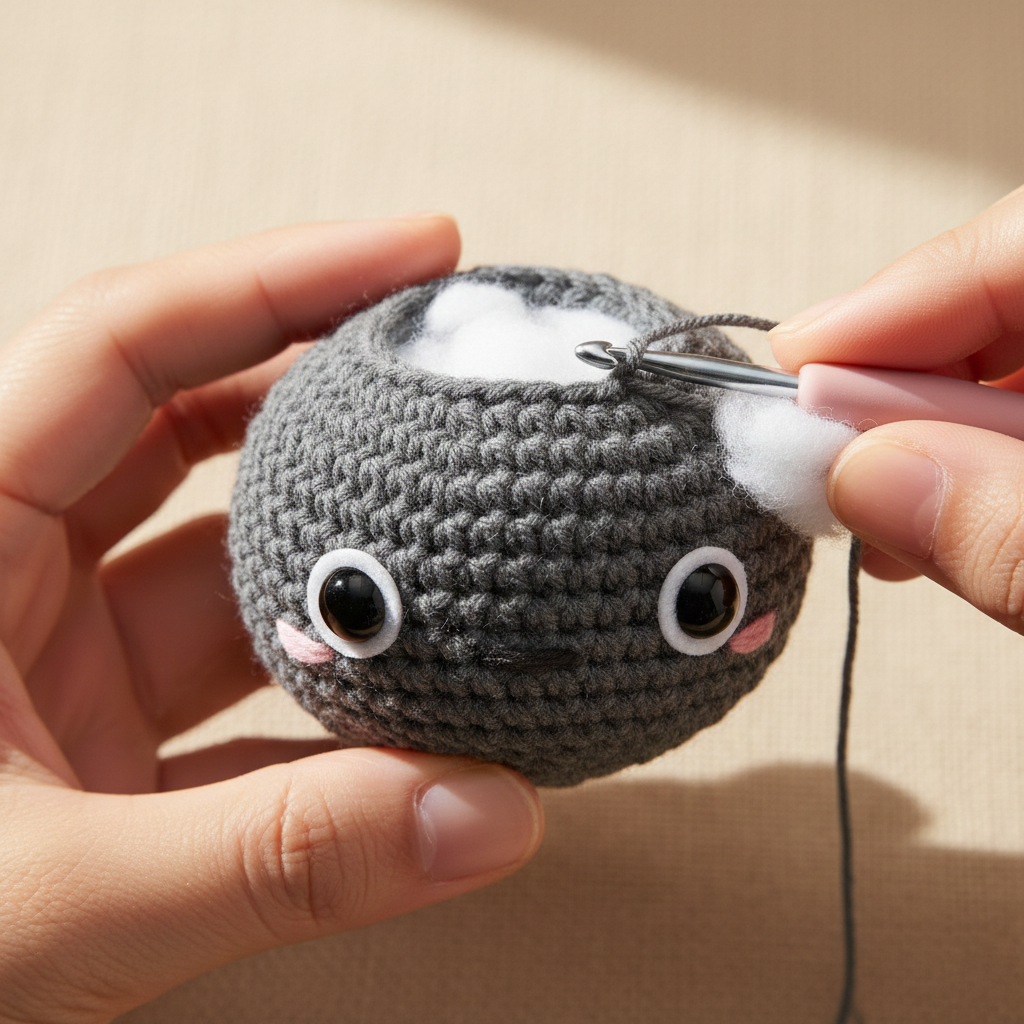
The head is worked in continuous rounds starting with 6 single crochet in a magic ring. Gradual increases shape the head into a smooth sphere, reaching 42 stitches at its widest point.
Safety eyes are inserted before closing the head. For the cutest expression, stuff firmly around and above the eyes to keep them facing forward.
Take your time shaping — careful stuffing is what gives amigurumi that professional finish.
Stuffing & Shaping Tips for Perfect Results
Proper stuffing makes or breaks your crochet plush. Begin adding stuffing once the head widens and continue gradually as you decrease.
Avoid overstuffing during decrease rounds. Add small amounts at a time to maintain a rounded shape without stretching the stitches.
Before closing, gently shape with your fingers to create a symmetrical finish.
Crochet Bat Body Instructions
The body is worked similarly to the head, starting with 6 single crochet in a magic ring and increasing gradually to create a slightly oval shape.
Unlike the head, the body remains more elongated. Keep stuffing as you go to ensure it stays firm and upright.
Once completed, align the slip stitch points and sew the head to the body through the front loops only for a clean join.

Adding Blush for Extra Cuteness
Blush is embroidered using accent yarn between specific rounds near the eyes. Insert your needle slightly behind the eye and stitch two small horizontal lines.
This simple detail instantly gives your bat personality. Tie off securely and trim neatly inside the head.
Small embroidery touches make your amigurumi stand out — especially in close-up Pinterest photos.
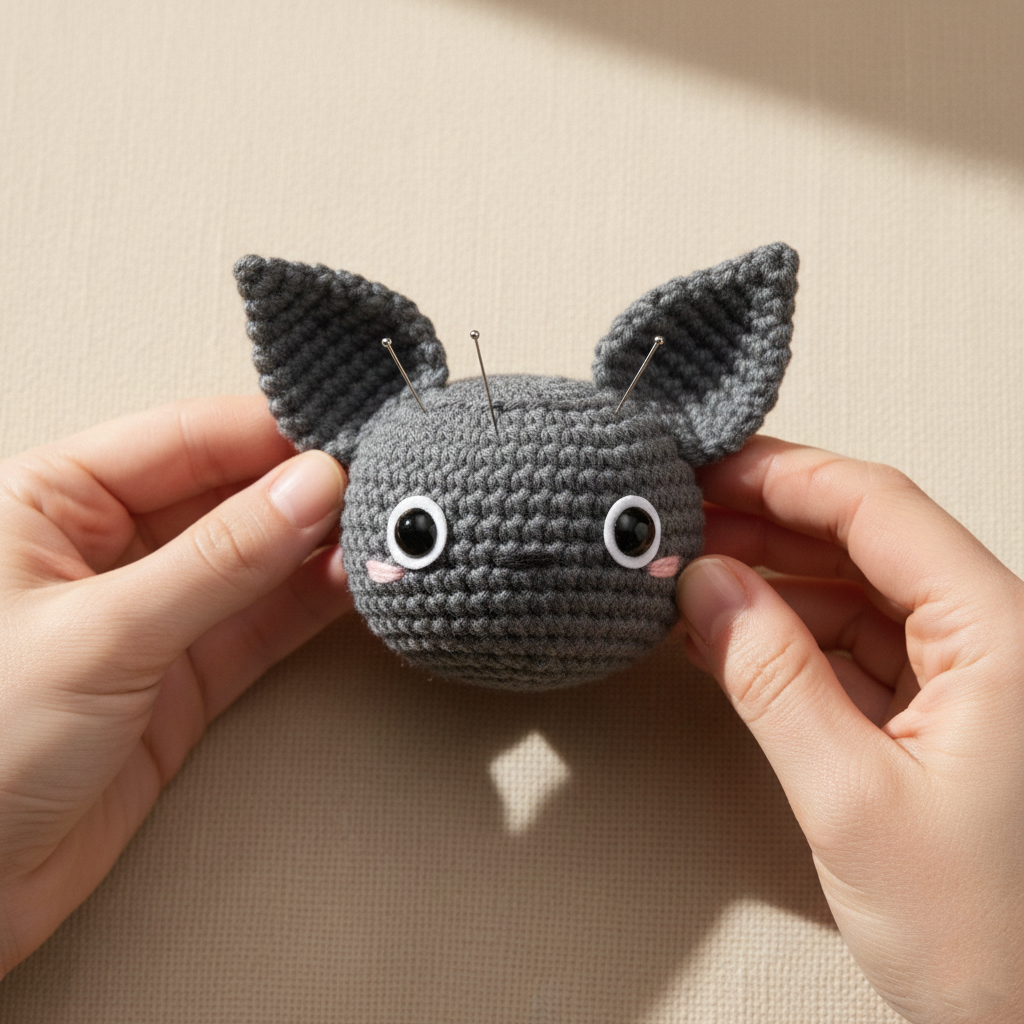
Crochet Bat Ears
The ears are crocheted in small rounds and lightly shaped before sewing. Leave a long tail for attachment.
Position the ears carefully:
- Front corner near the blush area
- Back corner slightly higher
- Pinch the tip gently for dimension
Always pin and check placement from the front before sewing permanently.
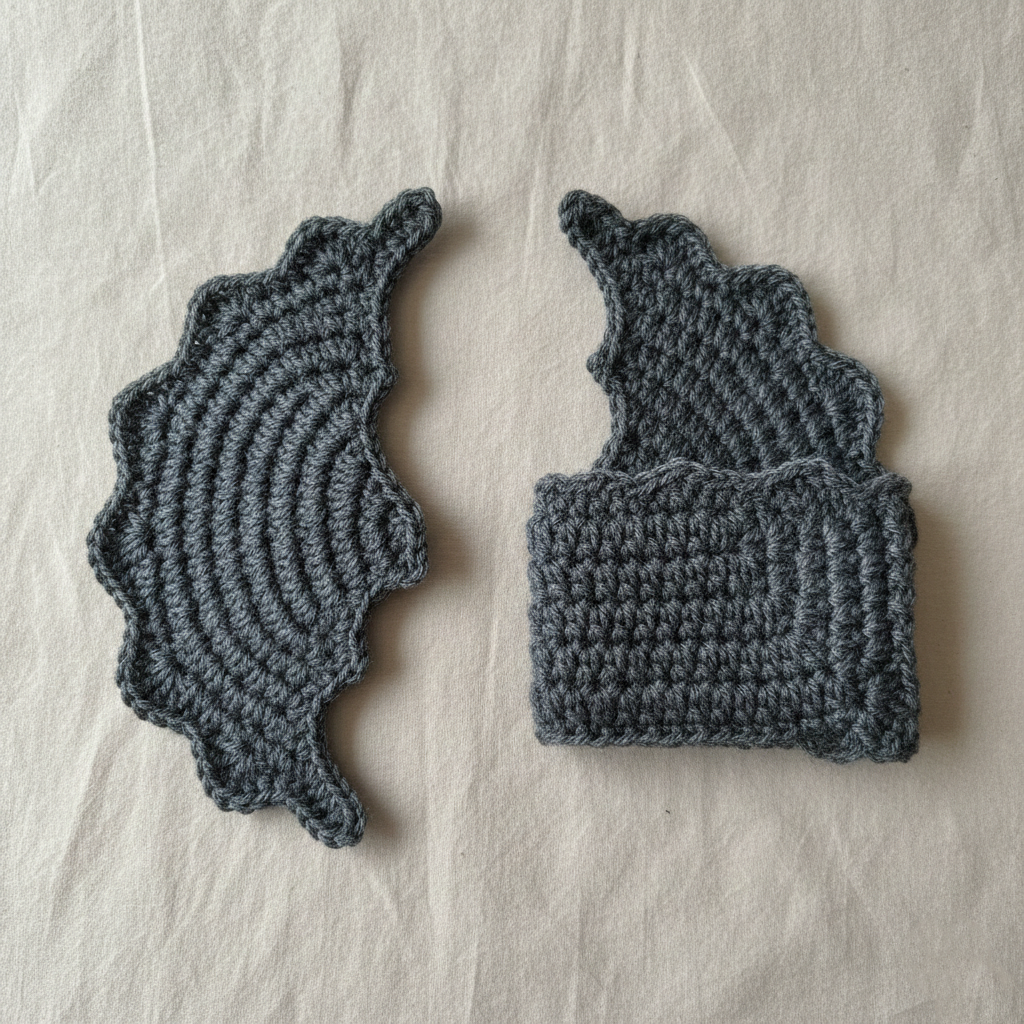
How to Crochet Bat Wings
The wings are worked in joined double crochet rounds beginning in a magic ring. Chain stitches and double crochet increases create the dramatic scalloped edge.
After completing five rounds, fold the wing in half and stitch through the back loops to form the signature bat wing shape.
Keep your double crochet stitches compact and neat so the finished wing is proportional to the body.
Make two identical wings.
Bow Tie (Optional but Adorable!)
The bow tie is made separately using half double crochet rows. A small white knot piece wraps around the center for structure.
The bow should be slightly oversized — about the width of the eyes. Adjust your chain length if needed to match proportions.
Attach the finished bow between the 2nd and 3rd body rows beneath the head.
Assembling Your Crochet Baby Bat
Pin the wings in a narrow V shape where the head meets the body. The lower wing tips should angle toward the tail.
Attach using small, tight stitches — one stitch every 2–3 body rows is usually sufficient.
After sewing everything securely, gently reshape your bat with your hands. Fluff the stuffing slightly and adjust the ears if needed.
And just like that — your adorable crochet bat is complete!
Why You’ll Love This Baby Bat Crochet Pattern
- Beginner-friendly amigurumi construction
- Perfect for Halloween crochet projects
- Great handmade gift idea
- Small, portable project
- Customizable colors and accessories
This crochet bat plush pattern is ideal for fall markets, spooky decor, or year-round gothic nursery themes.
Ready to make your own?
Download the Printable Baby Bat Crochet Pattern
Get the complete round-by-round instructions, stitch counts, and assembly diagrams in the printable PDF version.
Click below to download and start crocheting today.