How to Crochet an Adorable Hedwig-Inspired Owl Plush
If you’ve been searching for a magical crochet owl pattern that’s both beginner-friendly and irresistibly cute, this Hedwig-inspired crochet owl is the perfect project. With detailed shaping, expressive eyes, tiny wings, and even a miniature envelope accessory, this crochet owl plush makes an amazing handmade gift, nursery decoration, or collectible for fantasy lovers.
This step-by-step crochet owl tutorial walks you through the complete process—from creating the body and facial features to assembling the scarf and tiny mail envelope. Whether you’re an experienced amigurumi maker or trying your first stuffed crochet animal, this project offers plenty of creative satisfaction while helping you build your crochet skills.
Materials You’ll Need for This Crochet Owl Pattern
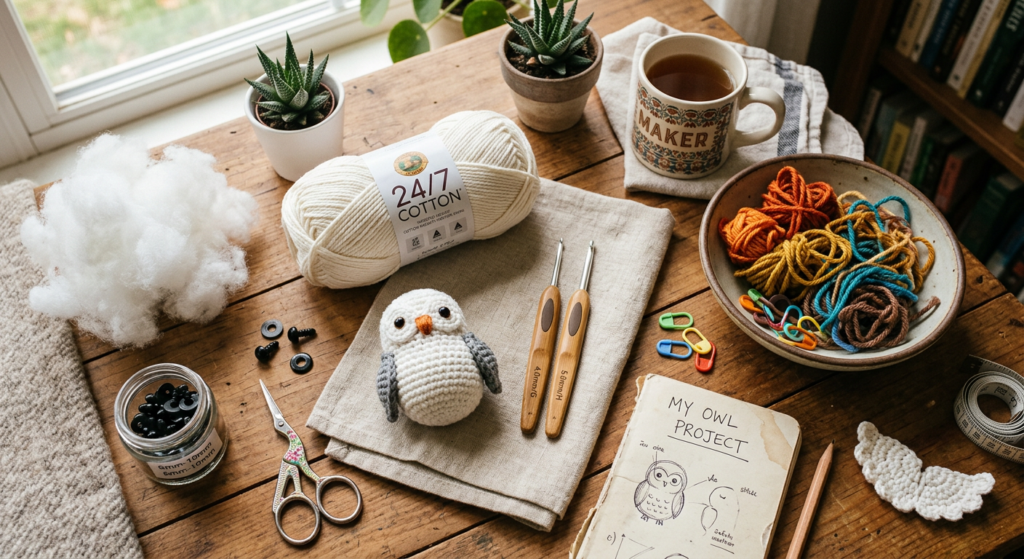
Before getting started, gather all your crochet supplies so the process feels smooth and enjoyable. This pattern uses worsted-weight yarn and standard amigurumi techniques worked in continuous rounds.
Crochet Supplies Checklist
- 3.5mm crochet hook
- 5mm crochet hook for the scarf
- White worsted (#4) yarn
- Small amounts of yellow, black, grey, beige, and red yarn
- 12mm safety eyes
- Poly-fil stuffing
- Stitch markers
- Darning needle
- Embroidery thread
- Scissors
The pattern is flexible, meaning you can substitute different yarn weights and hook sizes depending on the final size you want for your crochet owl.
Common Crochet Abbreviations Used
You’ll encounter classic amigurumi stitches throughout the pattern, including:
- MR = Magic Ring
- SC = Single Crochet
- INC = Increase
- DEC = Decrease
- HDC = Half Double Crochet
- SlSt = Slip Stitch
- BLO/FLO = Back Loop Only / Front Loop Only
Understanding these basic stitches before starting will make the pattern much easier to follow.
Step 1: Crochet the Owl Eyes First
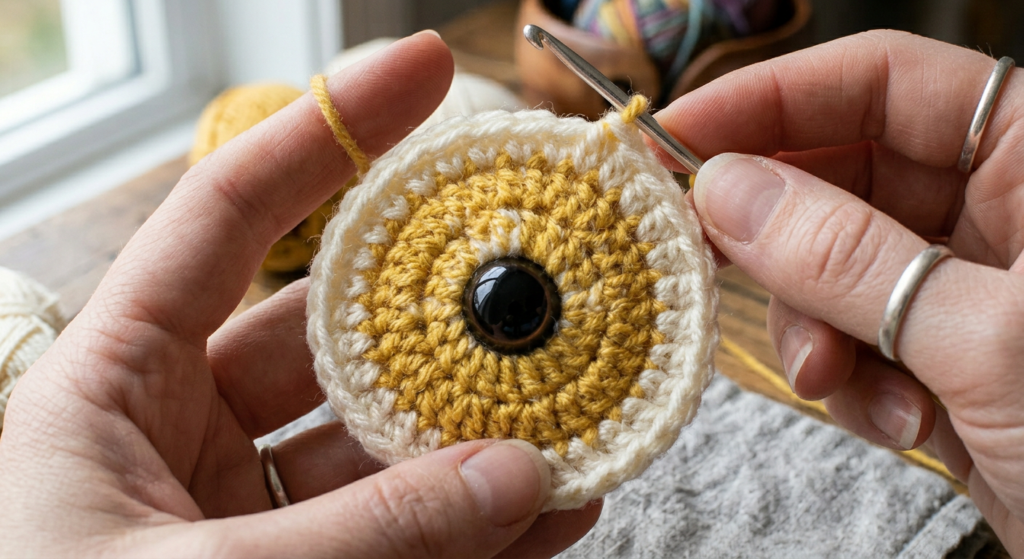
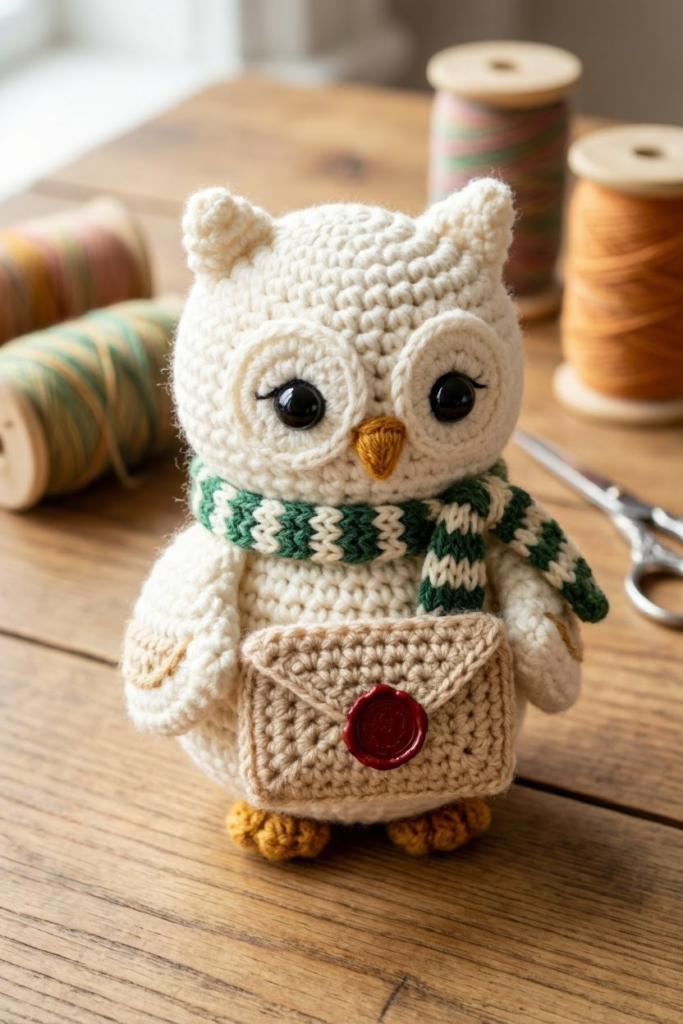
The eyes are one of the most expressive features of this adorable owl plush, so they’re made before the body. The design uses yellow and white yarn to create layered eye patches around the safety eyes.
Start by crocheting a small magic ring using yellow yarn, then build outward with half double crochets and increases. Afterward, switch to white yarn to create the larger outer eye patch.
Tips for Perfect Crochet Owl Eyes
- Leave the magic ring slightly loose at first so the safety eye post can fit through the center.
- Tight stitches help the eye patches maintain their shape.
- Position the eyes evenly before attaching permanently.
The oversized eyes give this owl its charming, animated appearance and instantly make the project feel professional.
Step 2: Crochet the Owl Body in Continuous Rounds
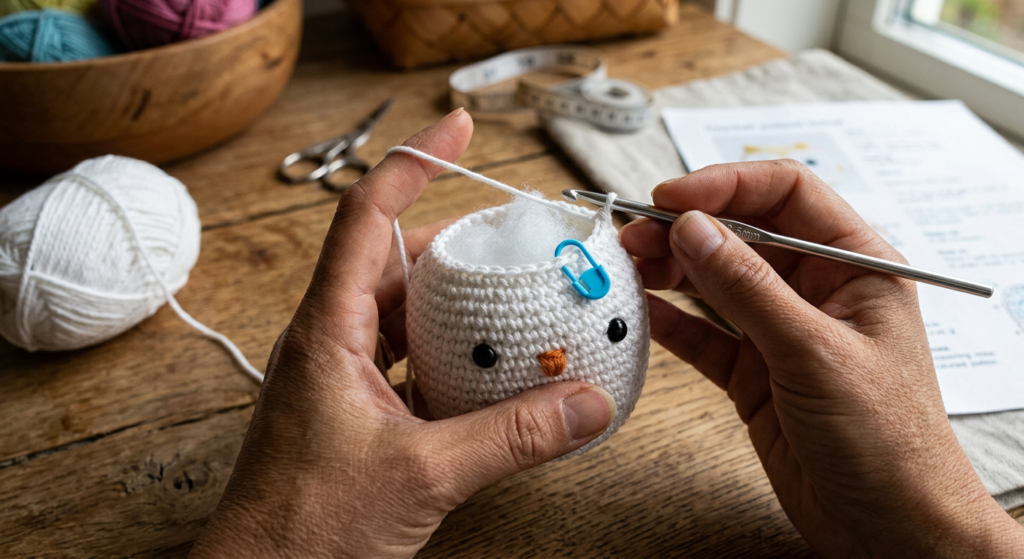
The body is worked from the bottom upward using continuous crochet rounds. Gradual increases create the rounded lower body, while decreases shape the head naturally.
The pattern begins with a magic ring and slowly expands outward before maintaining the body width for several rows. Later rounds narrow the shape to form the owl’s head.
Why Continuous Rounds Matter in Amigurumi
Working in continuous rounds helps create:
- Seamless shaping
- Smooth curves
- Cleaner finished plushies
- Better structural integrity
Stuff the body gradually as you work upward so the plush remains evenly shaped without lumps.
Eye Placement Guide
The eyes are attached between rows 21 and 22 with three visible stitches separating them. Proper spacing gives the owl a balanced, expressive face.
At this stage, the owl truly begins to come to life.
Step 3: Make the Wings, Feet, and Beak
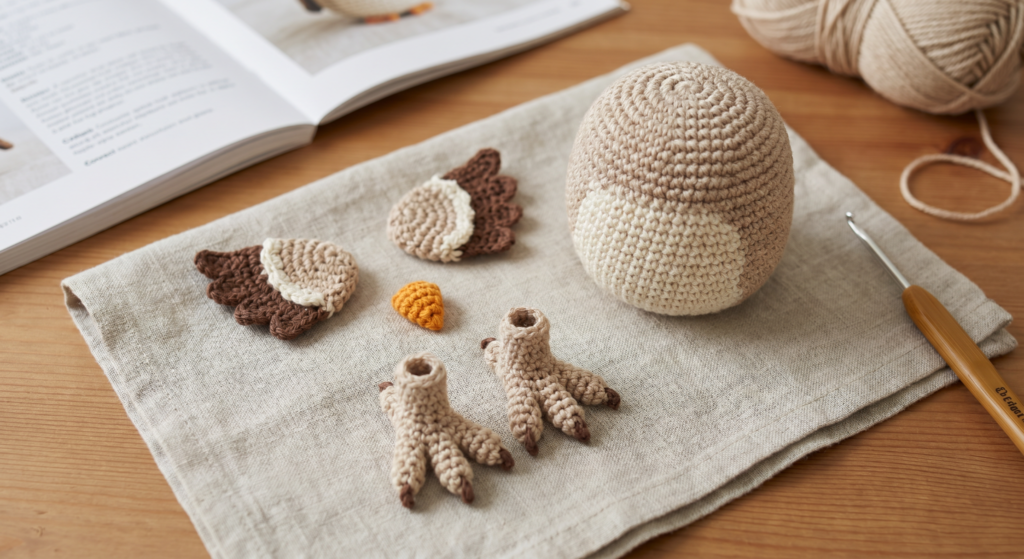
These smaller details add personality and dimension to the finished owl plush.
Crochet Wings
The wings are crocheted separately using increases and decreases to create a tapered feathered shape. Once attached slightly angled backward, they give the owl a soft, lifelike posture.
Crochet Owl Feet
The feet use front-loop-only techniques to create individual toes. Although they look intricate, the shaping is surprisingly manageable when worked slowly.
Helpful Tip for Feet Placement
Attach the feet before sewing on the tail. This ensures the owl stands upright correctly once fully assembled.
Crochet Beak
The beak is a tiny but impactful detail made with black yarn. Folding and stitching the tip closed creates a realistic pointed shape that adds character to the face.
Step 4: Create the Tiny Envelope and Scarf Accessories
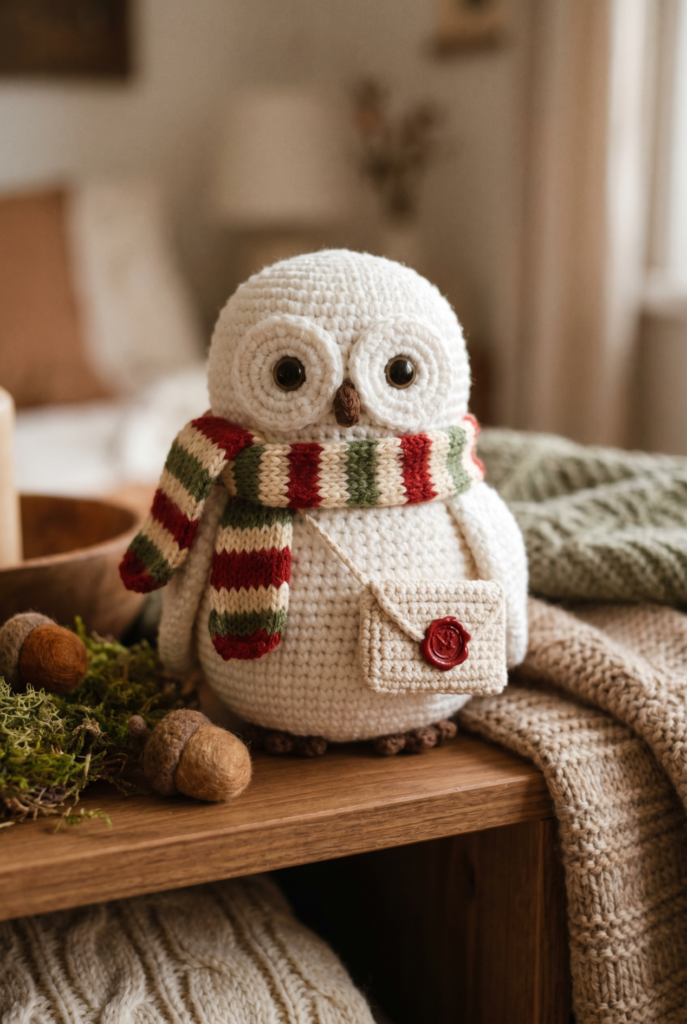
One of the most unique features of this crochet owl pattern is the miniature envelope accessory paired with a cozy striped scarf.
The envelope is crocheted as a flat square, then folded and whipped stitched into shape. A tiny red wax seal adds an extra magical touch.
The scarf uses alternating yarn colors in simple rows, making it a relaxing beginner-friendly section of the project.
Why Accessories Make Crochet Plushies More Shareable
Crochet projects with accessories often perform especially well on Pinterest because:
- They photograph beautifully
- They tell a visual story
- They feel more collectible and giftable
- They increase “save-worthy” appeal
This tiny envelope detail transforms the owl into a memorable display piece perfect for fantasy fans and handmade gift markets.
Step 5: Assemble Your Crochet Owl Plush
Assembly is where all the pieces come together into a polished handmade owl.
Begin by sewing the eye patches onto the head while allowing the upper edges to fold slightly for expression. Then attach:
- Beak
- Wings
- Feet
- Tail
- Accessories
The tail placement is especially important because it acts like a support structure, helping the owl stand independently.
Final Embroidery Details
Use grey yarn to embroider small “V” shapes onto the body for feather texture. You can also add embroidered talons to the feet for extra realism.
These finishing touches elevate the owl from simple crochet toy to heirloom-quality handmade décor.
Beginner Tips for Better Amigurumi Results
If you’re newer to crochet plushies, these simple techniques can dramatically improve your finished project:
Keep Your Tension Tight
Loose stitches can reveal stuffing through the fabric.
Use Stitch Markers Frequently
Continuous rounds are easy to lose track of without markers.
Stuff Gradually
Add small amounts of stuffing throughout the project instead of all at once.
Sew Components Symmetrically
Pin pieces before sewing permanently for balanced placement. These small habits help your crochet animals look cleaner and more professional.
Why Crochet Owl Patterns Are So Popular on Pinterest
Crochet owl plushies consistently trend well because they combine:
- Cute character design
- Seasonal décor appeal
- Giftability
- Fantasy-inspired aesthetics
- Beginner-friendly construction
Projects featuring expressive eyes and miniature accessories often generate higher engagement and saves on Pinterest due to their storytelling quality and photogenic details.
If you plan to share your finished owl online, photograph it near books, candles, or cozy neutral décor for maximum Pinterest appeal.
Final Thoughts on This Crochet Owl Project
This crochet owl pattern is the perfect mix of whimsical charm and relaxing craftsmanship. From the oversized eyes to the tiny envelope accessory, every detail adds personality and makes the finished plush feel truly special.
Whether you’re making it for yourself, gifting it to a fantasy lover, or selling finished plushies at craft fairs, this owl is guaranteed to attract attention. The project also offers a fantastic opportunity to practice core amigurumi skills like shaping, assembly, and decorative embroidery.
Now grab your yarn, prepare your hooks, and start bringing this magical crochet owl to life.