Easy Bunny Amigurumi Pattern for Beginners
If you’re looking for a cute and beginner-friendly crochet project, this easy bunny amigurumi pattern is the perfect choice. With simple stitches, soft yarn, and adorable floppy ears, this handmade crochet bunny is ideal for gifts, nursery decor, or selling at craft fairs. Based on a beginner-friendly PDF crochet pattern, this tutorial walks you through the essentials while encouraging you to download the full printable guide.
This crochet bunny pattern uses basic amigurumi techniques like single crochet, increases, decreases, and magic rings. Even if you’re new to crochet toys, you can follow along step-by-step and create a soft bunny plush in just a few sessions.
Materials You Need for This Crochet Bunny
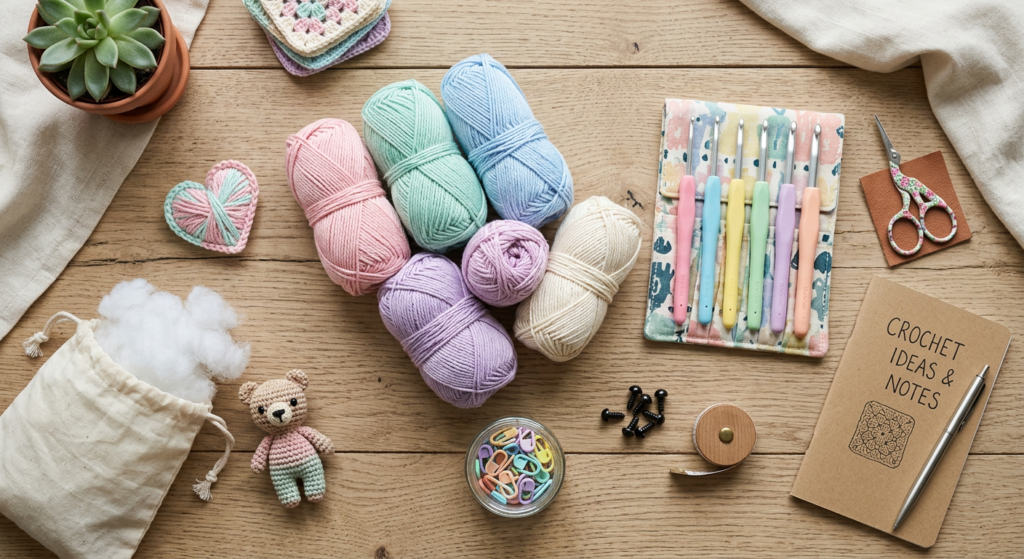
Before starting your bunny amigurumi project, gather a few simple crochet supplies. The pattern recommends yarn, a crochet hook, scissors, sewing needle, and stitch markers to keep your rounds organized.
You’ll also need stuffing and safety eyes to bring your bunny to life. Soft cotton or velvet yarn works beautifully for creating a cuddly texture that photographs well for Pinterest and social media.
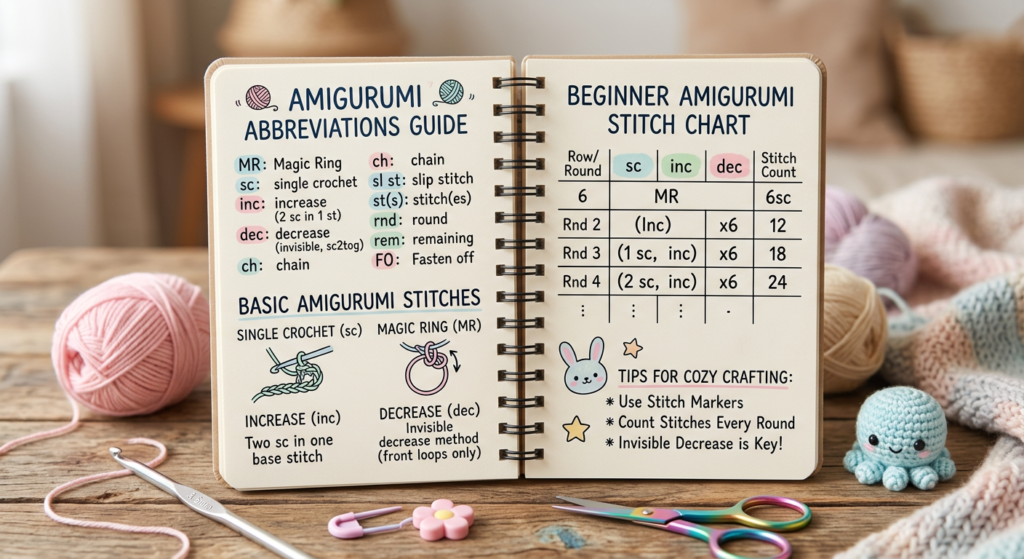
Understanding the Basic Crochet Abbreviations
This beginner crochet bunny pattern uses standard amigurumi abbreviations such as sc (single crochet), inc (increase), dec (decrease), ch (chain), and sl-st (slip stitch). Learning these abbreviations makes reading crochet patterns much easier.
The pattern also includes FLO and BLO techniques, which stand for front loop only and back loop only. These small stitch variations help shape the bunny and add dimension to the finished toy.
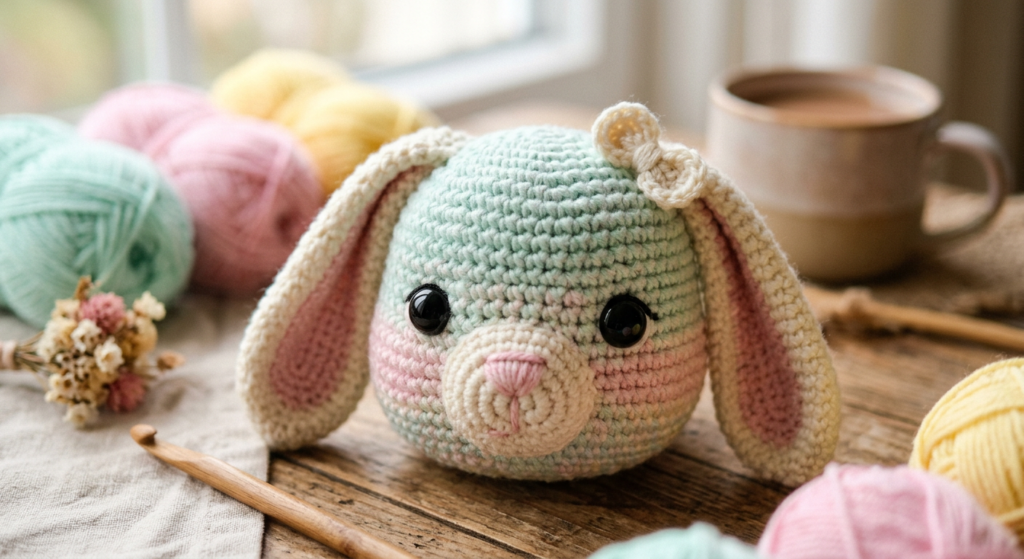
How to Crochet the Bunny Head
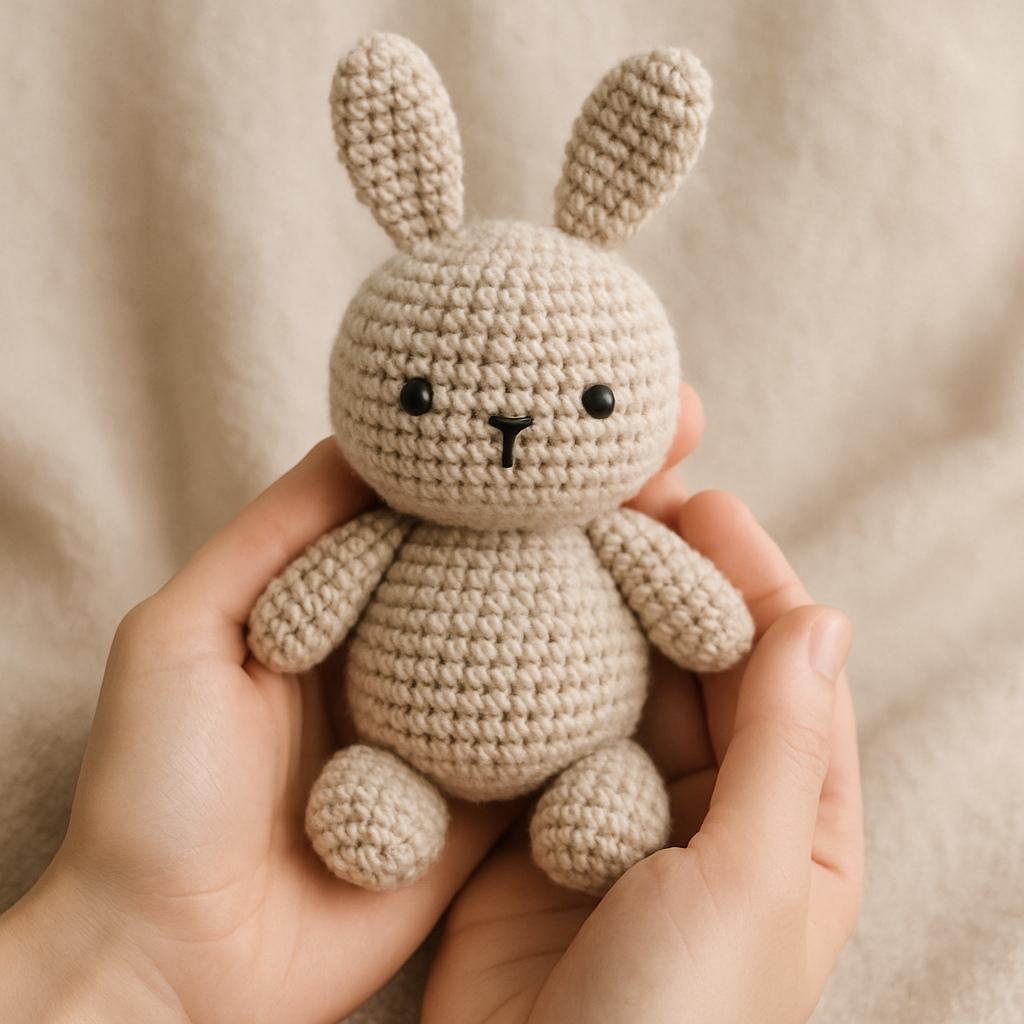
The bunny head starts with a magic ring and gradually increases through several rounds to create a perfectly rounded shape. According to the pattern, safety eyes are inserted between rounds 13 and 14 for a sweet and expressive face.
After the head is stuffed, the rounds slowly decrease to close the shape neatly. This gradual shaping technique gives the crochet bunny its soft plush appearance while keeping the project beginner-friendly.
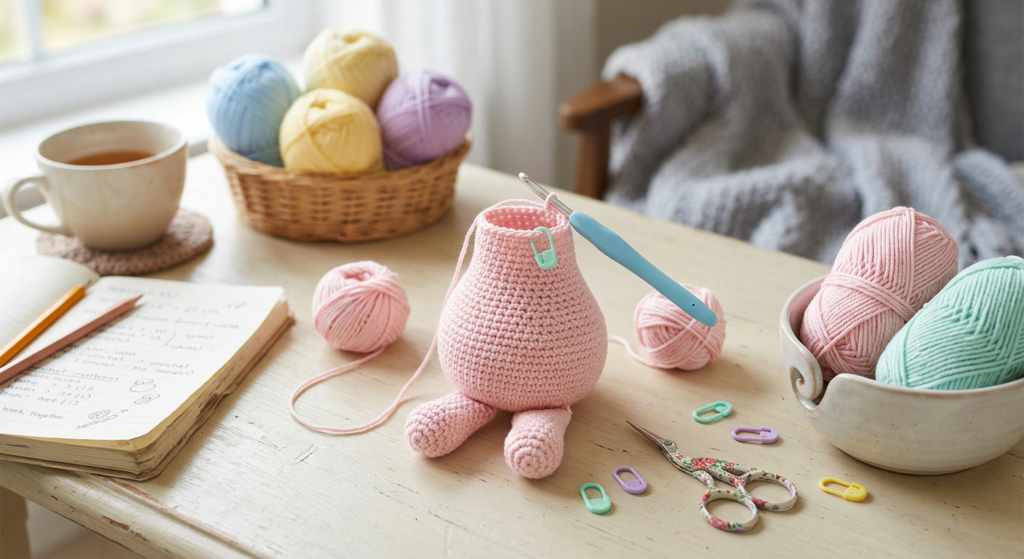
Crocheting the Bunny Body and Legs
The legs are crocheted separately before joining together to form the body. This construction method helps create a stable and balanced bunny that can sit upright for display or photography.
The body section uses repetitive single crochet rounds, making it relaxing and easy for beginners to complete. Once stuffed firmly, the bunny develops a soft plush shape that looks adorable in nursery decor or Easter baskets.
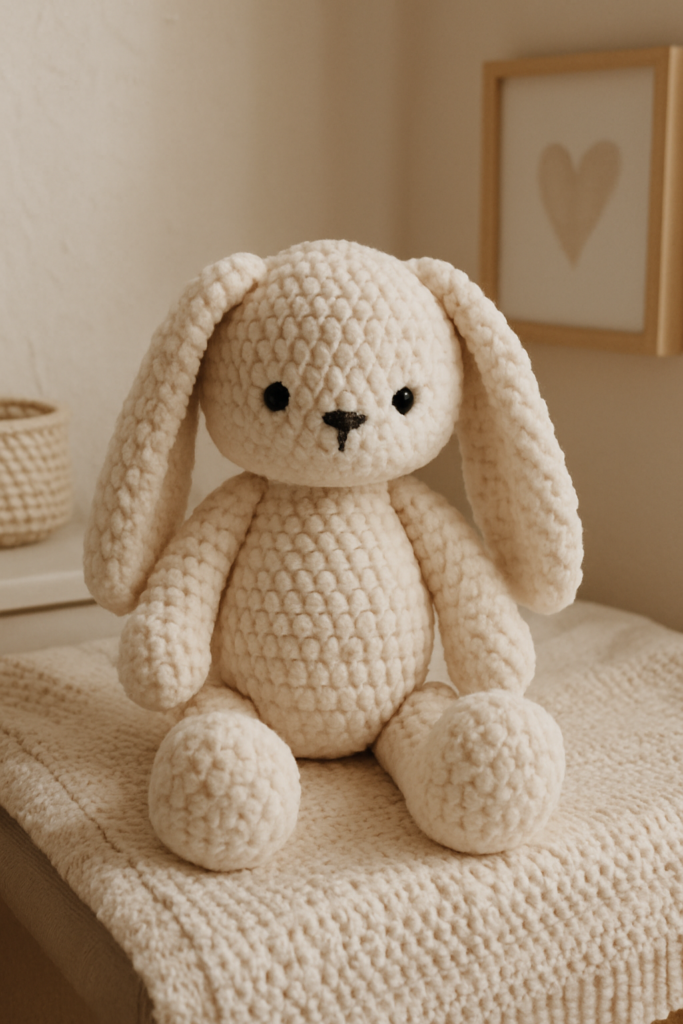
Making the Bunny Arms, Tail, and Ears
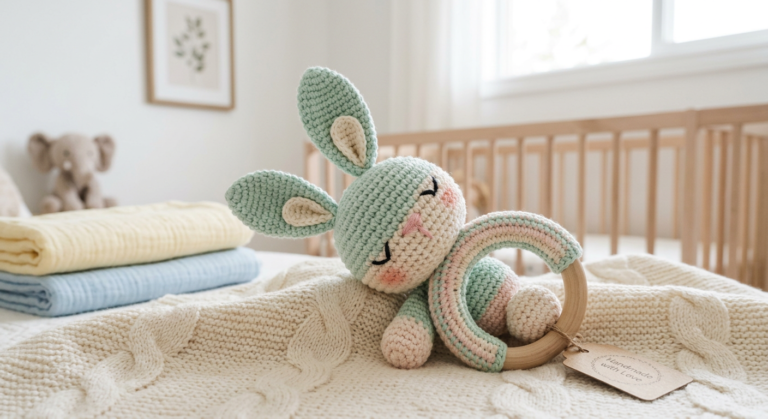
The crochet bunny arms are small and simple, making them perfect for beginner crocheters practicing shaping techniques. The fluffy tail adds extra charm and gives the finished bunny a classic amigurumi look.
One of the cutest features of this crochet bunny pattern is the oversized floppy ears. These ears are crocheted in rounds and folded before attaching, creating a soft and playful finish that looks amazing in Pinterest photos.
Tips for Beginner Amigurumi Success
When making amigurumi, use a slightly smaller crochet hook than your yarn label suggests. This keeps stitches tight so the stuffing doesn’t show through the fabric.
Always use stitch markers to track your rounds, especially when working on the bunny head and body. Taking your time with stuffing also helps your finished crochet bunny look smooth and professional.
Why This Easy Bunny Crochet Pattern Is Perfect for Pinterest
Cute crochet animals perform extremely well on Pinterest because they combine DIY crafting, cozy aesthetics, and gift inspiration. This beginner bunny amigurumi is especially shareable during spring, Easter, baby shower, and nursery decor seasons.
By offering a free or downloadable PDF pattern alongside beautiful Pinterest-friendly images, you can increase blog traffic, save rates, and email subscribers. This strategy also encourages readers to return for more beginner crochet tutorials and amigurumi patterns.