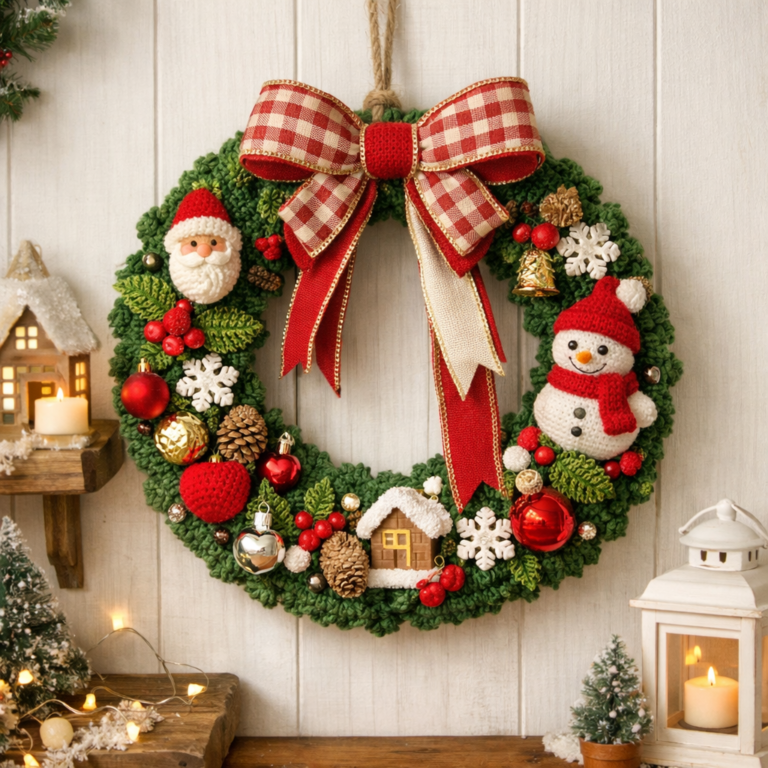
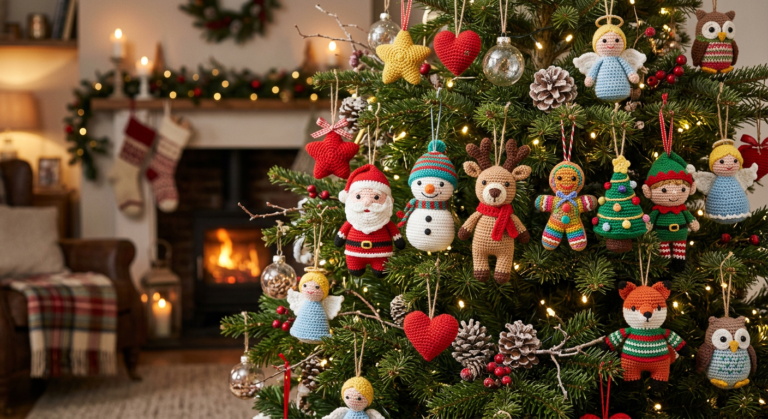
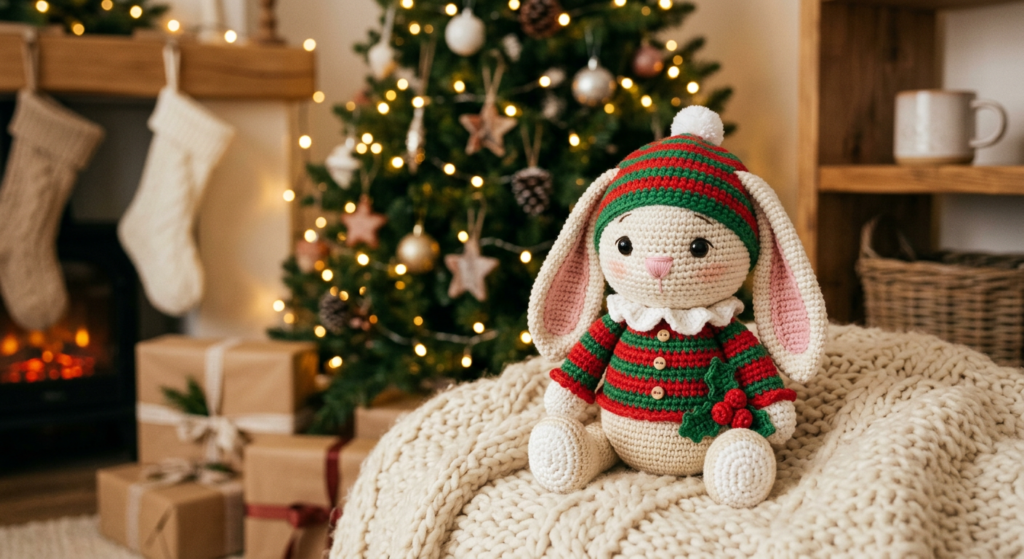
🎄Crochet Christmas Bunny Pattern (Free Amigurumi + PDF)
Looking for a festive crochet project that’s both cute and gift-worthy? This Crochet Christmas Bunny pattern is the perfect holiday make! With cozy winter details like stockings and a colorful hat, this amigurumi bunny is ideal for Christmas decor or handmade gifts.
Whether you’re a beginner or experienced crocheter, this step-by-step guide will help you create a soft, adorable bunny from scratch.
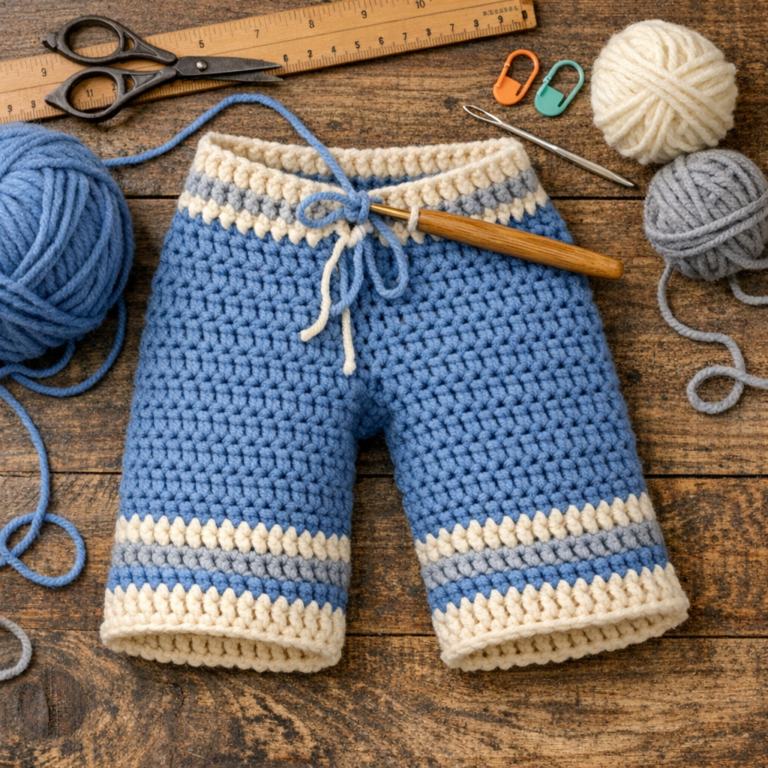
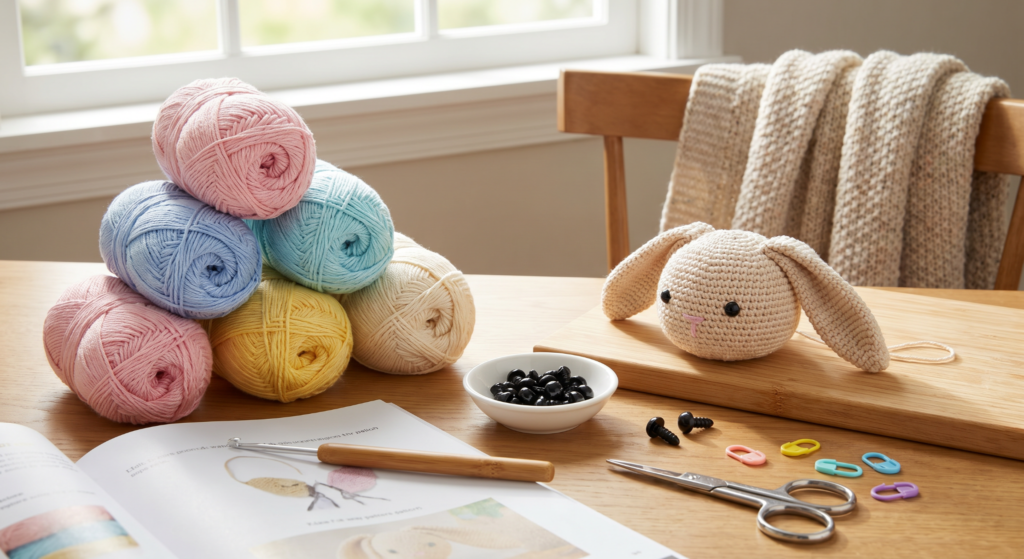
🧶 Materials You’ll Need
Before starting your crochet bunny, gather all your supplies. This project uses lightweight yarn and soft textures to create a cuddly finish.
- Sport weight yarn (red, white, gray, green, mint, black)
- Soft fluffy yarn for hat
- 1.75 mm crochet hook
- Fiberfill stuffing
- Safety eyes (12mm)
- Needle, scissors, stitch markers
- Buttons for jointed limbs
💡 Using soft yarn helps give your bunny that plush, toy-like feel.
📏 Finished Size & Notes
This crochet Christmas bunny measures approximately 20–22 cm (8–9 inches) tall when complete. The final size may vary depending on your tension and yarn choice.
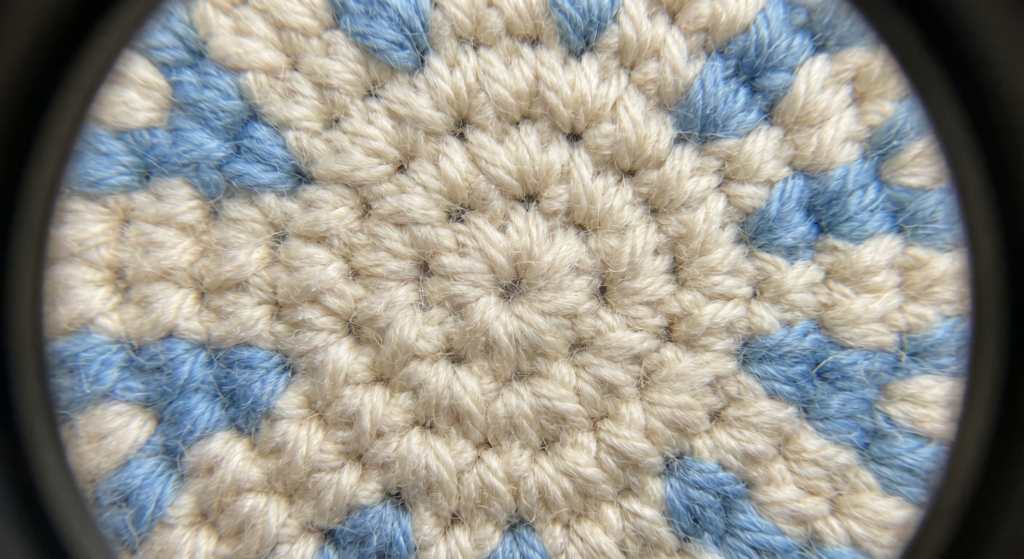
- Worked in continuous spirals
- Stuff as you go for even shaping
- Use tight stitches for a neat finish
Consistency is key for professional-looking amigurumi.

🧵 Basic Crochet Stitches Used
This pattern uses essential crochet stitches, making it beginner-friendly with a few intermediate techniques.
- Magic Ring (MR)
- Single Crochet (sc)
- Increase & Decrease (inc, dec)
- Slip Stitch (sl st)
- Front & Back Post Double Crochet
✨ The pattern also uses jacquard colorwork for detailed designs.
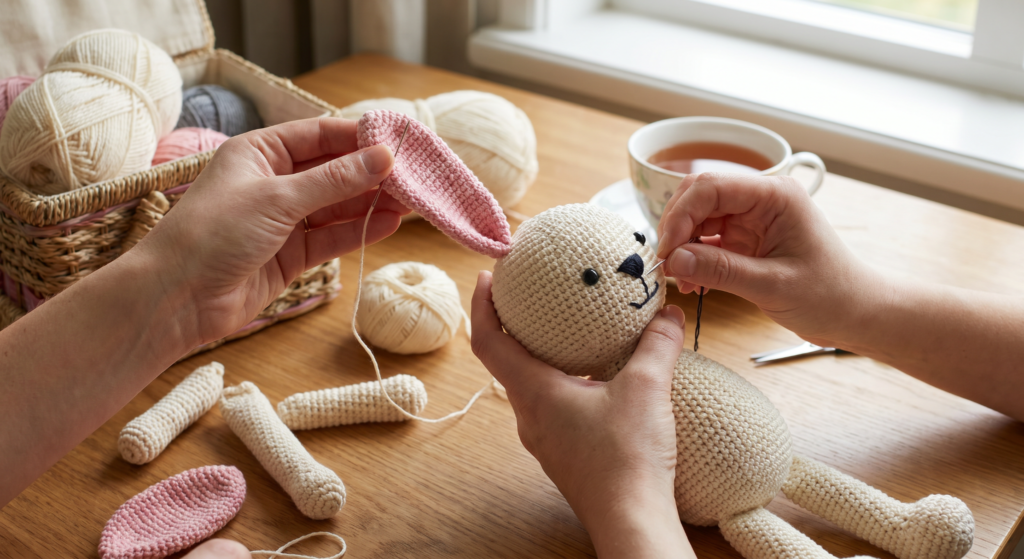
🐾 Crocheting the Bunny Parts
The bunny is made in separate pieces and then assembled.
- Arms and legs are crocheted in the round
- Body is shaped with increases and decreases
- Tail is small, round, and lightly stuffed
Each piece is simple, making it easy to follow step by step.
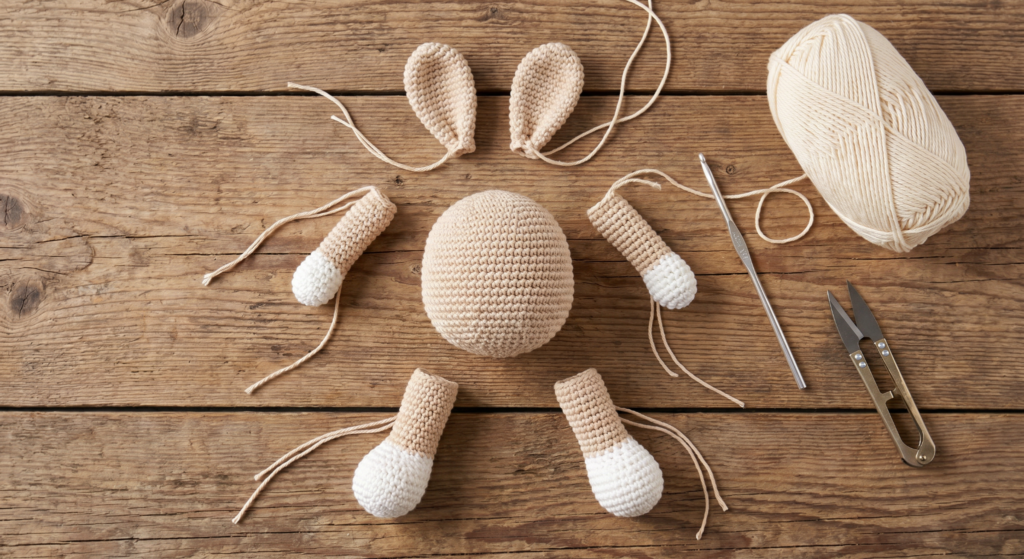
🧸 Making the Body & Head
The body and head form the main structure of your crochet bunny.
- Start with a magic ring and increase gradually
- Use color changes for festive design
- Insert safety eyes while crocheting the head
Stuff firmly to give your bunny a stable shape.
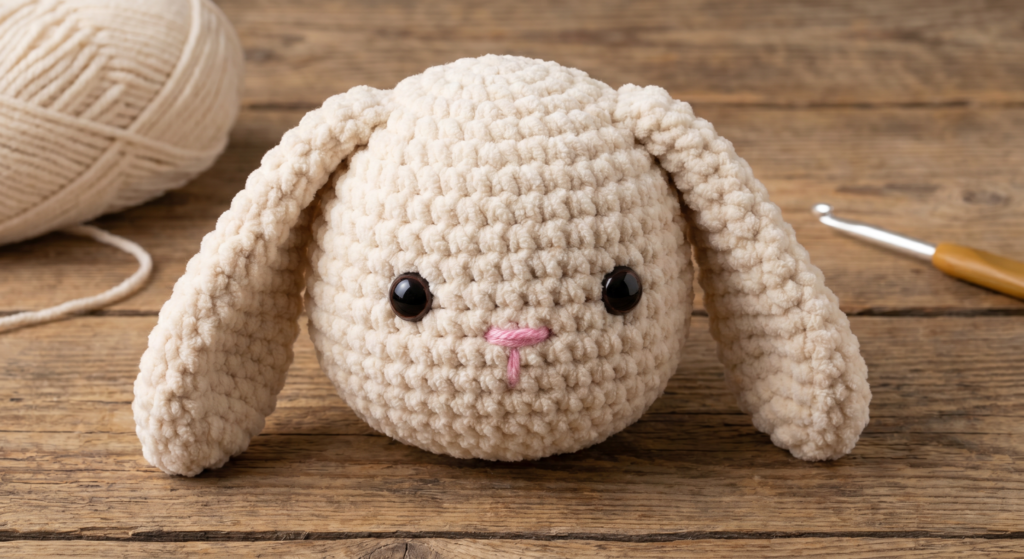
👂 Crocheting Ears & Tail
The long bunny ears give this project its adorable personality.
- Ears are worked in rounds without stuffing
- Tail is small and fluffy
- Sew securely for durability
Take time positioning the ears for the cutest look!
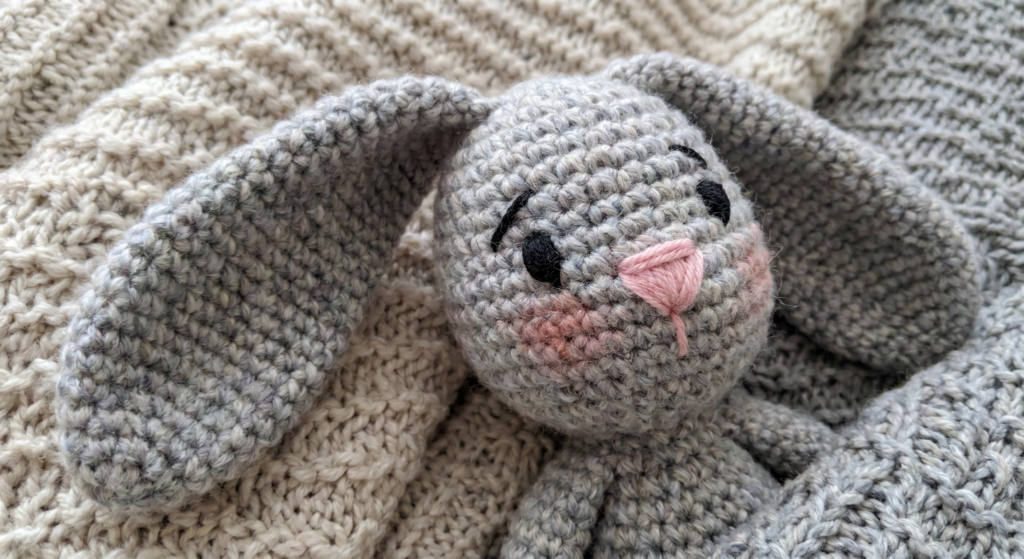
🧵 Assembly & Facial Details
Now bring your bunny to life!
- Sew head to body
- Attach arms and legs (buttons optional for movement)
- Embroider nose, mouth, and details
Add pink blush for a soft, cute expression 🐰
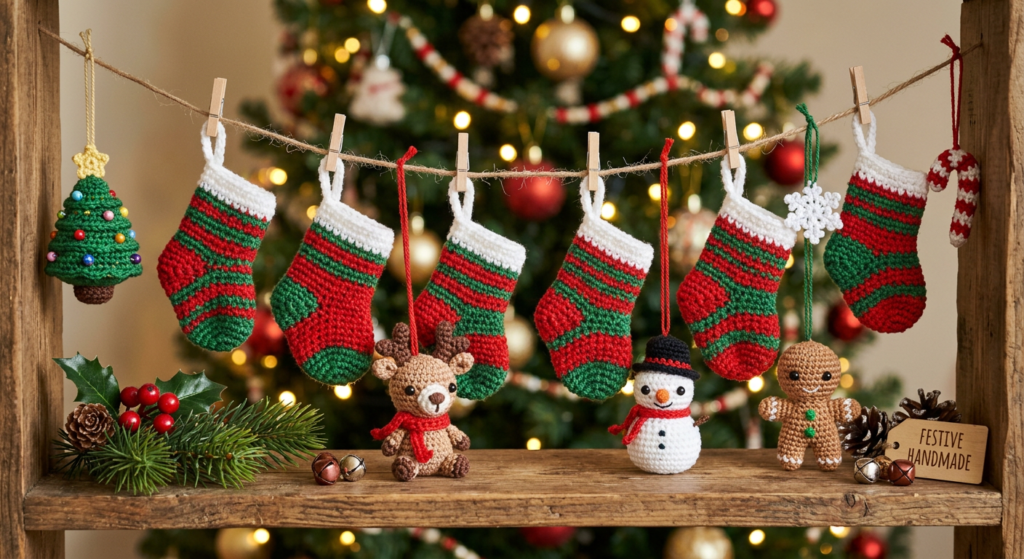
🧦 Crocheting Festive Stockings
The tiny Christmas stockings add a fun holiday touch!
- Use red, green, and mint yarn
- Work in rounds with color changes
- Add ribbed edging using fpdc/bpdc
These mini accessories make your bunny extra special 🎄
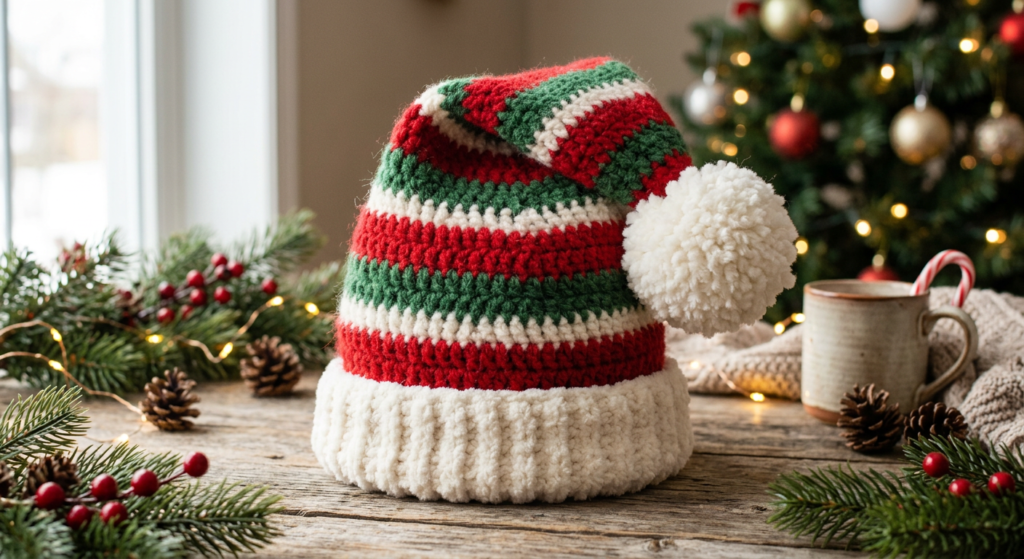
🎅 Making the Christmas Hat
Finish your bunny with a cozy holiday hat.
- Use fluffy yarn for softness
- Alternate colors for a striped effect
- Increase rounds to shape the hat
This gives your bunny a warm and festive personality.
💡 Tips for Perfect Results
- Use stitch markers to track rounds
- Stuff evenly for smooth shaping
- Take your time with assembly
- Experiment with colors for customization
Small details make a big difference in amigurumi projects.
🎁 Final Thoughts
This Crochet Christmas Bunny is a delightful holiday project that combines creativity and coziness. Perfect as a handmade gift or festive decoration, it’s sure to bring smiles all season long.
📌 Save this pattern for later and download the full printable guide below!