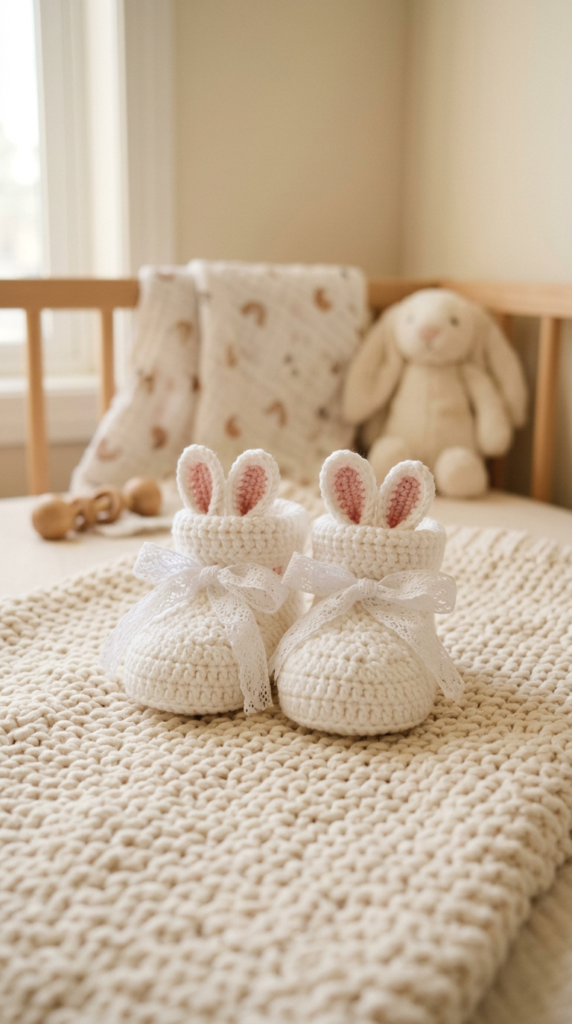
Crochet Bunny Booties Pattern (Sizes 0–12 Months)
Looking for the cutest crochet baby booties pattern with a sweet twist? These Bunny Booties are soft, cozy, and feature adorable 3D ears—perfect for baby showers, Easter outfits, or handmade gifts. Designed for intermediate crocheters, this pattern includes sizes from 0 to 12 months for the perfect fit.
Below you’ll find a step-by-step overview plus a convenient printable PDF download.
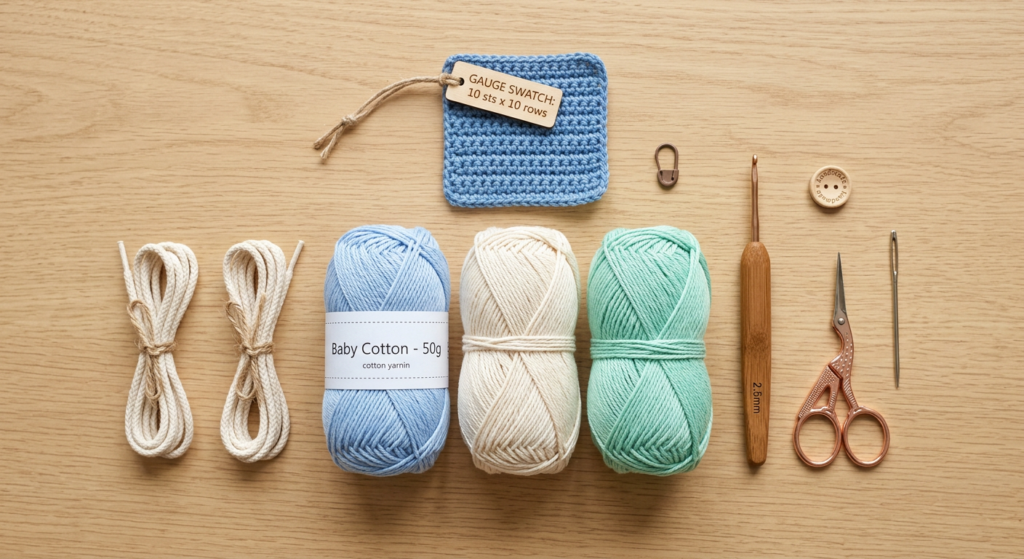
Materials & Yarn Substitutes
These crochet bunny booties are made with Vita Cotton Lily (100% mercerized cotton, 50g/125m). You’ll need 1 hank for sizes 9/10 cm and 1.5 hanks for 11/12 cm.
Great substitute yarns include Scheepjes Catona, Schachenmayr Catania, and Patons Grace. Use a 2mm–2.5mm crochet hook (B/1 or C/2) or the size needed to match gauge.
You’ll also need scissors, a tapestry needle, and 55 cm shoelaces (macrame cord works beautifully).
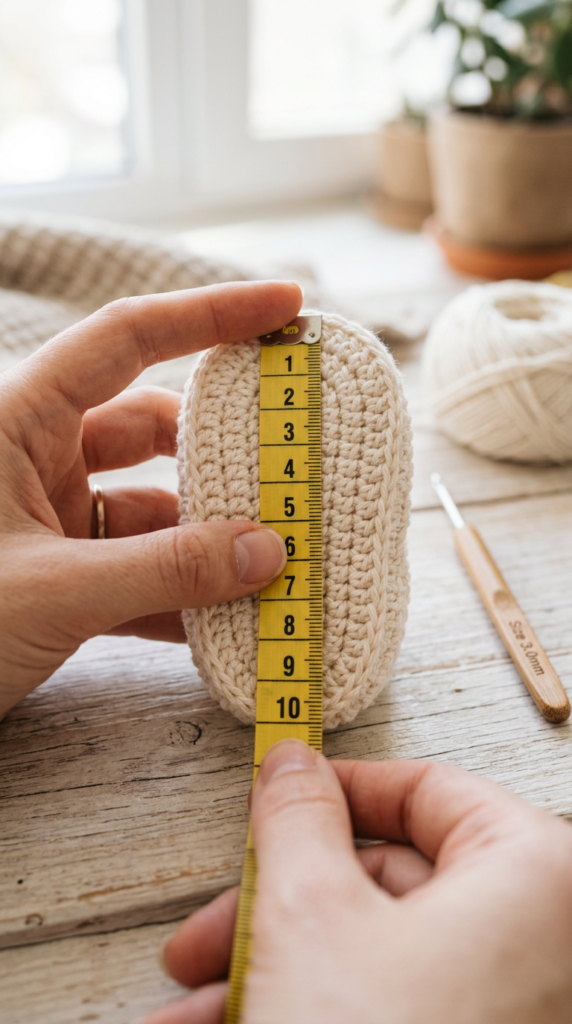
Sizing & Gauge (Important for Baby Fit!)
The pattern includes four baby sizes:
- 0–3 months (9 cm / 3.5”)
- 3–6 months (10 cm / 3.9”)
- 6–9 months (11 cm / 4.3”)
- 9–12 months (12 cm / 4.7”)
Gauge is 26 dc x 13 rows = 4” (10 cm). Take time to check your gauge so the booties fit comfortably—especially since baby feet grow fast!
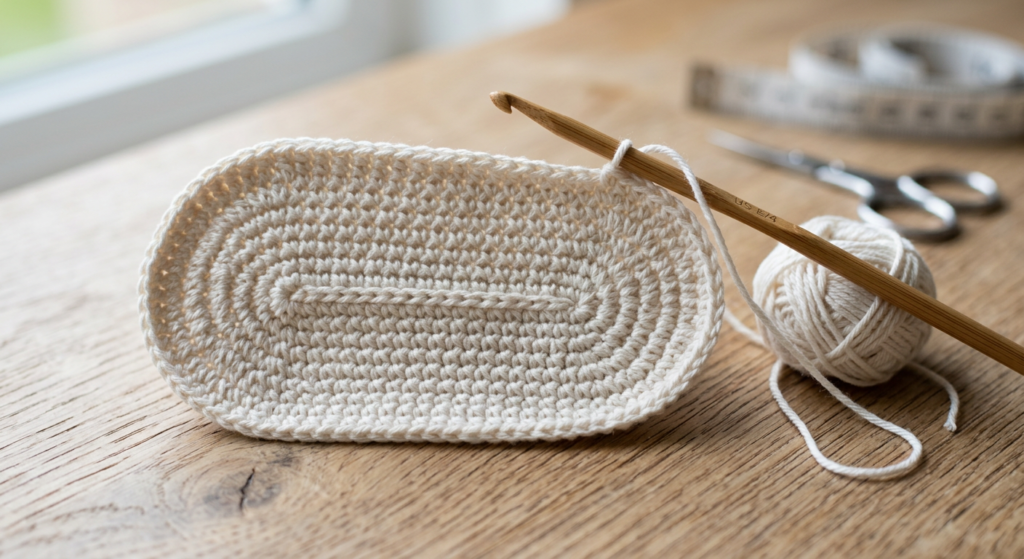
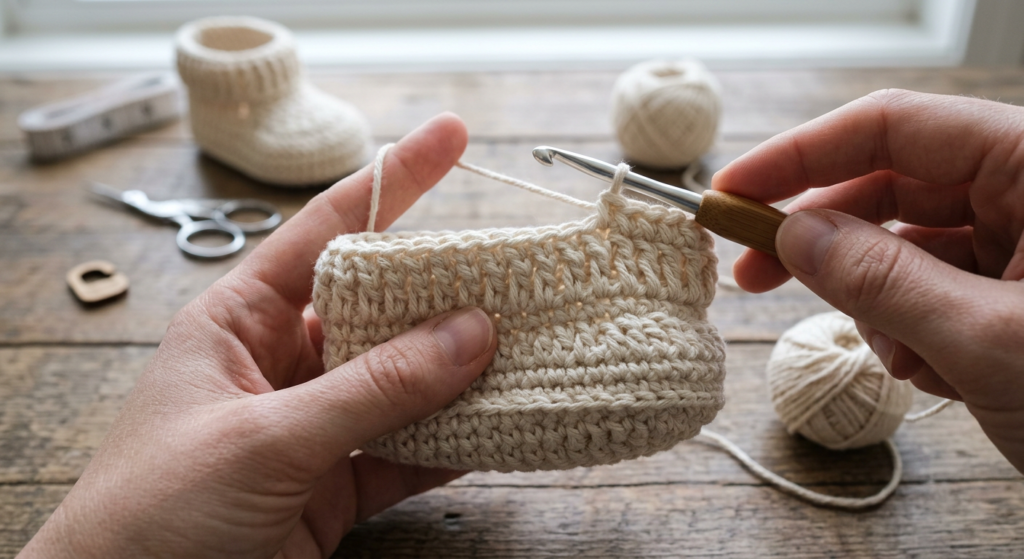
Step 1: How to Crochet the Sole
The bunny booties begin with an oval sole, worked in the round. You’ll start by chaining according to size (19/22/25/28), then working double crochets around both sides of the foundation chain.
Increases at each end create the curved toe and heel shape. By Round 3, the sole is fully shaped and ready for the side construction.
This structured sole gives the booties a polished, store-bought look while staying soft and flexible.
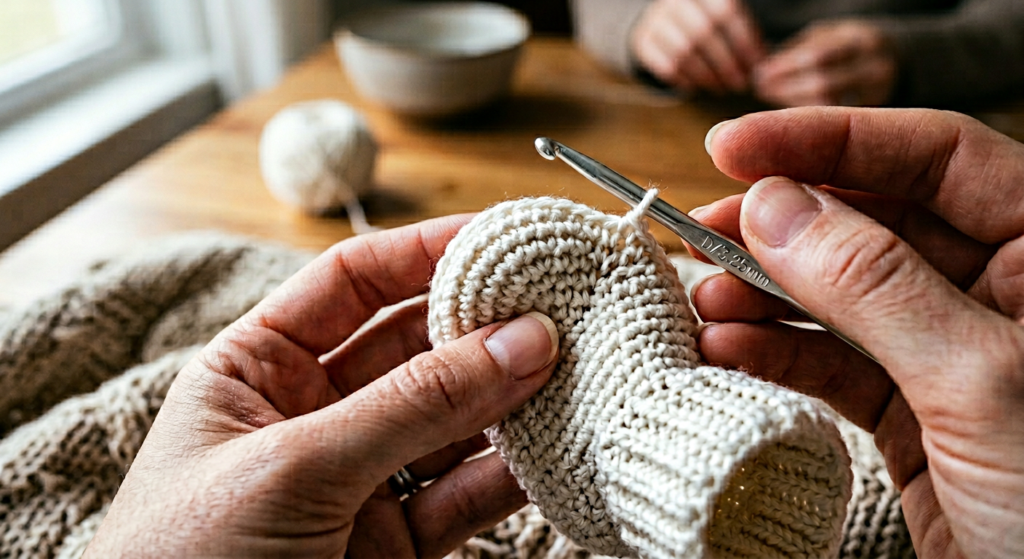
Step 2: Building the Sidepiece
The sidepiece is worked by inserting stitches around the posts of the previous round. This technique creates a defined edge and helps the bootie stand upright.
After one round of post stitching, you’ll work additional rounds of double crochet and single crochet to build height. If the baby has high arches or chubby feet, you can add an extra round for comfort.
This section forms the structured base of your crochet baby shoe.
Step 3: Shaping the Toe
The toe is worked back and forth in rows, using dc2tog decreases to create that classic rounded baby shoe front.
The number of decreases varies slightly by size, but the shaping method remains the same. This technique gives the booties a snug and professional finish.
Once completed, the toe section blends seamlessly into the upper portion.
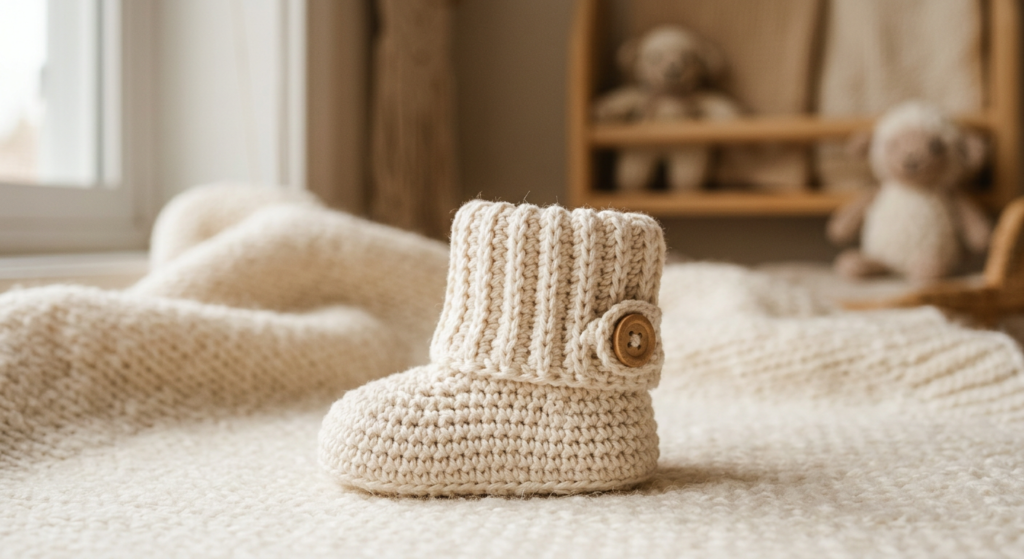
Step 4: Ribbed Upper with Post Stitches
The upper part of the booties is worked in rounds using alternating front post double crochet (fpdc) and back post double crochet (bpdc) stitches.
This creates a stretchy ribbed texture that hugs the baby’s ankle comfortably. Depending on size, you’ll work 3–4 rounds of this ribbing.
The ribbed design not only looks beautiful but also helps keep the booties securely in place.
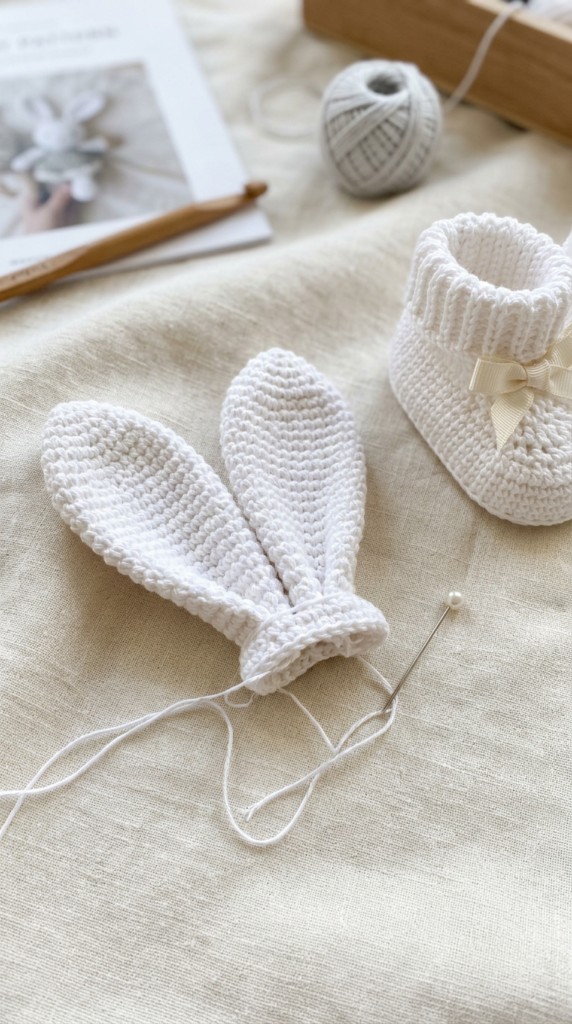
Step 5: Crochet Bunny Ears (Make 4)
Now for the cutest part—the bunny ears! These are worked in a continuous spiral using single crochet and gradual increases.
After reaching full width, the ear is folded and stitched to create dimension. Each bootie gets two ears for that adorable 3D bunny effect.
This detail transforms simple baby booties into unforgettable handmade gifts.
Assembly & Finishing Touches
Sew the ears securely to the indicated stitches on the upper portion. For extra stability, anchor the back of the ears to the ribbed stitches so they don’t flop forward.
Finally, weave the shoelaces through the last round of the upper cuff using a crochet hook. Tie into a bow, and your crochet bunny booties are complete!
These make beautiful handmade baby gifts, photo props, or Easter outfit accessories.
Why You’ll Love This Crochet Bunny Booties Pattern
- Includes sizes 0–12 months
- Perfect handmade baby shower gift
- Ribbed cuff for secure fit
- Adorable 3D bunny ears
- Instant printable PDF download
If you love making crochet baby shoes, this bunny design will quickly become a favorite in your handmade collection.