🍞 Crochet Toastie Bread Bag Pattern (Cute & Easy DIY Guide)
Looking for a fun and unique crochet project? This crochet bread bag pattern—also called the Toastie Bag—is a cute, functional accessory perfect for everyday use or gifting.
With its adorable toast design, straps, and optional facial features, this project is ideal for beginner to intermediate crocheters who love playful creations.
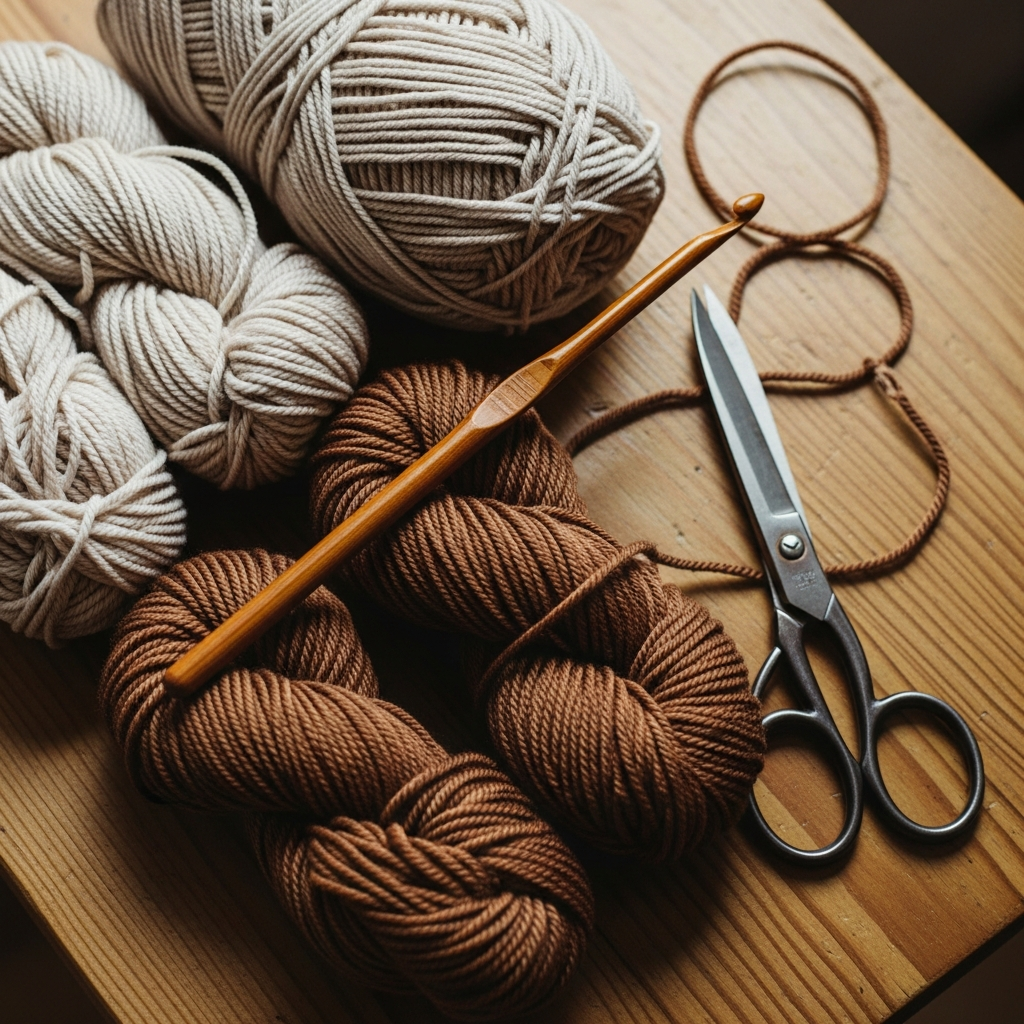
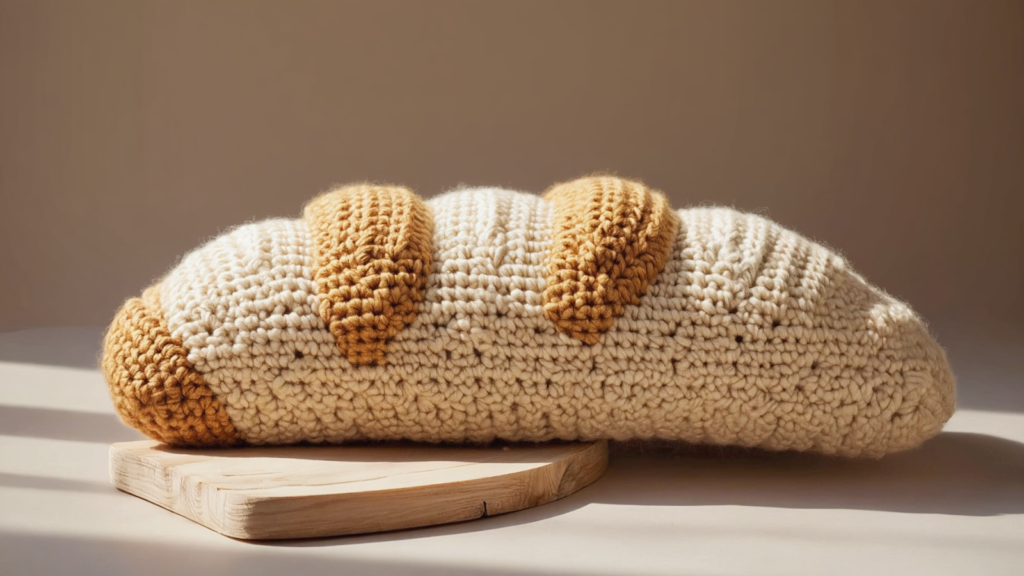
Start by preparing your materials. You’ll need soft yarn (cotton or acrylic), a crochet hook, scissors, and a yarn needle for assembly. Choosing neutral tones for the bread and darker shades for the crust will give it a realistic toast look.
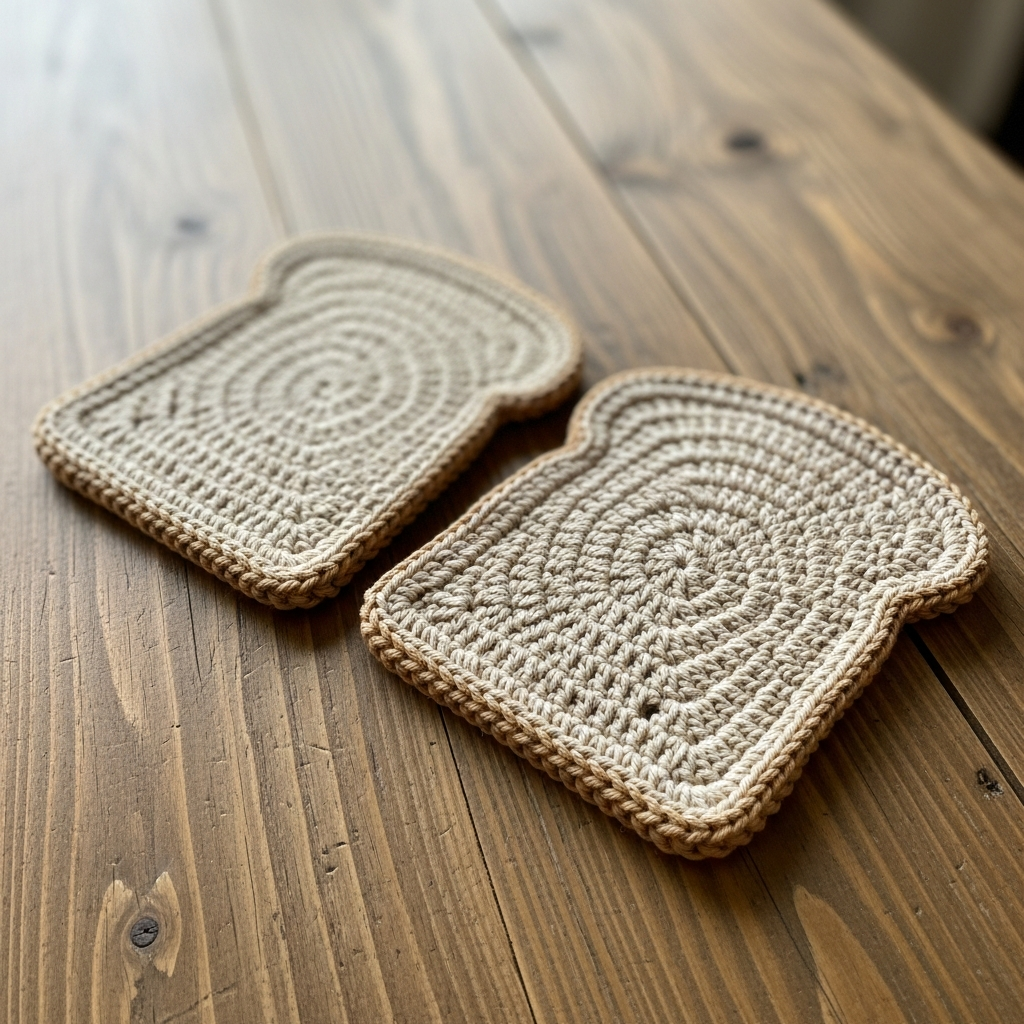
🧵 Step 1: Crochet the Bread Slices
Begin by crocheting two identical flat pieces that will form the front and back of your bread bag. These slices are worked in rows using single crochet stitches.
Keep your stitches even and consistent so both slices match perfectly in size and shape.
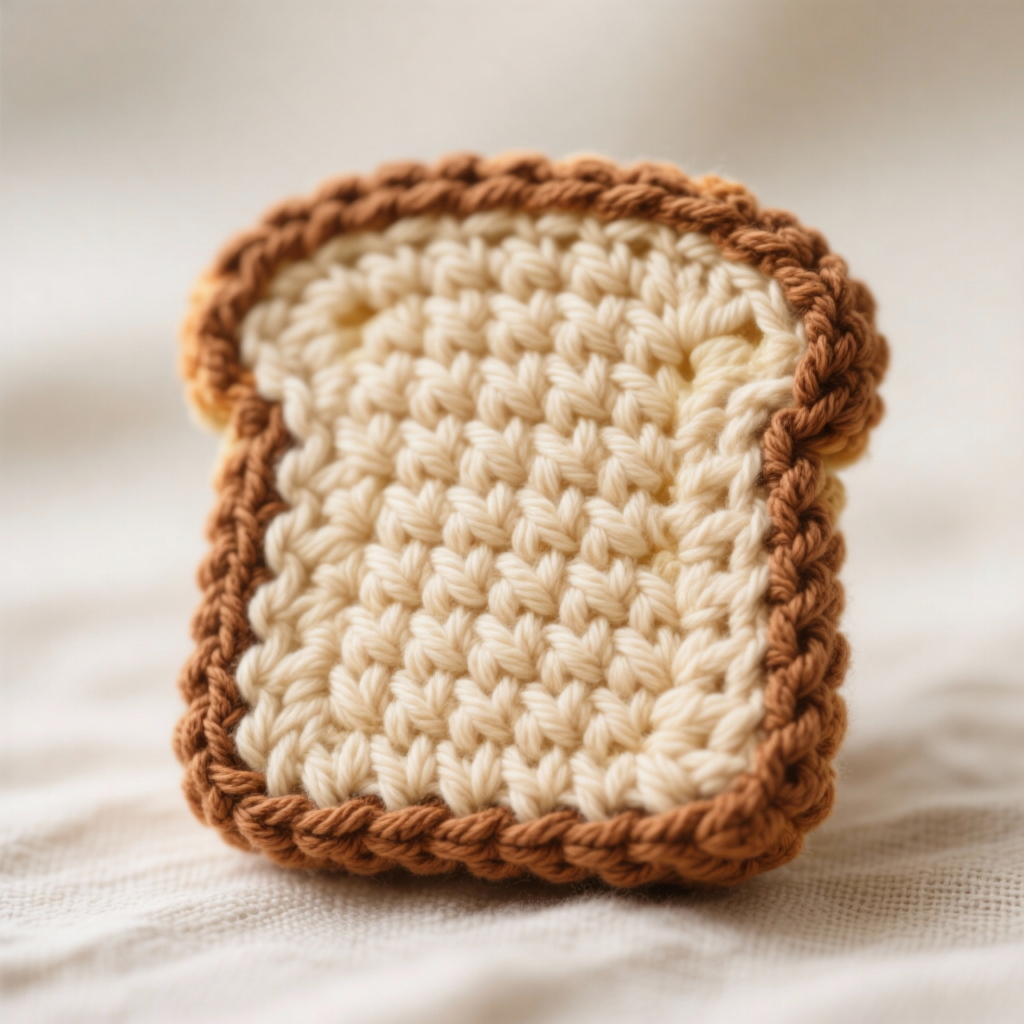
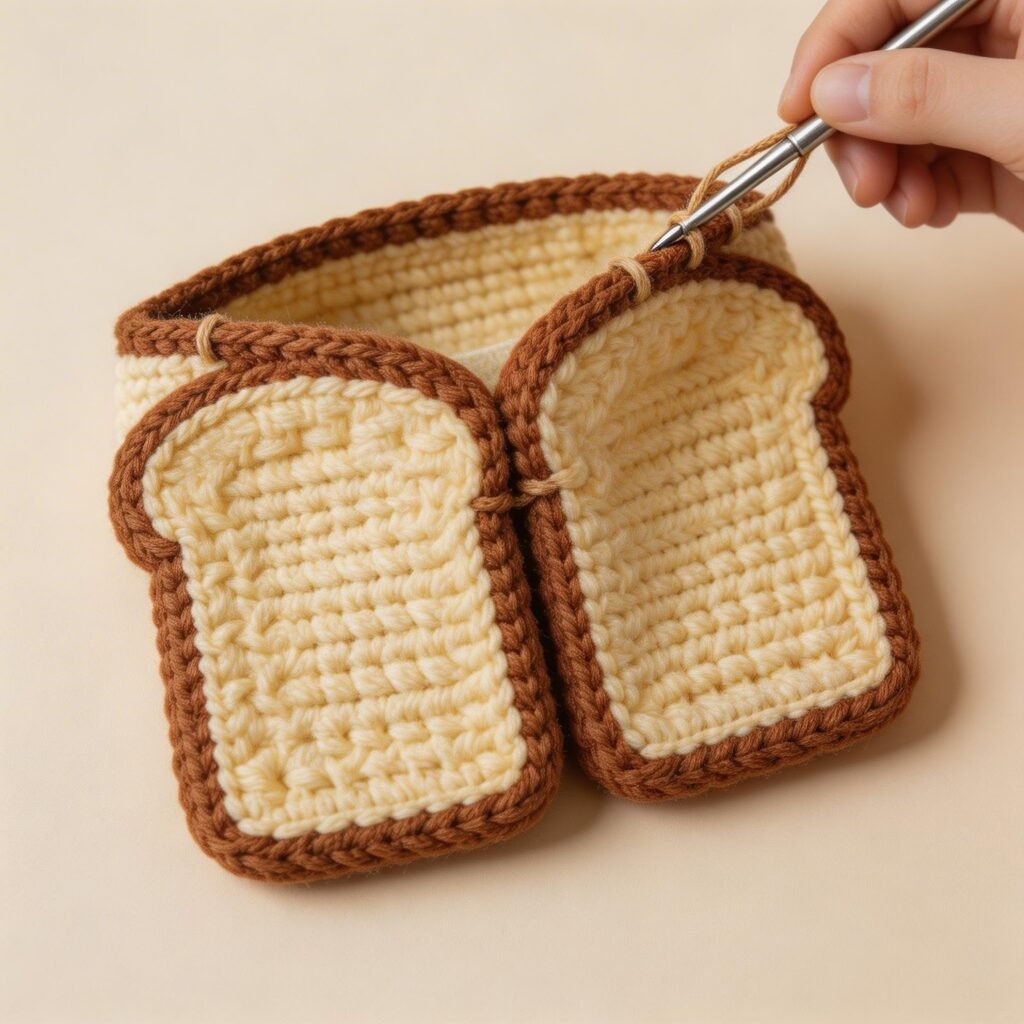
🍞 Step 2: Add the Bread Crust Border
Next, crochet around each slice to create the signature crust edge. This involves placing increases along the curved top and corners to shape the bread.
This step gives the bag its realistic toast appearance and adds structure to the edges.
🔄 Step 3: Build Thickness & Structure
Continue working additional rows, including back loop single crochet stitches, to give the bag depth. This will naturally curve the edges and form a soft 3D shape.
Repeat these rounds until you achieve your desired thickness.
🧩 Step 4: Join Front & Back Pieces
Once both slices are complete, join them together by crocheting or sewing along the edges. Leave the top open to create the bag opening.
Make sure the edges align neatly for a polished and professional finish.
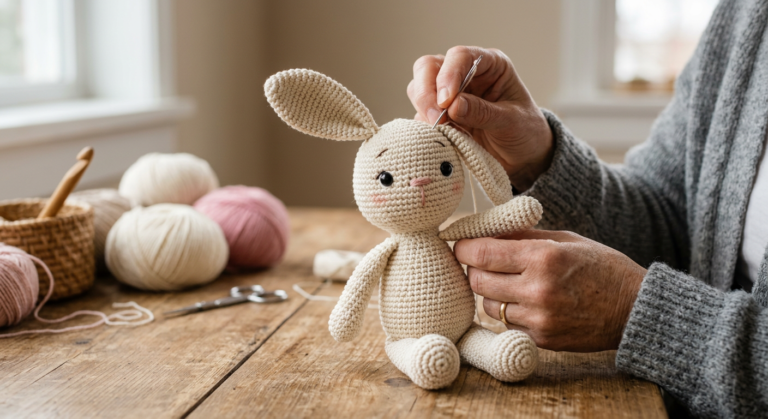
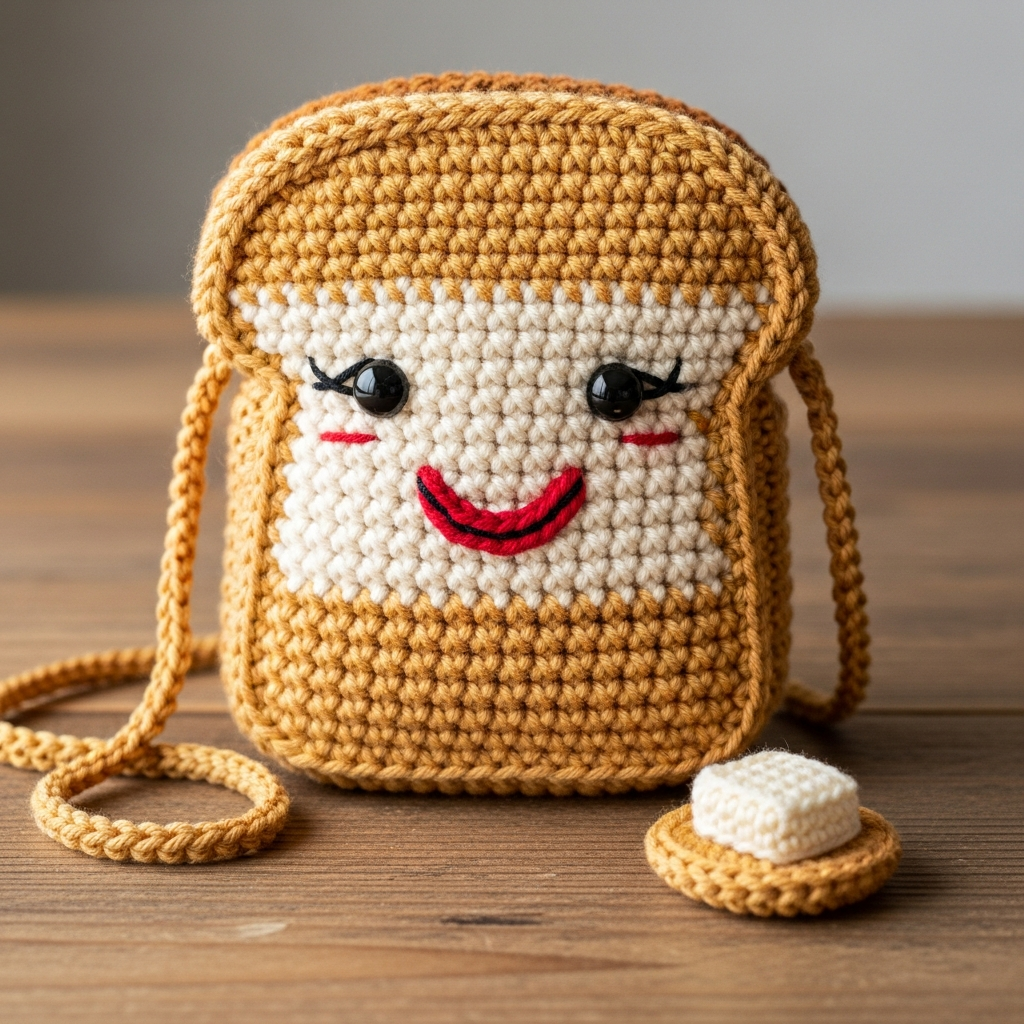
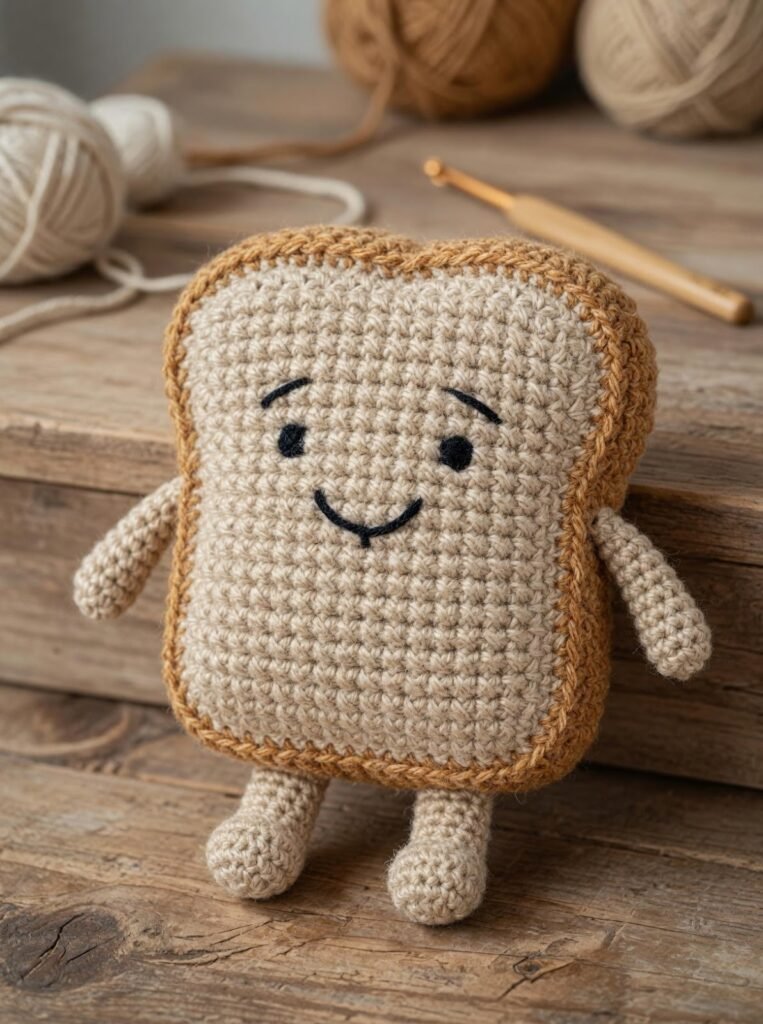
😊 Step 5: Add Cute Face Details
Bring your toast bag to life by adding eyes and a mouth. You can crochet or embroider these features depending on your style.
Secure them tightly so they stay in place even with daily use.
🦾 Step 6: Attach Arms & Legs
For extra personality, crochet small arms and legs and sew them onto the bag. This step is optional but makes the design more playful and kid-friendly.
Position them evenly for a balanced look.
🎒 Step 7: Add the Sling Strap
Finally, crochet or attach a strap to turn your toast into a wearable bag. Adjust the length so it fits comfortably across your body.
Make sure the strap is securely stitched for durability.

💡 Tips for Best Results
- Use tight stitches for better structure
- Match both slices carefully before joining
- Reinforce strap and edges for durability
- Customize with colors or expressions
🎯 Why This Crochet Bread Bag is Trending
This crochet toast bag pattern is perfect for:
- Cute aesthetic accessories
- Handmade gifts
- Selling on Etsy or craft fairs
- Pinterest viral crochet projects
🔥 Final Thoughts
The Toastie Bread Bag is a creative and fun crochet project that combines style and function. Whether you keep it simple or add playful features, it’s sure to stand out.
Don’t forget to download the full PDF pattern for detailed stitch instructions and diagrams!