🌿 Crochet Bonsai Tree Pattern – DIY Mini Zen Decor
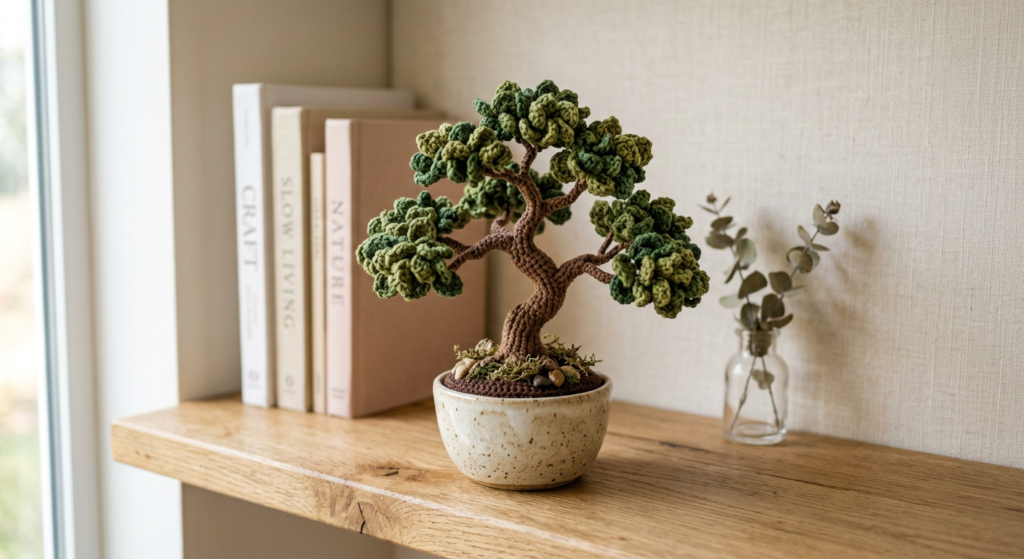
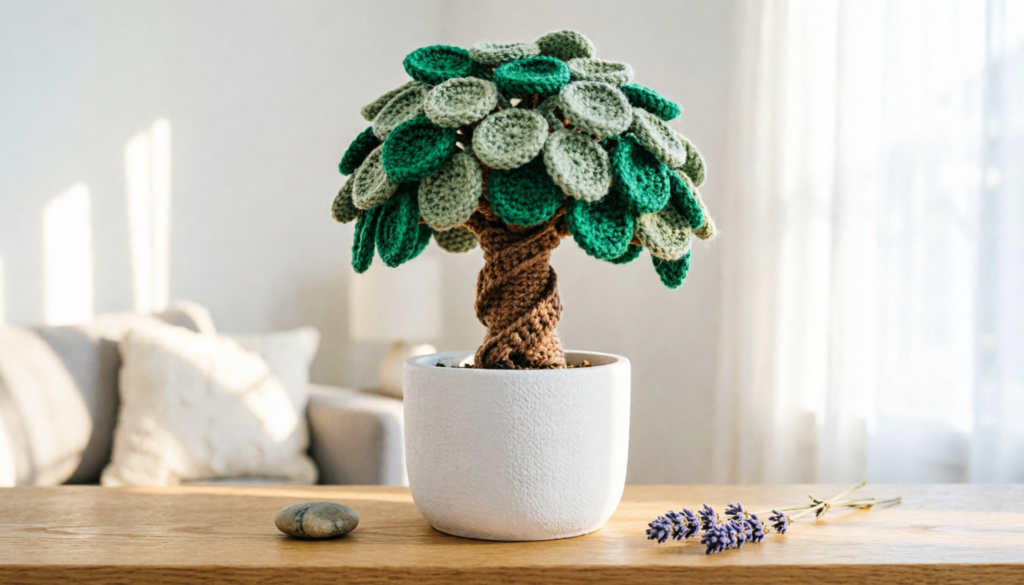
Creating a crochet bonsai tree is a relaxing and rewarding project that brings a touch of nature into your home—without the maintenance! This intermediate-level amigurumi pattern is perfect for crocheters who love detailed, decorative pieces.
Whether you’re making it for home decor or as a handmade gift, this bonsai tree will definitely stand out on your shelf.
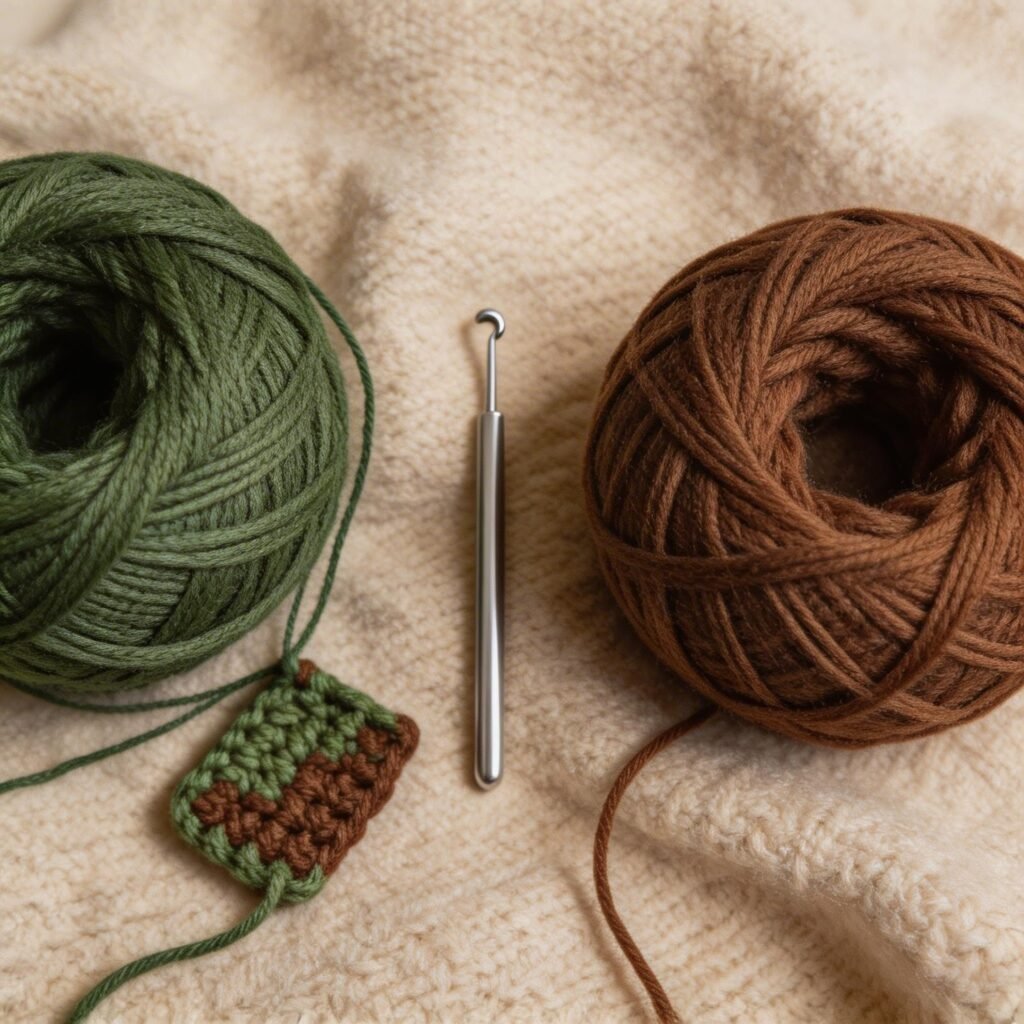
🧶 Materials You’ll Need
To create your crochet bonsai tree, gather these essential supplies. Using the right yarn and hook size ensures your final piece looks neat and structured.
- 4.0 mm crochet hook
- DK/light worsted yarn (green, brown, grey shades)
- Fiberfill stuffing
- Tapestry needle
This combination helps achieve the perfect texture and shape for your bonsai tree.
✨ Skills Required for This Pattern
This is an intermediate crochet pattern, so you should be familiar with basic stitches and shaping techniques.
You’ll need to know:
- Magic ring
- Single crochet, half double crochet, double crochet
- Increasing & decreasing
- Basic sewing
If you already love making amigurumi, you’ll find this project both fun and challenging.

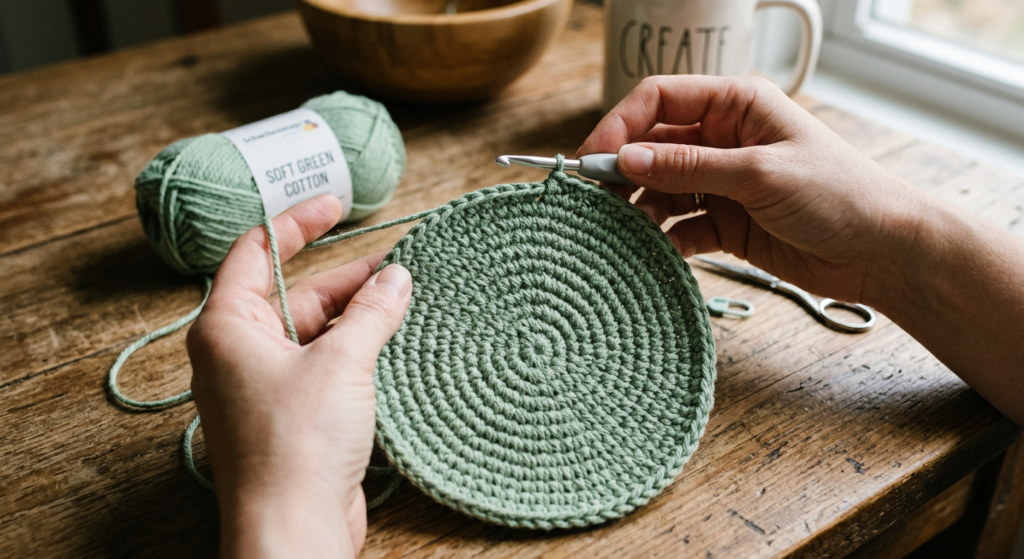
The flower pot is worked in spirals and forms the base of your bonsai tree. It starts with a magic ring and gradually increases to form a wide bowl shape.
The pot is not stuffed, which helps it hold a realistic structure when assembled.
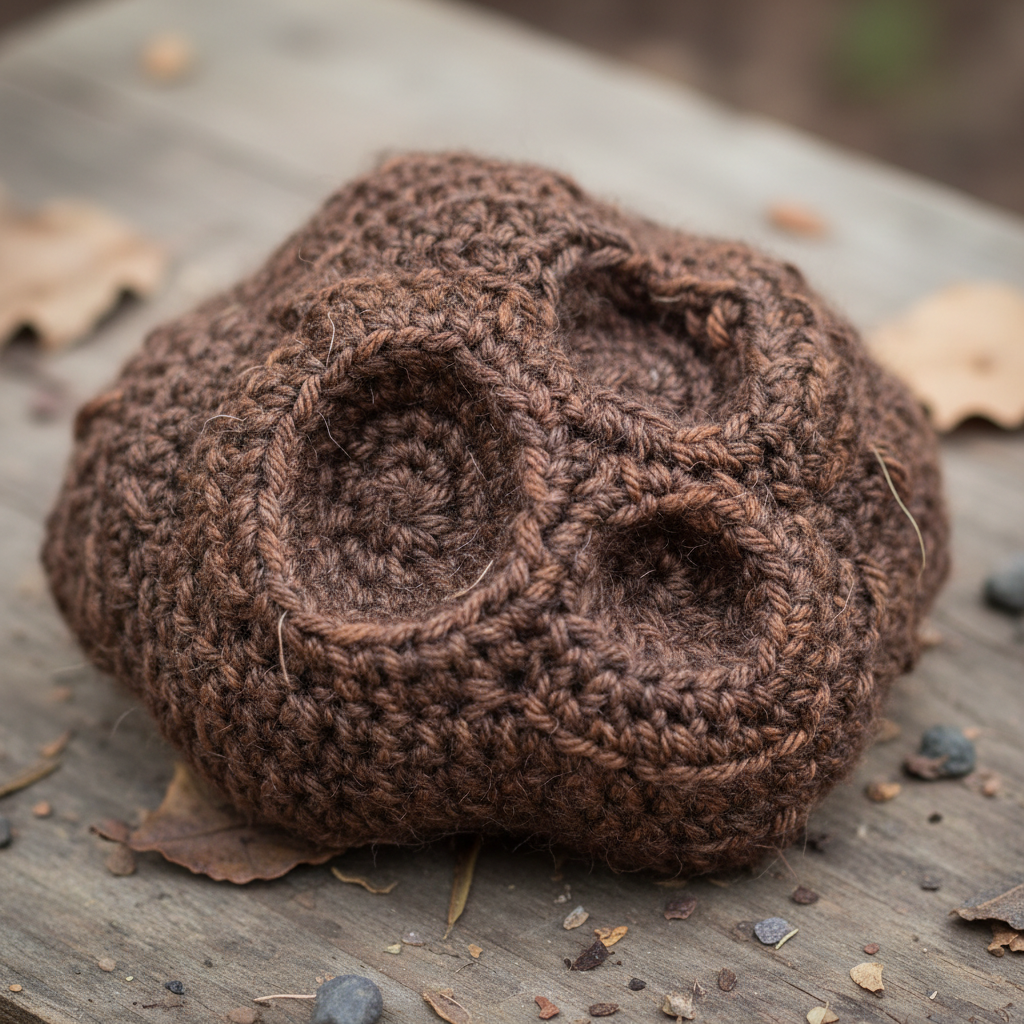
🌱 Step 2: Add the Soil
The soil section gives your bonsai tree a natural and realistic appearance. It is lightly stuffed and shaped with yarn tension to create small dents.
This detail makes your crochet bonsai look more lifelike and textured.
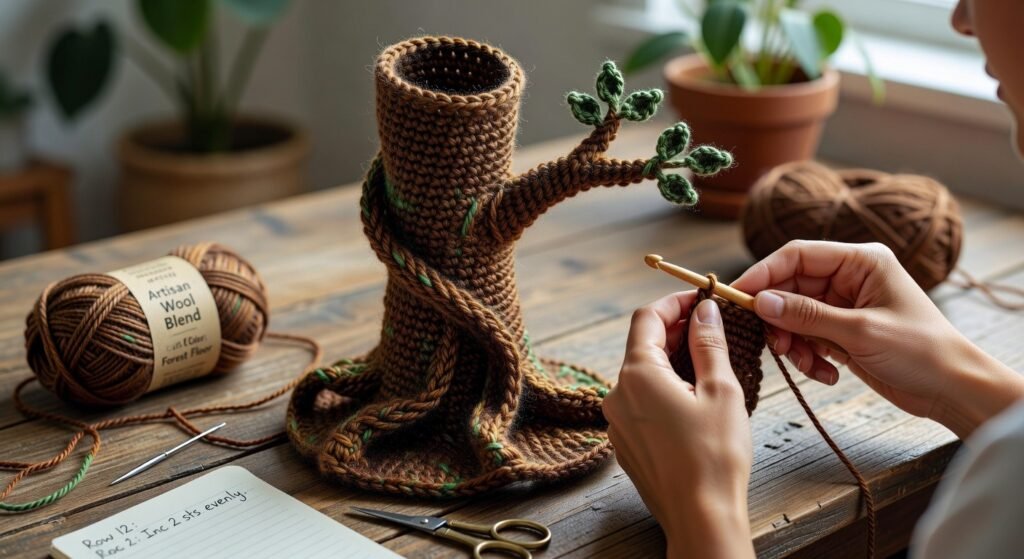
🌳 Step 3: Crochet the Tree Trunk
The trunk is the centerpiece of your bonsai tree. It uses a mix of stitches to create a slightly curved, organic look.
Stuff the trunk gradually as you go to maintain structure and stability.
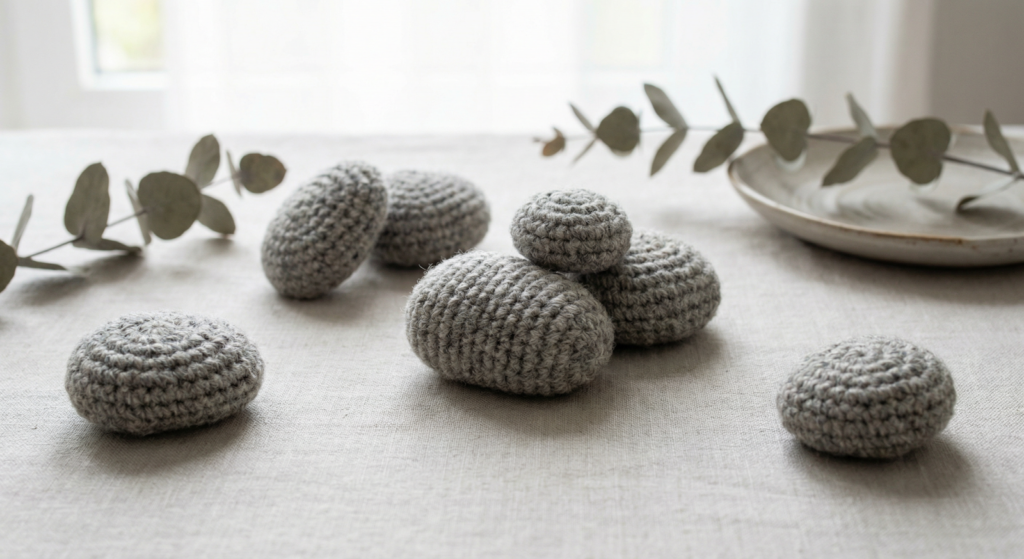
🪨 Step 4: Make Decorative Stones
Small crochet stones add charm and realism to your bonsai setup. These are quick to make and require no stuffing.
Place them around the base of the tree for a balanced design.
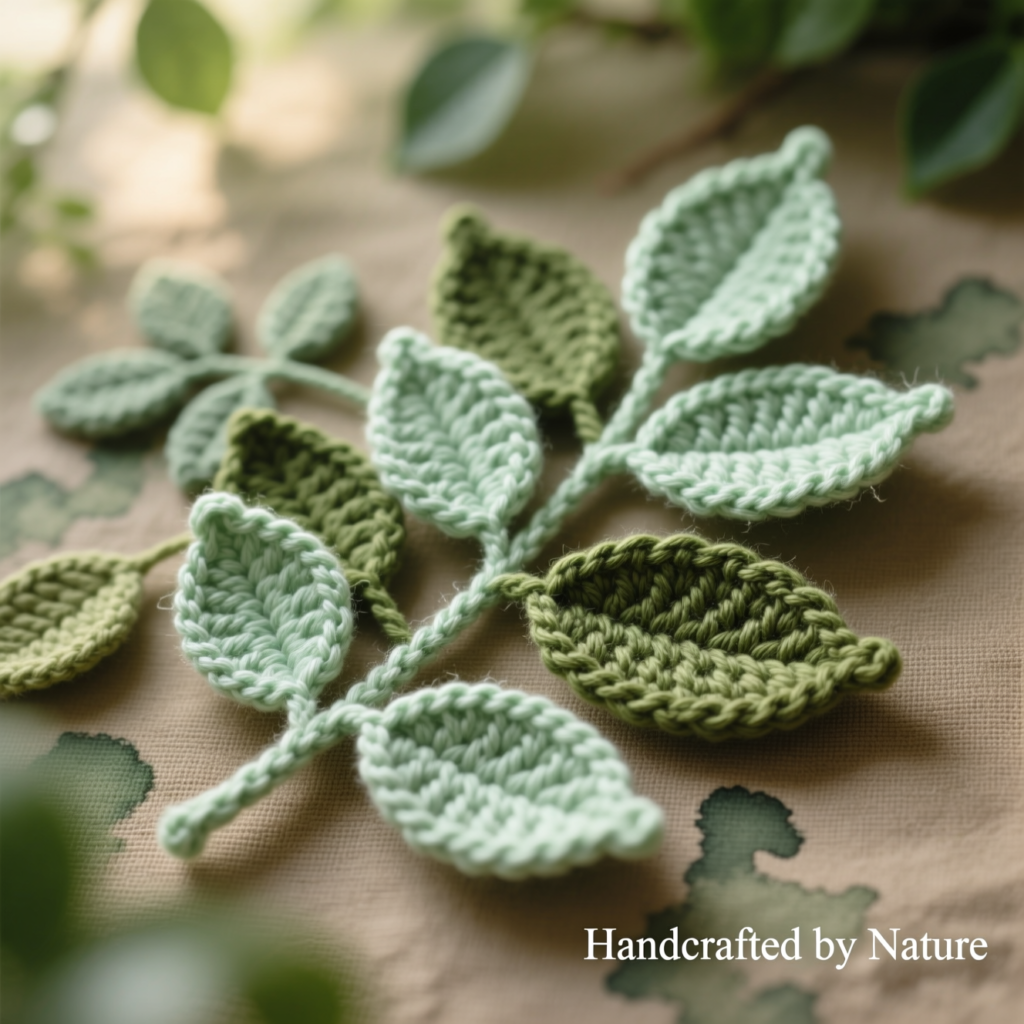
🍃 Step 5: Crochet Leaves (3 Types)
This pattern includes three leaf sizes (A, B, and C) to create depth and dimension.
- Large leaves for the bottom
- Medium leaves for the middle
- Small leaves for the top
This layering technique ensures your bonsai looks full and balanced.
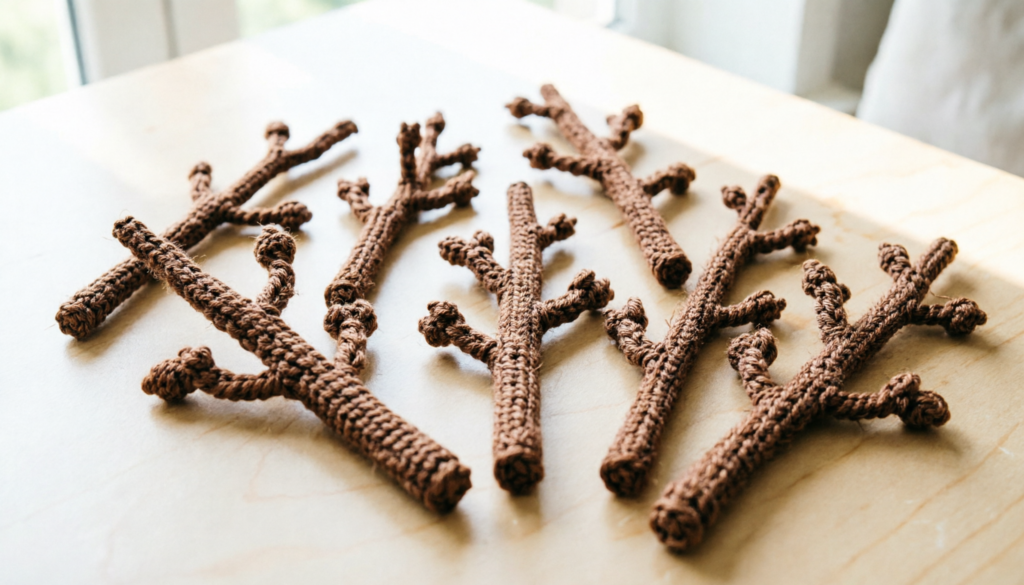
🌿 Step 6: Create Branches
Each leaf type has a matching branch. These are small but essential for attaching leaves to the trunk.
Make multiple branches and keep them lightweight for better balance.
🧵 Step 7: Assemble Your Bonsai Tree
Now comes the most satisfying part—bringing everything together!
- Attach the trunk to the soil
- Add stones around the base
- Sew branches onto the trunk
- Attach leaves according to size
💡 Tip: Keep heavier leaves at the bottom to prevent tipping.
🌸 Final Thoughts
This crochet bonsai tree pattern is a beautiful blend of creativity and craftsmanship. It’s perfect for decor lovers, crochet enthusiasts, and anyone who enjoys mindful DIY projects.
Once finished, your bonsai tree will be around 22 cm tall, making it a perfect desk or shelf accessory.
👉 Don’t forget to download the full pattern for detailed step-by-step instructions!