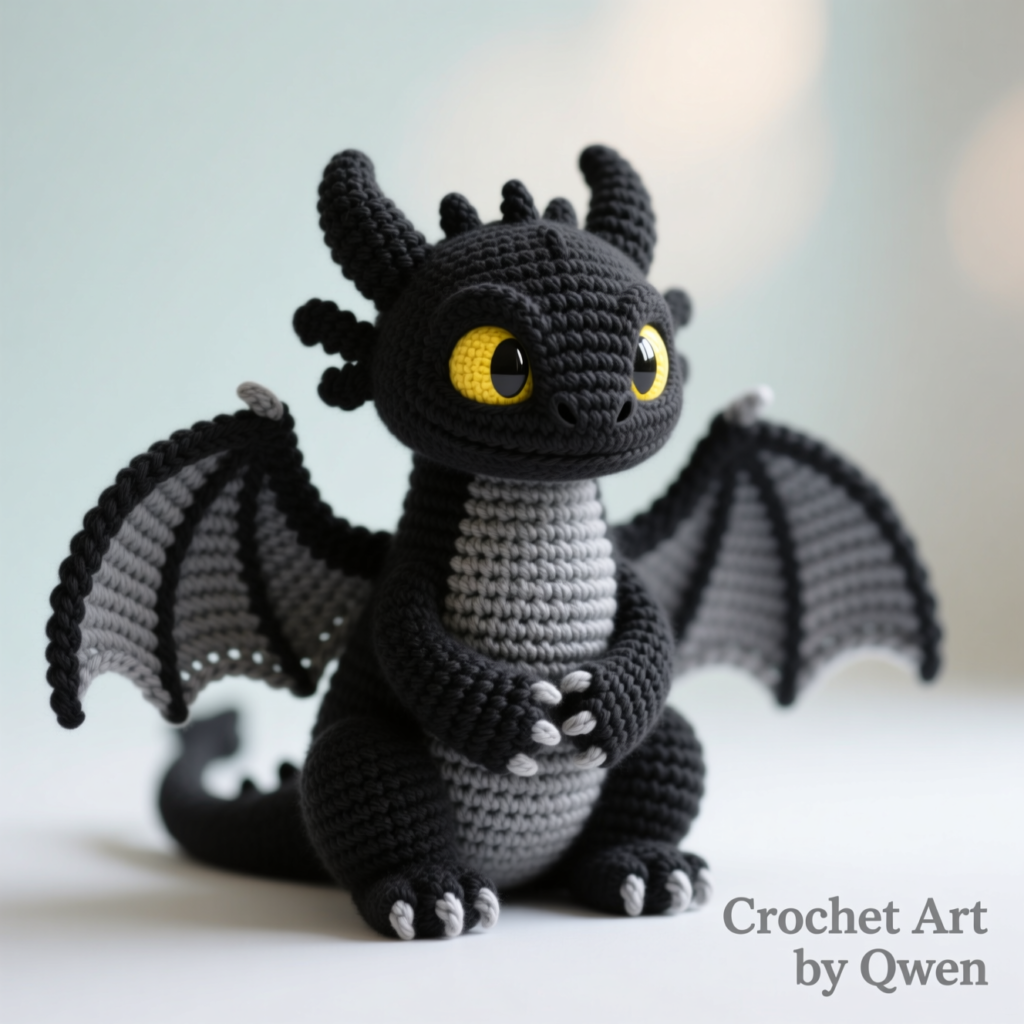
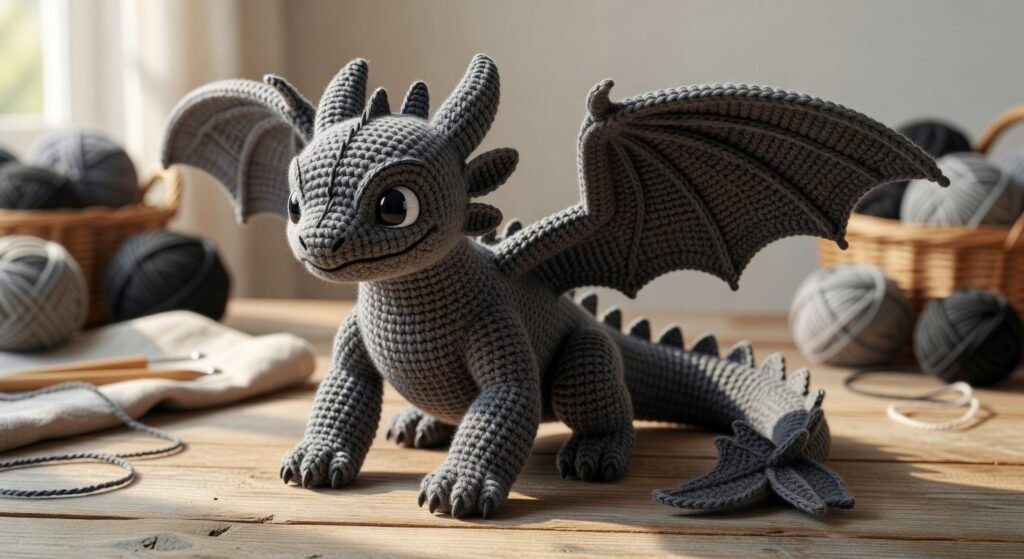
🐉 Toothless Dragon Crochet Pattern (Amigurumi Tutorial for Beginners)
Want to crochet your own Toothless dragon from How to Train Your Dragon? This detailed amigurumi pattern helps you create a stunning 30 cm dragon with realistic wings, expressive eyes, and poseable limbs.
Perfect for intermediate crocheters, this project combines amigurumi techniques, wire shaping, and detailed assembly for an eye-catching result.
🧶 Materials for Crochet Dragon (Toothless)
To make this amigurumi dragon, you’ll need:
- Fine (4-ply) yarn: dark gray & black
- Lace yarn: yellow (for eyes)
- Crochet hooks: 2 mm & 1.25 mm
- Fiberfill stuffing
- Wire (for frame and wings)
- Safety joints or cotter pins
- Seed beads, needle, scissors
- Textile paint (black & white)
Using the right materials ensures your crochet dragon toy holds its shape and looks professional.

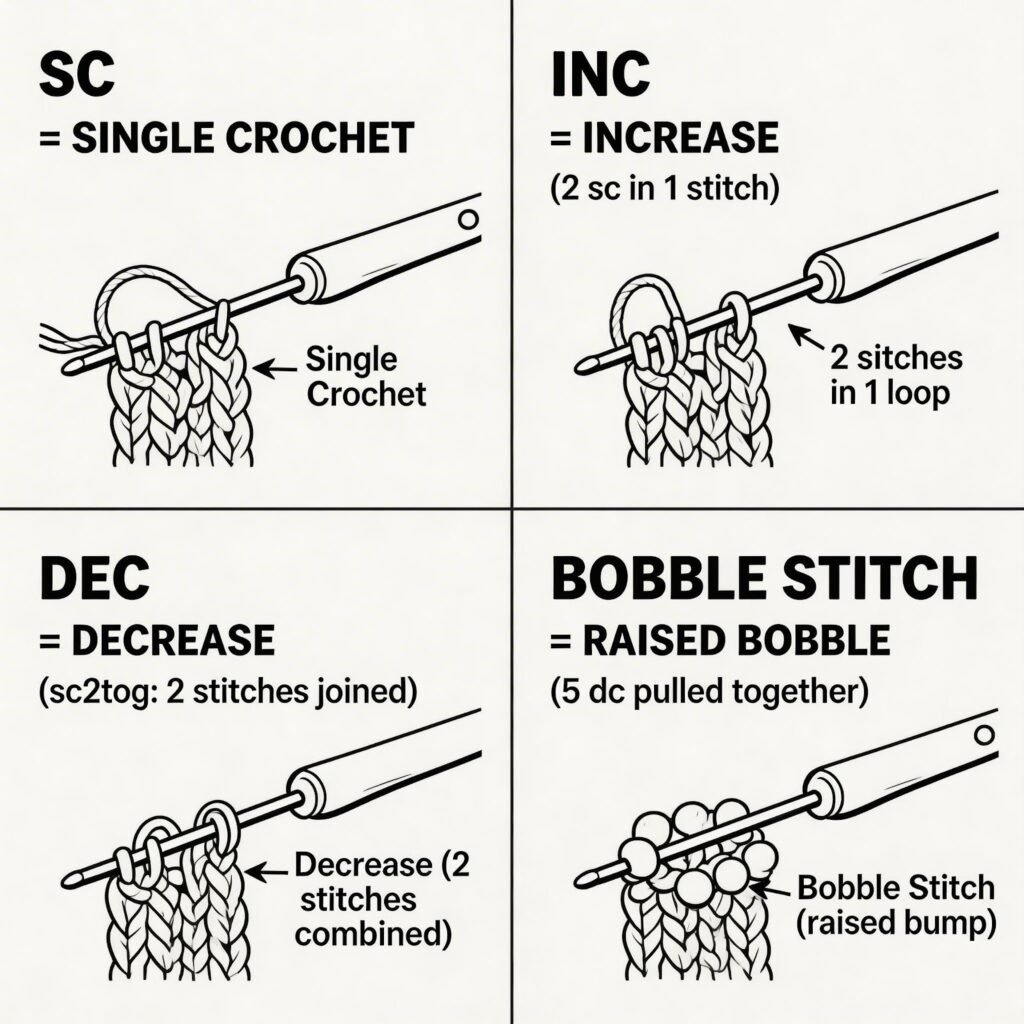
✨ Crochet Abbreviations & Basics
This pattern uses standard amigurumi crochet stitches:
- SC, INC, DEC
- HDC, DC
- SL ST, CH
- BLO (Back Loop Only)
- Bobble Stitch
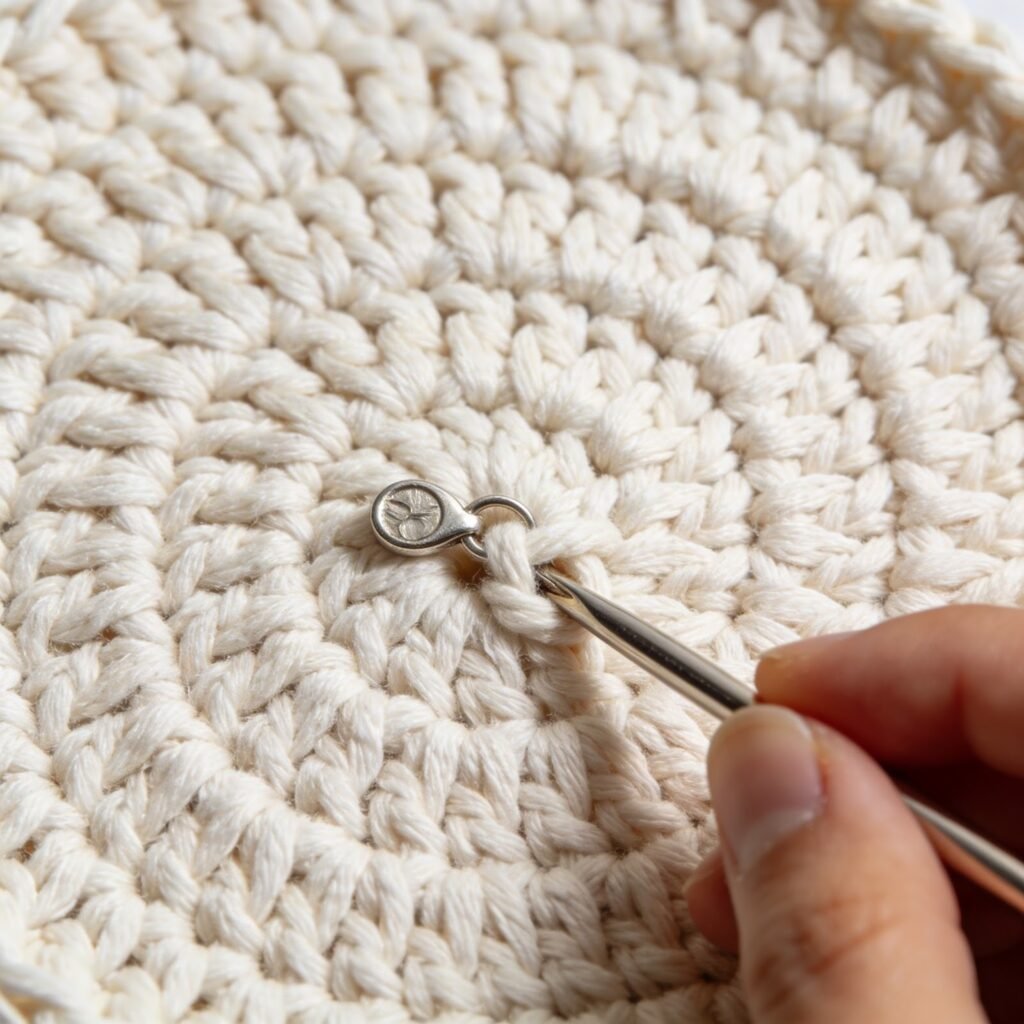
You’ll also use a magic ring and an extra stitch technique to keep rounds aligned.
🧠 Important Technique: Extra Stitch Trick
In this pattern, you’ll sometimes add an extra stitch at the end of a round. This shifts your stitch marker and keeps your project symmetrical.
Don’t count this stitch as part of the round—it’s just for alignment.
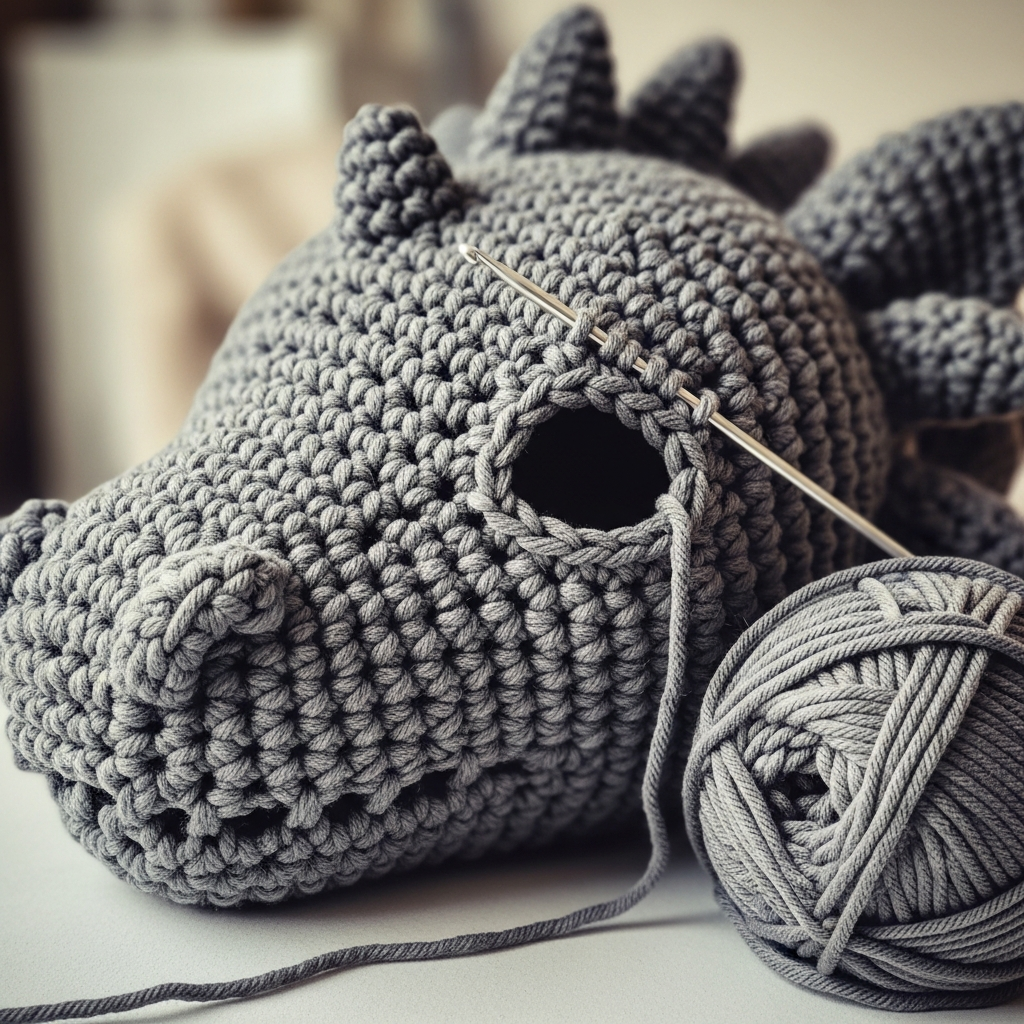
🐲 Crocheting the Dragon Head
Start with a magic ring and gradually increase up to 72 stitches to form a large rounded head. Then slowly decrease to shape the snout and neck.
Leave a small opening to insert the wire frame later, which helps support the dragon’s head.
👀 Making Expressive Dragon Eyes
Crochet two yellow eyes using lace yarn:
- Build from 6 SC in a magic ring
- Increase to 24 stitches
- Add painted pupil and highlight
You can adjust eyelids to give your dragon different emotions—cute, sleepy, or fierce!
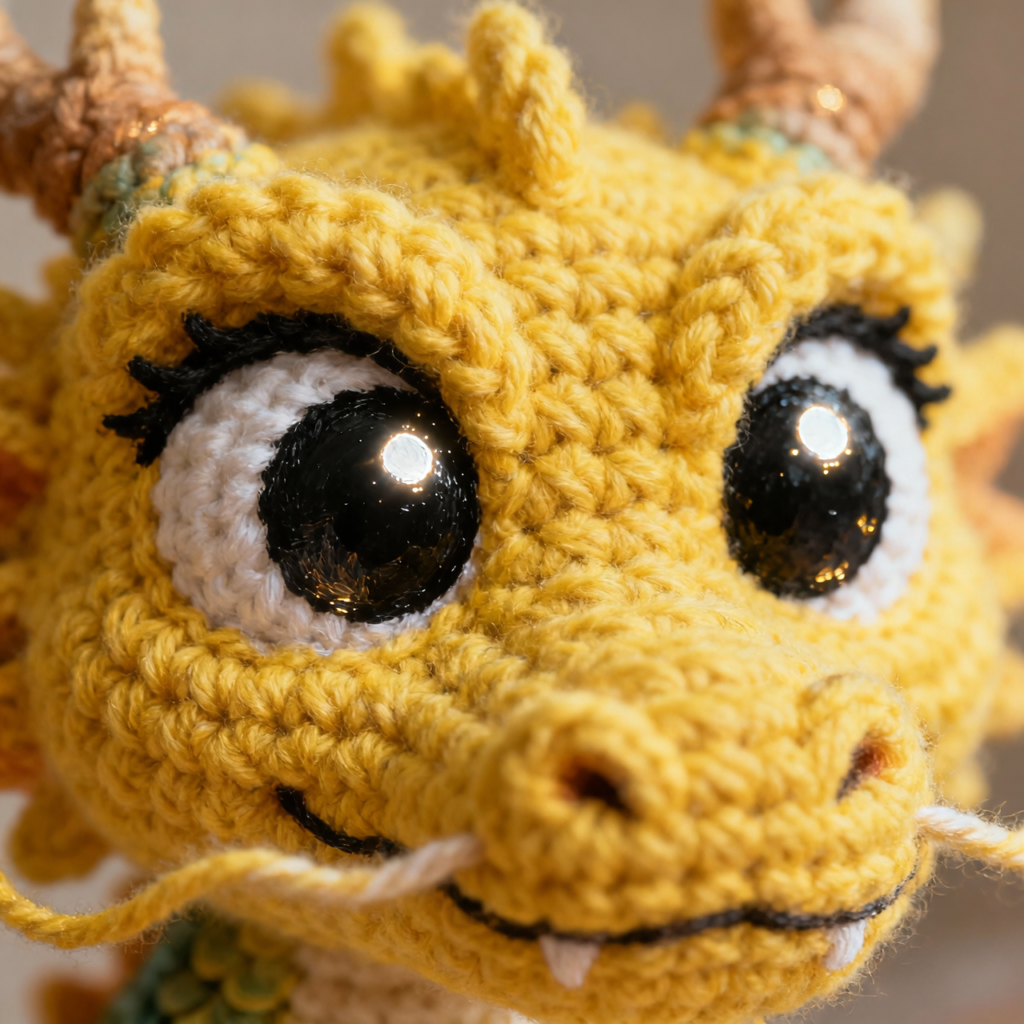
👂 Ears, Eyelids & Facial Details
Small details like ears and eyelids make a big difference. These are crocheted separately and attached later.
Experiment with placement to customize your dragon’s personality.

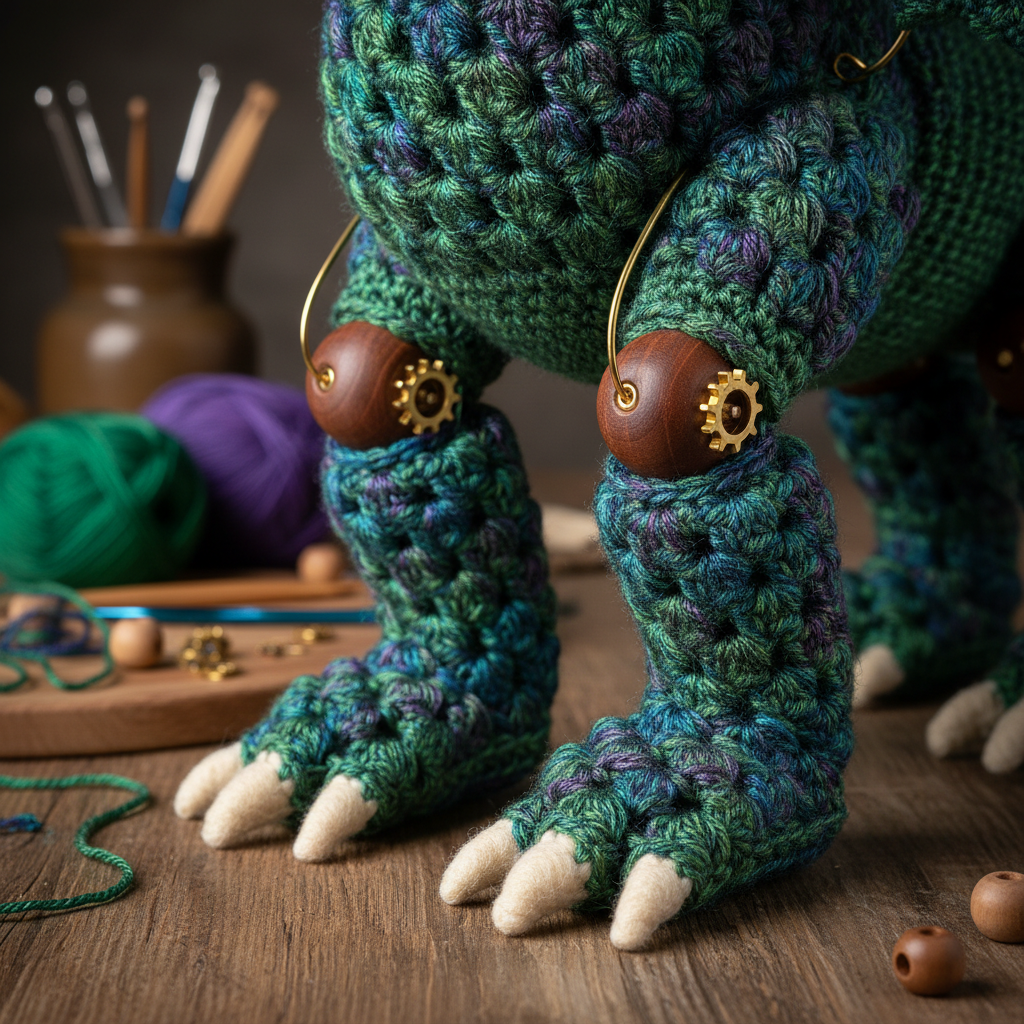
🦴 Crocheting Legs with Joints
The legs are worked in rounds and include:
- Gradual shaping with increases/decreases
- Optional joints for movement
- Firm stuffing in the lower parts
You can use either plastic joints or cotter pins depending on your preference.
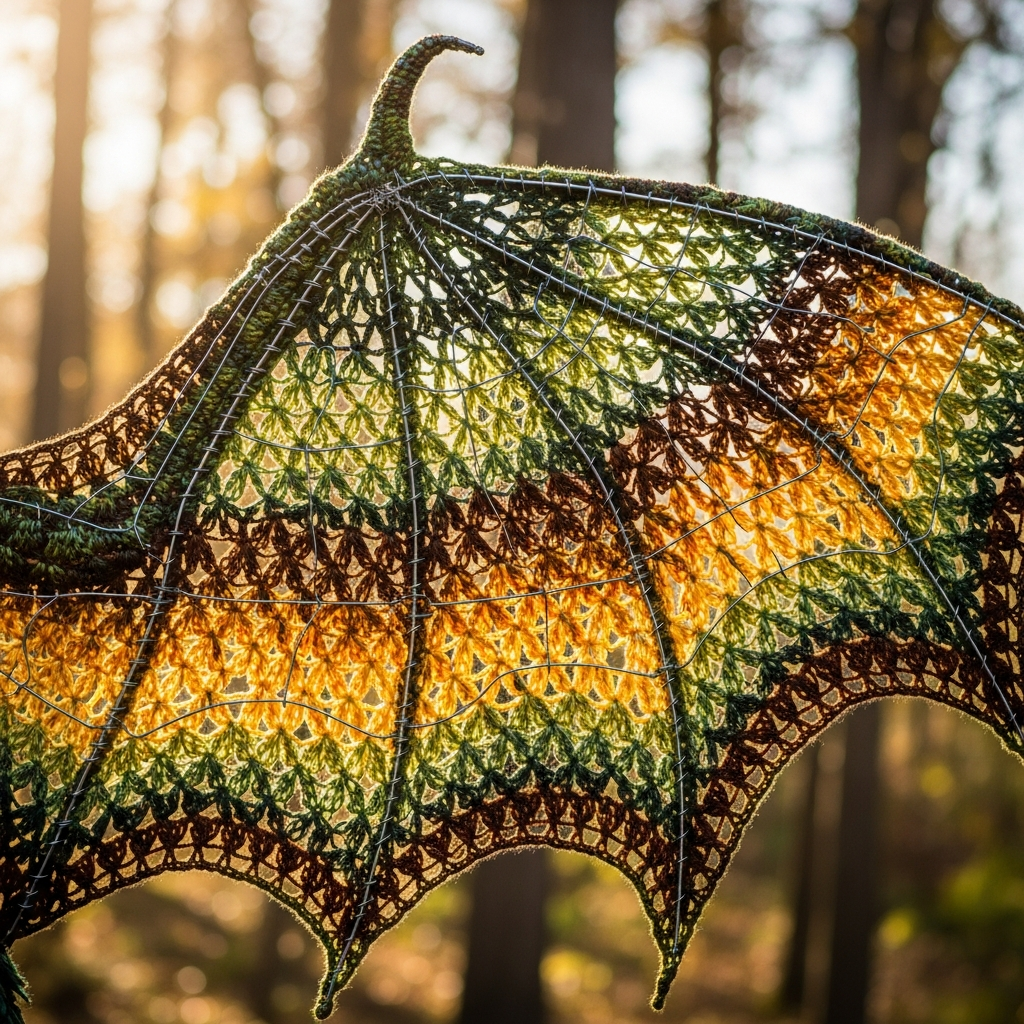
Wings with Wire Frame
The wings are the most detailed part:
- Built around a wire frame
- Worked in rows and rounds
- Shaped for a realistic spread
This gives your dragon a poseable and lifelike appearance.
🐉 Tail & Body Construction
The tail starts small and gradually increases in size, forming a long curved shape. A thicker wire is inserted for stability.
The body is crocheted separately and includes openings for attaching legs and wings.
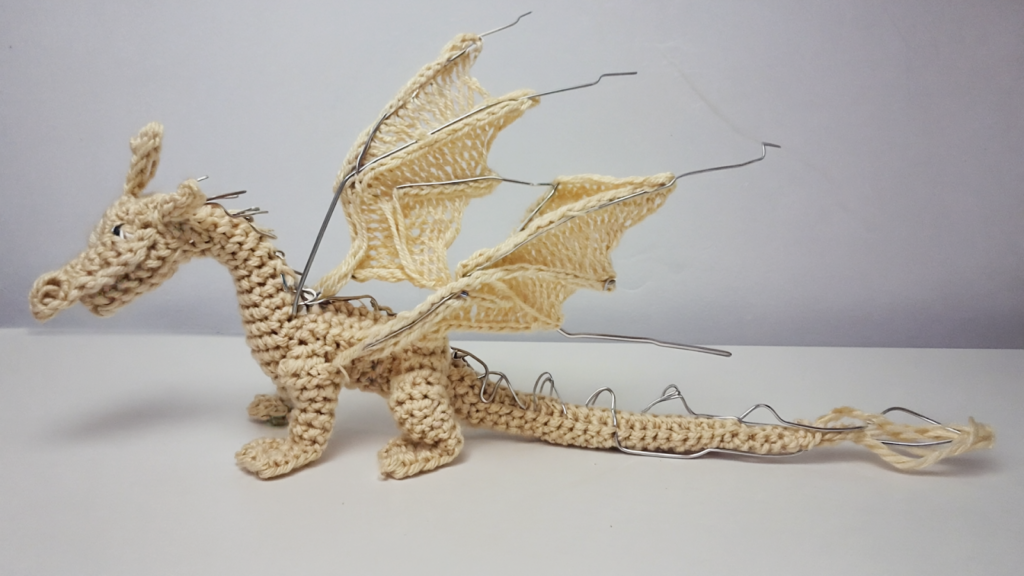
🔧 Assembly & Final Touches
Now bring everything together:
- Attach head to body securely
- Insert and fix wire frame
- Sew wings, legs, and tail
- Add spines and tail fins
- Lightly shade with pastel for depth
This step transforms your pieces into a realistic amigurumi dragon.
🎉 Your Crochet Dragon is Ready!
You’ve now created a beautiful amigurumi Toothless dragon! This makes a perfect gift, collectible, or display piece for fans of fantasy crochet.
Take photos, share on Pinterest, and inspire others with your handmade creation.

📥 Download Full Pattern
Want the full detailed instructions with stitch counts and diagrams?