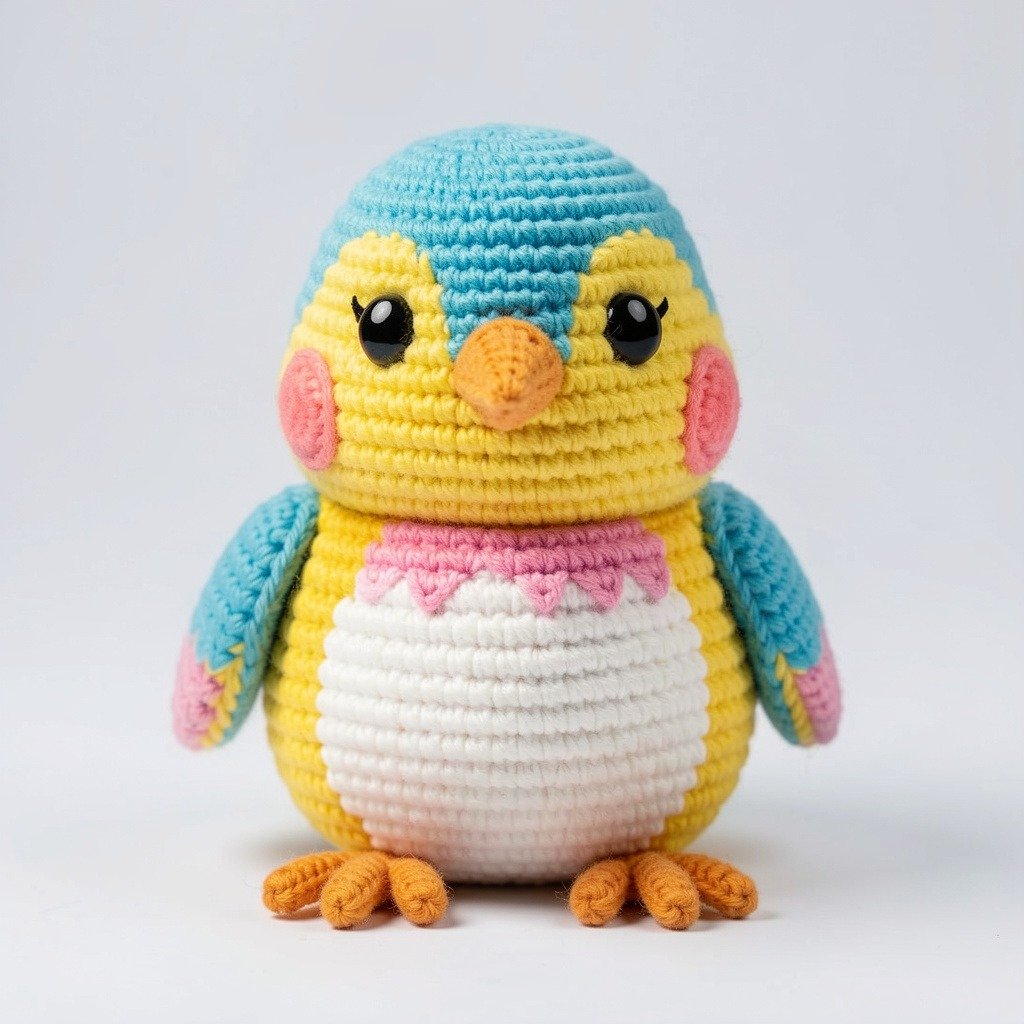
🐦 Easy Amigurumi Bird Crochet Pattern (Step-by-Step Guide)
Looking for a cute and beginner-friendly amigurumi bird crochet pattern? This tiny 2.8-inch crochet bird is perfect for gifts, decorations, or even Christmas ornaments. In this step-by-step guide, you’ll learn how to crochet a small bird using simple stitches and techniques.
Whether you’re new to amigurumi crochet or an experienced crafter, this pattern is fun, quick, and super rewarding.
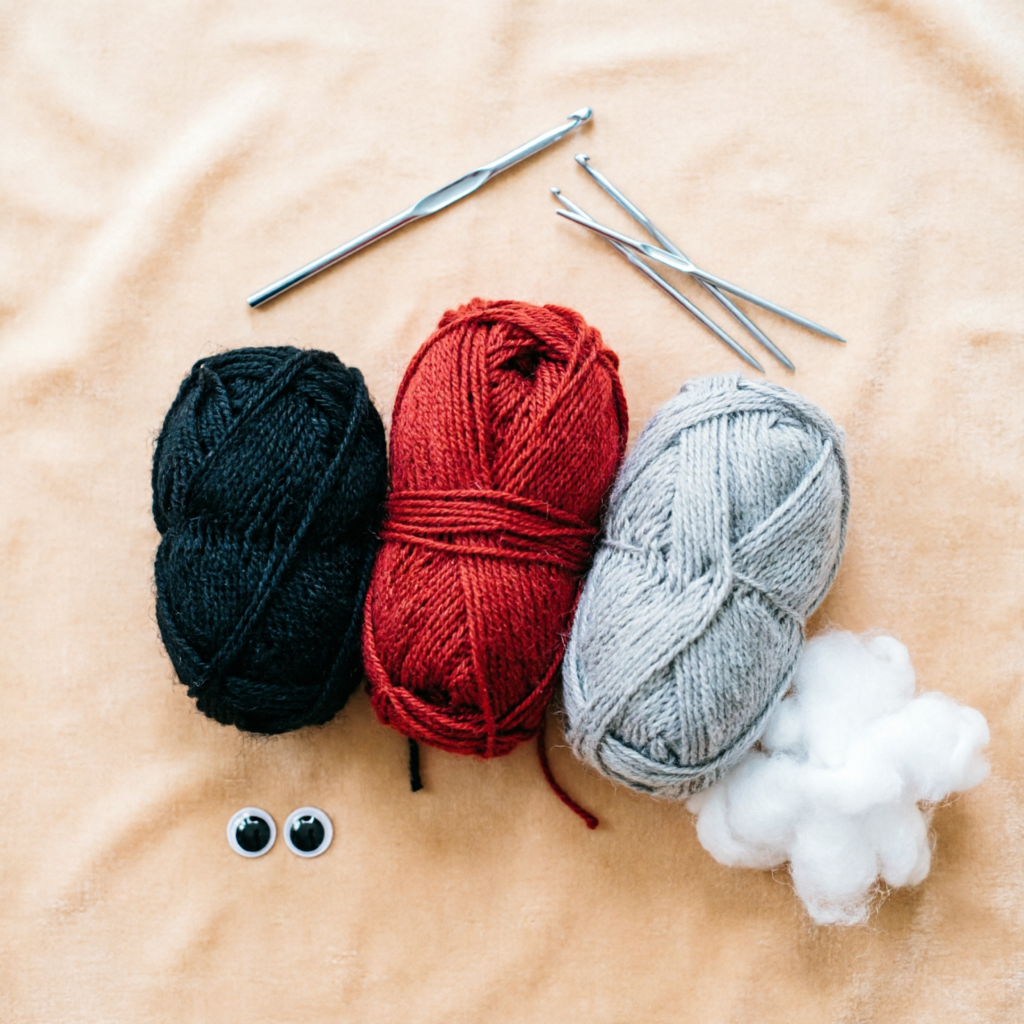
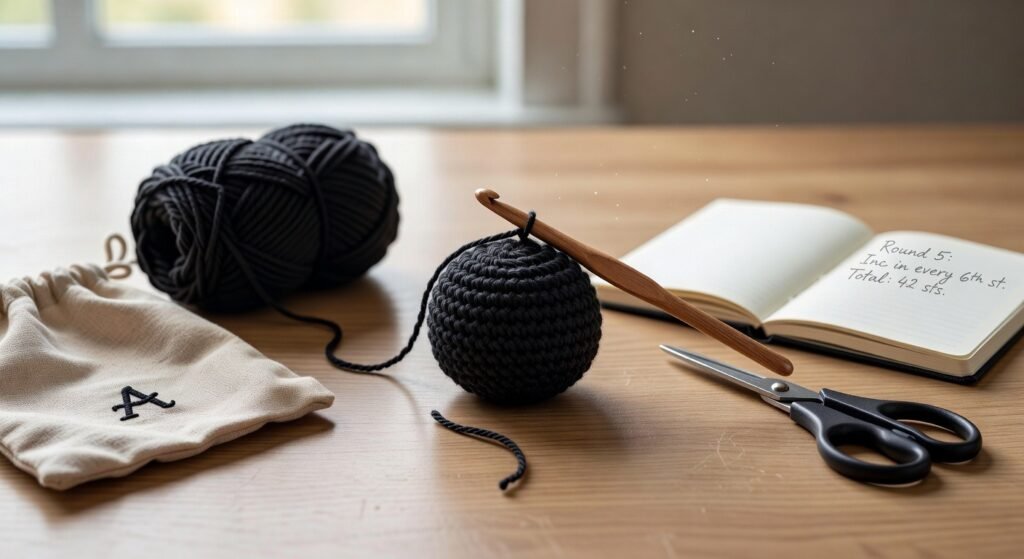
🧶 Materials You’ll Need
To create your adorable crochet bird, gather these basic supplies:
- Cotton or acrylic yarn (sport weight): black, red, grey, brown, white
- Lace yarn (for details like eyes & beak)
- 5 mm safety eyes or black beads
- 2.5 mm crochet hook + 1.5 mm hook
- Fiberfill stuffing
- Stitch marker, scissors, yarn needle
This pattern uses lightweight yarn, making it ideal for small amigurumi projects.
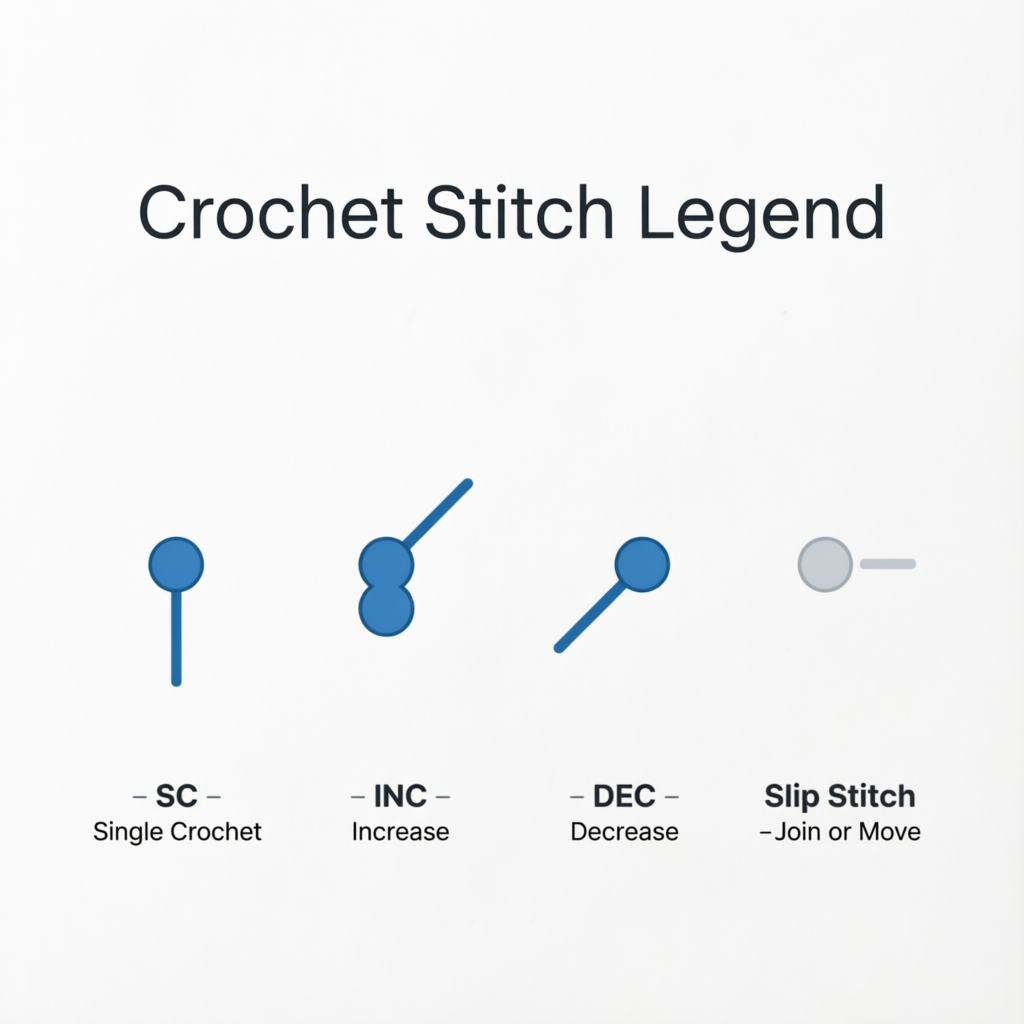
✨ Crochet Abbreviations (Quick Guide)
Before starting, here are the basic stitches used:
- SC – Single Crochet
- INC – Increase (2 SC in one stitch)
- DEC – Decrease
- SL ST – Slip Stitch
- CH – Chain
- BLO / FLO – Back/Front Loop Only
You’ll also use magic ring and reverse single crochet, which are common in amigurumi.
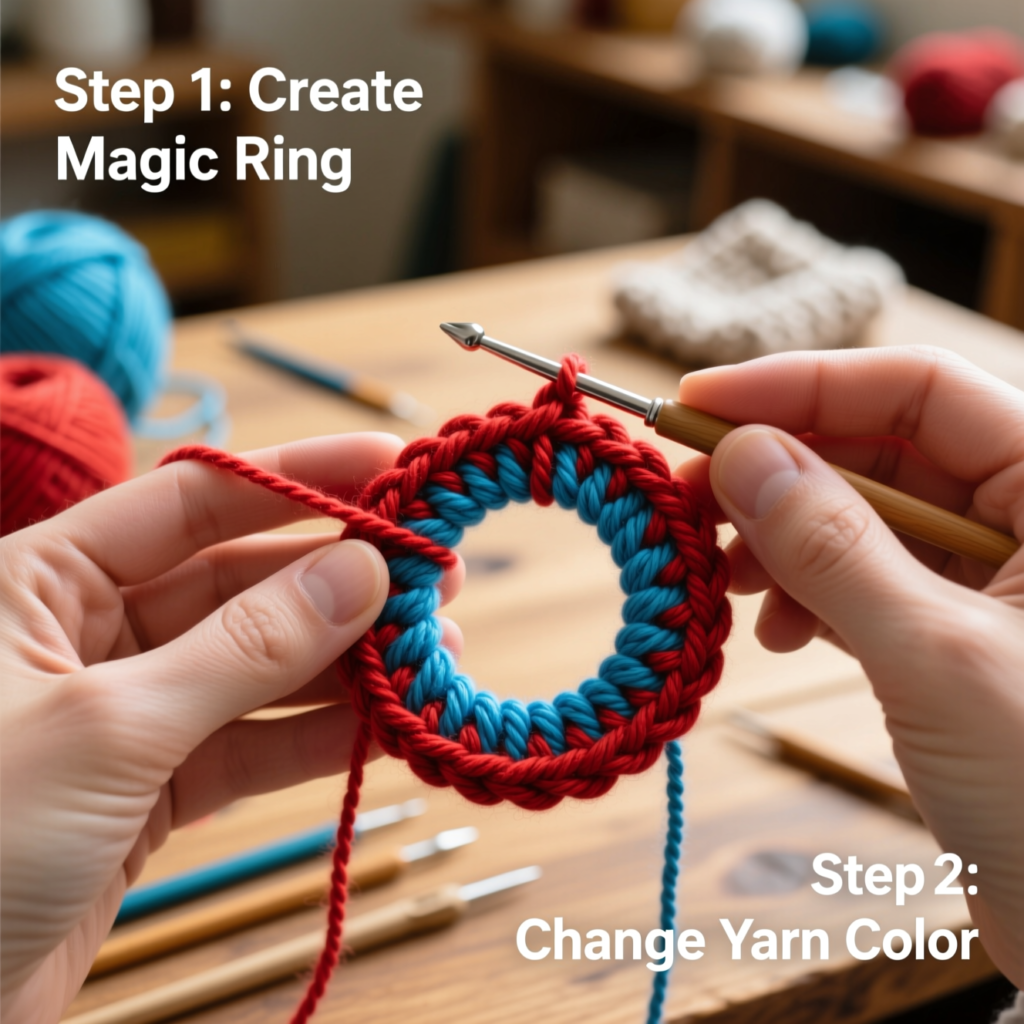
🪄 Essential Techniques You’ll Use
This pattern includes two important techniques:
Magic Ring
Creates a tight center with no hole—perfect for amigurumi shapes.
Invisible Color Change
Used for smooth transitions between yarn colors, especially in wings and tail.
Mastering these will instantly improve your crochet results!
🧠 How to Crochet the Head
Start with black yarn and work in continuous rounds:
- Begin with a magic ring (6 SC)
- Gradually increase to 24 stitches
- Maintain shape with even rounds
The head forms a smooth, rounded base for your bird.
💡 Tip: Always use a stitch marker to track rounds.
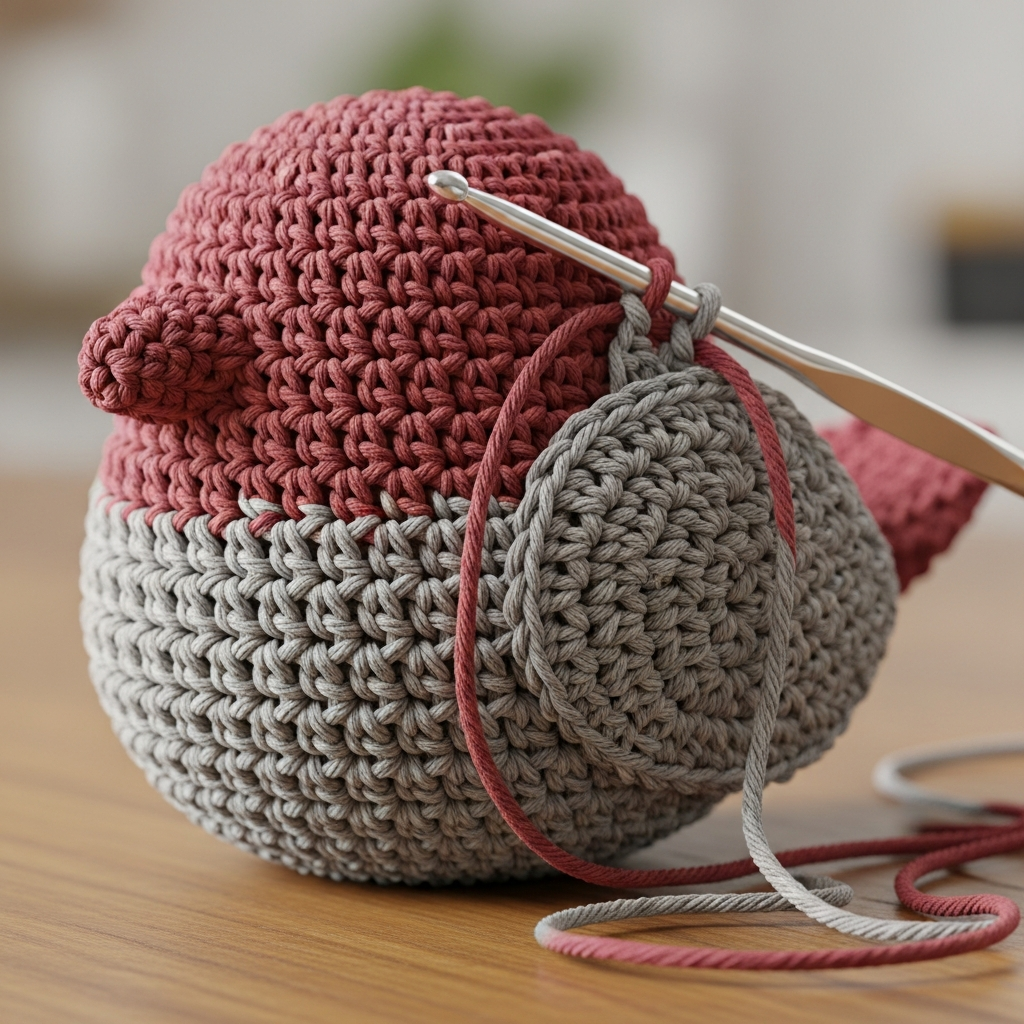
❤️ Crocheting the Body
The body is worked in rows and changes colors:
- Start with red yarn for the chest
- Transition to grey for the rest of the body
- Use increases and decreases to shape
This gives the bird its signature rounded body and color pattern.
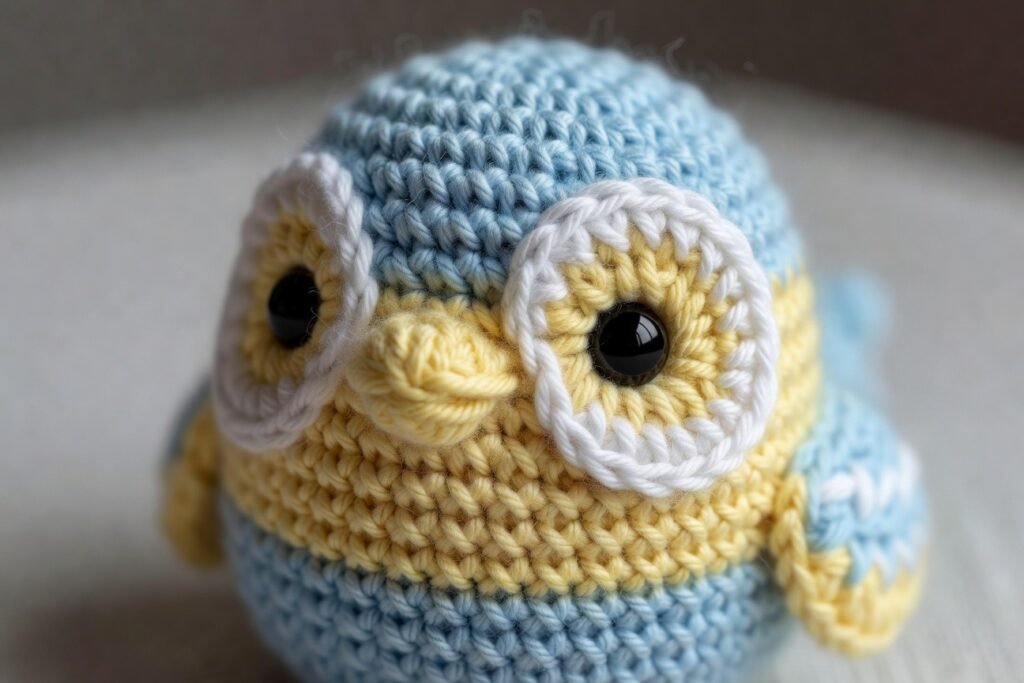
👀 Adding the Eyes
Attach safety eyes:
- Place them evenly above the red section
- Keep about 6 stitches between them
- Add white yarn detail for expression
This step brings your bird to life!
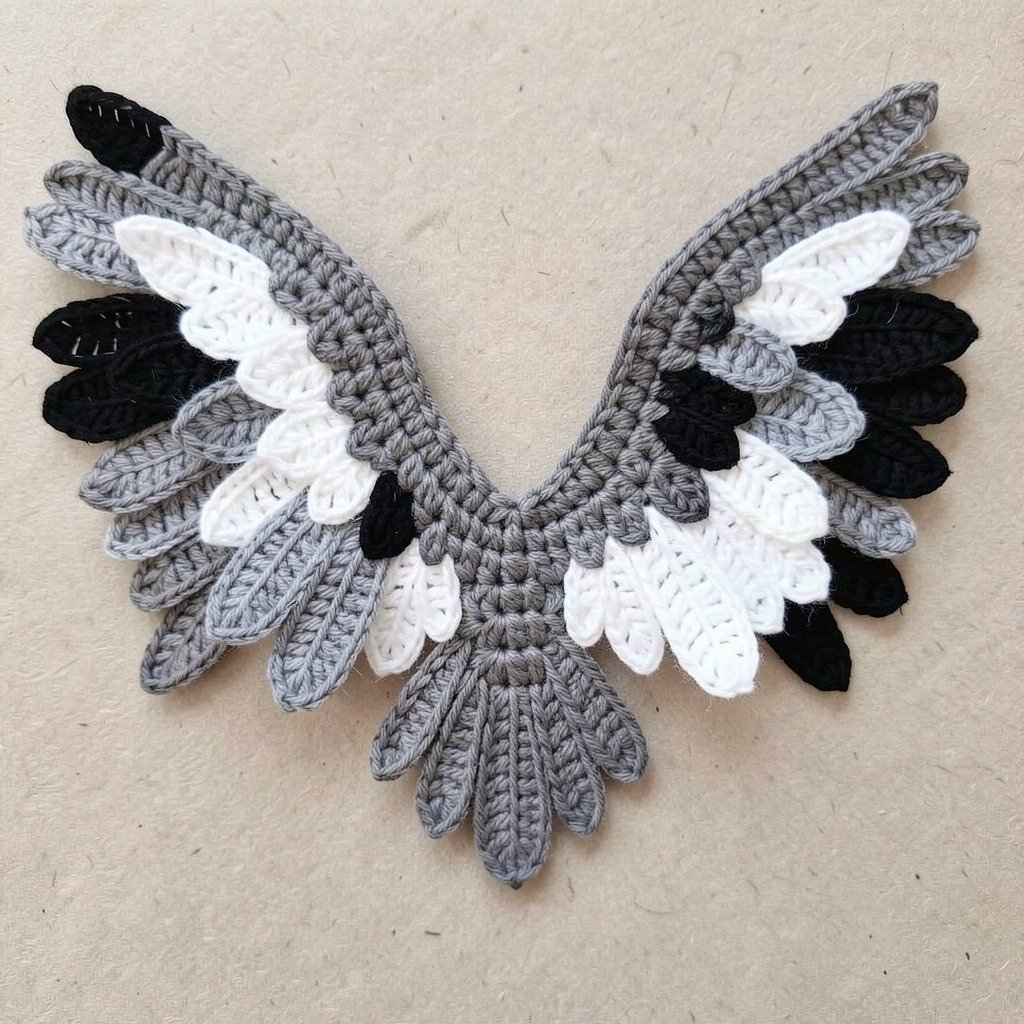
🪽 Making the Wings
Each wing includes:
- A base (grey + white yarn)
- Two feathers (long + short)
Use invisible color change for a clean finish.
Attach wings symmetrically to both sides of the body.
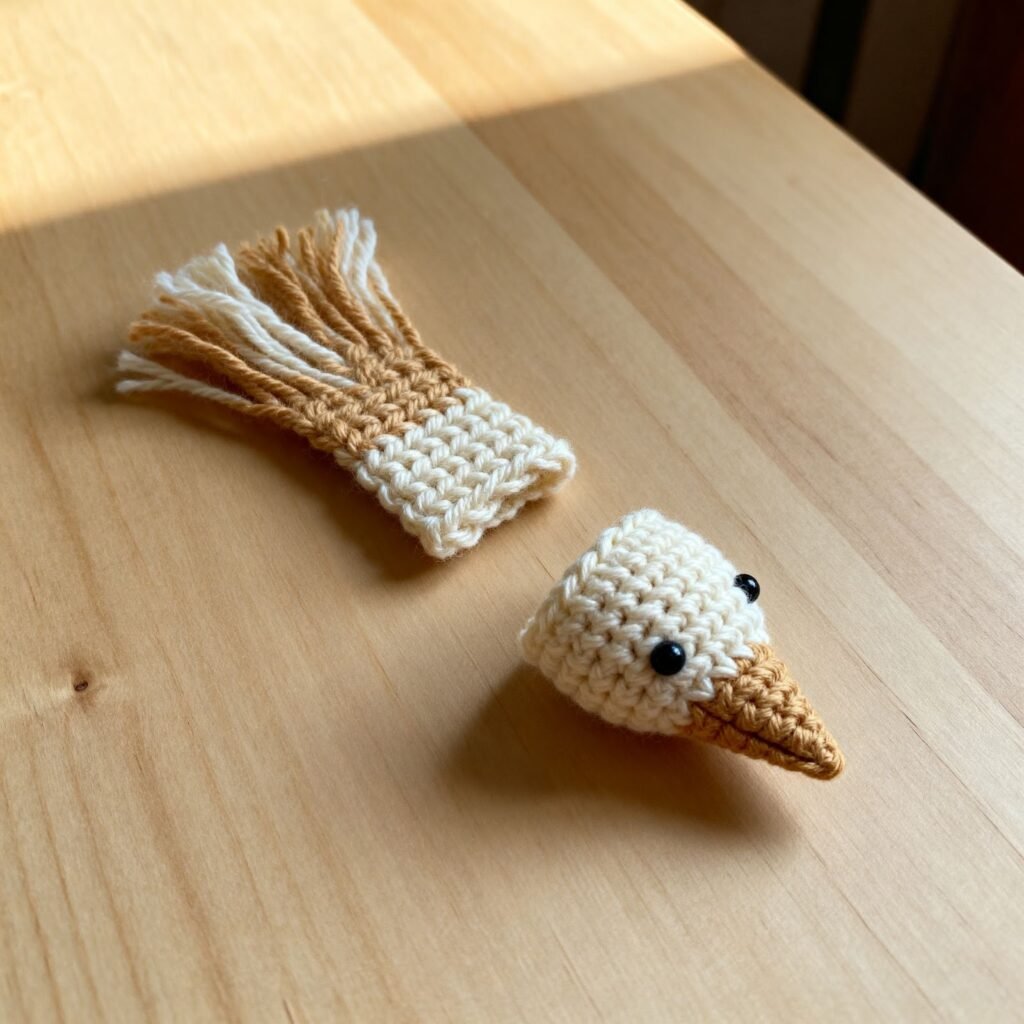
🪶 Tail & Beak Details
Tail:
- Made from two long feathers
- Sew onto the back
Beak:
- Small oval shape using lace yarn
- Sew between the eyes (no stuffing needed)
These small details make a big difference in the final look.
🐾 Crocheting the Feet
Create tiny feet using chains and slip stitches:
- Form three toes per foot
- Attach to the base of the bird
They add balance and realism to your amigurumi.
🎉 Final Assembly & Finishing Touches
- Stuff the body firmly with fiberfill
- Sew all parts securely
- Adjust wings, tail, and feet placement
Your adorable crochet bird is now complete! 🐦
Use it as:
- A toy
- Home decor
- Christmas ornament
- Handmade gift
📥 Want the Full Pattern?
Download the complete printable pattern with detailed steps and visuals: