🐦 Crochet Lovebird & Parrot Amigurumi Pattern (Free PDF Guide)
If you’re looking for a cute crochet bird pattern, this crochet lovebird and parrot design is perfect for you! This beginner-friendly amigurumi project uses soft yarn and simple stitches to create an adorable handmade toy.
Whether you’re making gifts, selling crochet toys, or decorating your space, this crochet lovebird pattern PDF is a must-have.
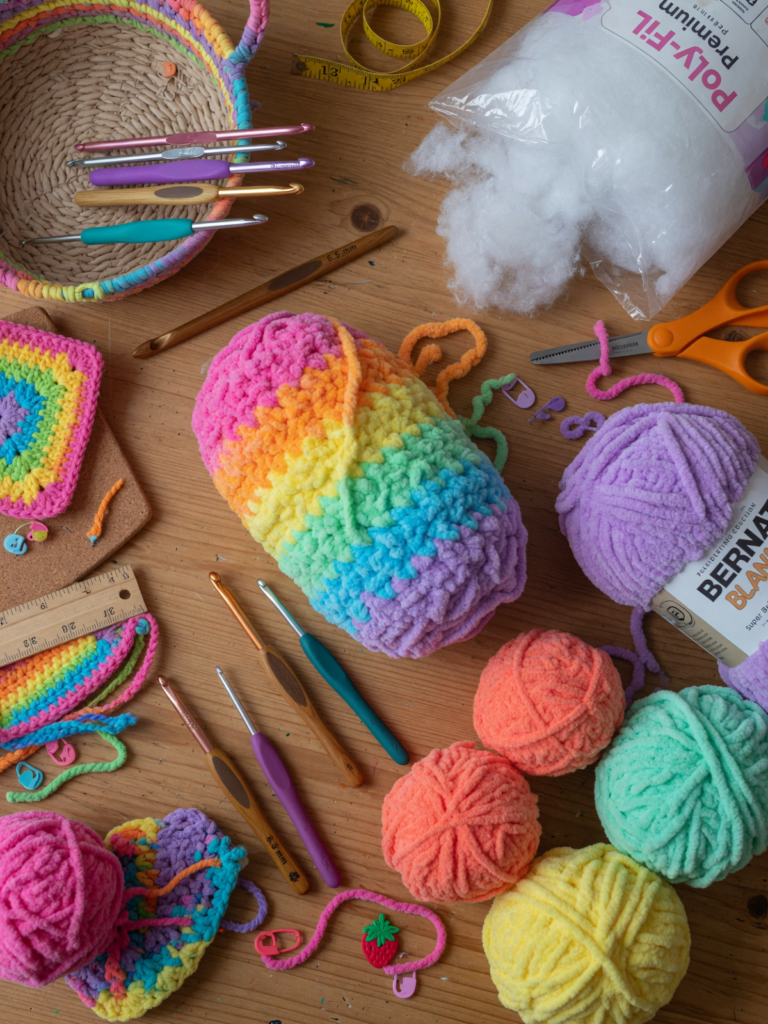
🧶 Materials You’ll Need for Crochet Lovebird
To get started with this crochet bird pattern, gather your supplies first. Using soft plush yarn gives your bird a fluffy, professional look.
You’ll need:
- Himalaya Dolphin Baby yarn (red, green, blue, orange, white)
- YarnArt for eyes (black, white, blue)
- 3.5 mm & 2.0 mm crochet hooks
- Toy stuffing (fiberfill or holofiber)
- Needle and scissors
This combination ensures your amigurumi bird turns out soft, durable, and Pinterest-worthy.
🪡 Basic Crochet Stitches & Abbreviations
Before starting, make sure you’re familiar with common amigurumi crochet stitches. This pattern uses US terminology.
Key stitches include:
- Magic Ring (MR)
- Single Crochet (sc)
- Increase (inc)
- Decrease (dec)
- Slip Stitch (sl st)
- Chain (ch)
These are the foundation of most crochet toy patterns, making this project great for beginners.

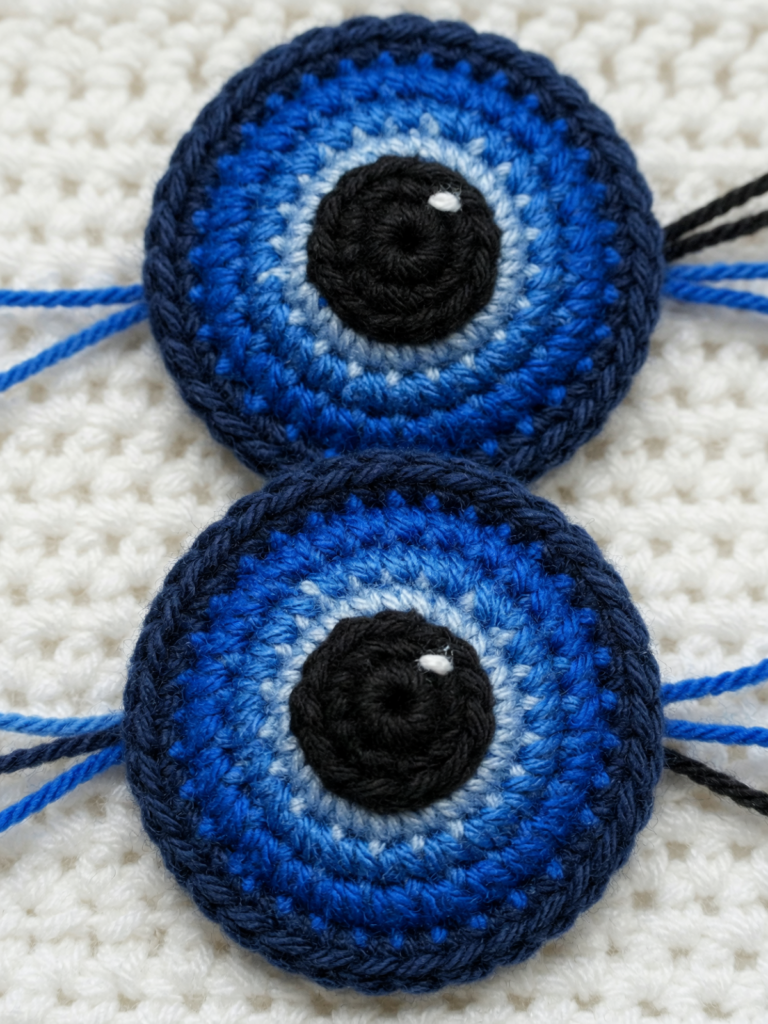
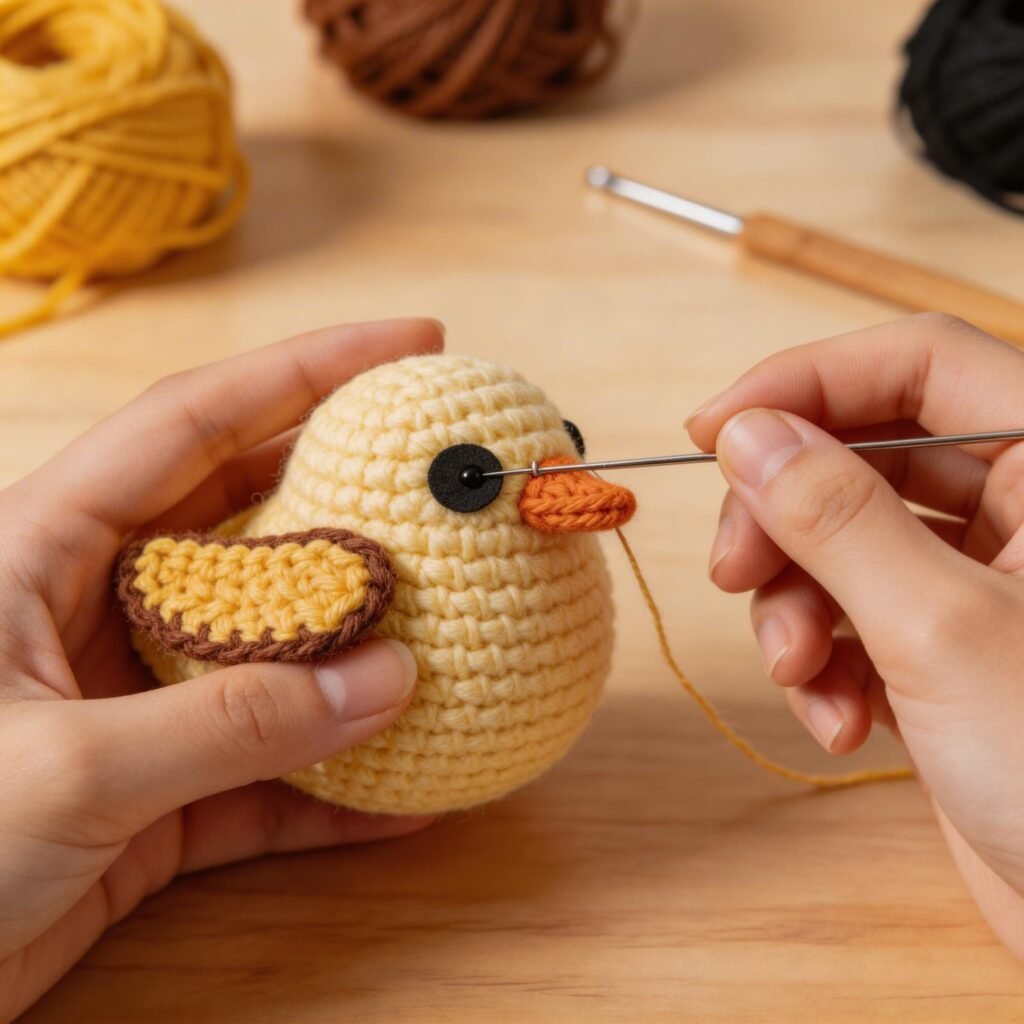
👀 How to Crochet Realistic Amigurumi Eyes
The eyes are what bring your crochet lovebird to life! This pattern uses layered colors (black, blue, white) to create a realistic effect.
Each eye is crocheted separately and slightly differently for a natural look. After crocheting, turn the piece and finish with slip stitches for shaping.
Take your time here—eyes make a huge difference in your final toy.
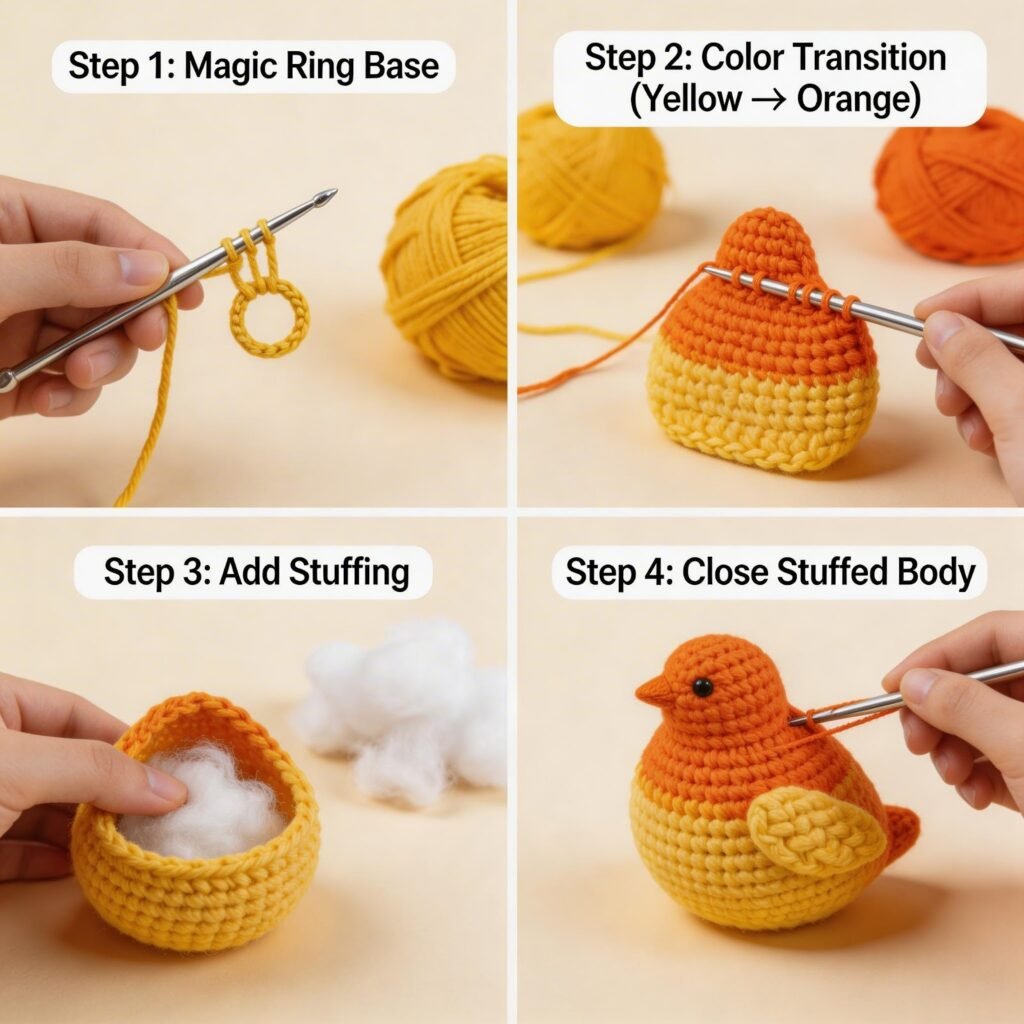
🐦 Crochet Lovebird Body Pattern
The body is worked in continuous rounds, starting from the base and gradually increasing to shape the bird.
You’ll:
- Start with a magic ring
- Increase evenly to form a round body
- Continue straight rounds for height
- Change yarn colors for a vibrant bird effect
Stuff the body firmly as you go to maintain shape.
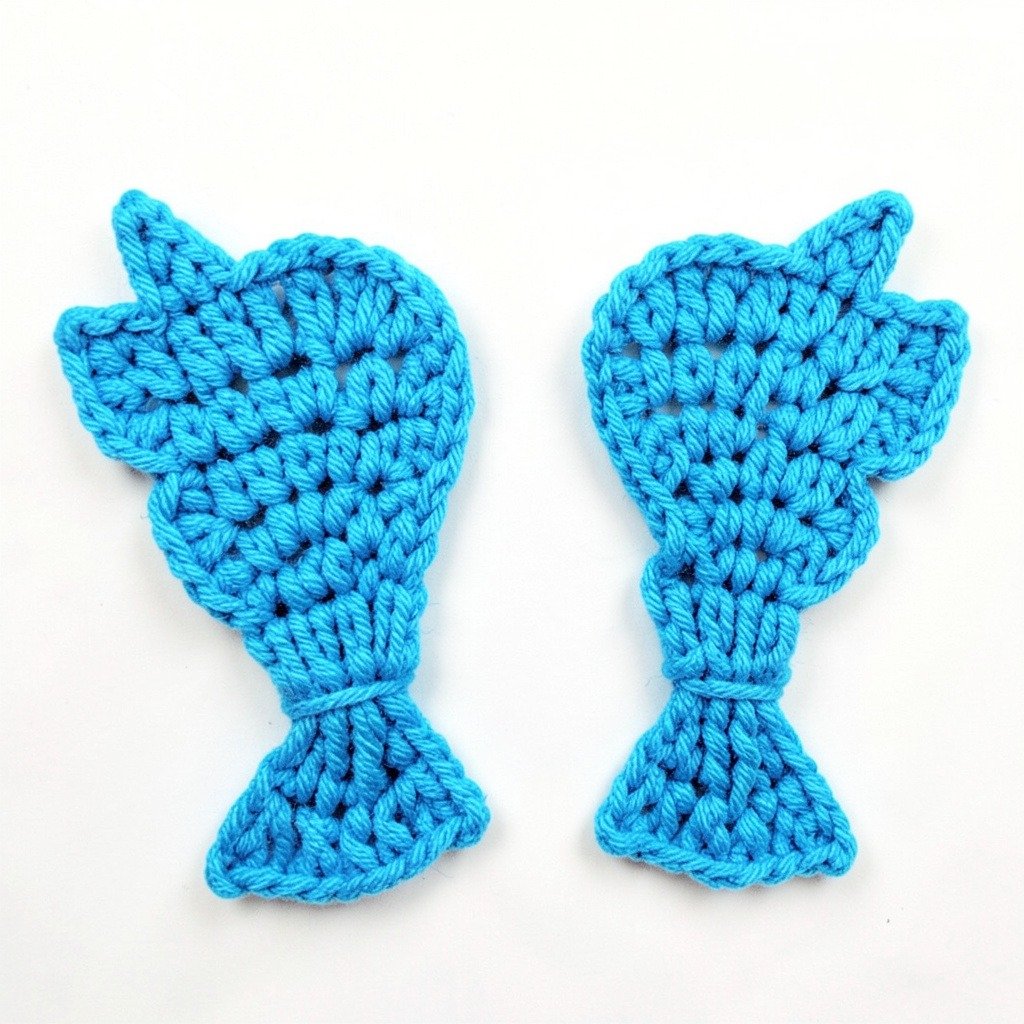
🪶 Wings, Tail & Small Details
Now it’s time to add personality! The wings and tail are crocheted separately and sewn onto the body.
- Wings are folded and slip-stitched for shape
- Tail includes one large and two small pieces
- Use contrasting colors for a realistic bird look
These details give your crochet parrot a playful and lifelike appearance.
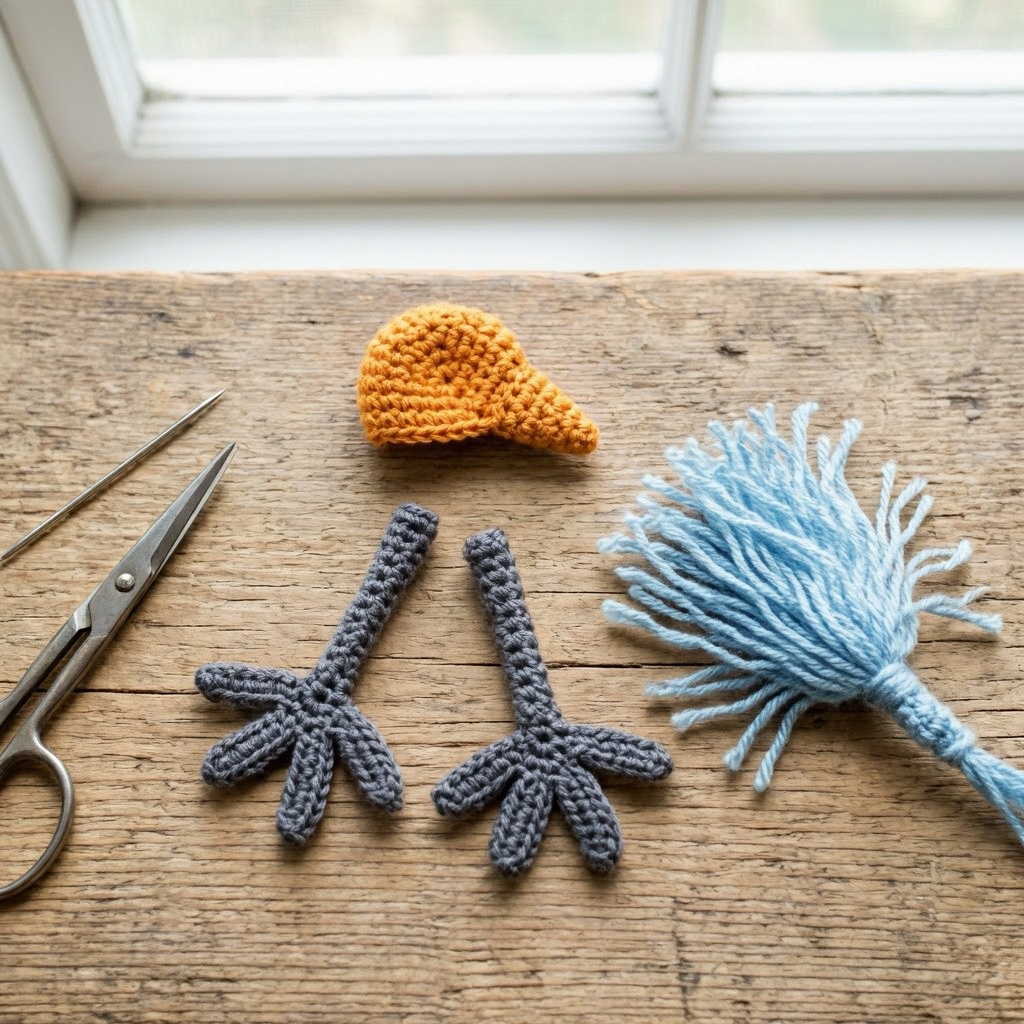
🦶 Legs, Beak & Feather Tuft
The legs and beak are small but essential parts of your amigurumi bird.
- Legs are made with chain stitches and folded
- Beak is slightly stuffed for dimension
- Add a tuft feather on top for extra cuteness
These finishing touches make your crochet bird look complete and professional.
🧵 Assembling Your Crochet Bird
Assembly is where everything comes together!
- Sew the beak between rounds 12–18
- Attach eye whites and eyes carefully
- Keep eyes 1 stitch away from the beak
- Sew wings, tail, legs, and tuft
Take your time with placement to achieve a balanced, symmetrical look.
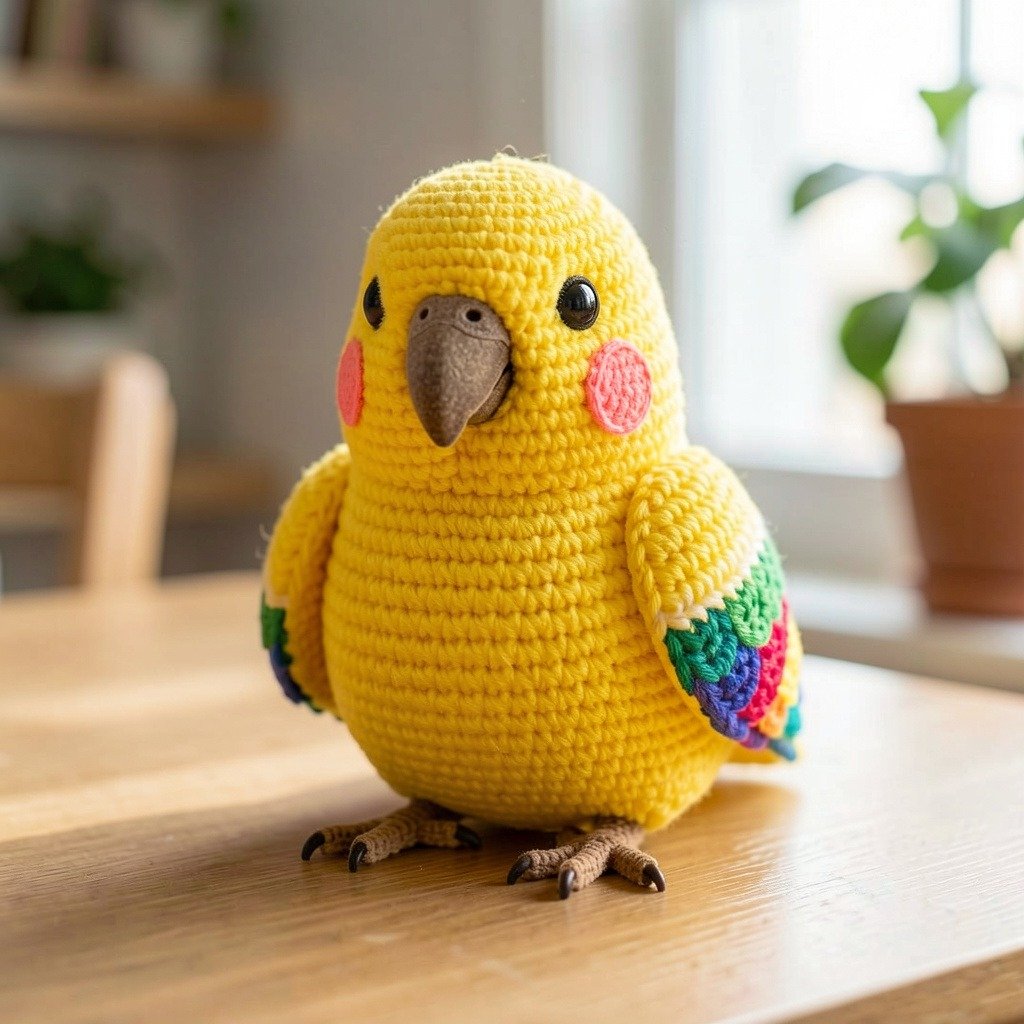
🦜 Crochet Parrot Variation (Bonus Idea!)
Want to switch things up? You can easily turn your lovebird into a crochet parrot!
Simply:
- Change yarn colors (yellow, grey, beige)
- Add cheek pieces
- Add extra head feathers
This makes the pattern versatile and great for selling or gifting.
💡 Tips for Perfect Crochet Amigurumi Birds
To make your crochet project stand out:
- Use tight stitches to avoid gaps
- Stuff evenly for smooth shaping
- Use stitch markers for accuracy
- Experiment with colors for unique birds
These small improvements can make your handmade toy look store-quality.
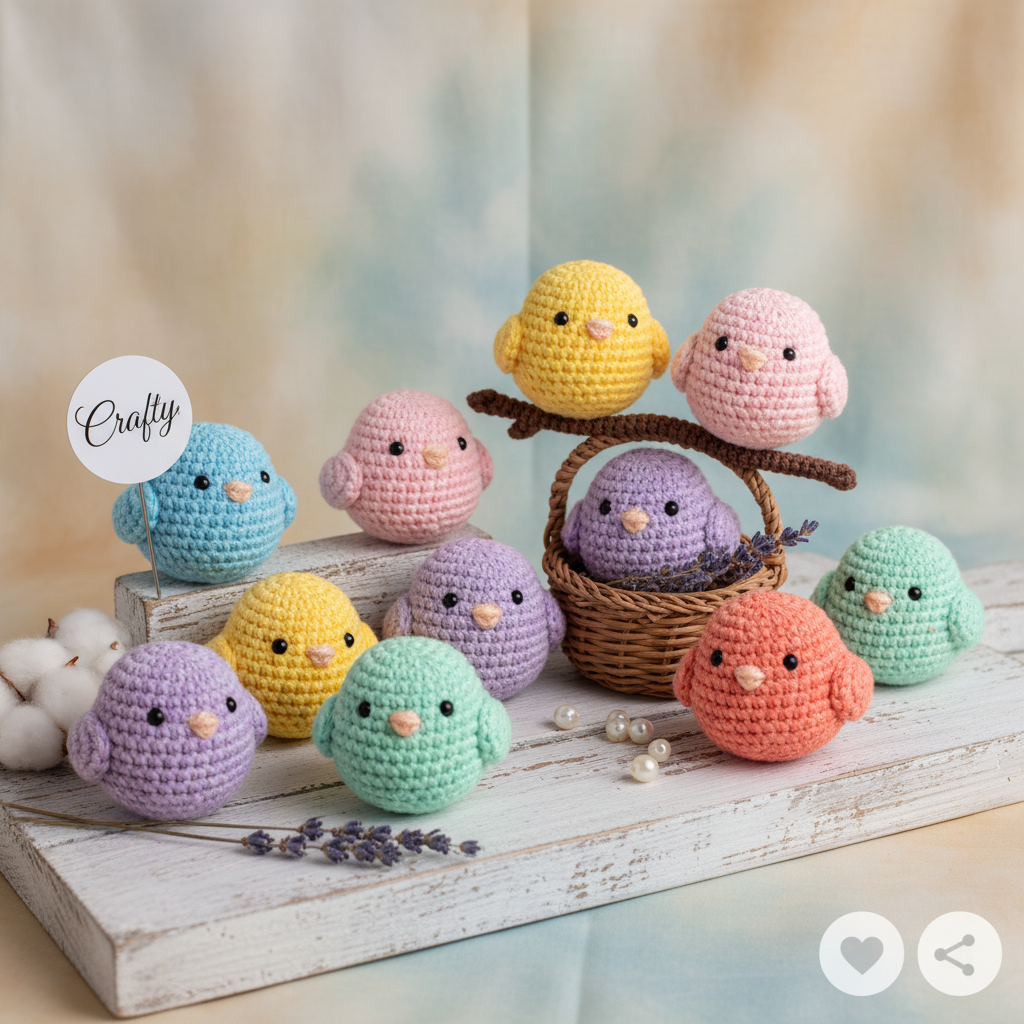
❤️ Final Thoughts
This crochet lovebird and parrot pattern is a fun, relaxing project that’s perfect for beginners and experienced crocheters alike.
With its soft texture and adorable design, it’s ideal for gifts, nursery decor, or even selling on Etsy or Pinterest.
Don’t forget to download the full PDF pattern to follow along easily!