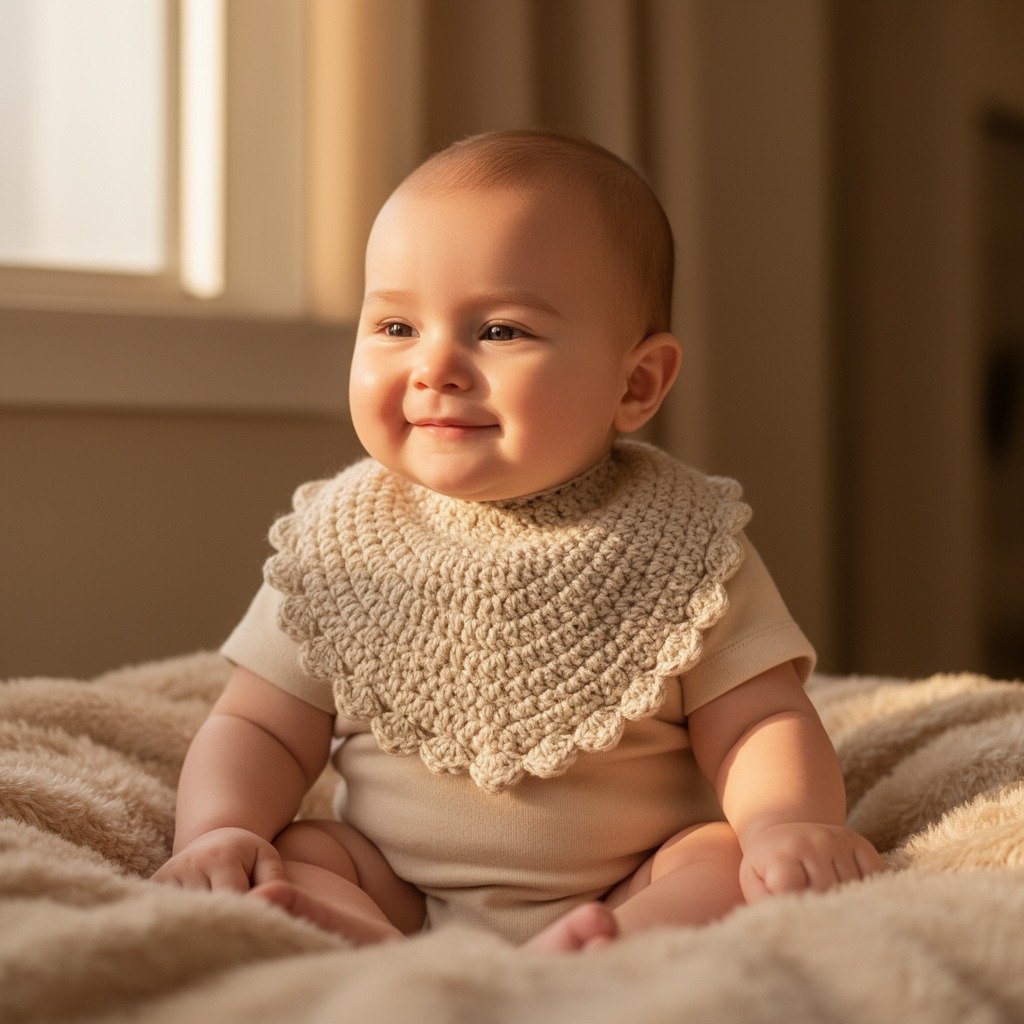
🧸 Crochet Lovely Bib Pattern – Easy Step-by-Step Baby Bib Guide
Looking for a cute and practical crochet project? This Crochet Lovely Bib Pattern is perfect for beginners and makes an adorable handmade gift for babies and toddlers.
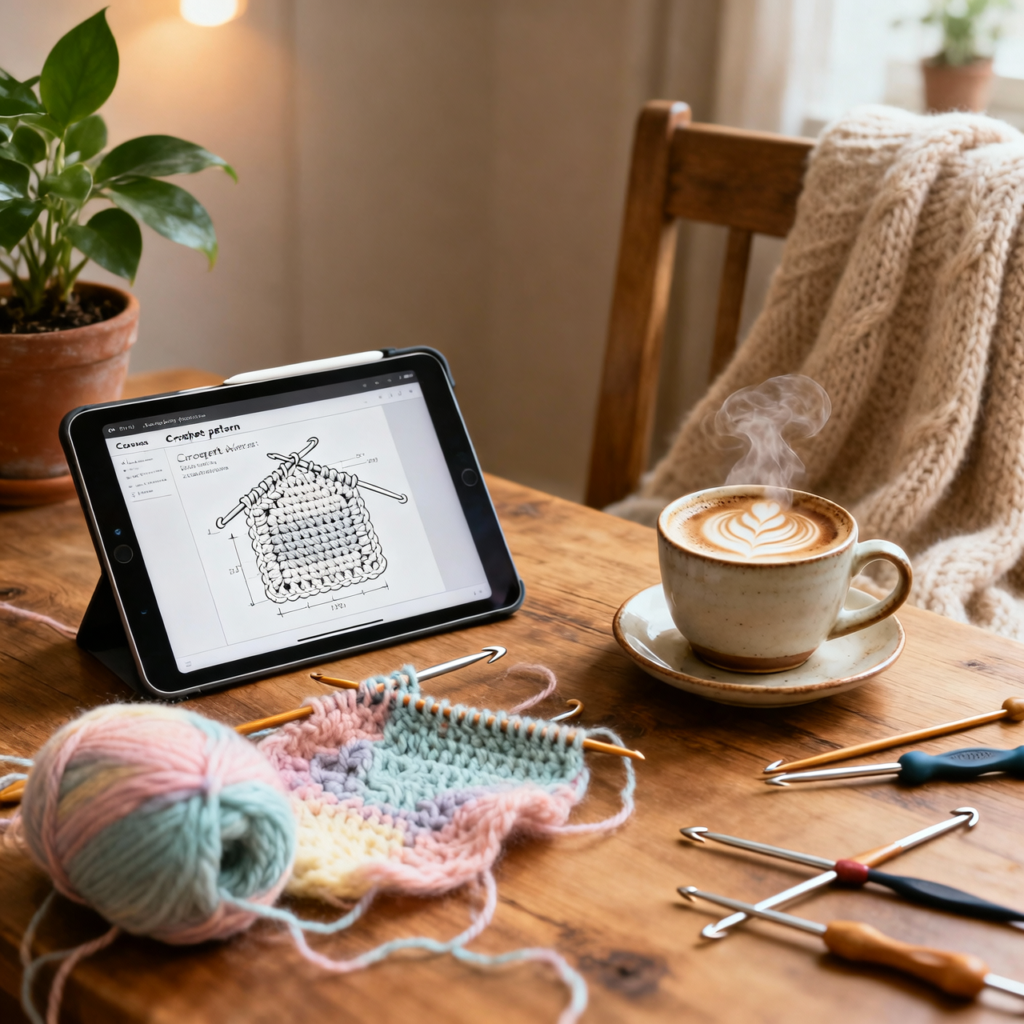
This guide transforms the original PDF into a Pinterest-friendly, easy-to-follow tutorial so you can create a beautiful textured bib and download the full pattern anytime.
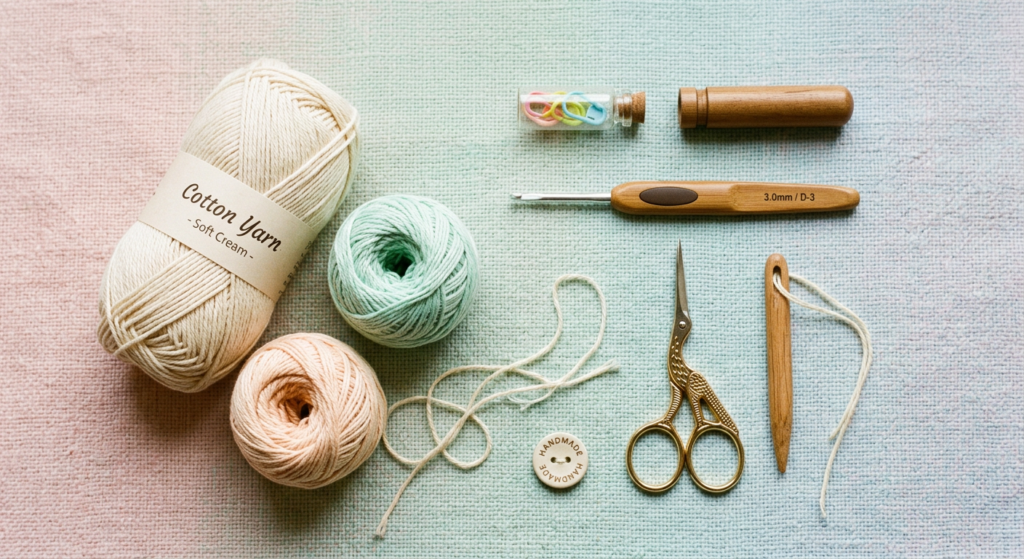
🧶 Materials & Tools You’ll Need
To make this crochet baby bib, you’ll need lightweight yarn and a small hook for fine detailing. The original pattern recommends fingering weight cotton yarn for a soft and absorbent finish.
You’ll also need a tapestry needle, scissors, and a lot of patience—especially if you’re new to textured crochet stitches
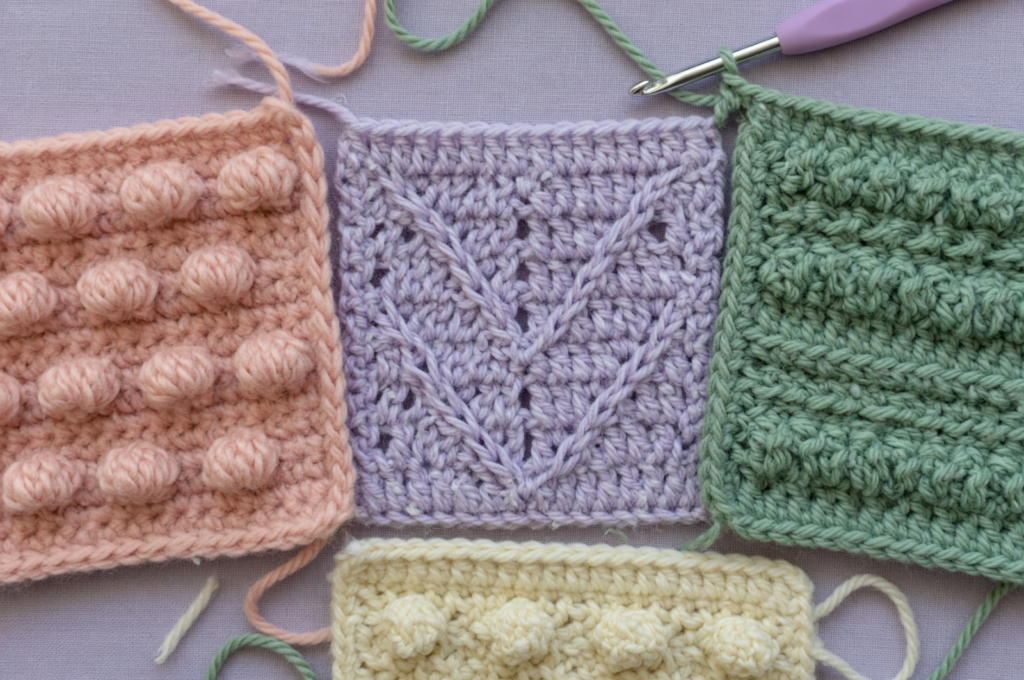
📚 Understanding Crochet Stitches & Techniques
This pattern uses a variety of stitches like single crochet (SC), double crochet (DC), half double crochet (HDC), clusters, and V-stitches.
It also introduces techniques like magic ring, front post stitches, and crossed double crochet, which give the bib its unique texture and professional look.
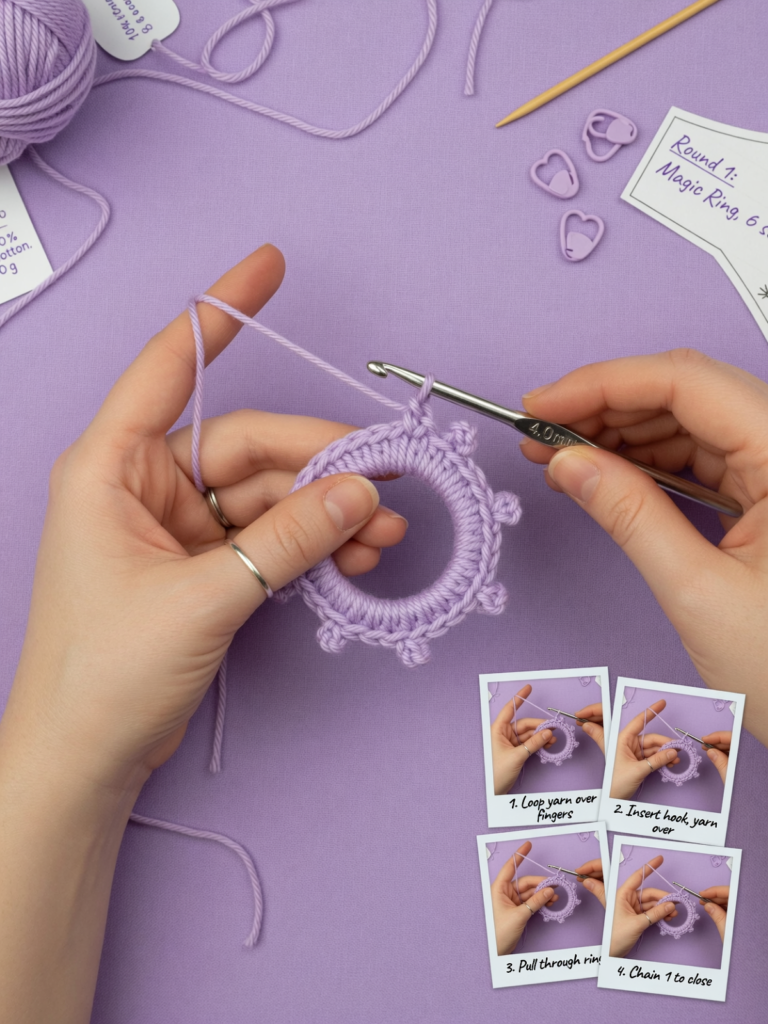
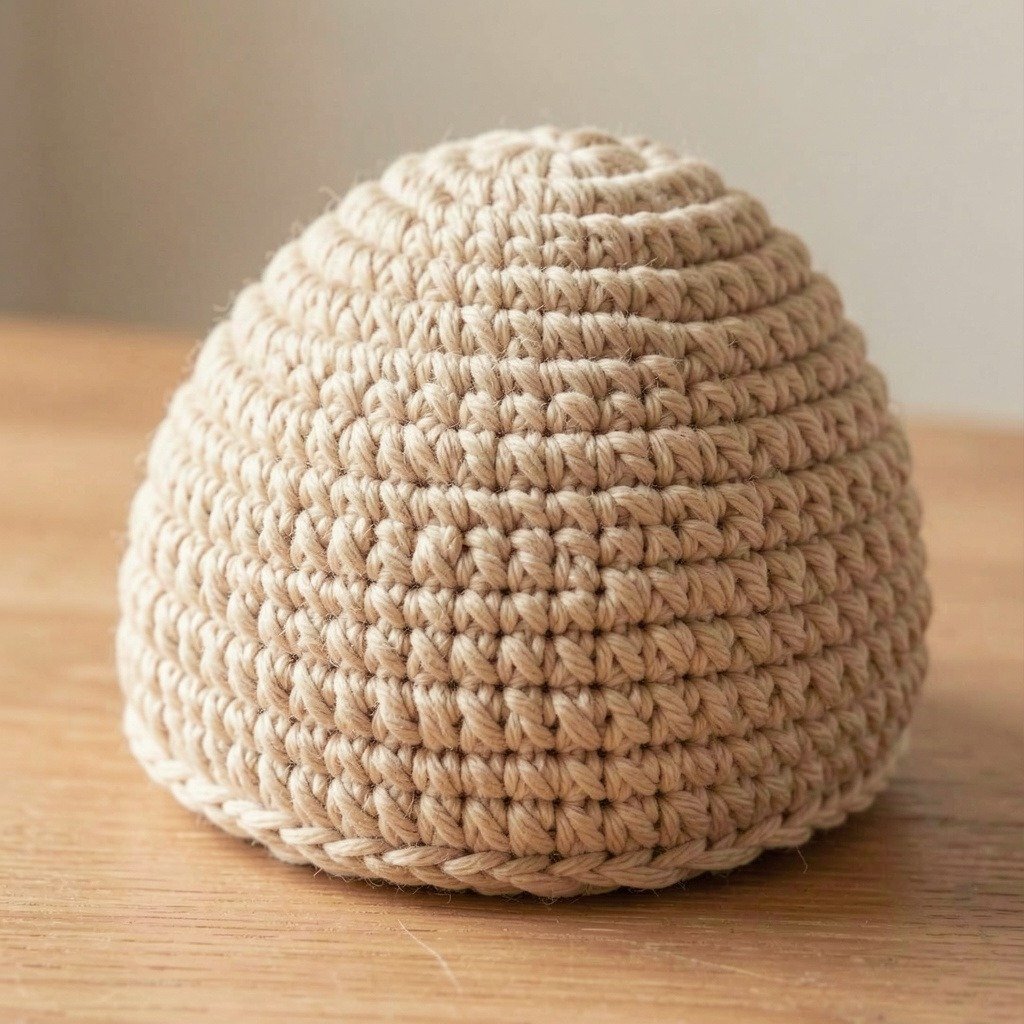
🍥 Step 1: Start with a Magic Ring
Begin your crochet bib by creating a magic ring (MR) and working your first stitches into it. This technique helps create a tightly closed center without gaps.
Once you complete the initial stitches, pull the yarn tail to tighten the ring and secure your base.
🔄 Step 2: Increasing Rows for Shape
In the next rows, you’ll gradually increase stitches using SC increases and DC increases to shape the bib.
This step builds the curved structure, making the bib fit comfortably around a baby’s neck.
🌿 Step 3: Add Texture with Front Post Stitches
To give your bib a beautiful textured look, use front post single crochet (FPsc) and front post half double crochet (FPhdc) stitches.
These stitches are worked around the post of previous rows, creating a raised, decorative effect.
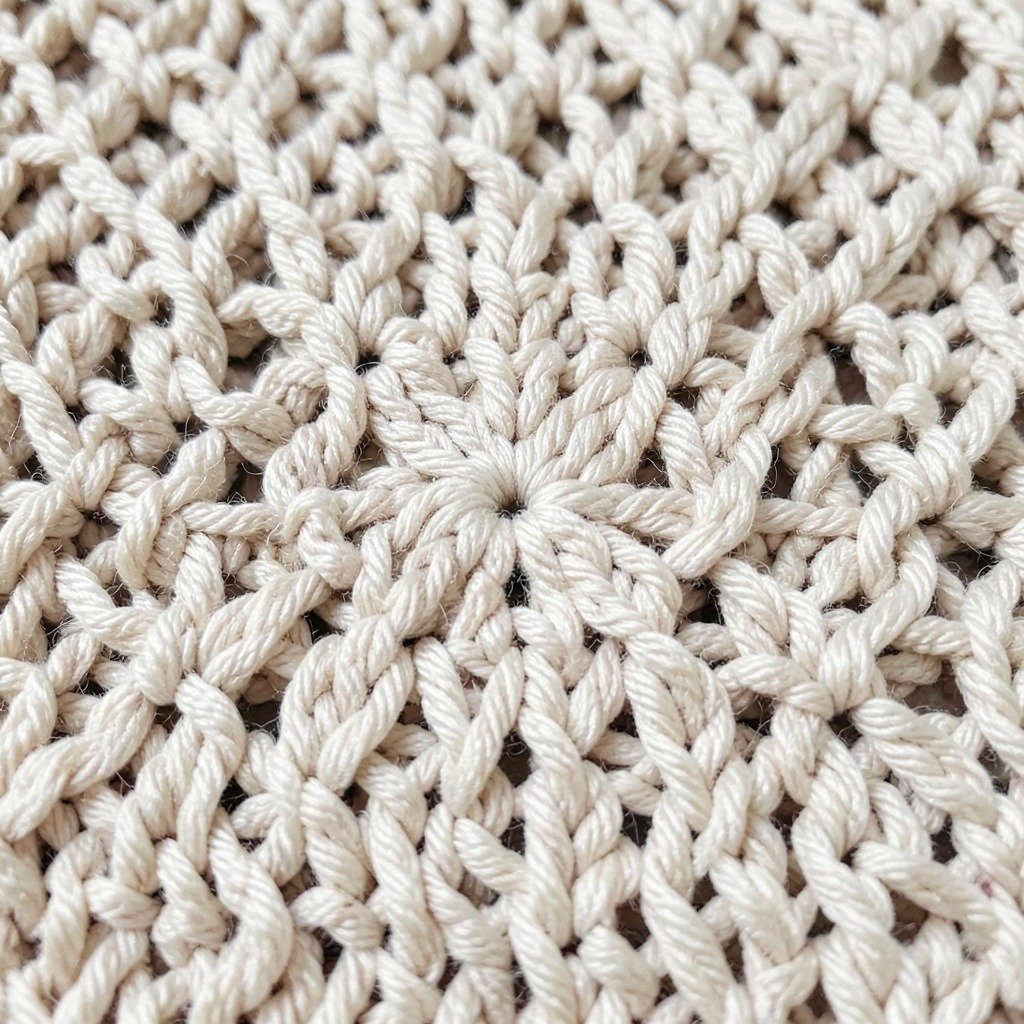
🌸 Step 4: Decorative Clusters & V-Stitches
This pattern stands out because of its cluster stitches and V-stitches, which create a floral, decorative design.
These elements make the bib look stylish and perfect for photoshoots or gifting.

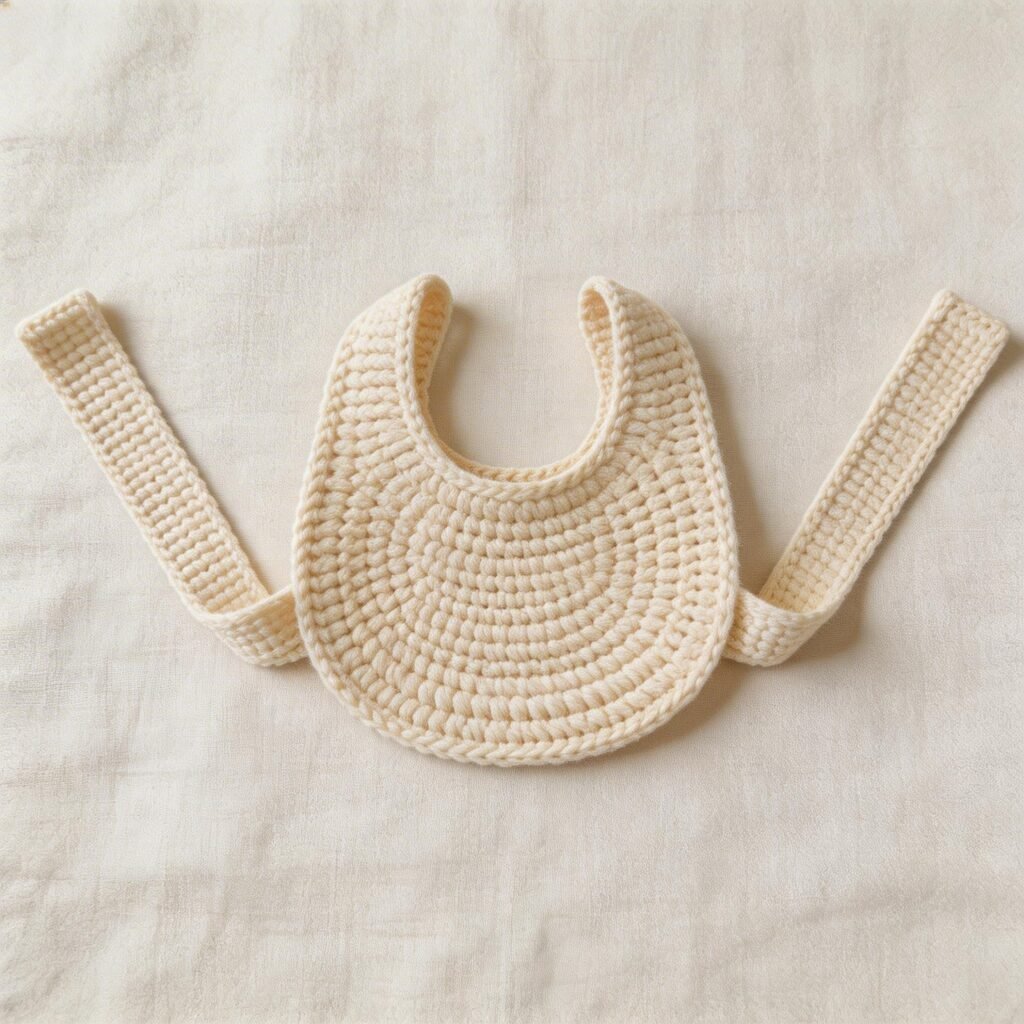
🧵 Step 5: Shaping the Edges & Neckline
As you progress, you’ll crochet around chains and clusters to shape the edges smoothly.
This step ensures the bib has a neat, rounded finish and comfortable fit for babies and toddlers.
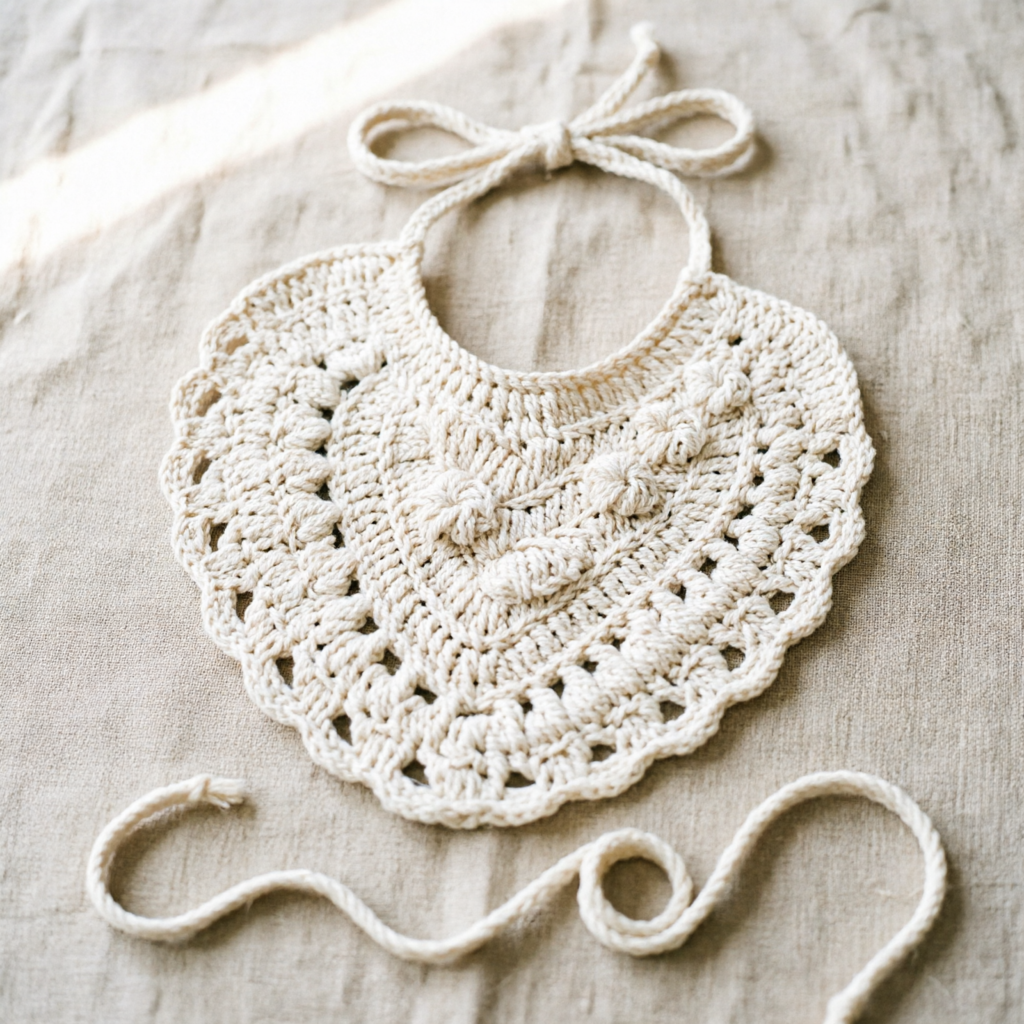
🎀 Step 6: Adding Straps & Final Touches
Finish your crochet bib by creating long straps using chains and single crochet stitches.
Attach them securely and weave in all loose ends to complete your handmade bib.
💡 Styling & Usage Ideas
This crochet lovely bib is perfect for:
- Baby shower gifts 🎁
- Everyday baby wear 🧸
- Handmade shop products 🛍️
- Pinterest content creation 📌
Its soft texture and decorative design make it both functional and visually appealing.
📥 Download the Full Crochet Pattern
The full PDF includes:
- Detailed row-by-row instructions
- Stitch tutorials with visuals
- Baby & toddler size variations
- Helpful crochet tips
Download the complete pattern to follow along easily and create a perfect result.