Cute Crochet Bear Bottle Cover Pattern (Beginner Friendly)
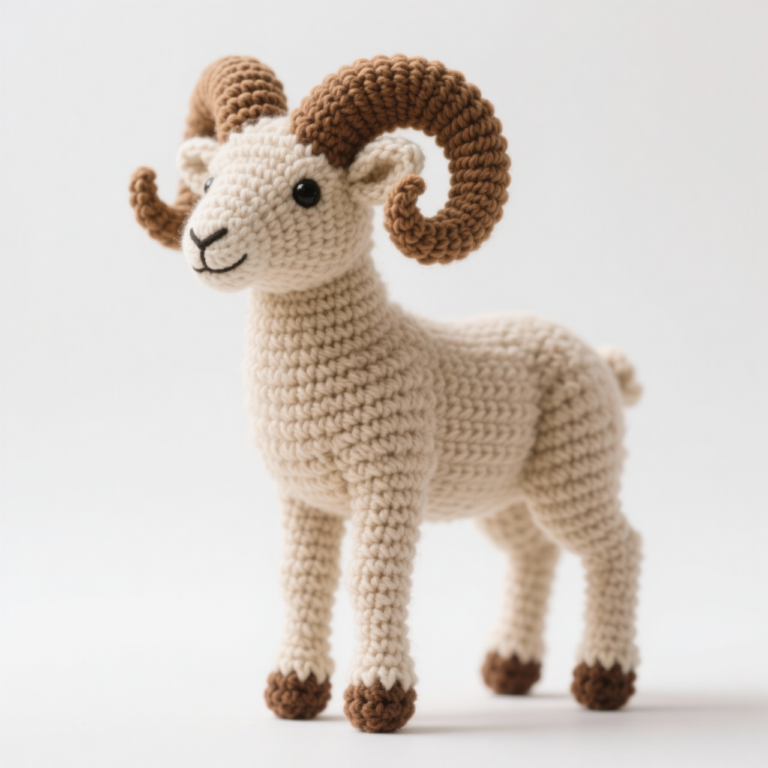
A crochet bear bottle cover is one of the cutest and most practical crochet projects you can make. It protects your bottle while adding an adorable handmade touch with a sweet bear face and star decoration.
This beginner-friendly crochet pattern shows you how to create a bear-themed bottle holder with a strap, perfect for water bottles, kids’ drinks, or gifts. The design uses simple stitches and DK yarn, making it ideal for crocheters of all skill levels.
Materials You Need for the Crochet Bear Bottle Holder
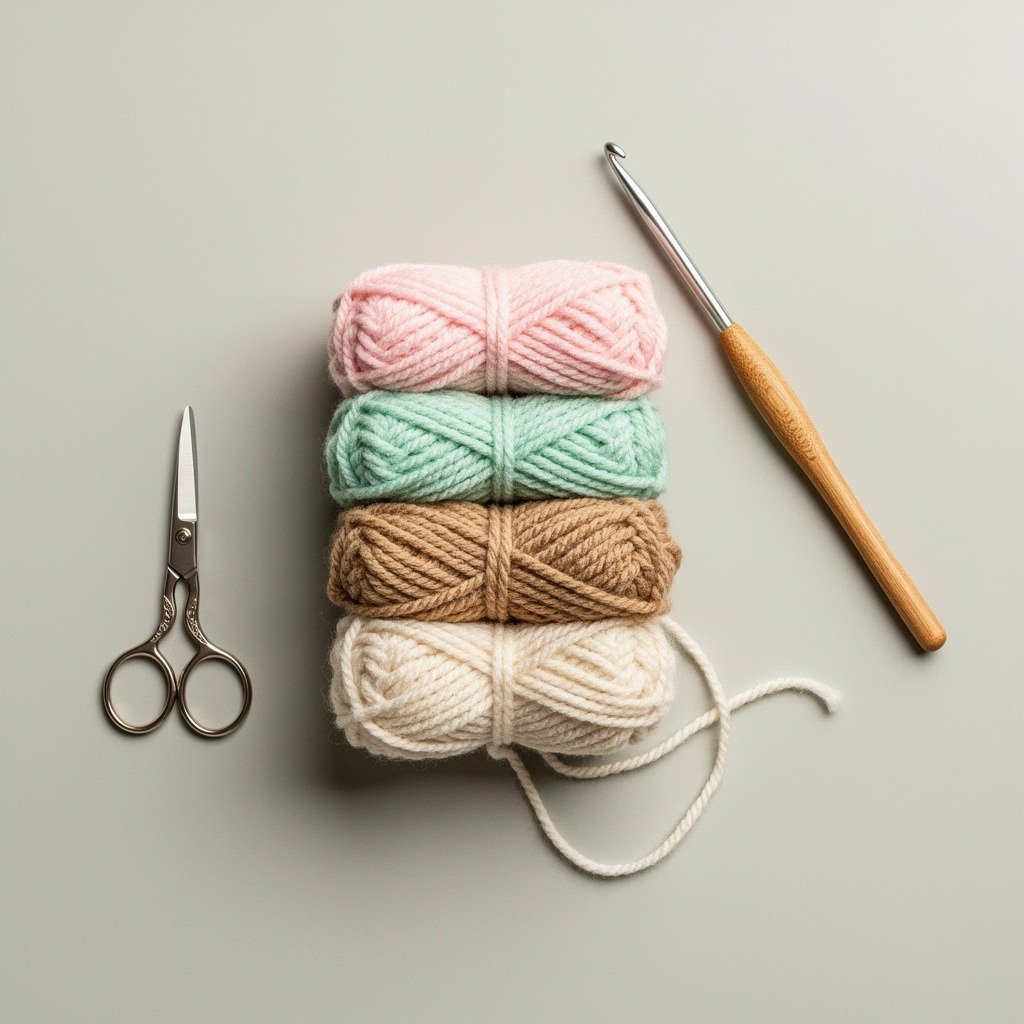
To crochet this adorable bottle cover, you only need a few basic crochet tools and yarn colors. The pattern uses DK weight yarn and a small hook to create a tight, structured fabric.
Materials list:
- DK weight yarn
- 2.50 mm crochet hook
- Tapestry needle
- Scissors
- Embroidery thread (brown and yellow)
Yarn Colors Used
- Ivory – bottle cover accents, nose, strap
- Pink – bottle cover base
- Mint – bottle cover top
- Beige – bear face and arms
- Yellow and light yellow – star decoration
Crochet Abbreviations Used in the Pattern
Before starting your project, it helps to understand the crochet abbreviations used throughout the pattern. These stitches are simple and beginner friendly.
Common crochet terms used:
- sc – single crochet
- ch – chain stitch
- sl st – slip stitch
- inc – increase (2 stitches in one stitch)
- dec – decrease
- hdc – half double crochet
- blo – back loop only
- mr – magic ring
Learning these stitches will help you complete the entire bear bottle cover smoothly.
Image Prompt:
Crochet stitch tutorial chart showing single crochet increase decrease and chain stitch, instructional style craft graphic
Step 1: Crochet the Bottle Cover Base
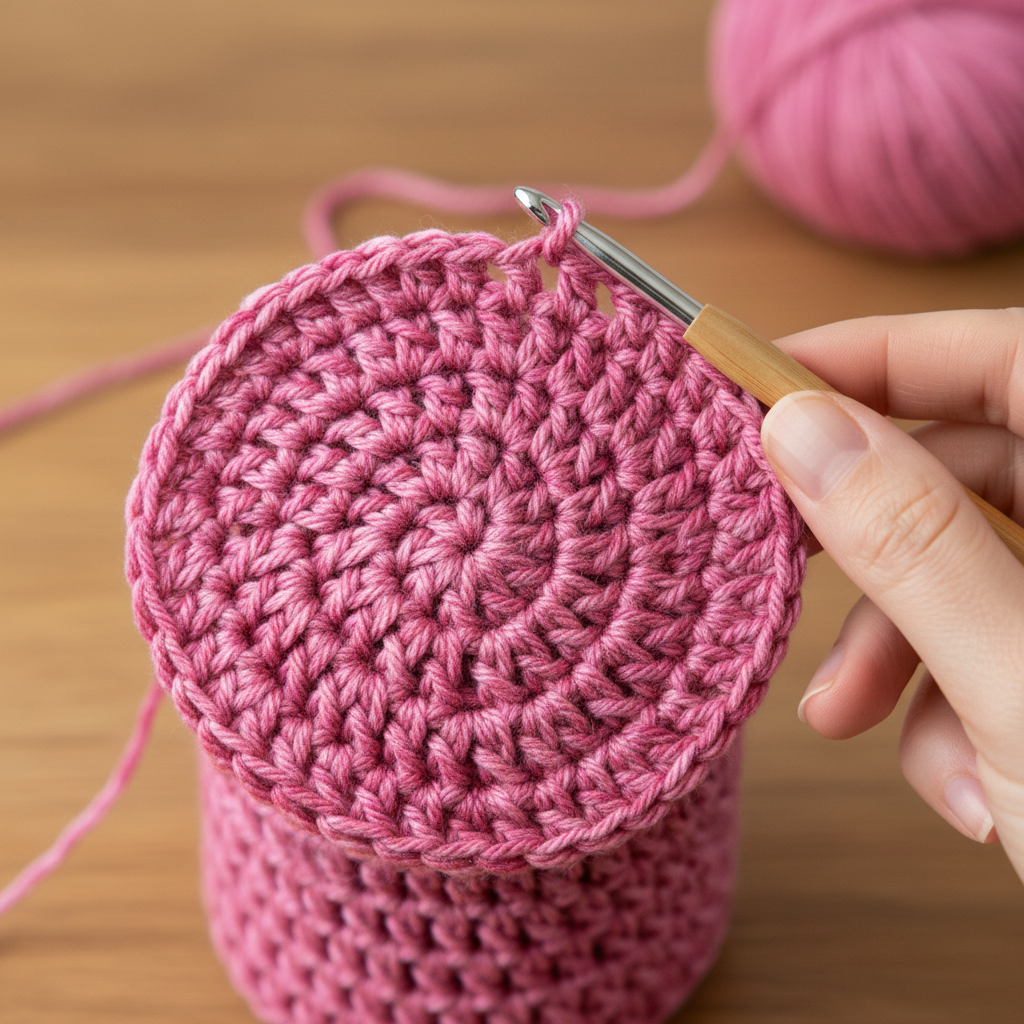
The bottle cover begins with a magic ring, which forms the base of the holder. Start by crocheting 6 single crochet stitches inside the magic ring, then increase stitches in each round to create the circular bottom.
The base gradually expands with increases until it reaches 54 stitches, forming a sturdy foundation that fits around a bottle.
After round 10, crochet using back loop only stitches to create a defined edge where the sides of the bottle holder begin.
Step 2: Build the Bottle Cover Body
Once the base is complete, continue crocheting rounds of single crochet to build the body of the bottle cover. The pattern switches yarn colors to create a cute layered design.
Color changes include:
- Pink bottom section
- Ivory middle section
- Mint top section
Crochet evenly until the cover reaches about 17 cm tall, which fits most standard bottles.
Image Prompt:
Crochet bottle cover with pastel color stripes pink ivory mint on water bottle cozy handmade craft
Step 3: Crochet the Bear Face
The adorable bear face is crocheted separately using beige yarn. It starts with a magic ring and gradually increases stitches until the face reaches a rounded shape.
After completing the rounds, the bear face is sewn onto the bottle cover around the middle section.
This piece adds the charming personality that makes the crochet bottle holder stand out.
Step 4: Make the Bear Nose, Ears, and Arms
Next, crochet the smaller details that bring the bear to life.
These include:
- Bear nose – small oval piece using ivory yarn
- Bear ears – two rounded pieces using beige yarn
- Bear arms – small cylindrical shapes attached to the sides
Once completed, sew the pieces onto the bottle cover using a tapestry needle
Step 5: Add the Star Decoration
To make the design even more playful, the pattern includes a small crochet star.
The star is crocheted using yellow yarn and attached with two chain tails made from light yellow yarn. These tails hang down like a cute decorative charm.
Sew the star and tails securely onto the bottle cover.
Step 6: Crochet the Shoulder Strap
The final step is making the strap so the bottle can be carried easily.
The strap is crocheted using single crochet stitches in rows. The pattern begins with ivory yarn and later switches to beige yarn for a color contrast.
You can customize the strap length depending on whether you want a shoulder strap or a short handle.
Final Assembly and Finishing Touches
After all parts are completed, sew everything together carefully.
Attach the bear face, ears, arms, and nose to the bottle cover. Then embroider the eyes with dark brown thread and add a small nose detail using yellow thread.
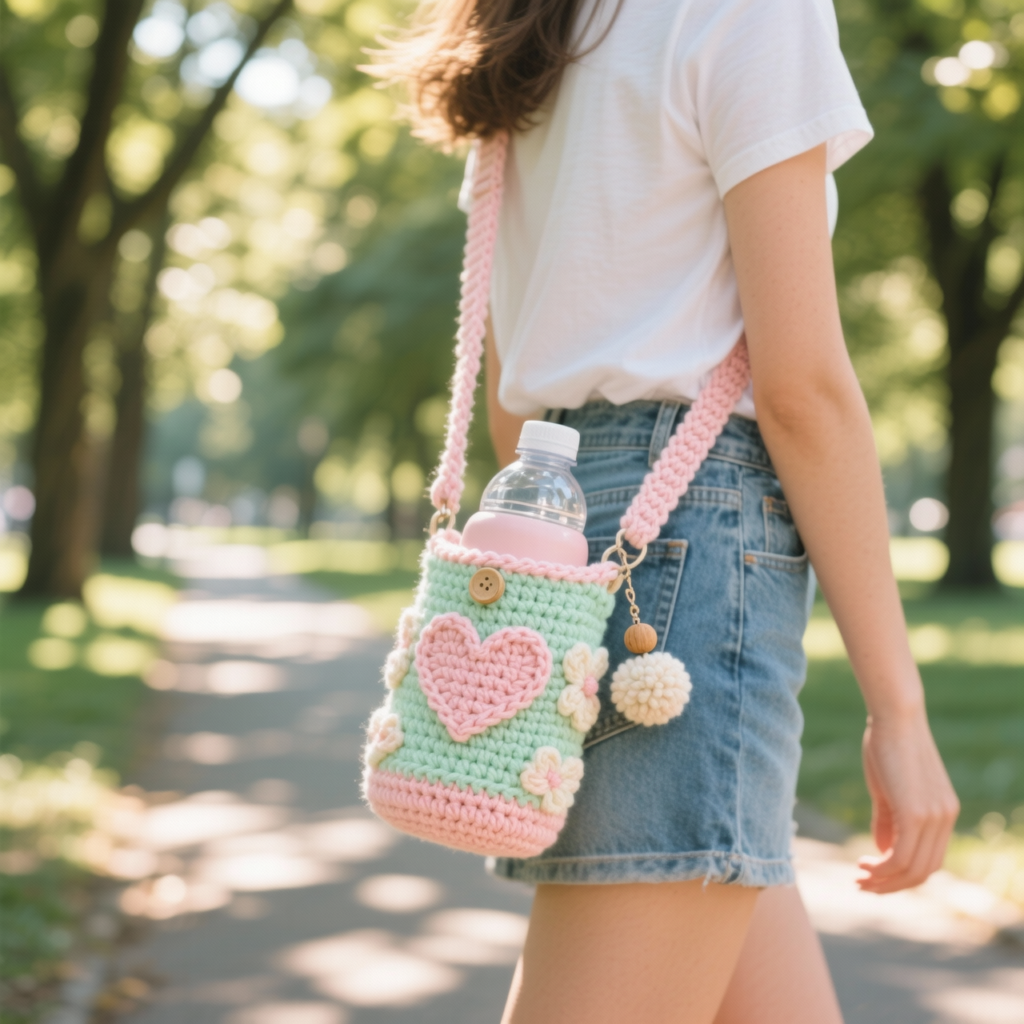
Finally, attach the strap and star decoration. Your crochet bear bottle cover is now complete and ready to use.
[PDF Download Button]
Image Prompt:
Finished crochet bear bottle cover on water bottle cute handmade gift idea kawaii crochet photography
Why You’ll Love This Crochet Bear Bottle Holder
This crochet project is not only adorable but also practical. The bottle cover protects your bottle while adding a fun handmade accessory to your daily routine.
It also makes a perfect DIY gift for kids, crochet lovers, or handmade market sellers. Once you finish one, you’ll want to make more in different colors.