Crochet Symmetry Bag Pattern – Stylish Handmade Tote
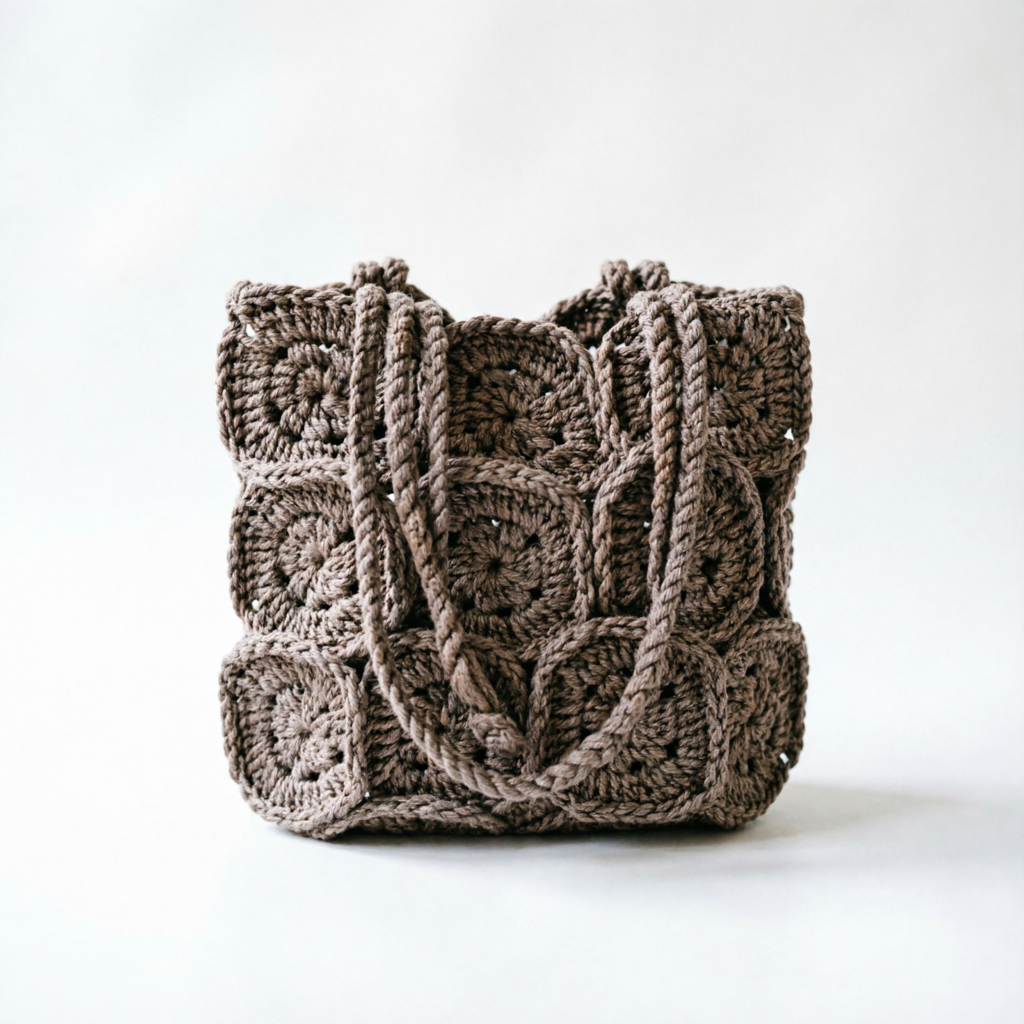
The Crochet Symmetry Bag is a modern and geometric crochet tote that combines hexagon and square motifs to create a unique handmade accessory. This stylish crochet bag is perfect for everyday use, market trips, or as a fashionable handmade gift.
This crochet pattern uses simple stitches like double crochet, single crochet, and magic ring techniques, making it beginner-friendly while still producing an elegant result. The finished bag measures approximately 14.5 inches high and 12 inches wide, depending on your yarn and crochet tension.
Materials Needed for the Crochet Symmetry Bag
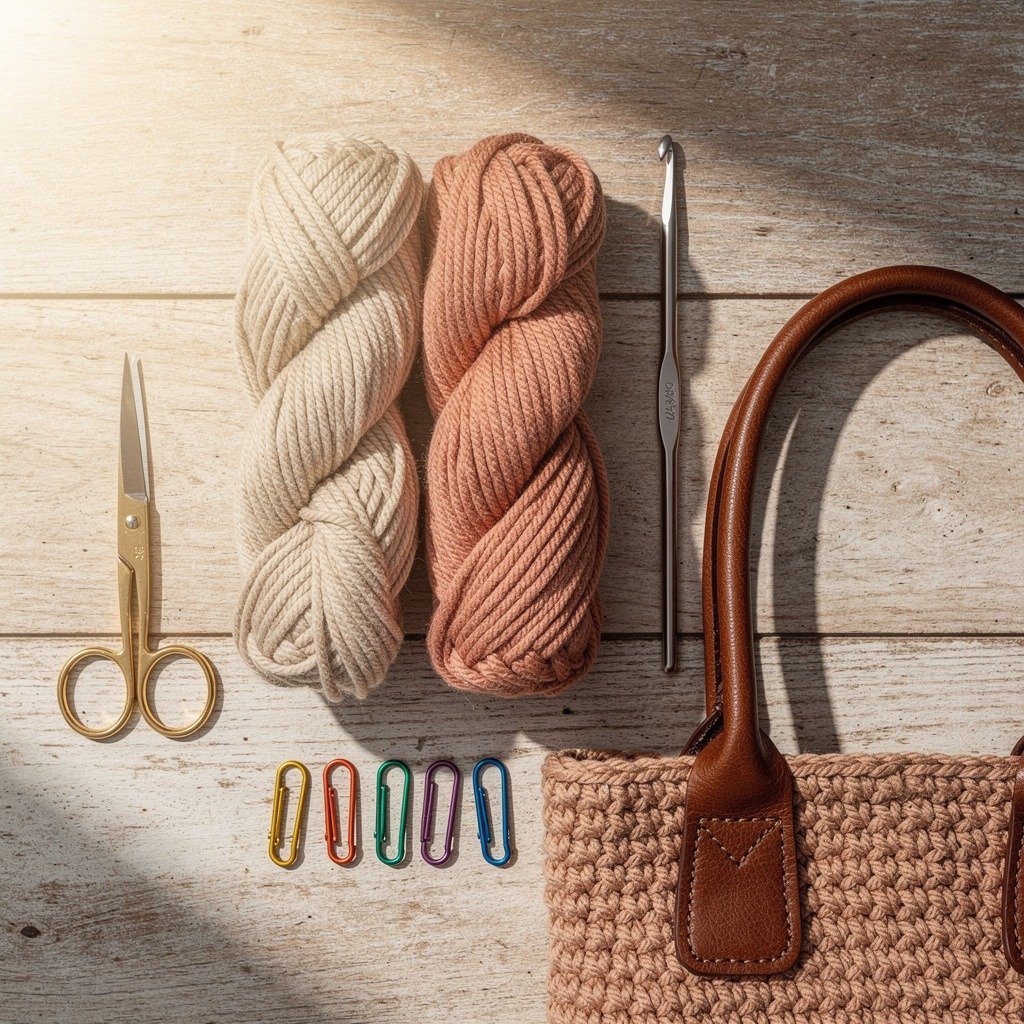
Before starting this crochet bag project, gather the materials you’ll need. Using cord yarn helps the bag keep its structure and durability.
Materials
- 3–4 mm cotton, acrylic, or polyester cord (300–350 meters)
- 5 mm crochet hook
- Scissors
- Stitch markers
- Yarn needle
- Bag handles with buttons or sewn handles
The thickness of the yarn can affect the size of the bag. Using thicker cord will result in a slightly larger crochet tote.
Crochet Abbreviations Used in the Pattern
Understanding crochet abbreviations makes it much easier to follow bag patterns.
Crochet Terms
- MR – Magic Ring
- ch – chain
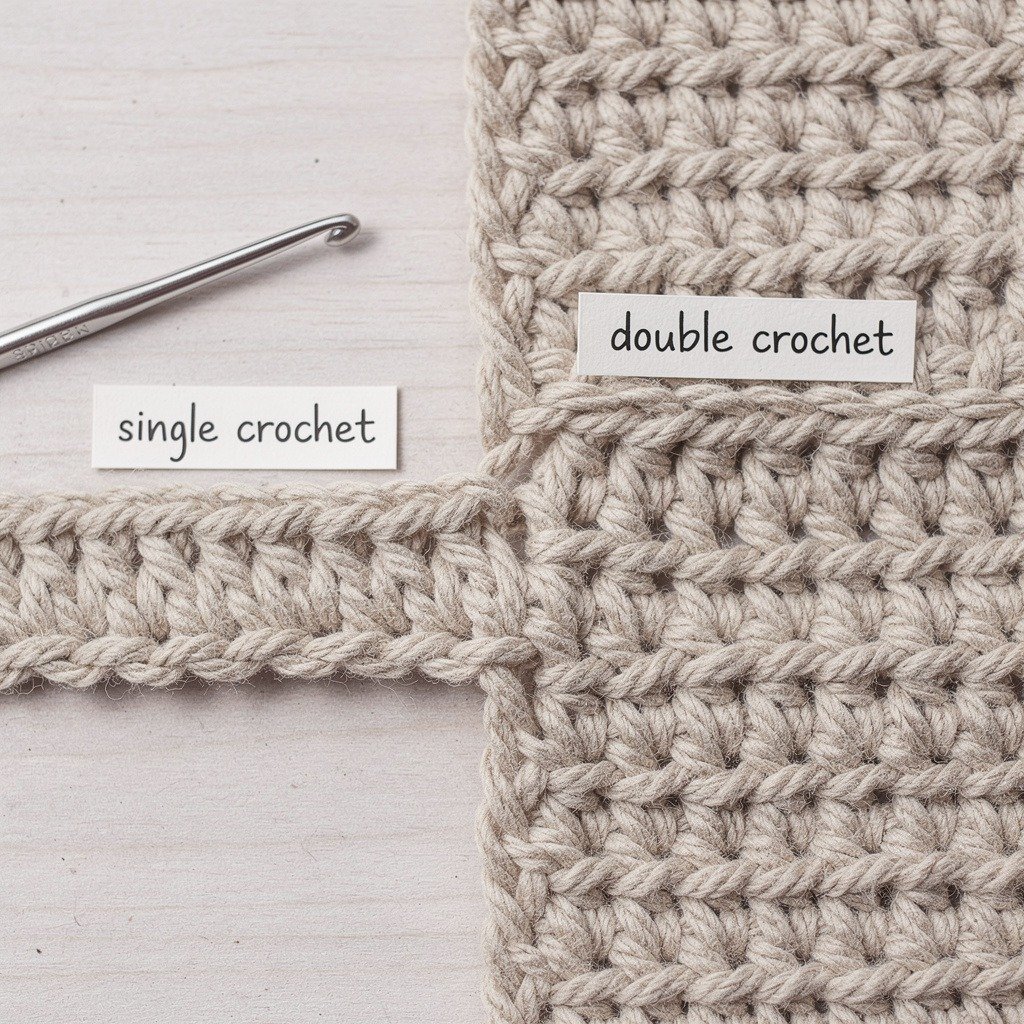
- dc – double crochet
- sc – single crochet
- sl st – slip stitch
- inc – increase
The pattern uses repeating stitch sequences and simple shaping techniques to create symmetrical motifs that form the bag body.
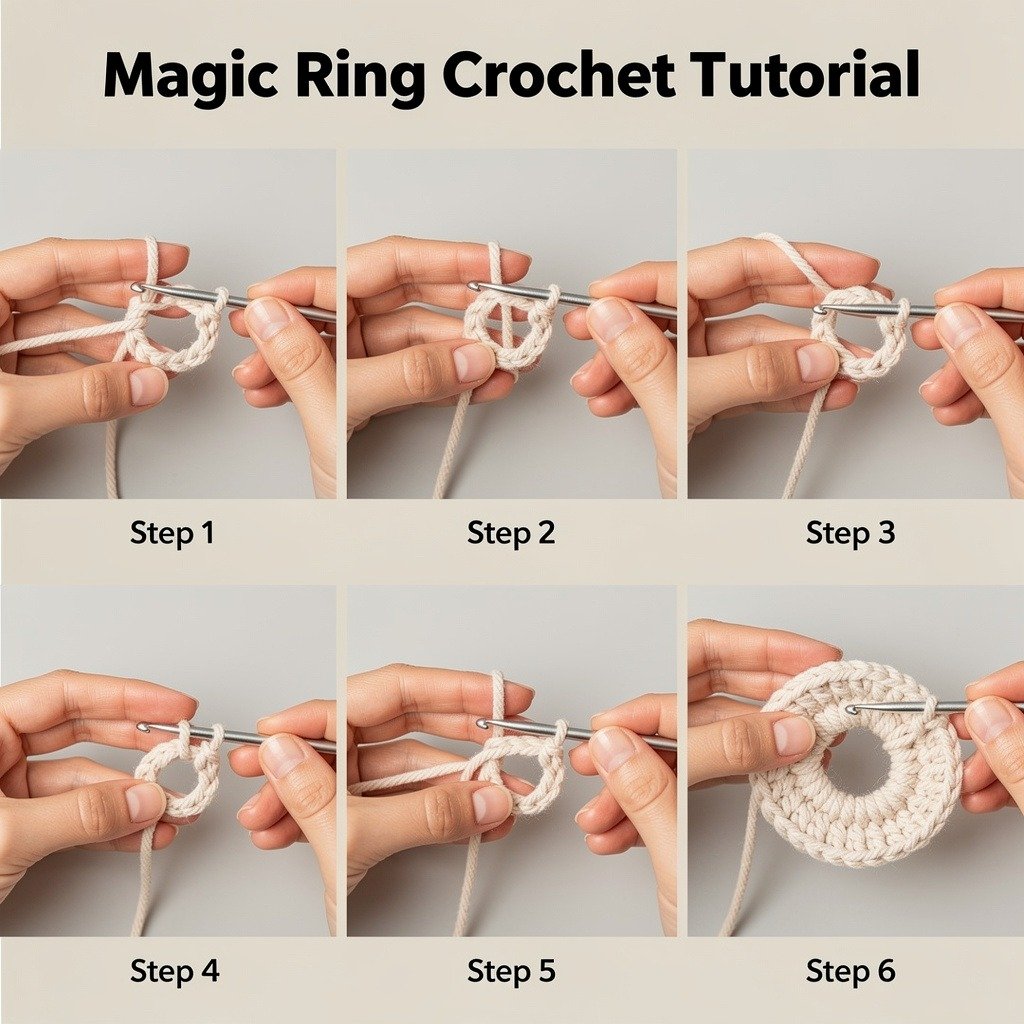
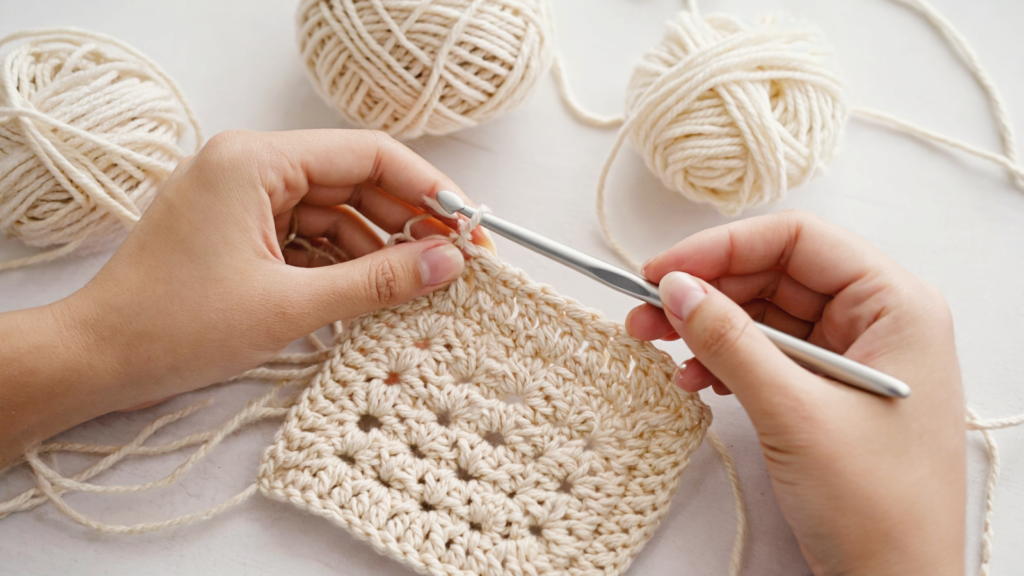
Step 1: Start with a Magic Ring
The bag begins with a magic ring, which allows the center of the crochet motif to close tightly.
Round 1
- Make a Magic Ring (MR)
- Chain 5 (counts as 1 dc and ch2)
- Work 2 dc, ch2 repeated 5 times
- Finish with 1 dc and slip stitch
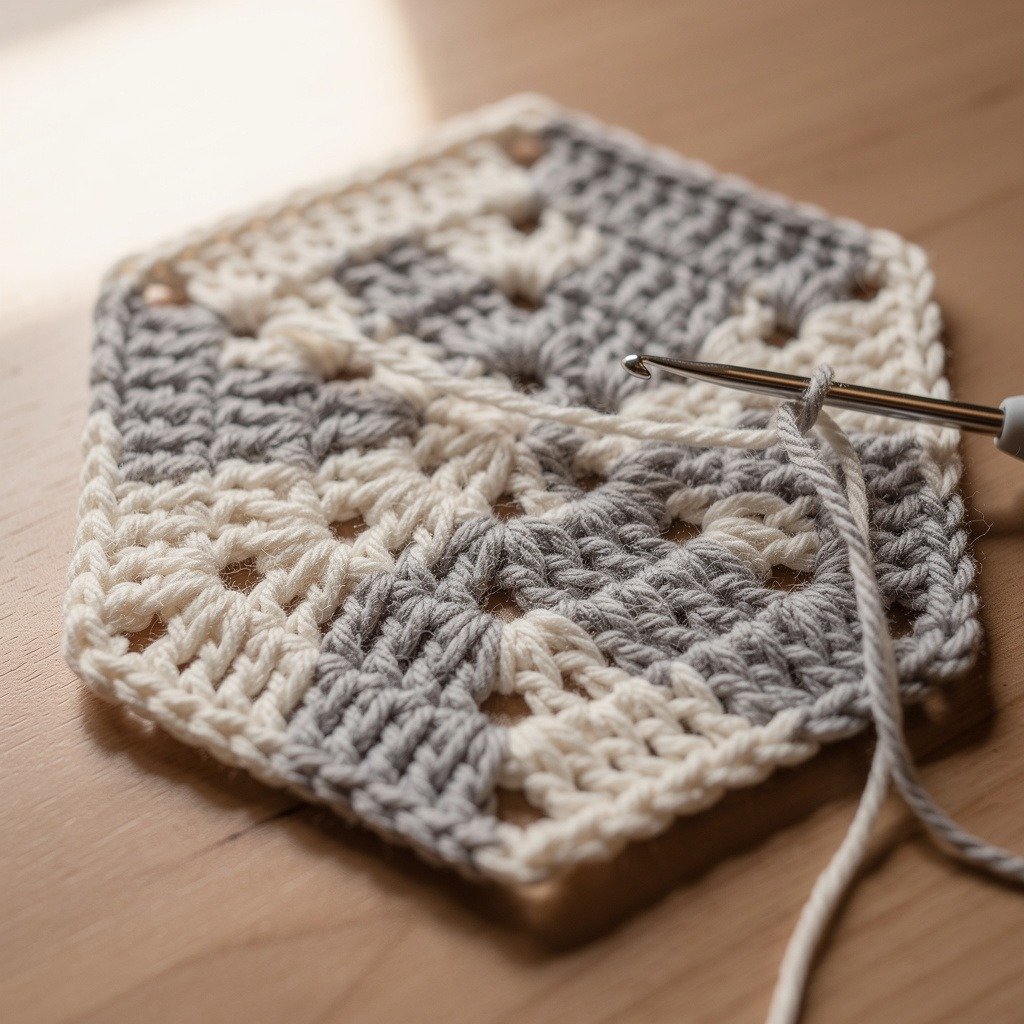
This creates a circular foundation with corner chain spaces, which will shape the hexagon pattern later.
Step 2: Build the Hexagon Shape
Now the motif begins to expand into a hexagon using double crochet stitches.
Round 2
- Start in the corner space
- Work (1 sc, ch3, 1 dc)
- Crochet 2 dc in the next stitches
- In each corner work (1 dc, ch2, 1 dc)
This round increases the stitch count while forming the symmetrical sides of the hexagon.
Step 3: Continue Expanding the Hexagon
The next rounds increase the number of stitches along each side.
Rounds 3–10
Each round follows a similar pattern:
- Start in the corner
- Work (1 sc, ch3, 1 dc)
- Add more double crochet stitches along each side
- Crochet (1 dc, ch2, 1 dc) in every corner
With each round, the hexagon becomes larger and more defined.
Step 5: Crochet the Square Base Piece
The base of the bag is created using a square motif.
Round 1
- Make a Magic Ring
- Chain 3 (counts as 1 dc)
- Work 3 dc, chain 2
- Repeat 4 dc with chain spaces
This square motif connects the two hexagon panels and forms the bottom of the bag.
Step 6: Join the Crochet Bag Pieces
Once all crochet motifs are finished, the bag can be assembled.
Fold the two hexagons inward so the sides meet in the center. Place the square piece underneath and join the pieces using slip stitches or a yarn needle.
After joining, hide the yarn ends on the inside of the bag for a clean finish.
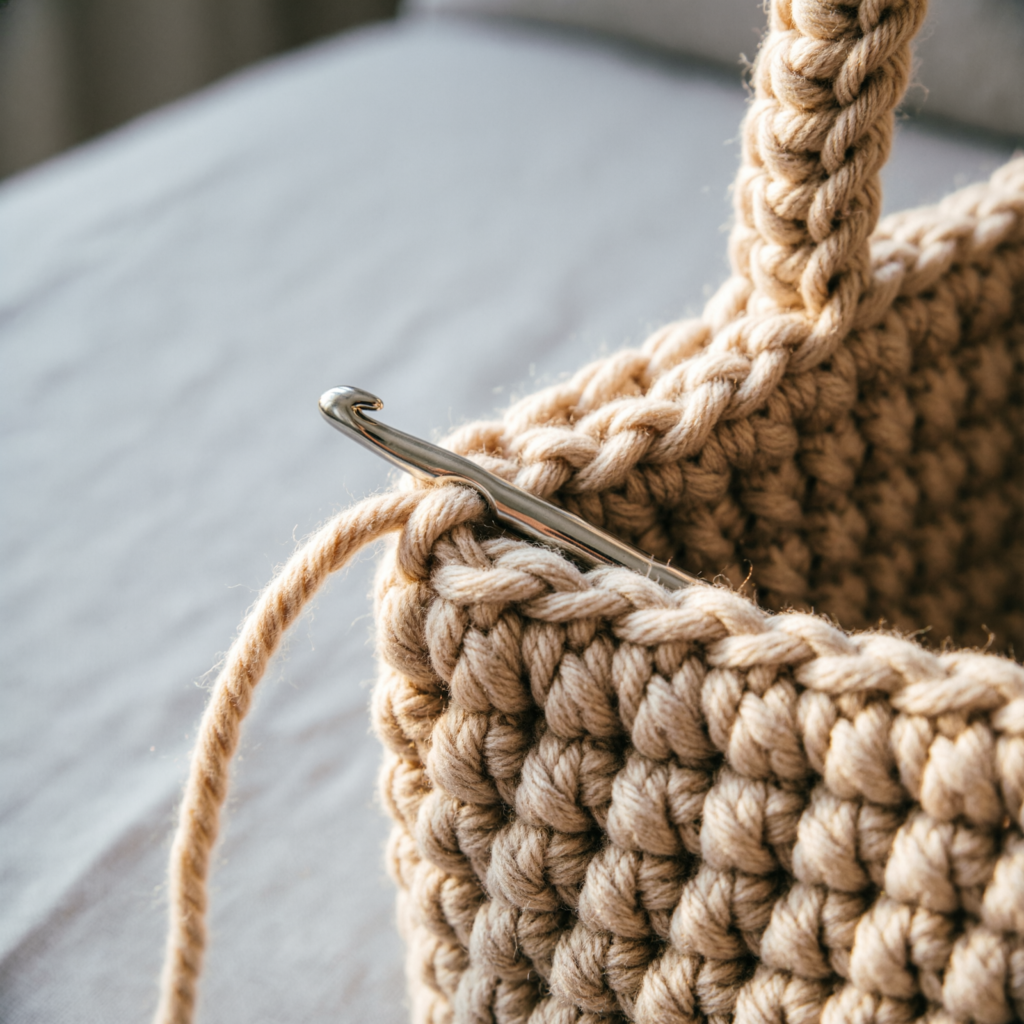
Step 8: Attach the Handle and Finish the Bag
Insert the crochet handle into the corner spaces at the top of the bag and sew it securely with a yarn needle.
You can also replace the crochet handle with leather bag handles for a more modern look. After attaching the handle, weave in all yarn ends and steam the bag to shape it nicely.
Your Crochet Symmetry Bag is now ready to use!
Why This Crochet Bag Pattern Is Perfect for Beginners
This crochet symmetry bag is a great project because it combines simple stitches with beautiful geometric shapes. It’s perfect for crocheters who want to practice motifs while making a useful accessory.
The structured cord yarn gives the bag durability, making it ideal for market bags, beach bags, or daily totes.