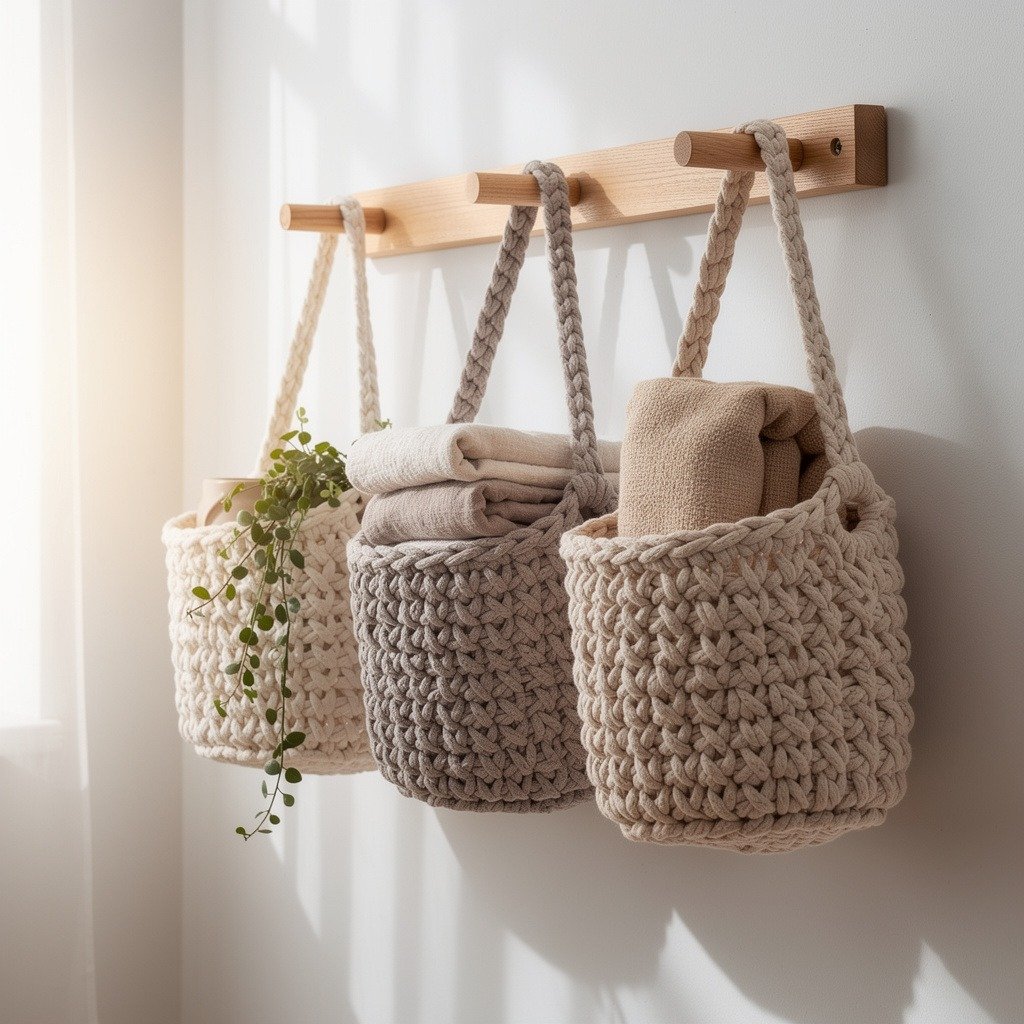
rochet Hanging Basket Pattern – DIY Wall Storage Basket Set
Crochet hanging baskets are one of the most practical and stylish crochet home decor projects. This crochet hanging basket pattern teaches you how to make a beautiful wall storage basket set that can organize small items while adding a cozy handmade touch to your home.
The project includes three basket sizes (small, medium, and large) and uses simple crochet stitches like double crochet and increases. Even beginners can follow this pattern and create functional storage baskets.
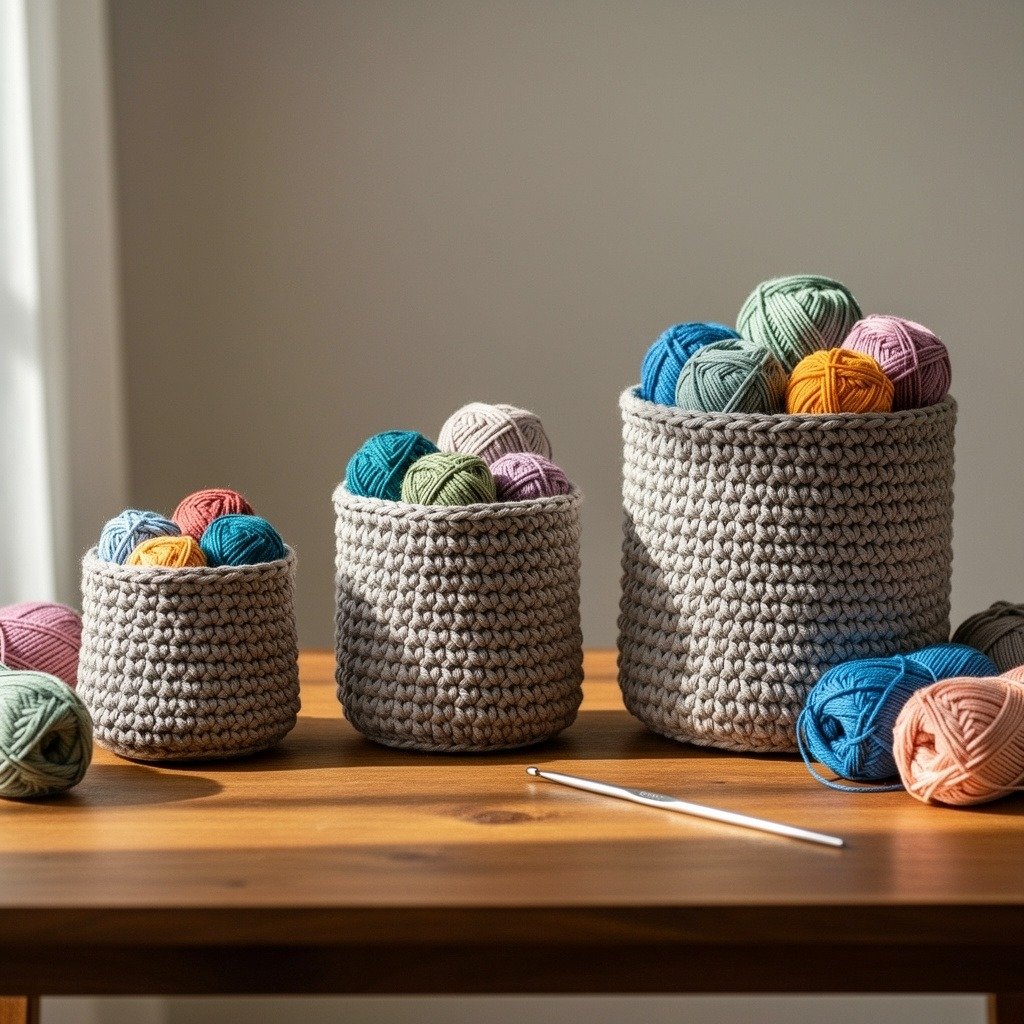
Basket Sizes Included in the Pattern
This pattern includes three different basket sizes so you can create a beautiful matching hanging basket set for your home. The baskets gradually increase in height and width to hold different items.
Typical sizes include:
- Small Basket: approx. 5 × 10 inches
- Medium Basket: approx. 6 × 12 inches
- Large Basket: approx. 7 × 14 inches
These sizes may vary slightly depending on yarn thickness and crochet tension.
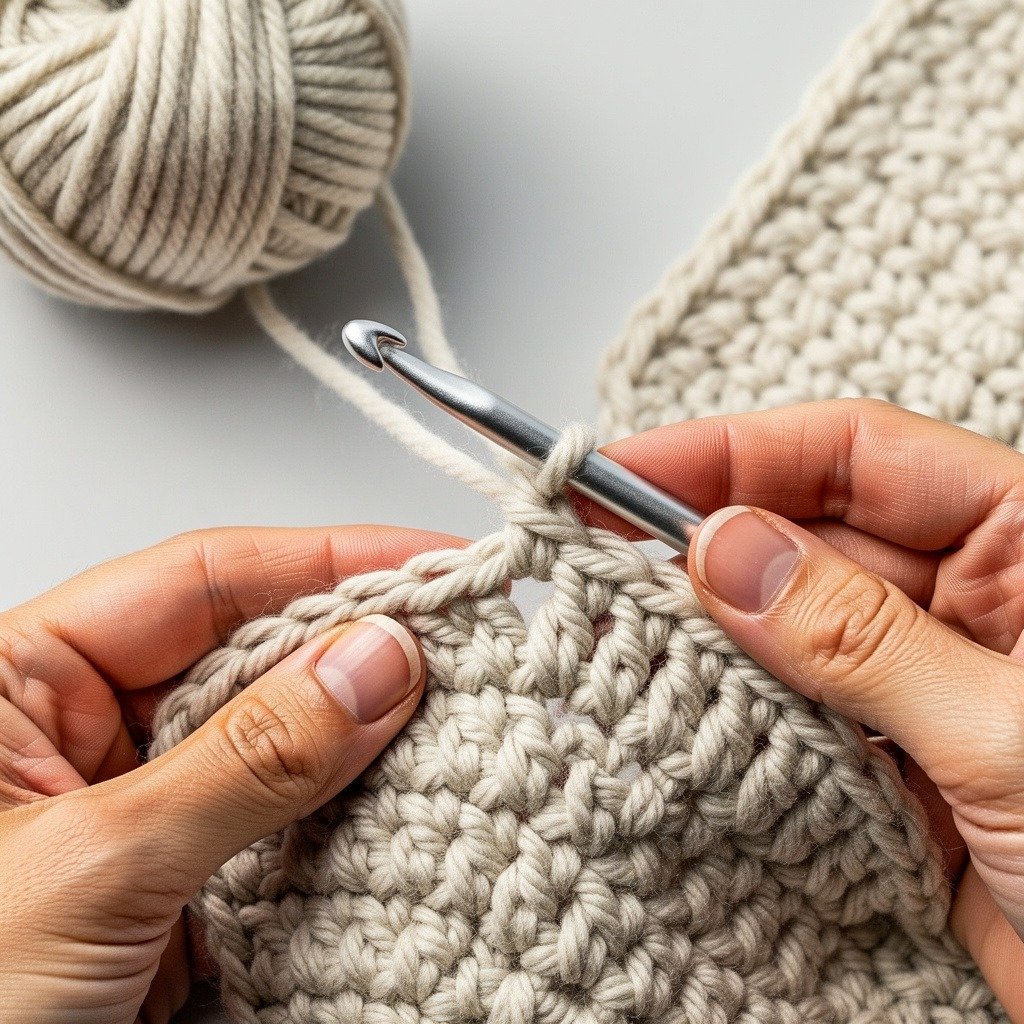
Materials Needed for the Crochet Basket
Before starting your project, gather the following crochet materials. Using sturdy cord yarn helps the baskets keep their shape.
Materials list:
- 4–5 mm cotton, acrylic, or polyester cord (250–300 meters)
- Crochet hook size 5 mm or 6 mm
- Smaller hook 2.5–3 mm for joining and hiding ends
- Scissors
Choosing thicker yarn will create larger and sturdier baskets.

Crochet Abbreviations Used
This crochet pattern uses common crochet abbreviations that make instructions easier to follow. Understanding these terms will help you complete the project smoothly.
Common abbreviations include:
- MR – Magic Ring
- ch – Chain stitch
- dc – Double crochet
- dcinc – Double crochet increase
- sl st – Slip stitch
The pattern also counts 3 chains at the beginning of a row as one double crochet stitch.
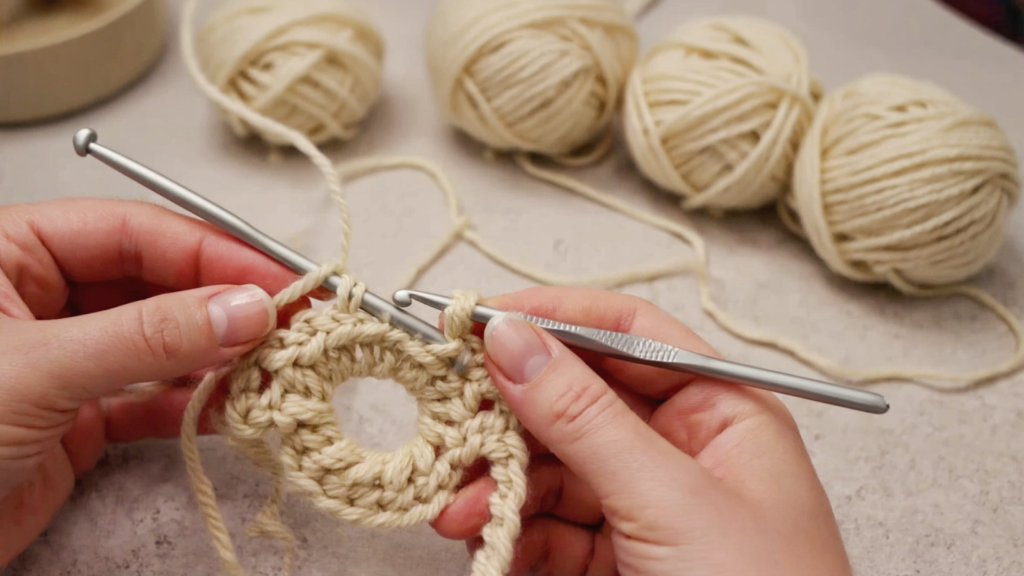
Step 1 – Start With a Magic Ring
Begin by creating a magic ring, then chain three stitches. Work 3 double crochet stitches, chain two, and then 4 more double crochet stitches into the ring.
Pull the yarn tightly to close the center. This forms the base corner of your basket panel.
Step 2 – Build the Basket Panels
The basket panels are built by increasing stitches in each row. This creates a structured shape that forms the basket sides.
Each new row begins with chain 3, followed by double crochet stitches and increases at the corners. The pattern gradually expands from 7 stitches per side to larger stitch counts.
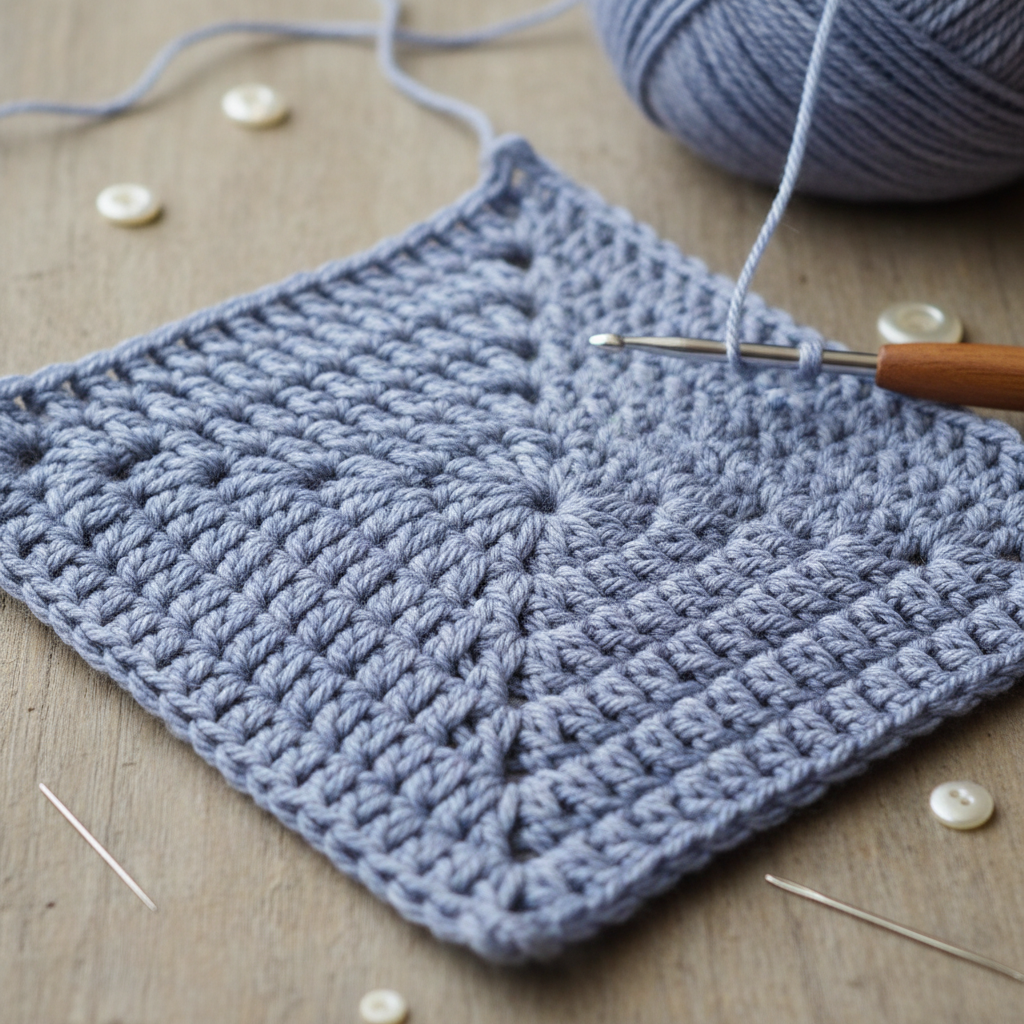
Step 3 – Continue Expanding the Basket Shape
As you crochet additional rows, the panel continues to expand. Corner spaces are created with 2 double crochet stitches, chain 2, and 2 double crochet stitches.
These corners give the basket its structured shape and allow the fabric to fold into a three-dimensional form.
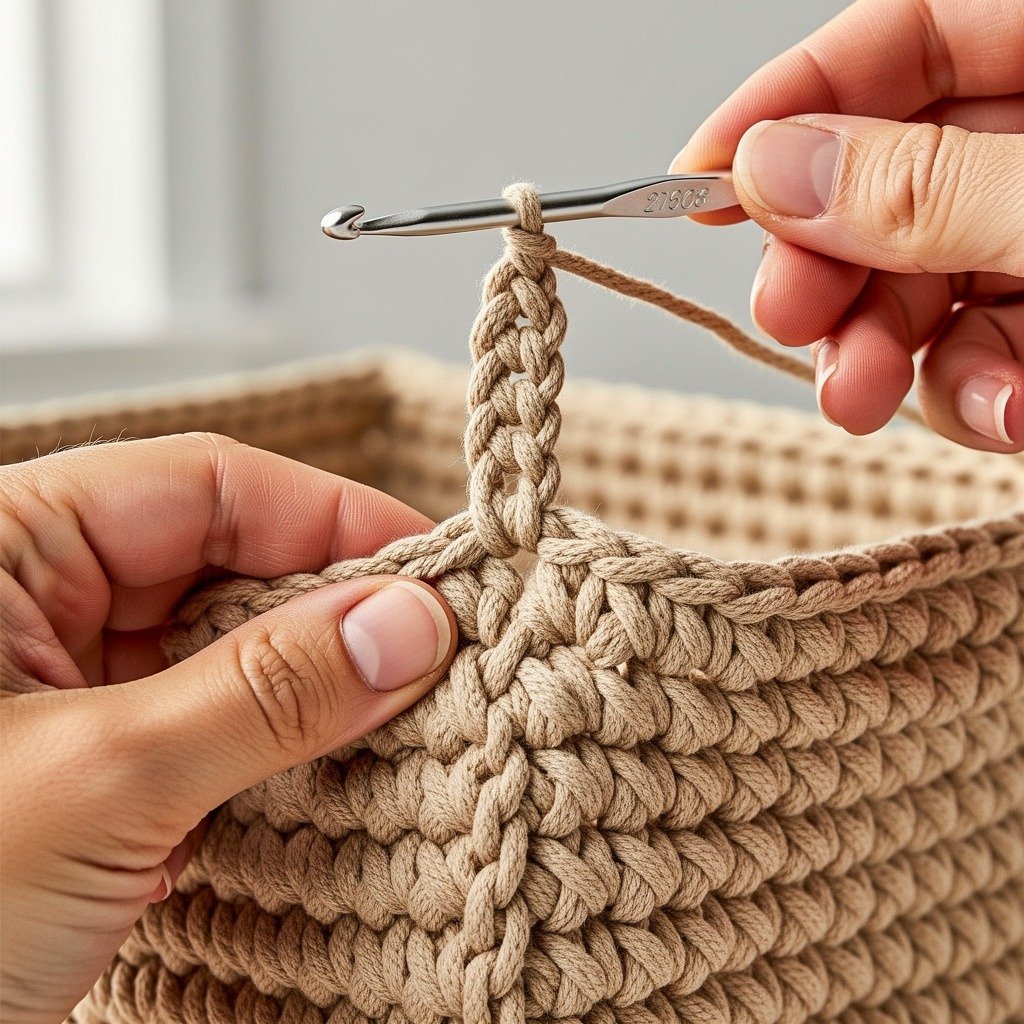
Step 4 – Create the Hanging Loop
When the basket reaches the final rows, a chain loop is added to create the hanging strap.
The pattern uses chain 10 stitches inside the corner space, followed by double crochet stitches along the row. This loop will later be reinforced for hanging the basket.
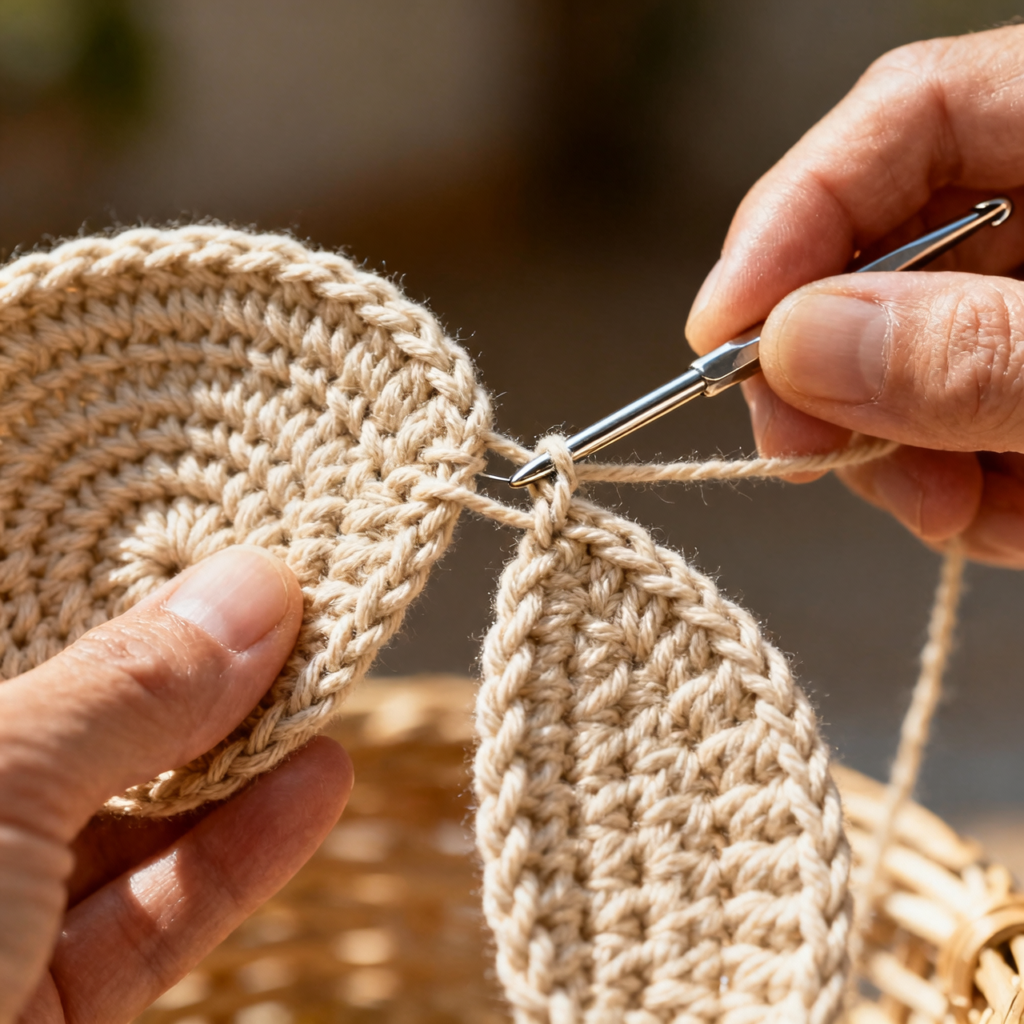
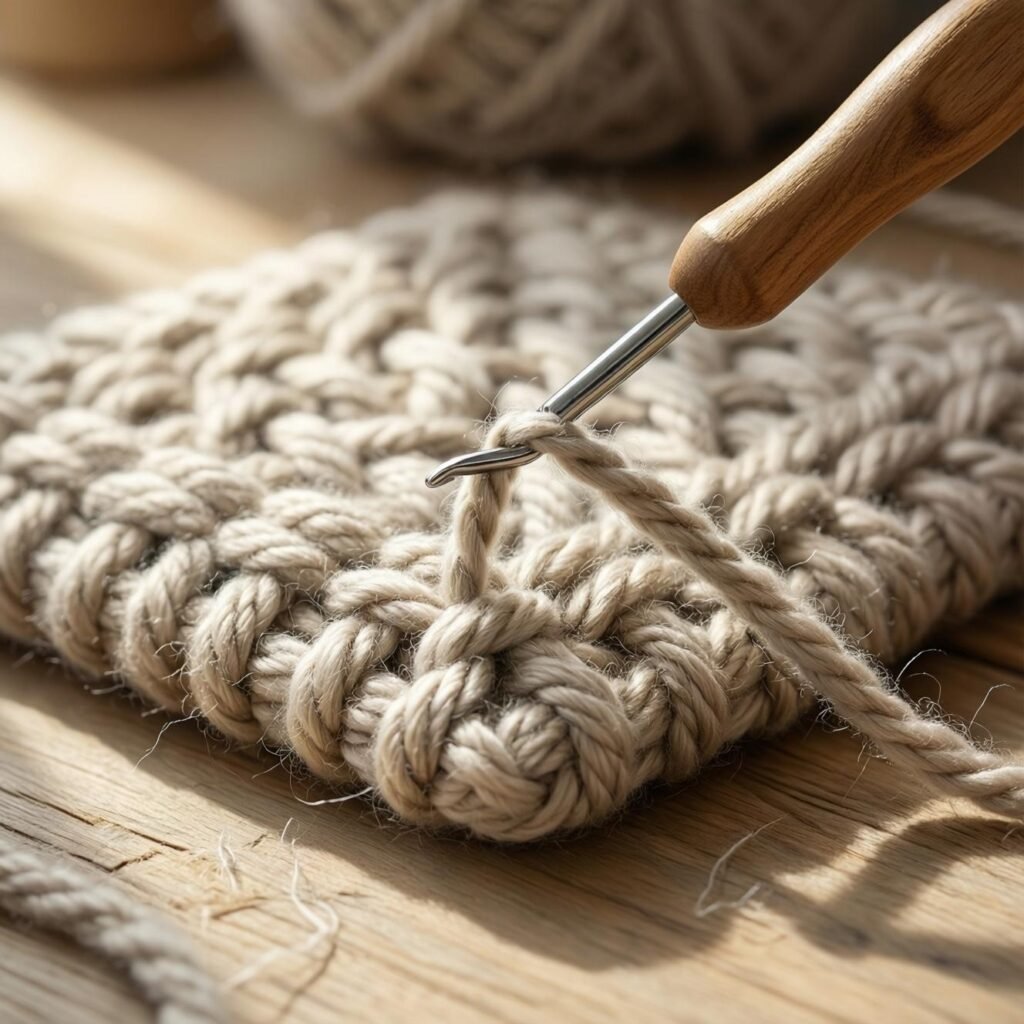
Step 5 – Join and Shape the Basket
Once the panels are complete, the pieces are folded and connected together. Use a smaller crochet hook to join the parts with slip stitches.
Joining the panels forms the final basket shape and strengthens the edges.