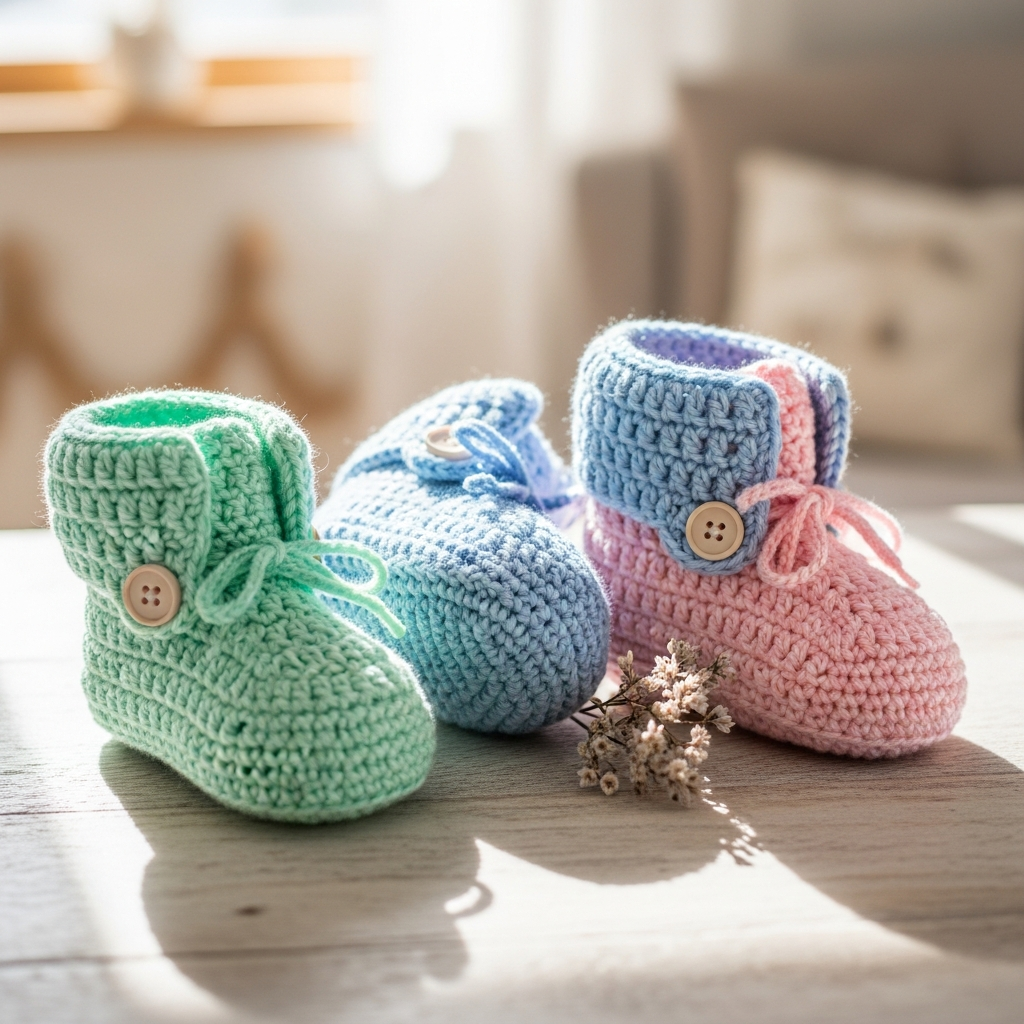
Easy Crochet Baby Booties Pattern (Step-by-Step for Beginners)
Crochet baby booties are one of the most adorable and practical handmade gifts. They are quick to make, beginner-friendly, and perfect for baby showers or newborn keepsakes.
In this step-by-step tutorial, you’ll learn how to crochet soft cotton baby booties with a secure sole, structured toe, and cute lace closure. The design works for multiple baby sizes and uses simple stitches.
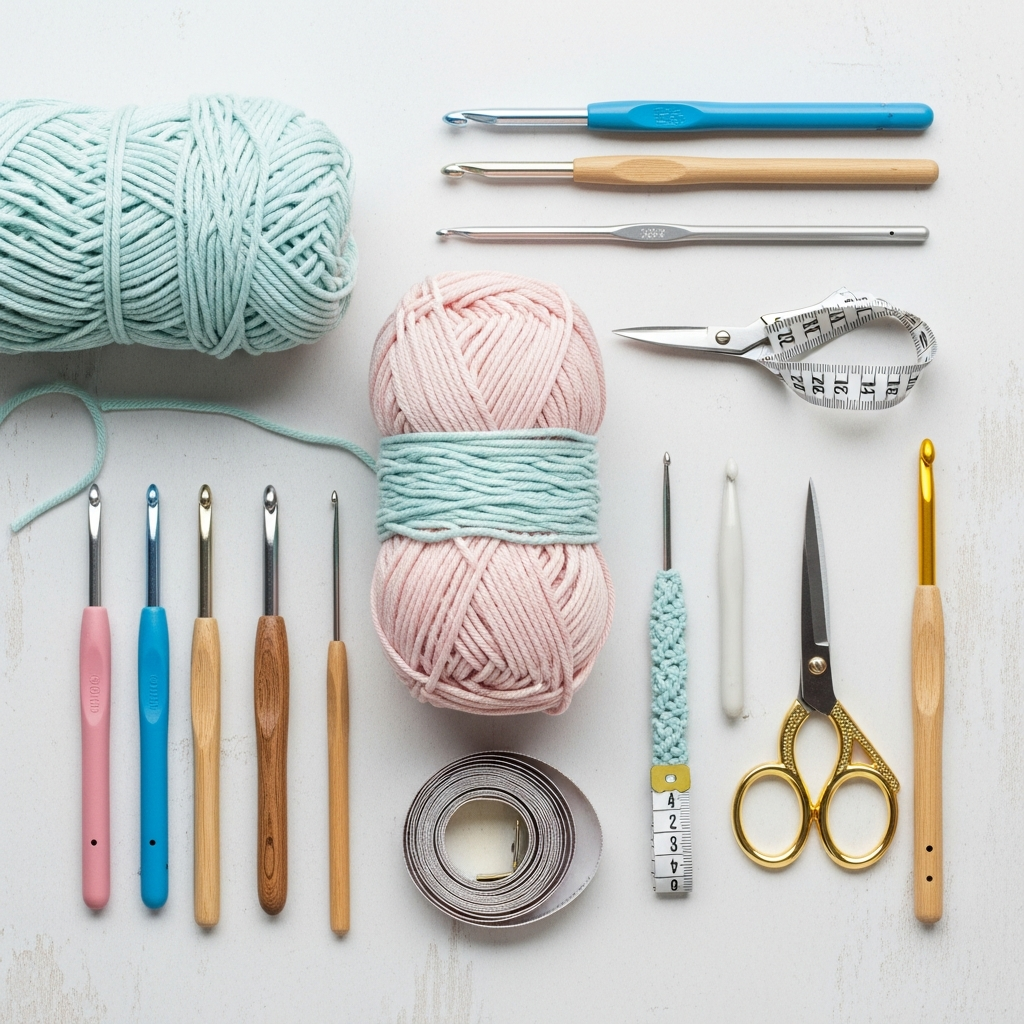
Materials You’ll Need
Before starting this crochet baby booties pattern, gather the following materials to make the process smooth and enjoyable.
You will need cotton yarn, a crochet hook (2.5mm–3mm), scissors, a tapestry needle, measuring tape, and shoelaces or satin ribbon for the finishing touches.
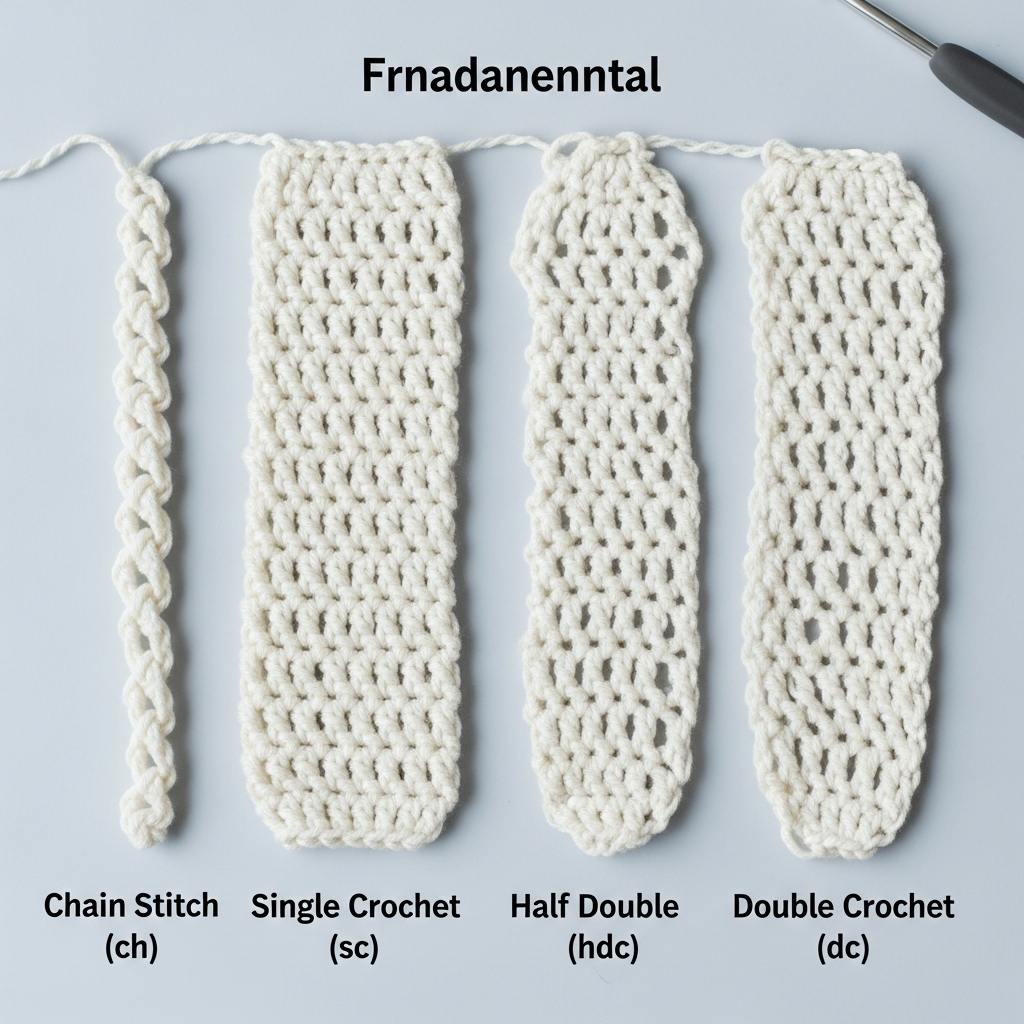
Crochet Stitches & Abbreviations
This baby booties pattern uses common crochet stitches, making it perfect for beginners learning basic techniques.
Common stitches used include chain (ch), single crochet (sc), half double crochet (hdc), double crochet (dc), and slip stitch (sl st). These stitches help create the structure of the sole and upper part of the bootie.
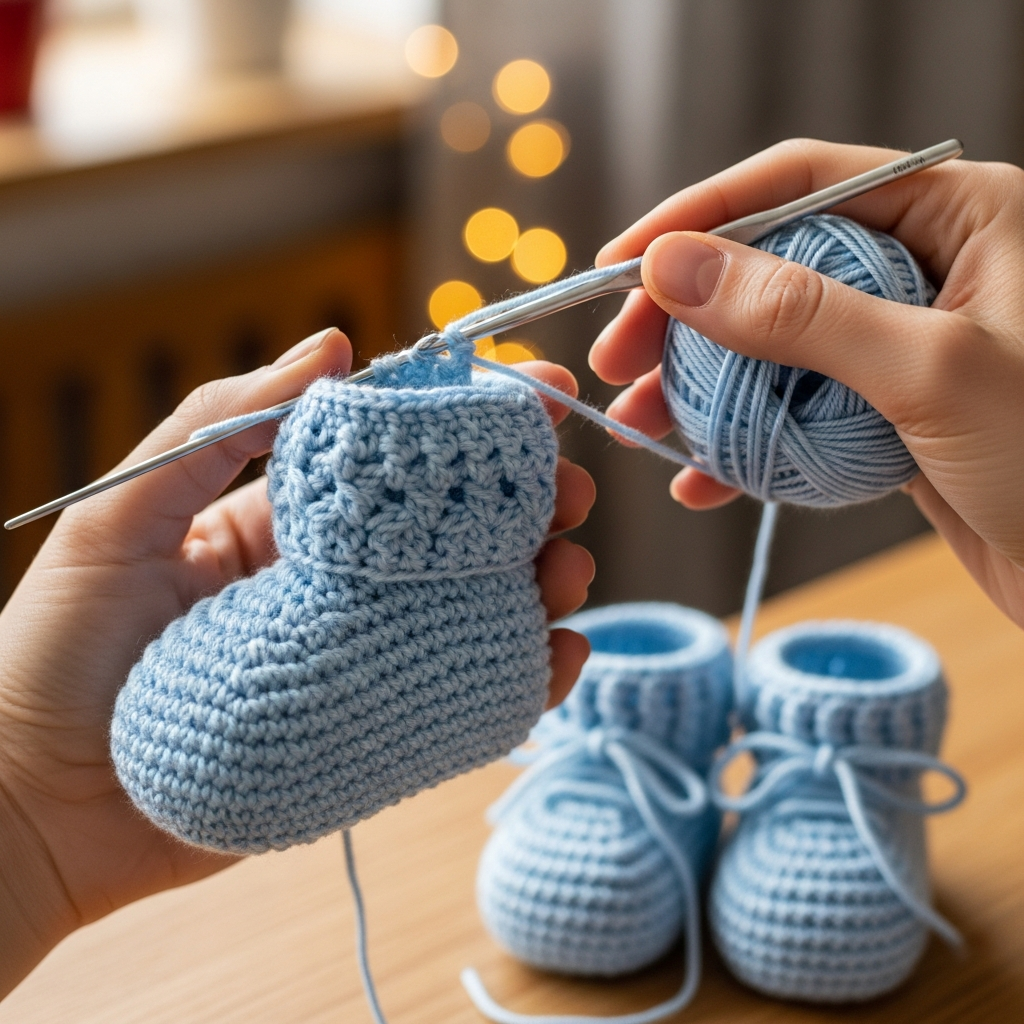
Step 1: Crochet the Baby Bootie Sole
Start by creating the foundation chain using your main color yarn. The chain length determines the baby shoe size, typically ranging from 16 to 26 chains depending on the baby’s age.
Work double crochet stitches along the chain and increase stitches at the ends to shape the rounded sole.

Step 2: Create the Sidepiece
Once the sole is finished, attach the contrasting color yarn and begin crocheting around the posts of the previous stitches. This creates the raised sides of the baby shoe.
Continue working rounds of single crochet and double crochet until the side walls of the bootie are formed.

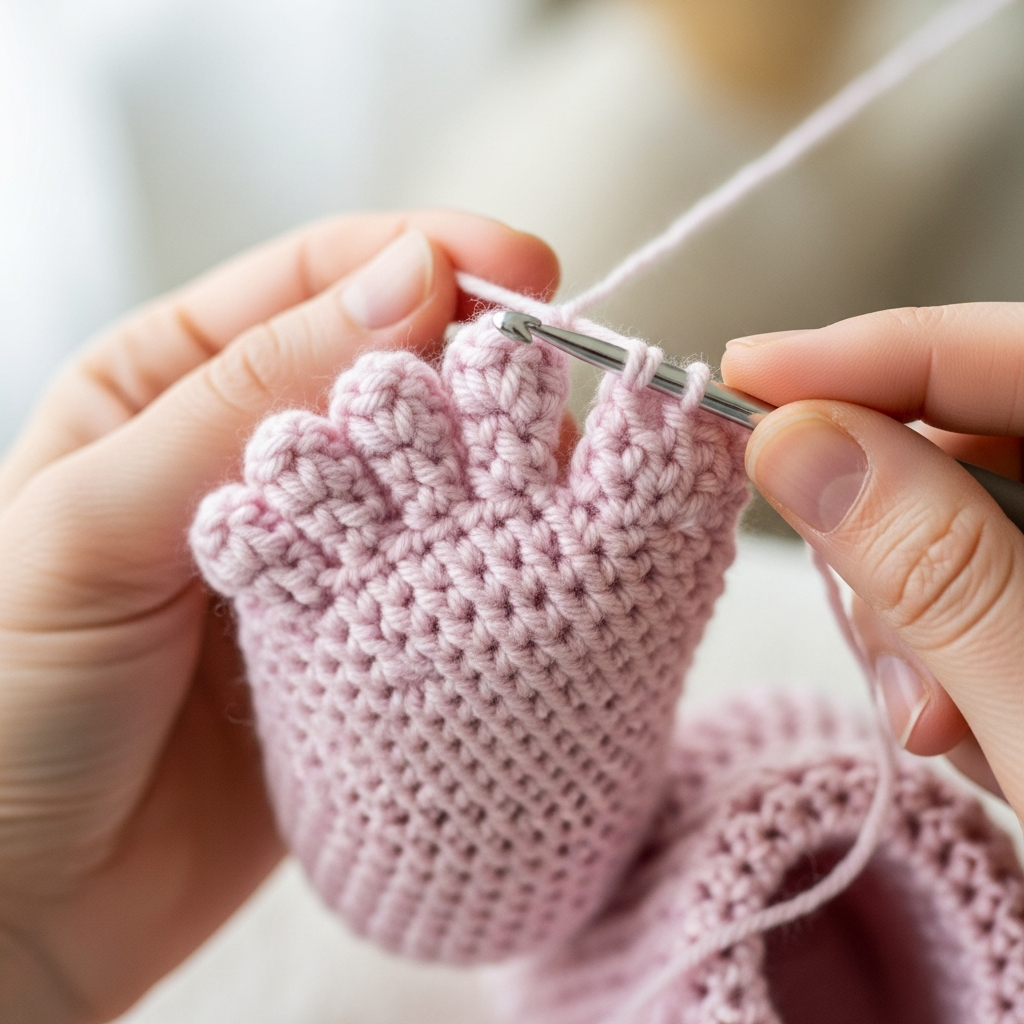
Step 3: Shape the Toe Section
The toe is crocheted back and forth in rows instead of rounds. Decreases like dc2tog (double crochet two together) help shape the curved toe area.
This step gives the booties a snug fit so they stay comfortably on a baby’s feet.
[PDF Download Button – View Toe Shaping Pattern]
Step 4: Crochet the Bootie Tongue
The tongue is crocheted directly from the toe stitches and worked in rows.
Create 15 stitches across, then continue crocheting straight rows to form the small tongue section that sits under the laces.
Step 5: Make the Upper Bootie Section
Next, crochet the upper portion of the bootie that wraps around the ankle.
Work several rows of double crochet stitches to create a soft cuff that can later be folded for a stylish finish.
Step 6: Finishing Touches
After finishing the crochet work, weave in loose yarn ends using a tapestry needle.
Fold the top rows of the bootie and insert laces or ribbon through the stitches. You can also decorate the toe area with a button, tag, or small brooch.
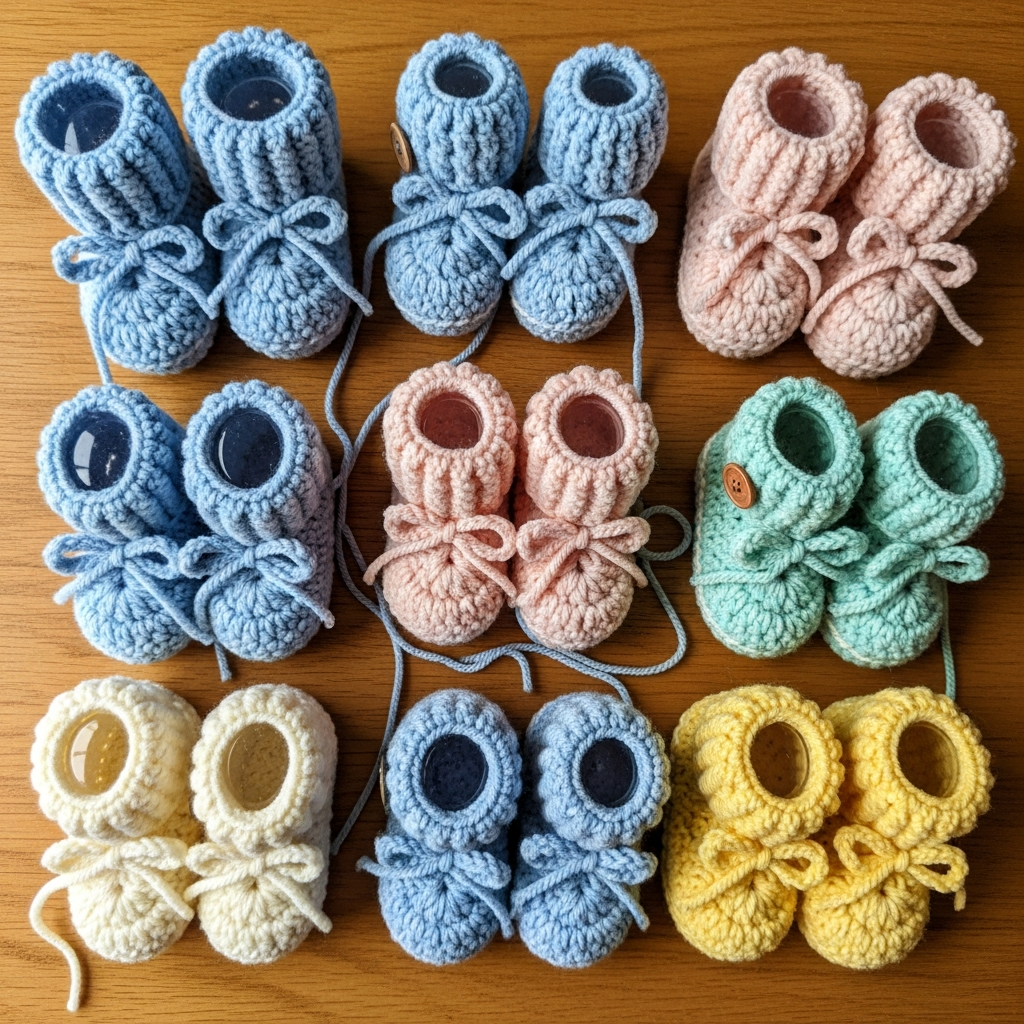
Baby Bootie Sizes
This crochet pattern includes multiple baby sizes:
- Newborn (0 months): Foot length ~8 cm
- 0–3 months: Foot length ~9 cm
- 3–6 months: Foot length ~10 cm
- 6–12 months: Foot length ~11–12 cm
For the best fit, always measure the baby’s foot before starting your crochet project.
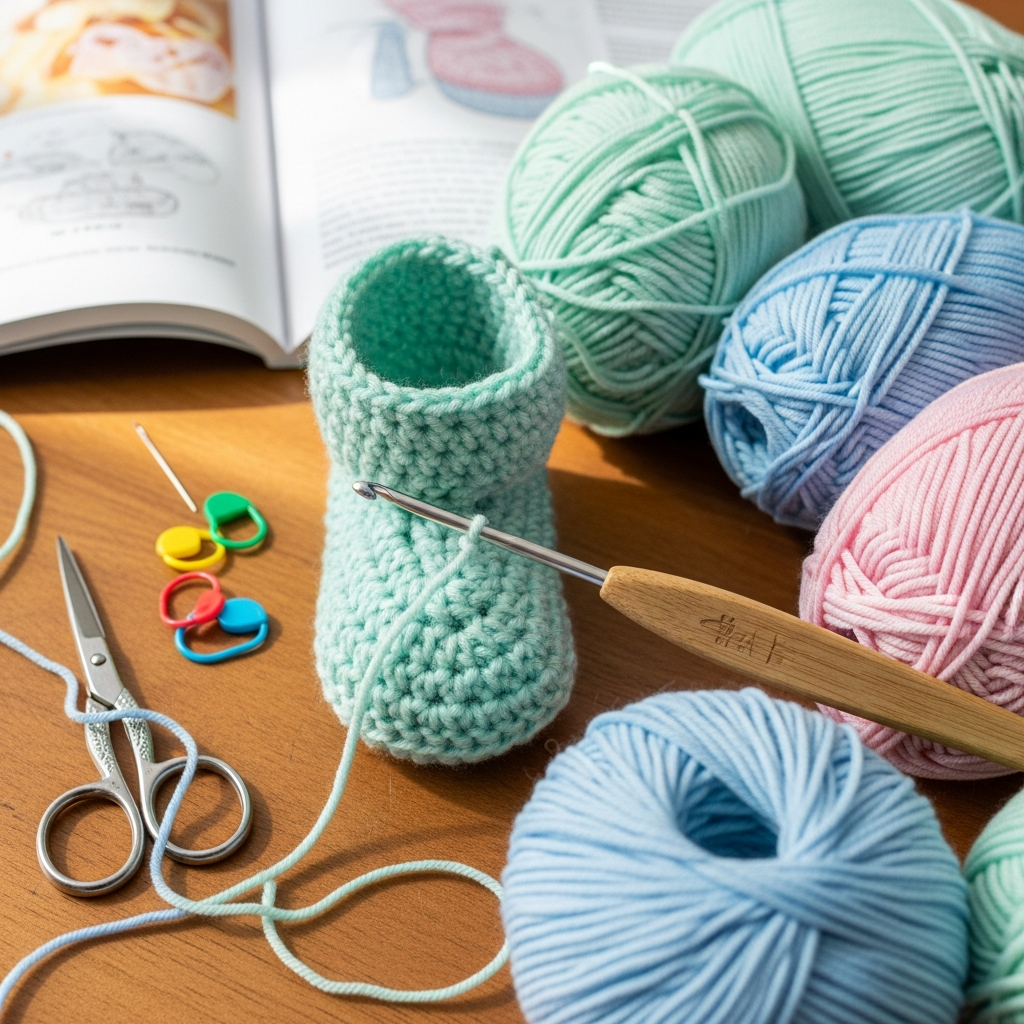
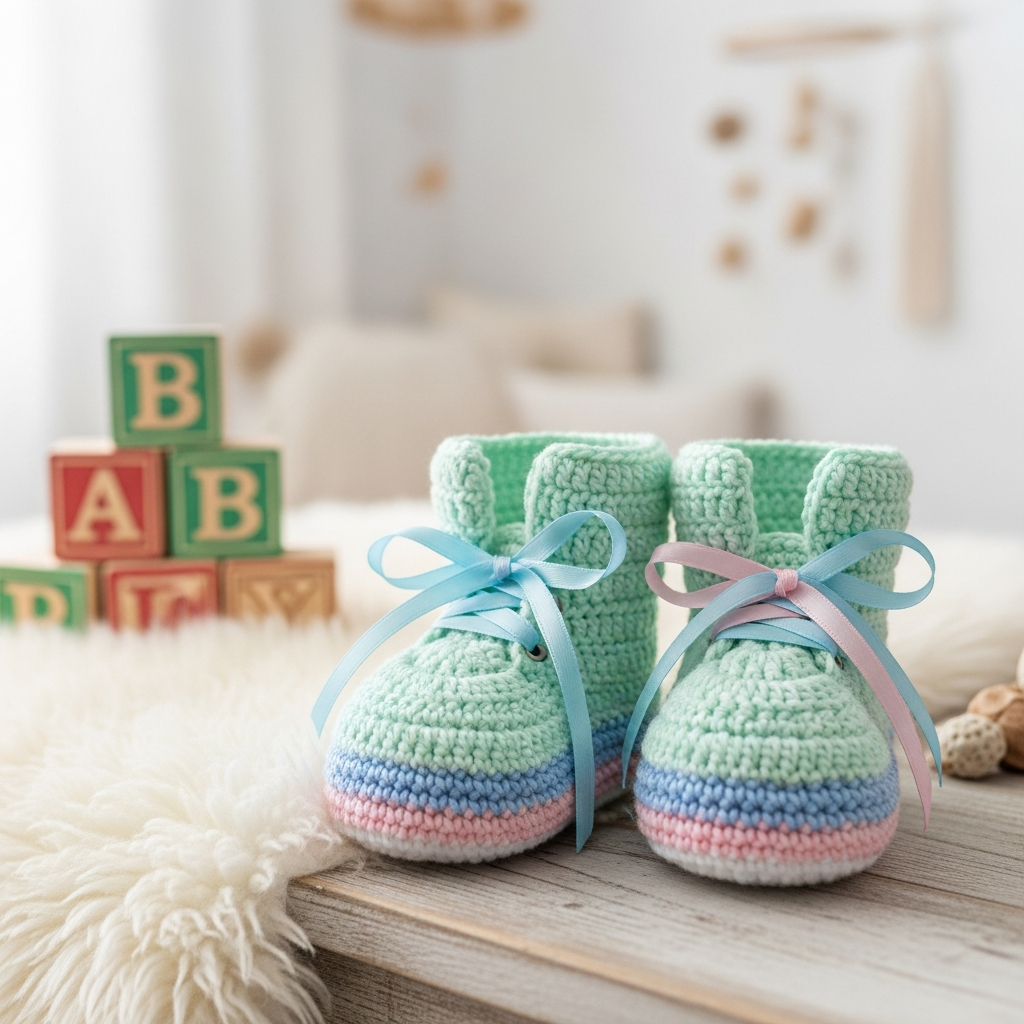
Final Result
Once both booties are completed, you’ll have a pair of soft, stylish handmade crochet baby shoes perfect for newborn photos, baby gifts, or everyday wear.
This beginner crochet project is quick, customizable with colors, and perfect for Pinterest-inspired handmade baby items.
[PDF Download Button – Download the Full Pattern]