Crochet Baby Romper Pattern – Easy Handmade Baby Outfit
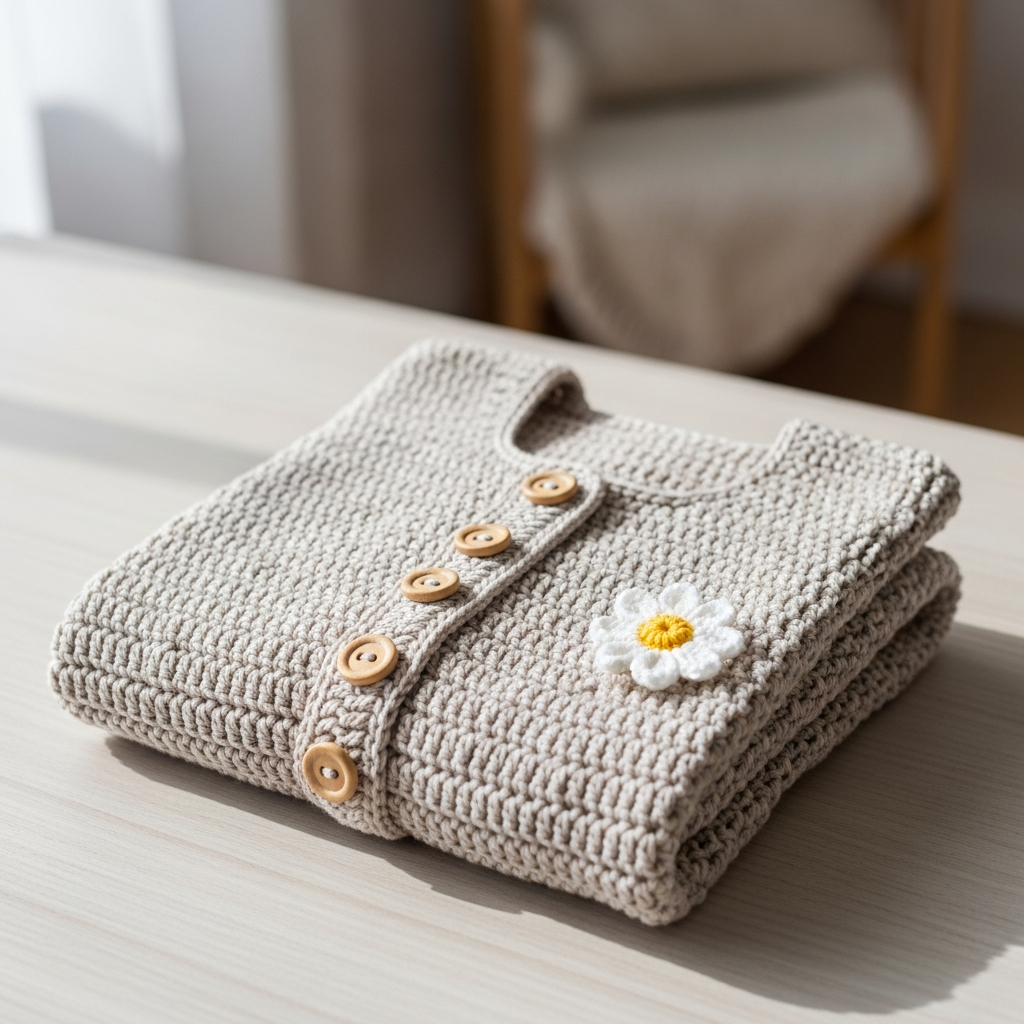
A crochet baby romper is one of the cutest handmade baby clothing projects you can create. This soft and stylish romper works beautifully for newborn photos, baby showers, or everyday baby outfits.
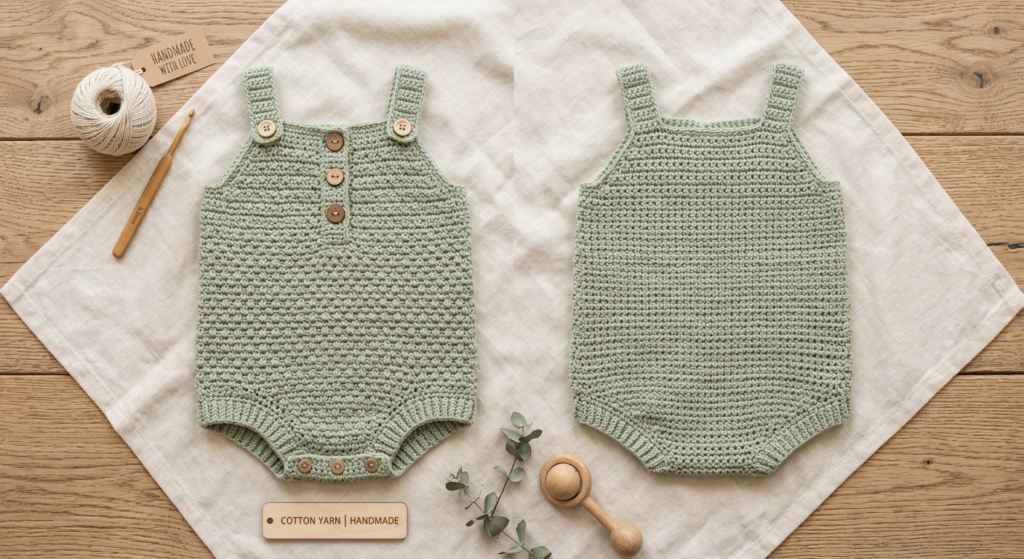
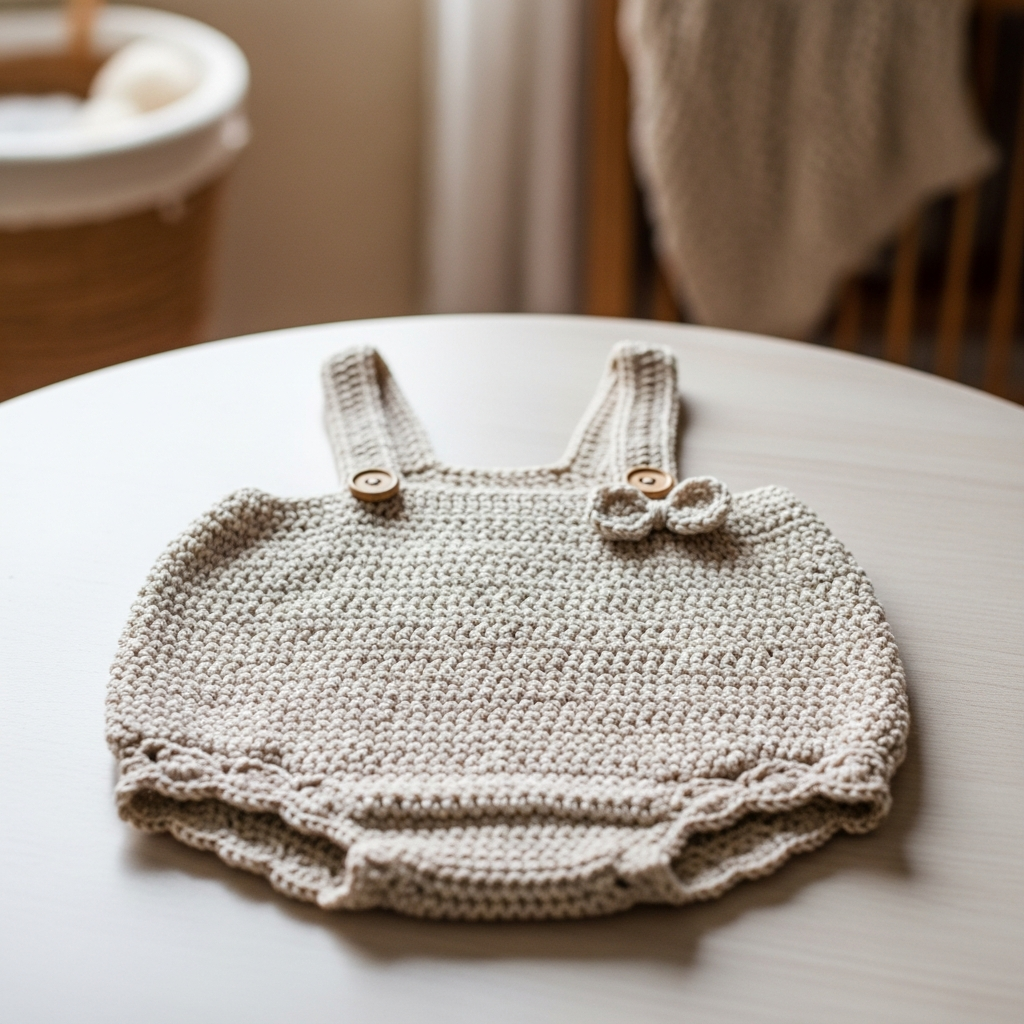
This pattern uses simple single crochet stitches worked in the back loop, which creates a textured ribbed fabric that stretches comfortably for babies. The design also features button closures and straps, making it practical and adorable at the same time.
Materials Needed for the Crochet Baby Romper
Before starting your romper, gather a few basic crochet supplies. Using soft cotton yarn ensures the romper is gentle on delicate baby skin while keeping the garment breathable.
Materials List
- Sport weight cotton yarn (approx. 180 yards)
- Crochet hook 3.5 mm for main pattern
- Crochet hook 3 mm for borders and straps
- 8 small buttons (12–15 mm)
- Stitch markers and scissors
Choosing lightweight yarn helps the romper remain soft and flexible, making it comfortable for babies aged newborn to 12 months.

Crochet Abbreviations and Stitches
This crochet baby romper pattern uses standard US crochet terminology. Understanding these abbreviations will make following the pattern easier.
Common stitches used in the romper include:
- ch – chain stitch
- sc – single crochet
- sl st – slip stitch
- blo – back loop only
- inc – increase (2 sc in one stitch)
- sc2tog – single crochet two stitches together (decrease)
The main texture of the romper is created by working single crochet stitches in the back loop only, producing a stretchy ribbed effect.

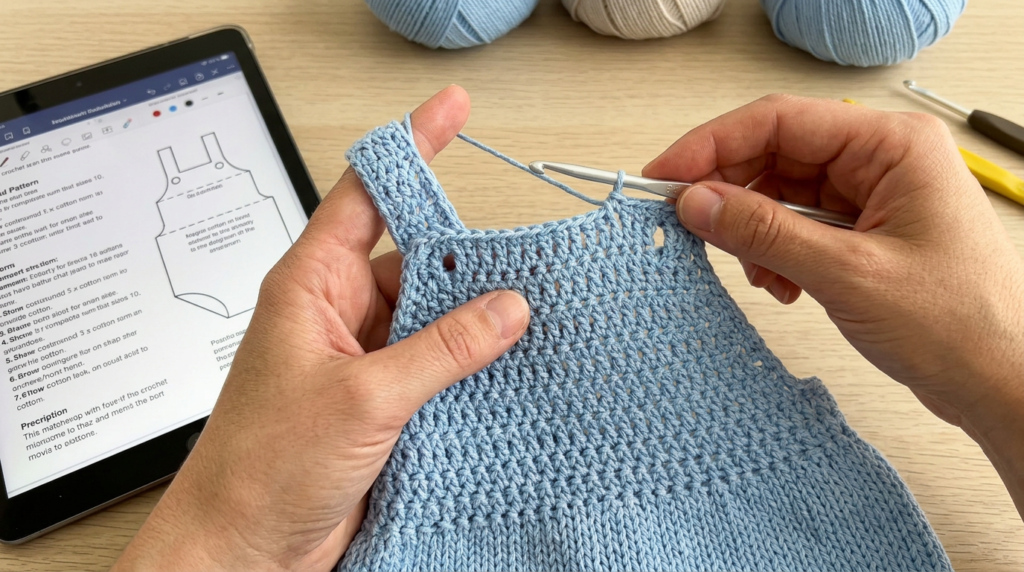
Step 1: Crocheting the Bib Section
The romper begins with the bib section, which forms the top front part of the garment.
Start by chaining the required stitches depending on the baby size. Work rows of single crochet stitches evenly across the row while turning at the end of each row.
A few increase rows are added to gently widen the bib and shape the upper body area of the romper.
This section creates the structured top panel where the straps will later attach.
Step 2: Creating the Front Romper Body
After the bib section is completed, continue crocheting downward to form the main body of the romper.
Several rows are worked evenly in single crochet to extend the garment length. Button holes are added at specific rows to allow the romper to fasten neatly with small buttons.
These button openings make the romper adjustable and easy to dress a baby.
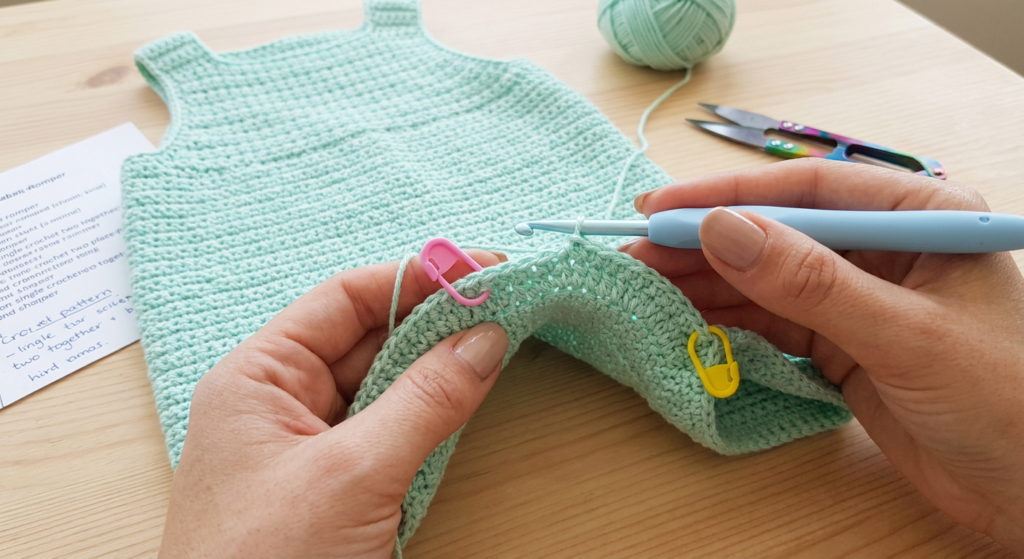
Step 3: Shaping the Leg Openings
Next, decreases are added to shape the leg openings of the romper.
The decreases gradually narrow the fabric in the center while keeping the sides smooth. This shaping technique helps the romper fit comfortably around the baby’s legs.
Once the leg openings are formed, a few rows are worked evenly to maintain the structure of the garment.
Step 4: Expanding the Front and Back Panels
After shaping the leg openings, increase rows are added again to widen the fabric for the lower body and diaper area.
The front section gradually grows wider to provide extra comfort and movement for the baby. This ensures the romper fits well even with a diaper.
The back portion is then crocheted with additional rows to complete the full garment shape.
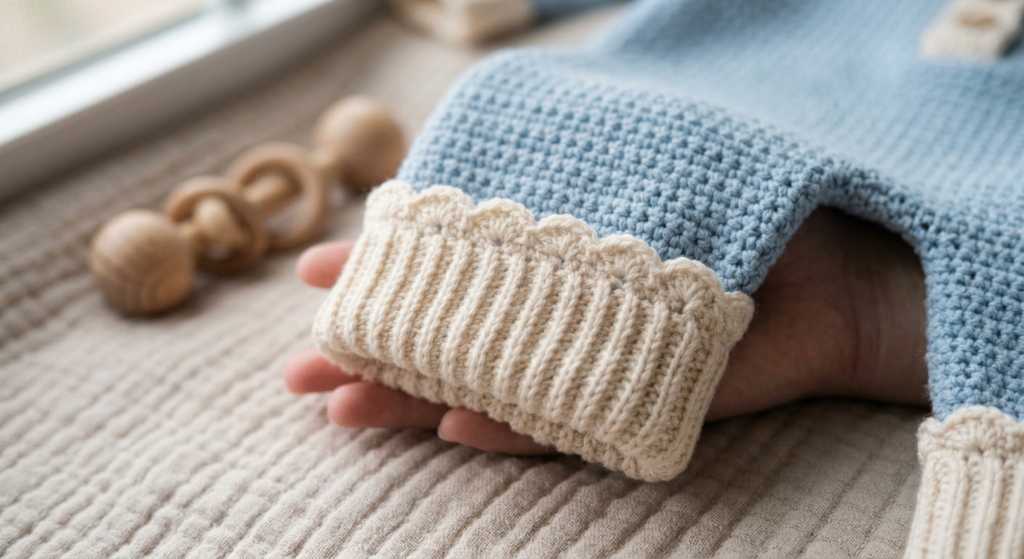
Step 5: Ribbed Border and Finishing Edges
To give the romper a polished look, a ribbed border is crocheted around the edges using a smaller hook.
This border adds stretch and structure to the garment while keeping the edges neat. The ribbing is created by crocheting rows of single crochet stitches attached to the body.
The result is a professional-looking finish that frames the romper beautifully.
Step 6: Crocheting the Straps and Buttons
The final step is creating the romper straps.
Straps are crocheted using tighter stitches with a smaller hook. Buttonholes are added so the straps can attach securely to the front bib section.
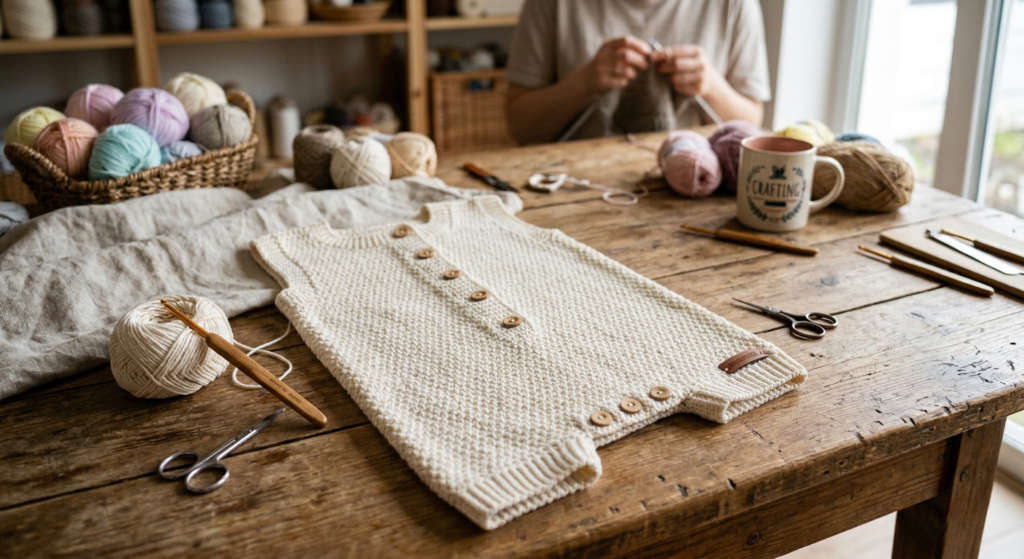
After sewing on the buttons and weaving in the yarn ends, your adorable crochet baby romper is complete.
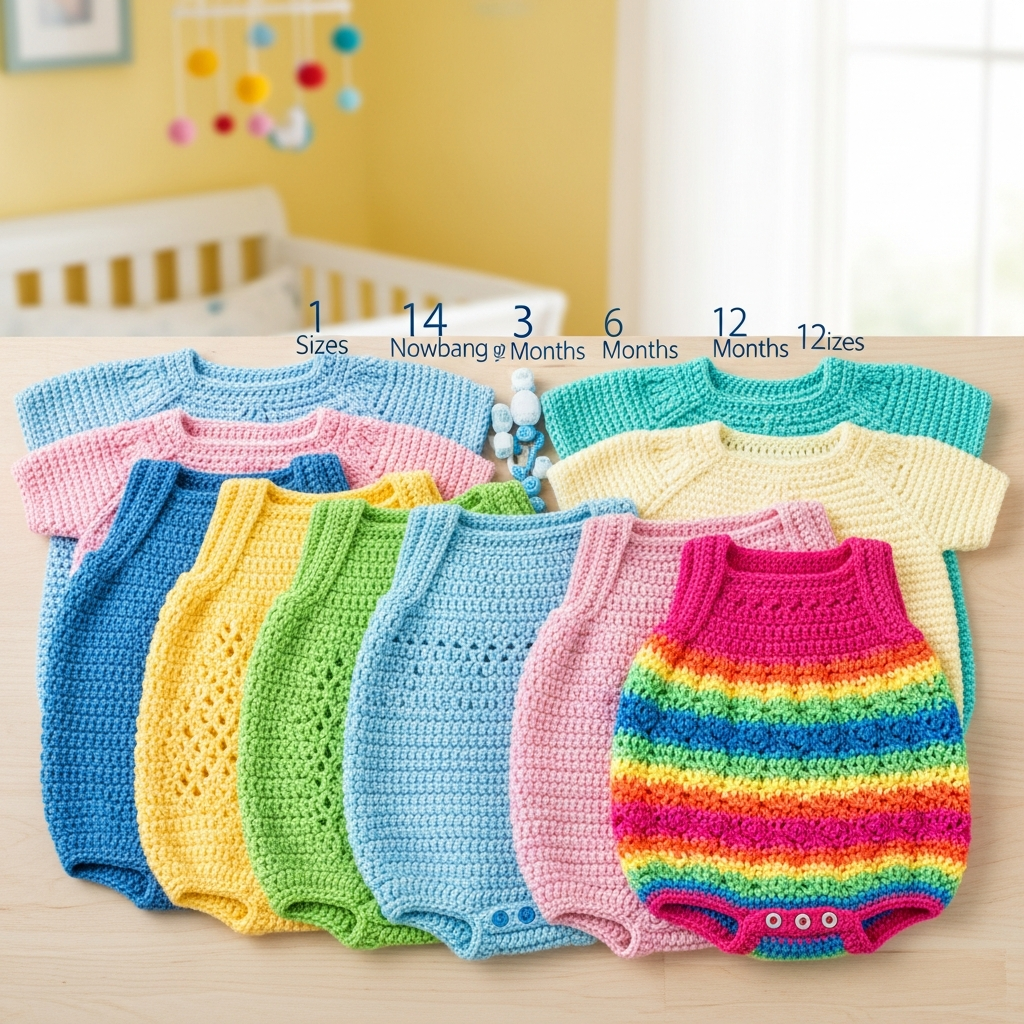
Crochet Baby Romper Sizing Guide
This pattern includes several baby sizes so you can create rompers as your baby grows.
Available sizes include:
- Newborn
- 0–3 months
- 3–6 months
- 6–9 months
- 9–12 months
Each size varies slightly in length, waist width, and yarn usage, allowing the romper to fit comfortably during the baby’s first year.
Final Thoughts
This Crochet Baby Romper Pattern is a wonderful project for crocheters who love making handmade baby clothing. The simple stitches, comfortable design, and adjustable straps make it both practical and adorable.
Whether you’re creating a baby shower gift, newborn outfit, or handmade keepsake, this romper is sure to become a cherished item.
Download the full printable crochet pattern PDF so you can follow the detailed instructions while crocheting.
[PDF Download Button]