🧶 Crochet Bunny in Carrot Pattern (Cute Amigurumi Tutorial)
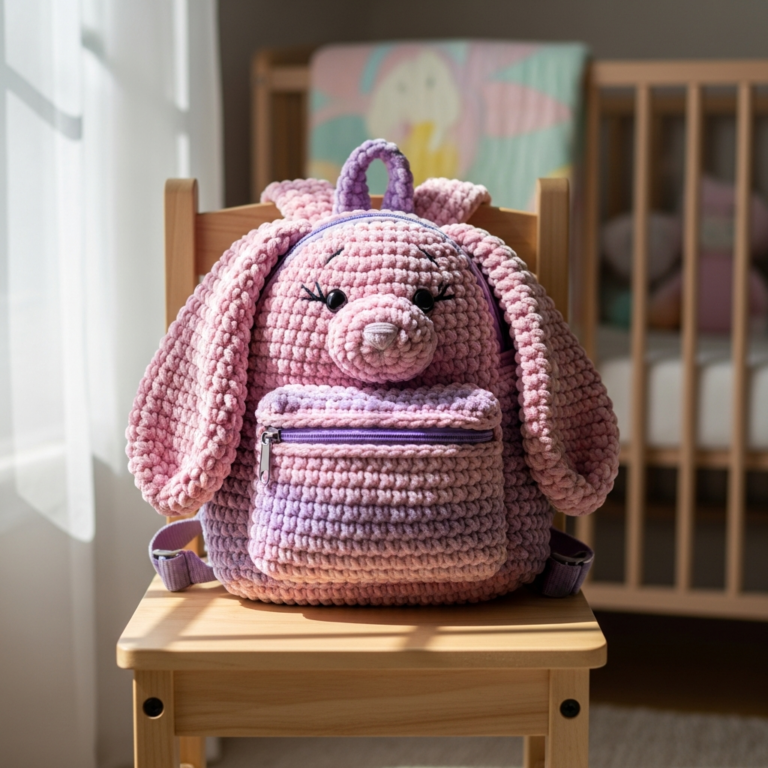
Looking for an adorable crochet project? This crochet bunny in carrot pattern is the perfect mix of cute and creative! It’s a small amigurumi toy where a tiny bunny fits inside a soft carrot pouch—ideal for gifts, décor, or selling online.
This step-by-step guide simplifies the original PDF into a beginner-friendly crochet tutorial while keeping all the essential details.
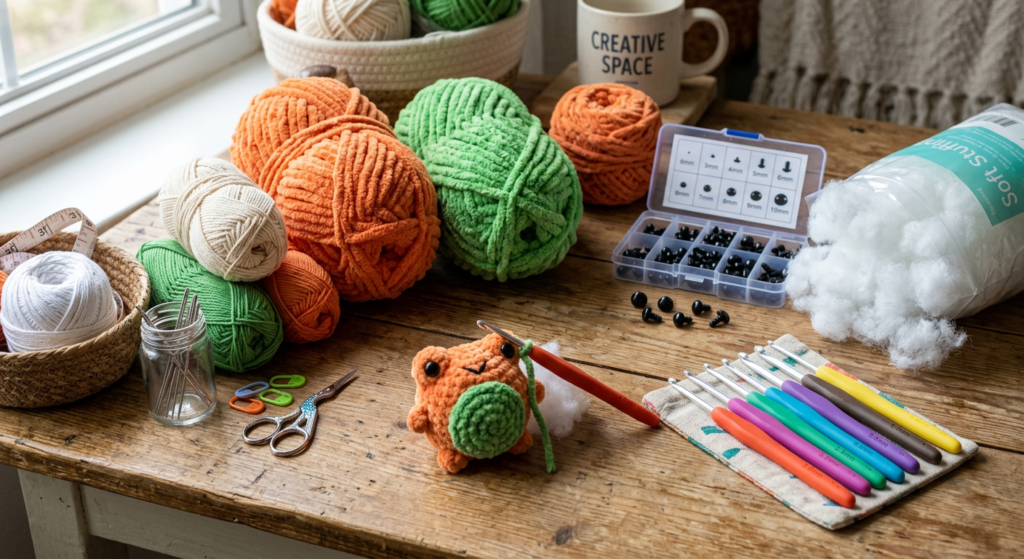
Start by gathering your materials. You’ll need cotton yarn (yellow, white), plush yarn (orange and green), a 2.5 mm and 4 mm crochet hook, safety eyes, stuffing, and a button.
Using soft plush yarn for the carrot gives it a cozy texture, while cotton yarn helps define the bunny’s details.
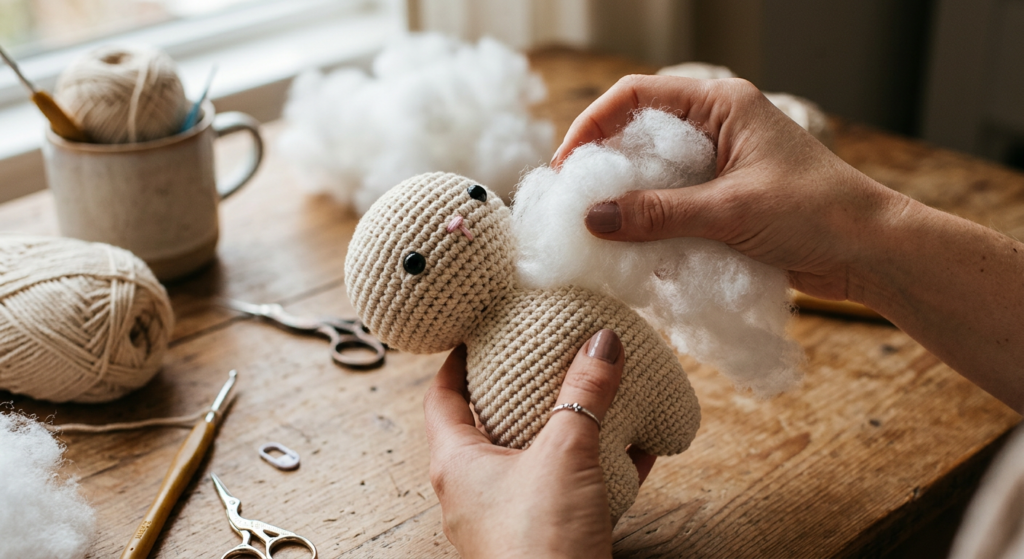
🐰 Step 1: Crochet the Bunny Head
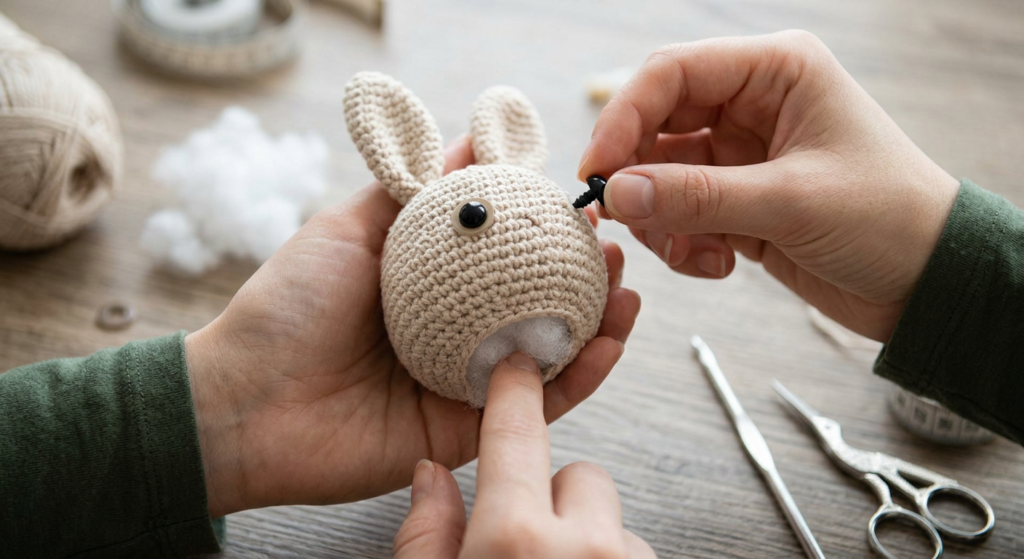
Begin with a magic ring and work in continuous rounds using single crochet stitches. Increase gradually to shape the head, then crochet evenly for several rounds.
Insert safety eyes between rounds 8 and 9, then stuff the head firmly before decreasing to close.
👂 Step 2: Make the Bunny Ears
Crochet two long ears using increases and gradual decreases to create a soft tapered shape. Work in rounds and keep stitches tight for a clean finish.
Leave a long yarn tail for sewing the ears onto the head later.
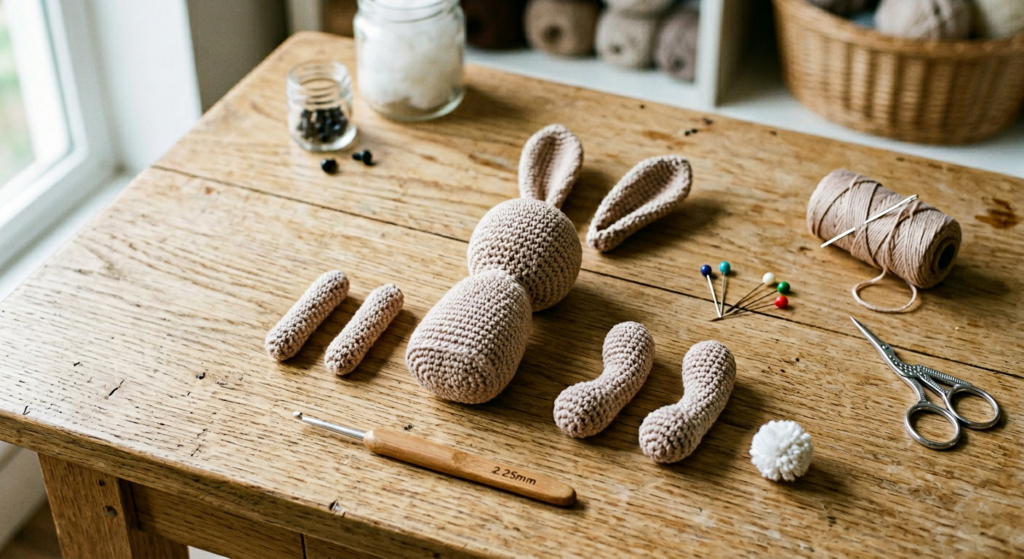
🧵 Step 3: Crochet the Body
The bunny’s body is made in continuous rounds, starting from a magic ring and expanding slightly before shaping with decreases.
Stuff the body firmly so it holds its shape and supports the head properly.
🦾 Step 4: Add Arms, Legs & Tail
Create small arms, legs, and a tiny tail separately. Lightly stuff them and sew onto the body in the correct positions.
Proper placement ensures your bunny looks balanced and naturally posed.
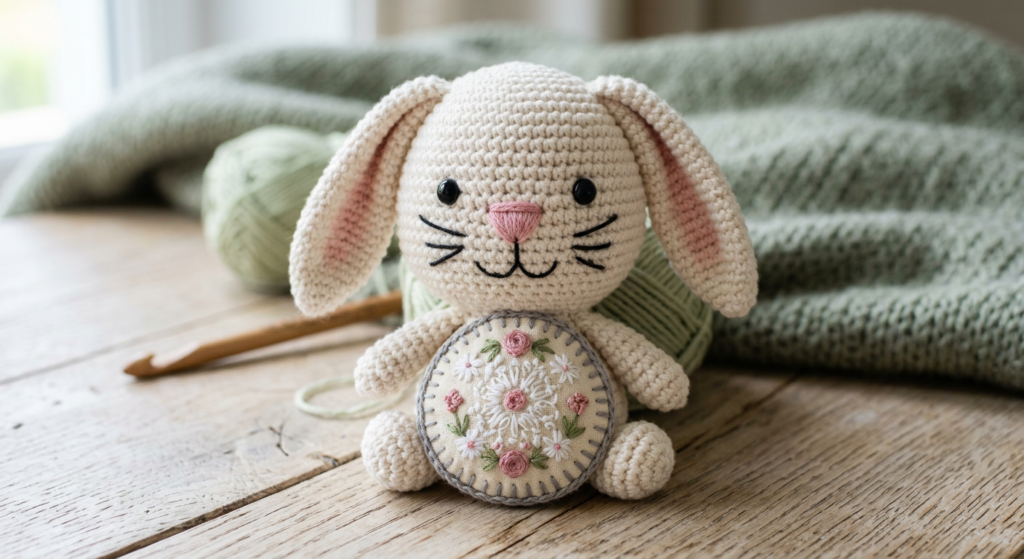
😊 Step 5: Add Face & Belly Details
Crochet a small white muzzle and sew it onto the face. Embroider the nose with pink yarn and eyebrows with brown yarn.
Add a white belly patch to the body to give your bunny a soft, realistic look.
🧩 Step 6: Assemble the Bunny
Sew the head to the body securely and attach all parts, including ears, arms, legs, and tail. Make sure everything is tightly stitched.
Take your time with assembly to achieve a polished amigurumi finish.
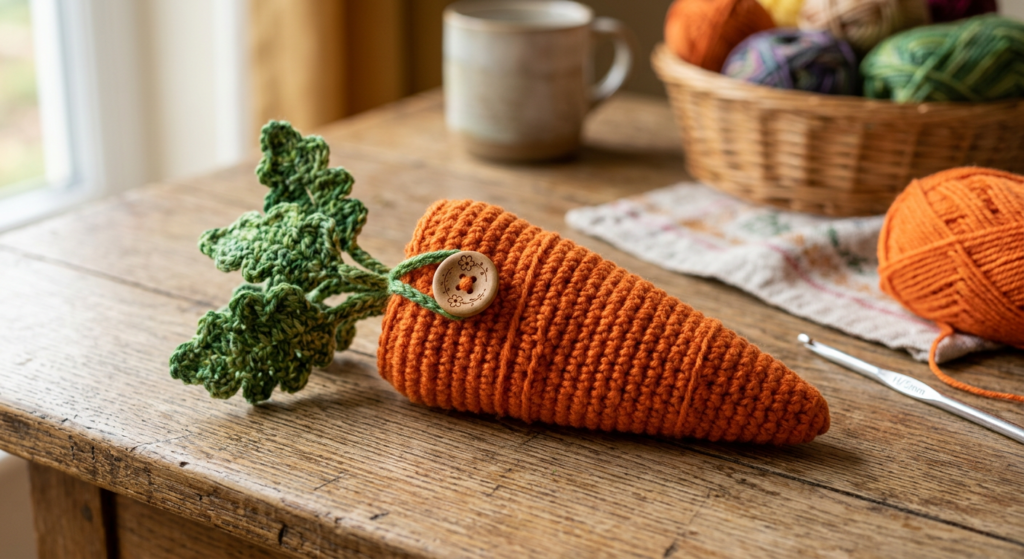
🥕 Step 7: Crochet the Carrot Pouch
Using plush orange yarn, crochet the carrot in rounds, gradually increasing and then shaping it into a pouch. Add a buttonhole and attach a button for closure.
Finish by crocheting green leaves at the top to complete the carrot look.
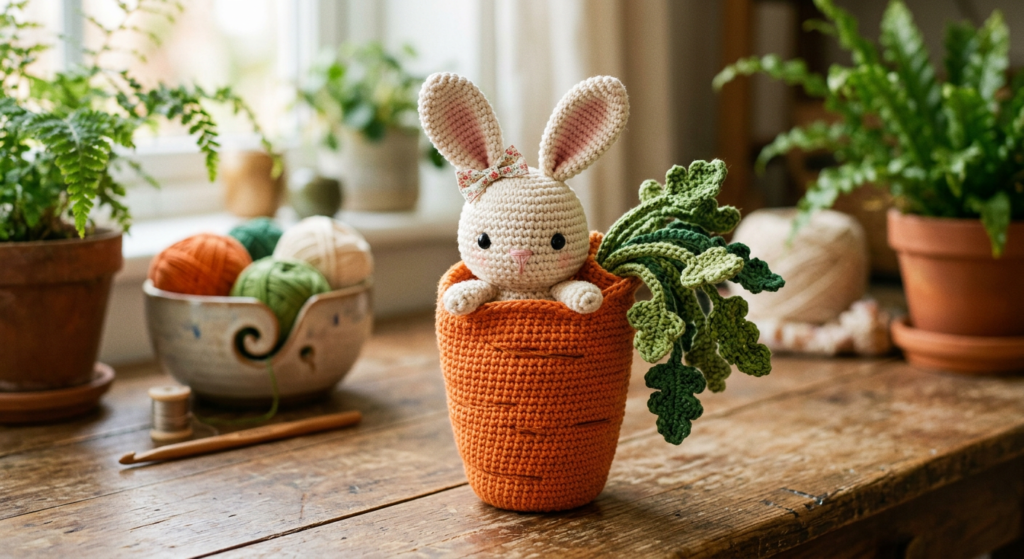
🎁 Final Step: Place Bunny Inside the Carrot
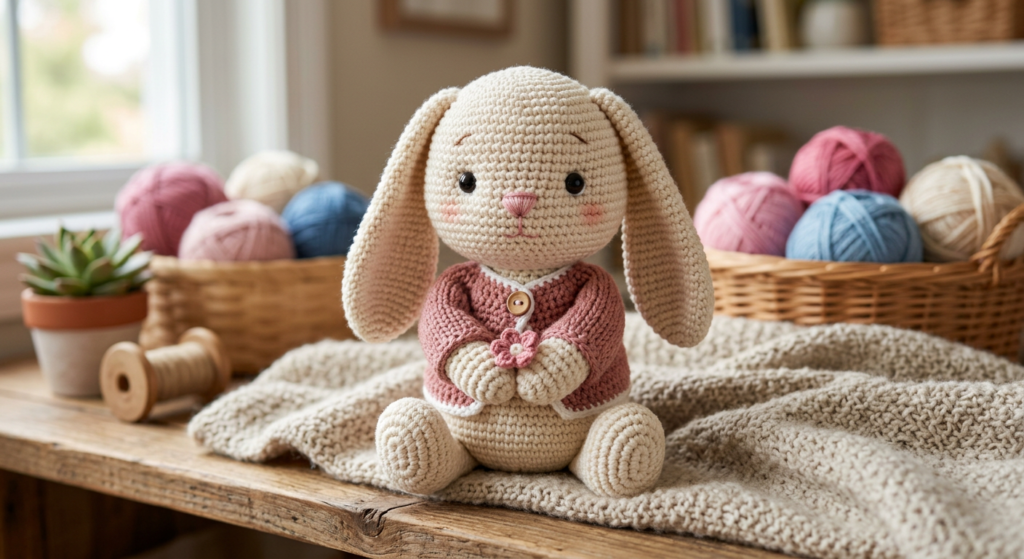
Once both pieces are complete, place the bunny inside the carrot pouch. The result is a cute, interactive crochet toy.
This makes a perfect handmade gift or a charming addition to your crochet collection.
💡 Tips for Perfect Amigurumi
- Crochet tightly to prevent stuffing from showing
- Use stitch markers for accurate rounds
- Stuff evenly for smooth shaping
- Secure all parts firmly for durability
🎯 Why This Crochet Bunny in Carrot is So Popular
This amigurumi bunny crochet pattern is perfect for:
- Easter crochet projects
- Handmade gifts
- Nursery décor
- Selling on Etsy or craft fairs
🌟 Final Thoughts
The crochet bunny in carrot pattern is a fun and rewarding project that combines creativity with cuteness. It’s small, quick to make, and highly customizable.
Don’t forget to download the full PDF pattern for detailed stitch counts and visuals!