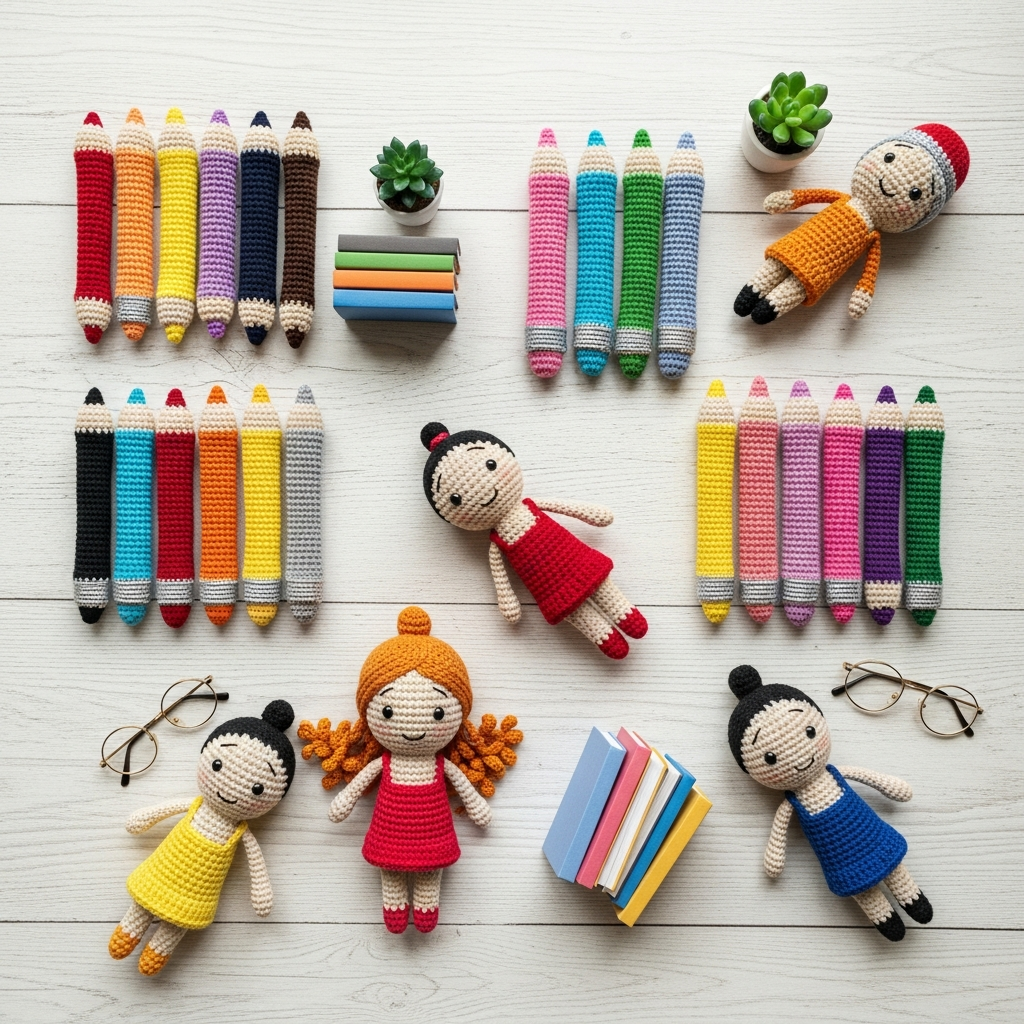
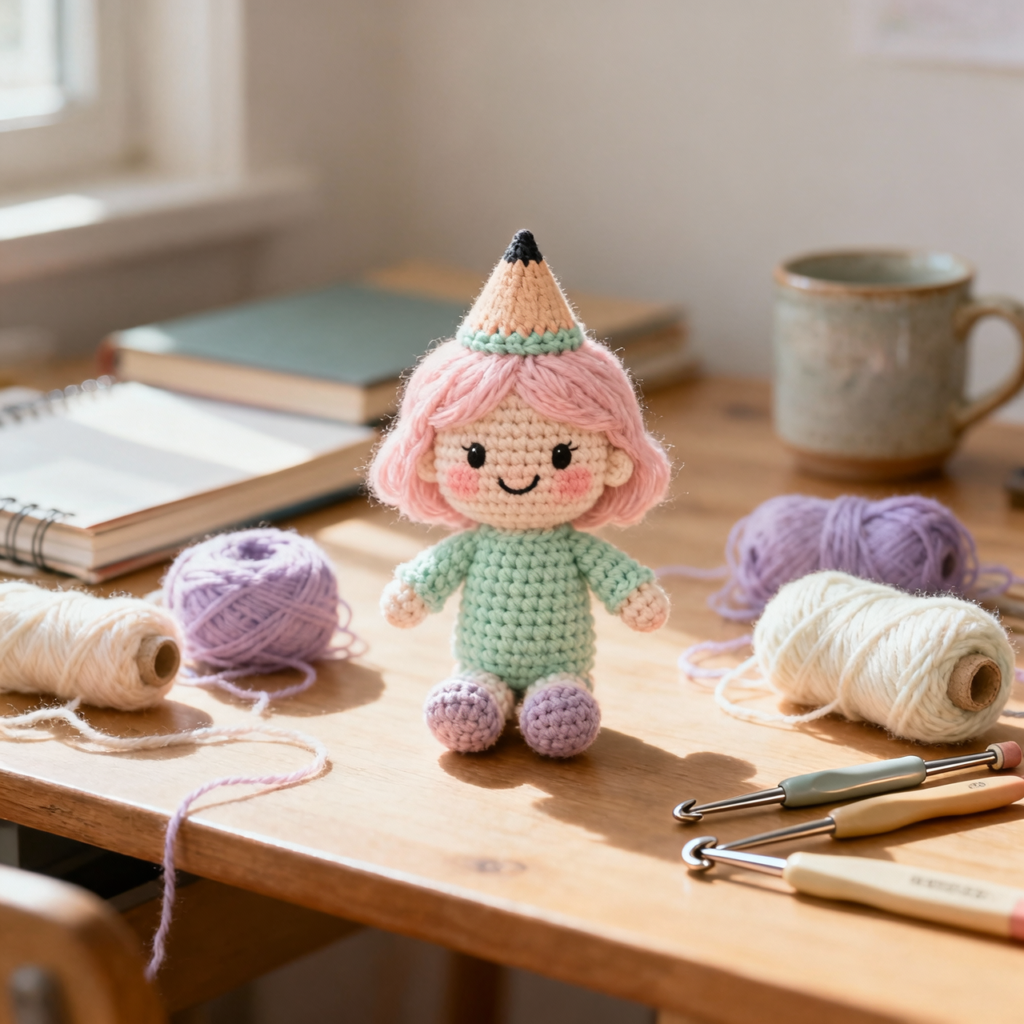
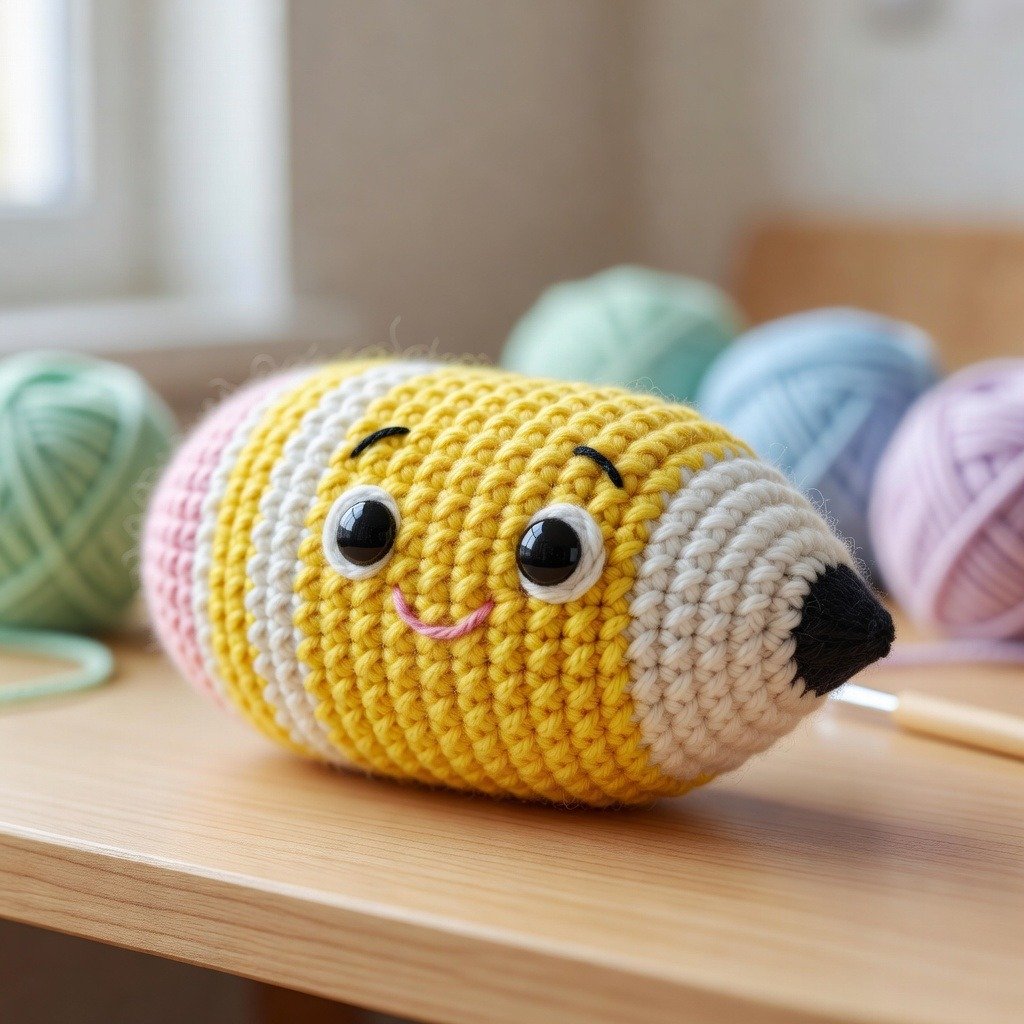
✏️ Crochet Pencil Amigurumi Pattern (Bobby the Pencil DIY)
Looking for a fun and unique crochet project? This crochet pencil amigurumi pattern is perfect for beginners and makes an adorable handmade toy or gift. “Bobby the Pencil” is a cute, colorful project that’s great for practicing shaping, color changes, and creative details.
This step-by-step guide will help you turn simple yarn into a playful crochet pencil character full of personality.
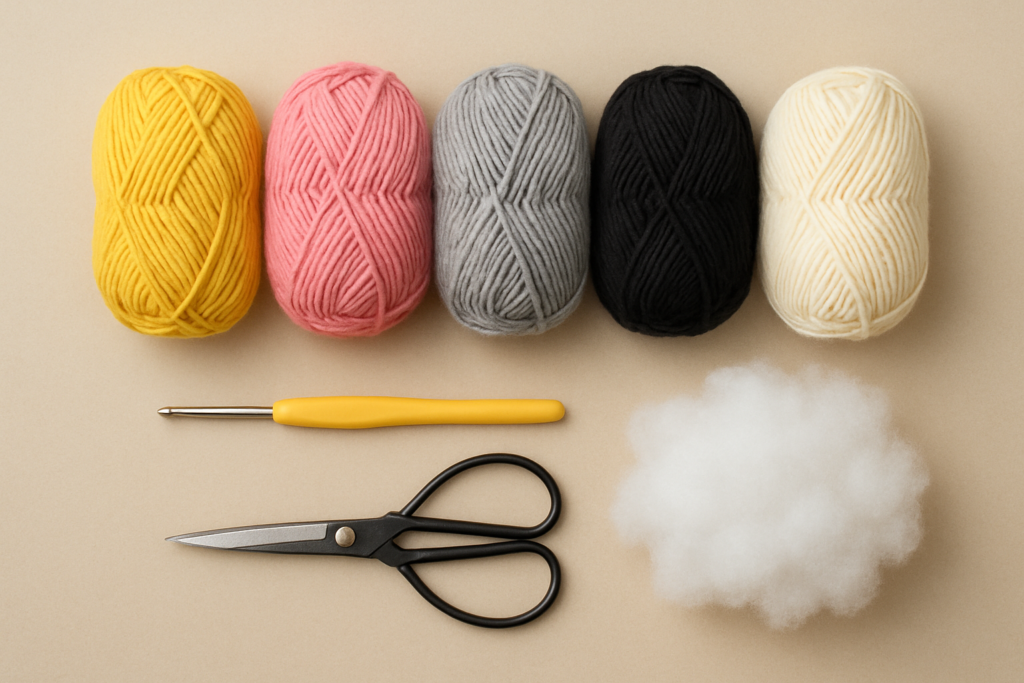
🧶 Materials & Supplies You’ll Need
To create this crochet pencil toy, you’ll need a mix of cotton yarns in multiple colors. These vibrant shades bring your pencil character to life.
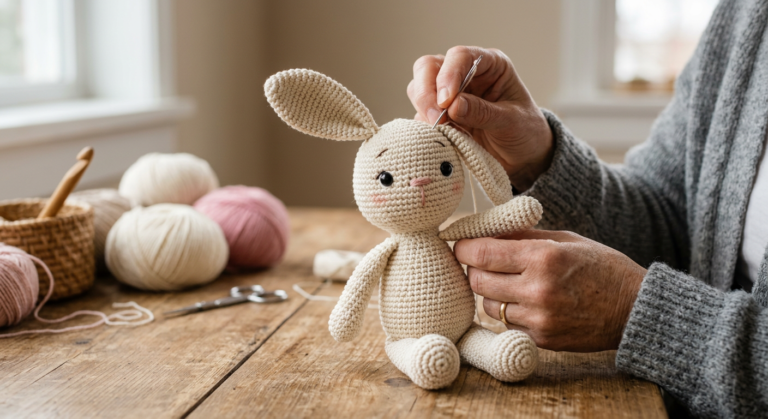
Use yellow, black, ivory, gray, pink, and white yarn along with a 1.75–2 mm crochet hook. You’ll also need safety eyes, stuffing, wire for arms, and basic crochet tools.
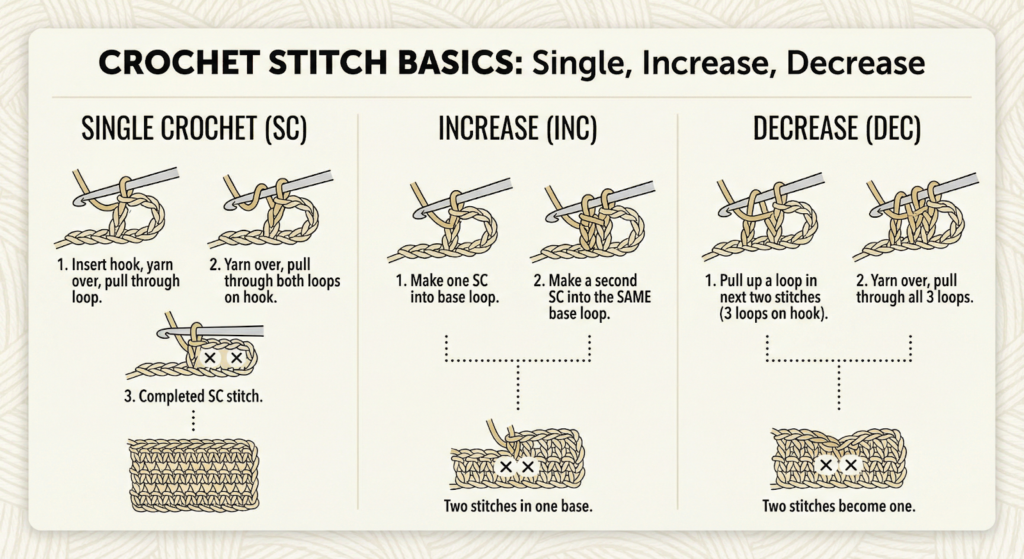
🧵 Crochet Abbreviations (Beginner Guide)
This amigurumi pattern uses standard US crochet terms. Understanding these abbreviations will make your project much easier.
Key stitches include MR (magic ring), SC (single crochet), INC (increase), DEC (decrease), and BPSC (back post single crochet). These stitches help shape the pencil and add texture.
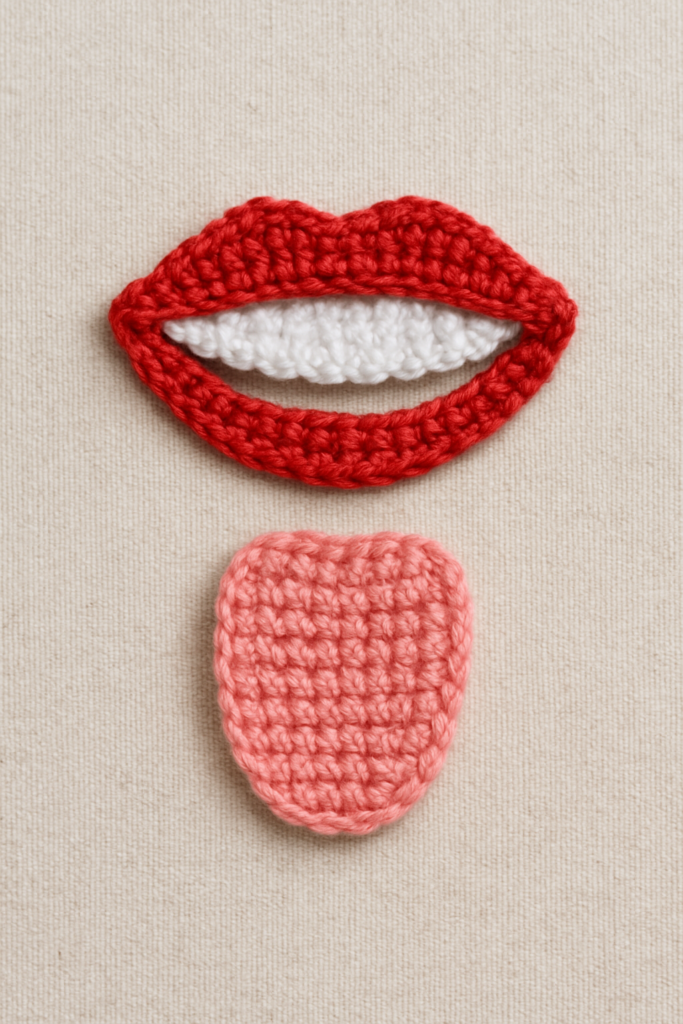
👄 Creating the Mouth & Tongue
Start by crocheting the inner mouth using black yarn. Work in rounds, gradually increasing stitches to form a circular shape.
Next, create the tongue using pink yarn. This small detail adds personality and gives your crochet pencil a playful expression.
🧸 Crocheting the Pencil Body
The body begins with black yarn and gradually transitions into ivory and yellow to mimic a real pencil. This section includes multiple rounds of increases to shape the structure.
Color changes are key here, giving the pencil its realistic striped look. You can also adjust the length by repeating rounds.
😄 Adding Facial Features
Once the body is shaped, insert safety eyes above the mouth area. Keep about 6 stitches between the eyes for a balanced look.
Embroider eyebrows, nose, and eye highlights using yarn to bring your character to life. These details make your amigurumi more expressive.
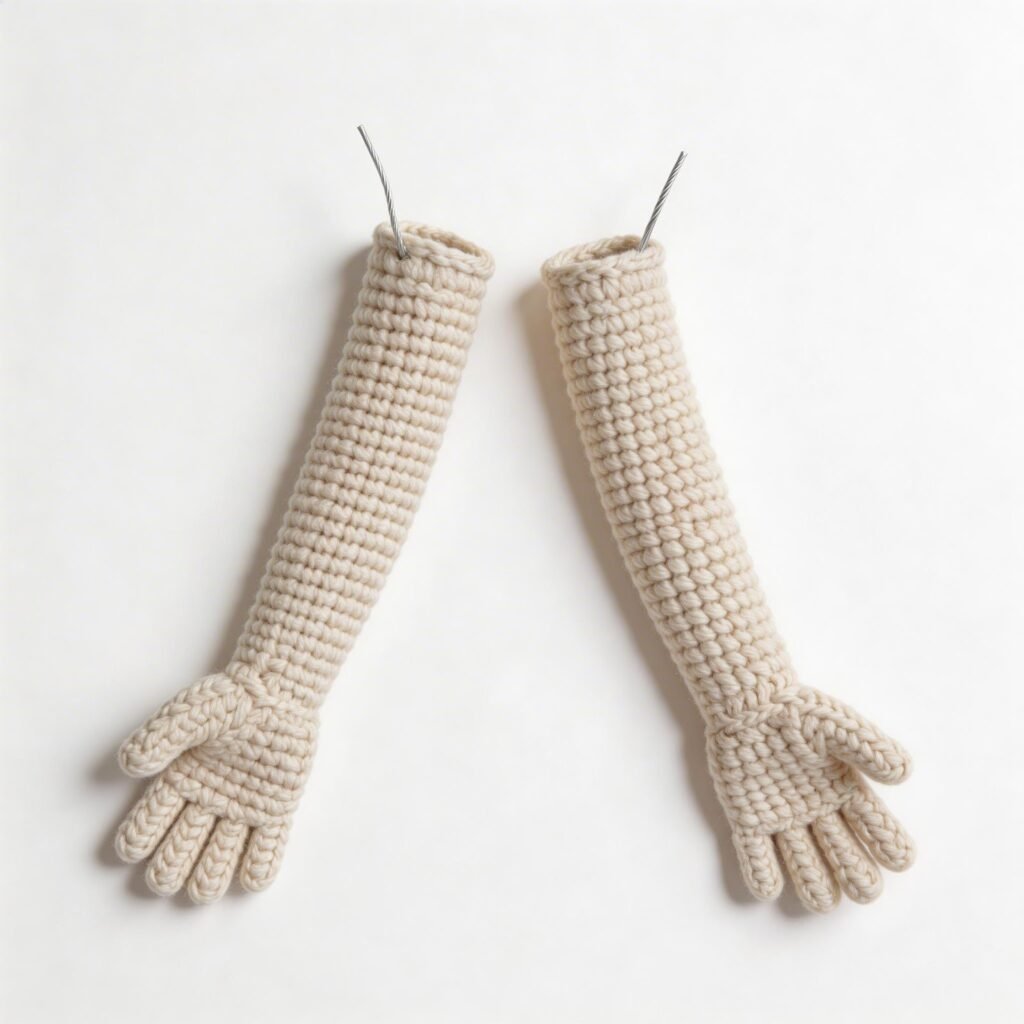
✋ Making the Arms
Crochet two small arms using yellow yarn. These are simple and should not be stuffed to keep them flexible.
Insert wire into the body and attach the arms securely. This allows your crochet pencil to pose and hold shape.
🧩 Final Assembly & Finishing Touches
Sew the mouth and tongue into place, ensuring everything is aligned properly. Attach the arms and adjust the stuffing for a neat finish.
Once assembled, your crochet pencil will stand about 15 cm tall and look absolutely adorable.